-

Qualtrics Platform -

Customer Journey Optimizer -

XM Discover -

Qualtrics Social Connect
Editing the End of the Survey
About Editing the End of the Survey
When your respondents finish taking your survey, you may need to redirect them to another web page, show them a custom thank you message, or even anonymize their response. You can use the end of survey settings to adjust what will happen when your respondents finish the survey.
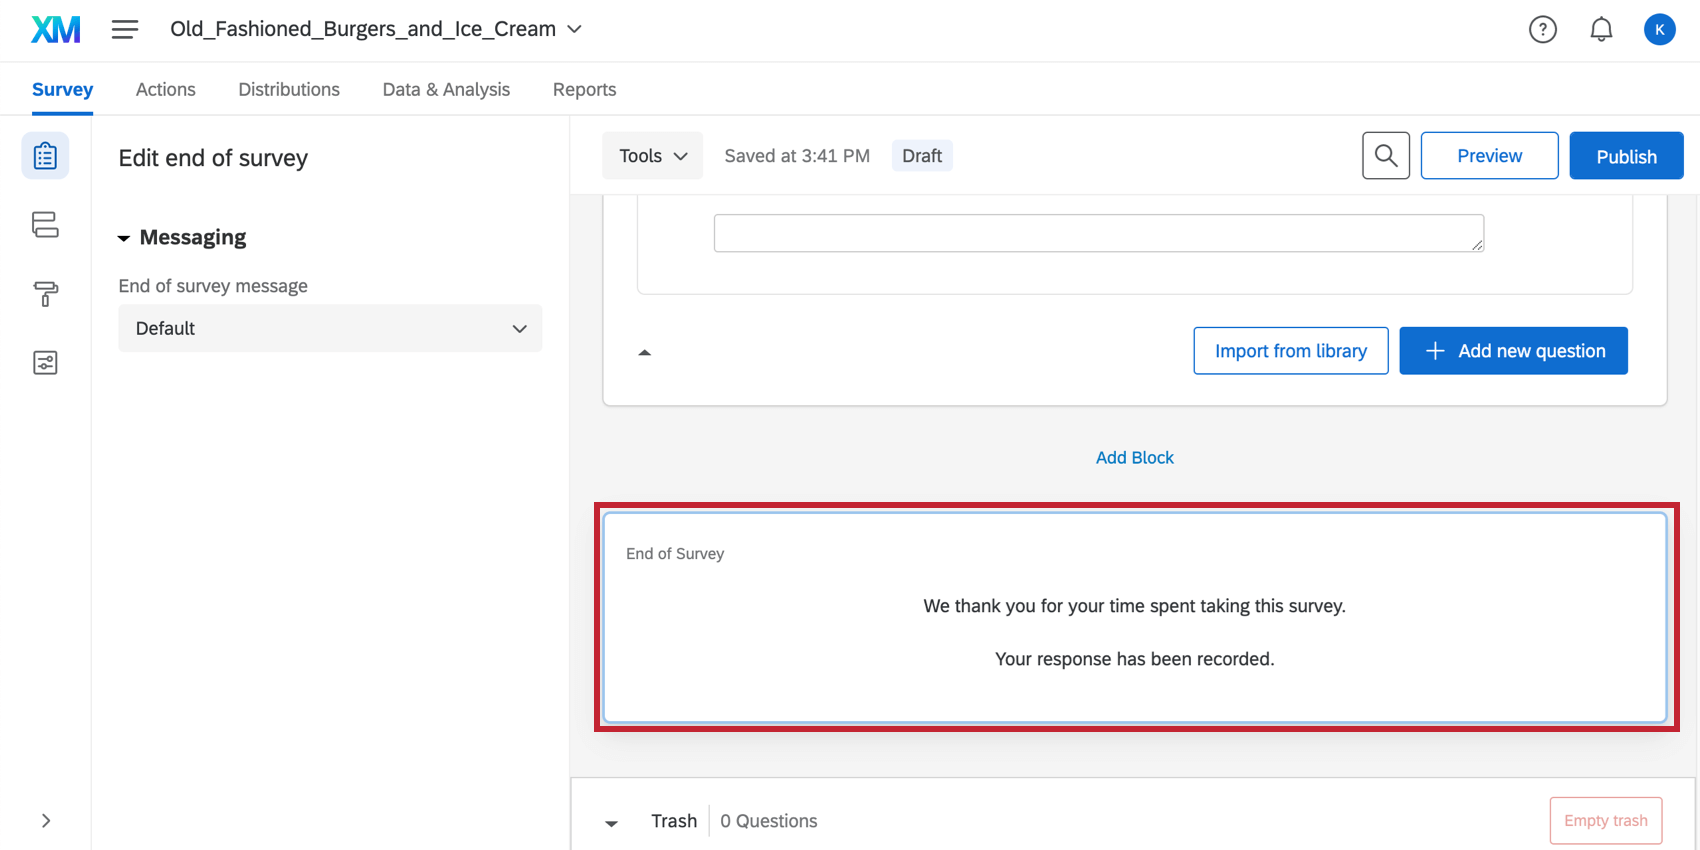
You can navigate to the end of survey options by clicking the End of Survey element at the bottom of the survey editor.
Changing the End of Survey Message
By default, each respondent sees the following message upon successful survey completion: “We thank you for your time spent taking this survey. Your response has been recorded.” However, you can create a custom message to tailor the survey completion experience to your respondents.
Customizing the End of Survey message
- Scroll to the bottom of the survey builder and click End of Survey.
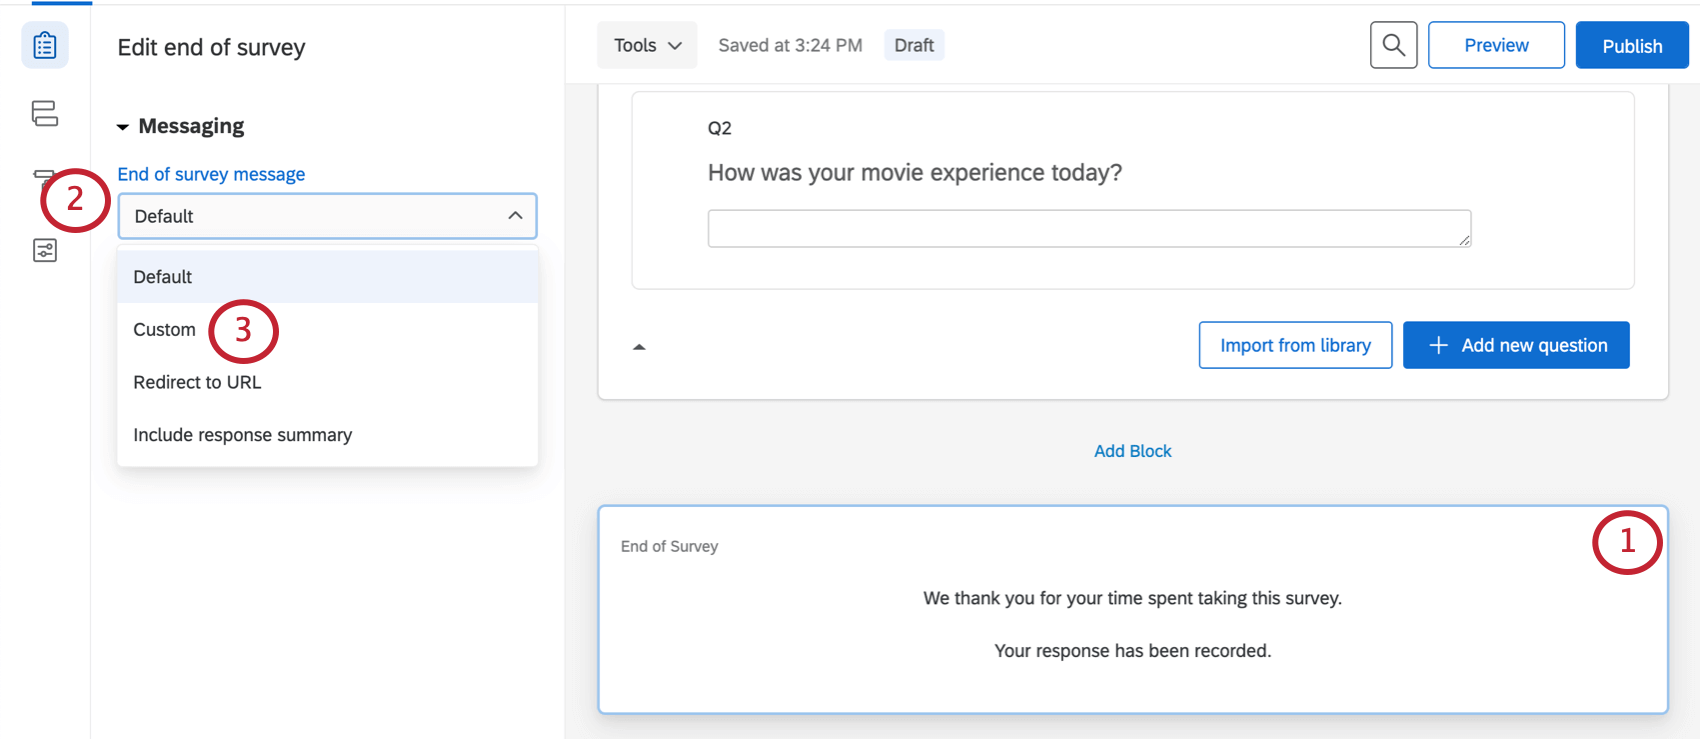
- On the left under Messaging, click the dropdown.
- Select Custom.
- Click Load a Saved Message.
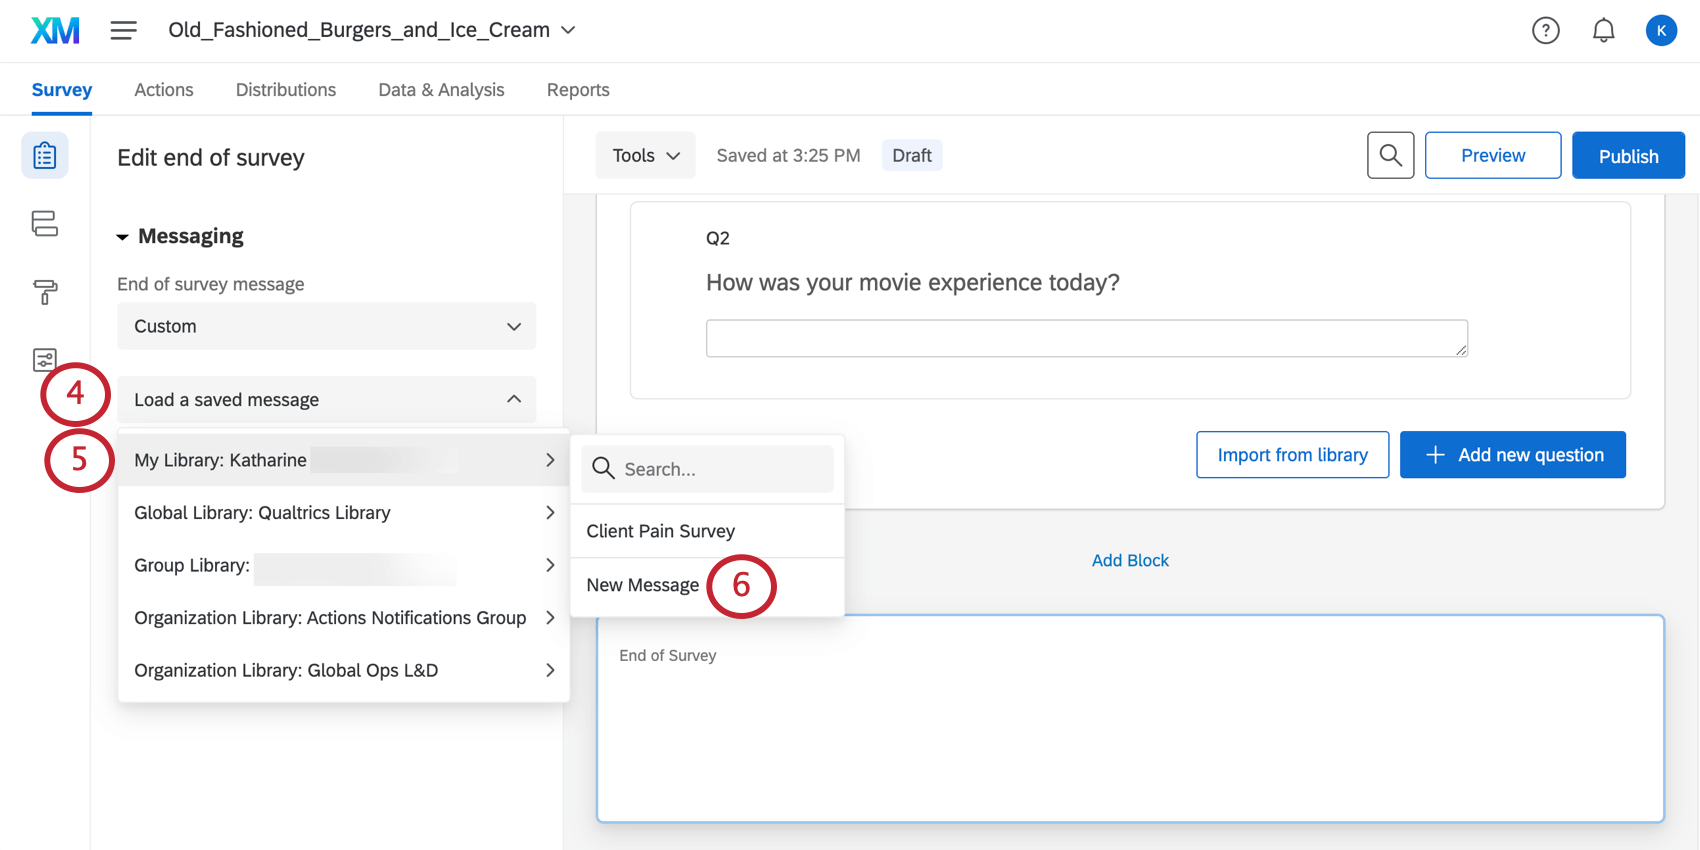
- Hover over the library you would like the messages to be saved in.
- Click New Message.
Qtip: Alternatively, if you have messages that you have saved previously, select an existing message for use.
- Enter a description for your message.
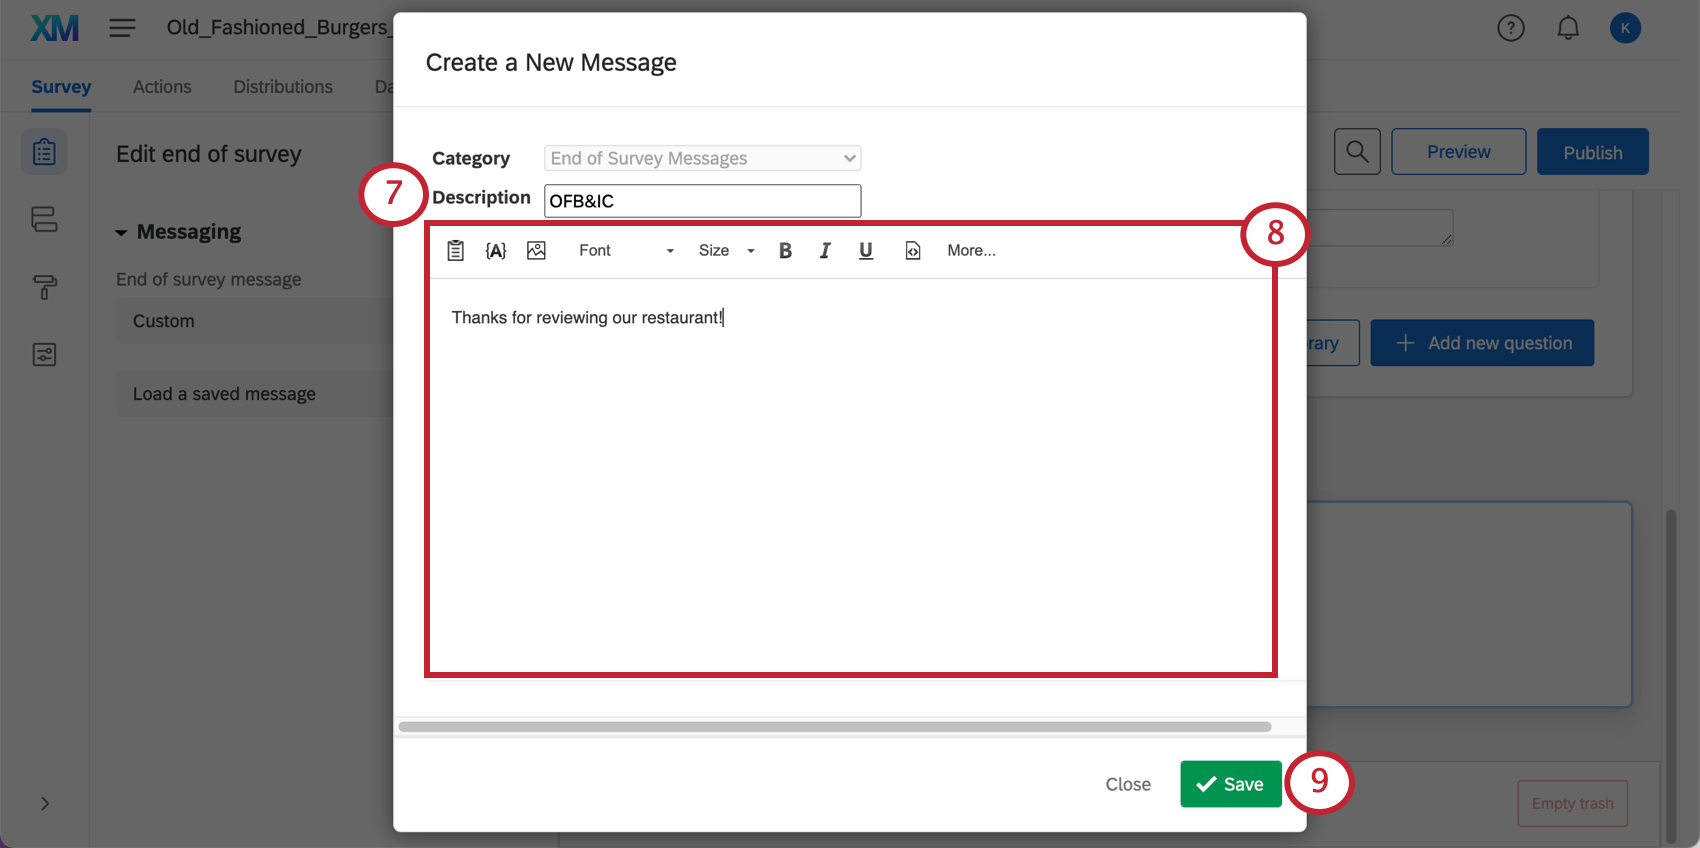
- Type your message as you would like it to appear to your respondents.
- Click Save.

Showing a Response Summary
Rather than showing participants a message, you can automatically redirect them to a summary of their responses. This response summary can be downloaded by the respondent as a PDF. Please note that this response summary appears after the respondent submits their survey.
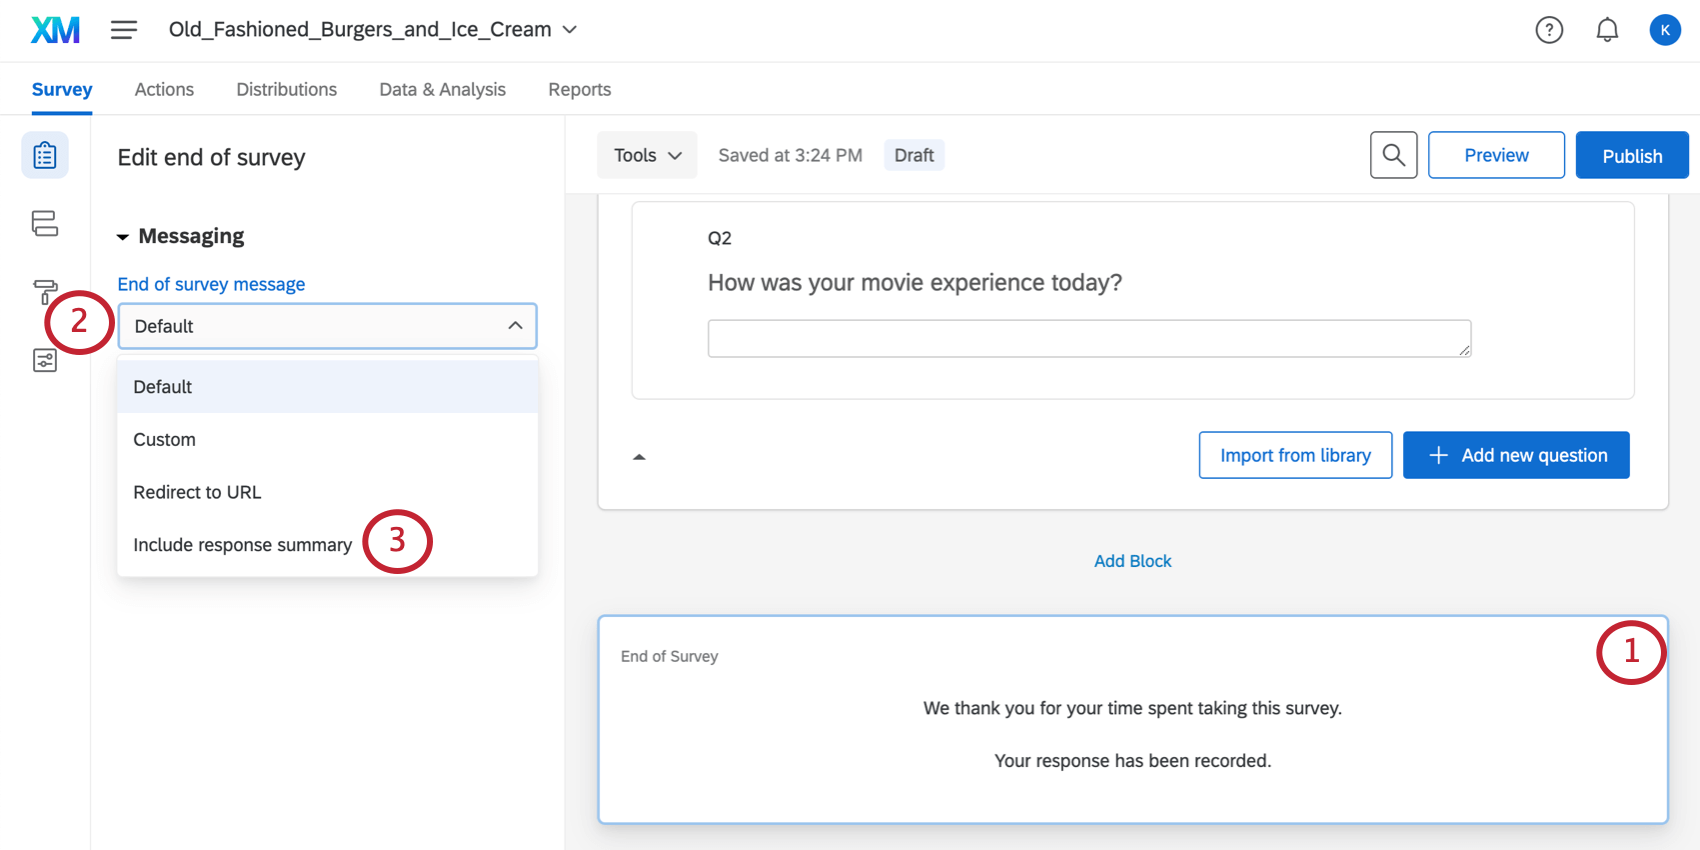
- Scroll to the bottom of the survey builder and click End of Survey.
- On the left under Messaging, click the dropdown.
- Select Include response summary.
Redirecting Respondents to a URL
In some cases, you may want to ensure respondents make it back to your website or another web page at the end of the survey, rather than simply showing them a message. You can use the Redirect to a URL option to accomplish this. As soon as a respondent clicks the submit button in the survey, they’ll automatically be redirected to your chosen site.
- Scroll to the bottom of the survey builder and click End of Survey.
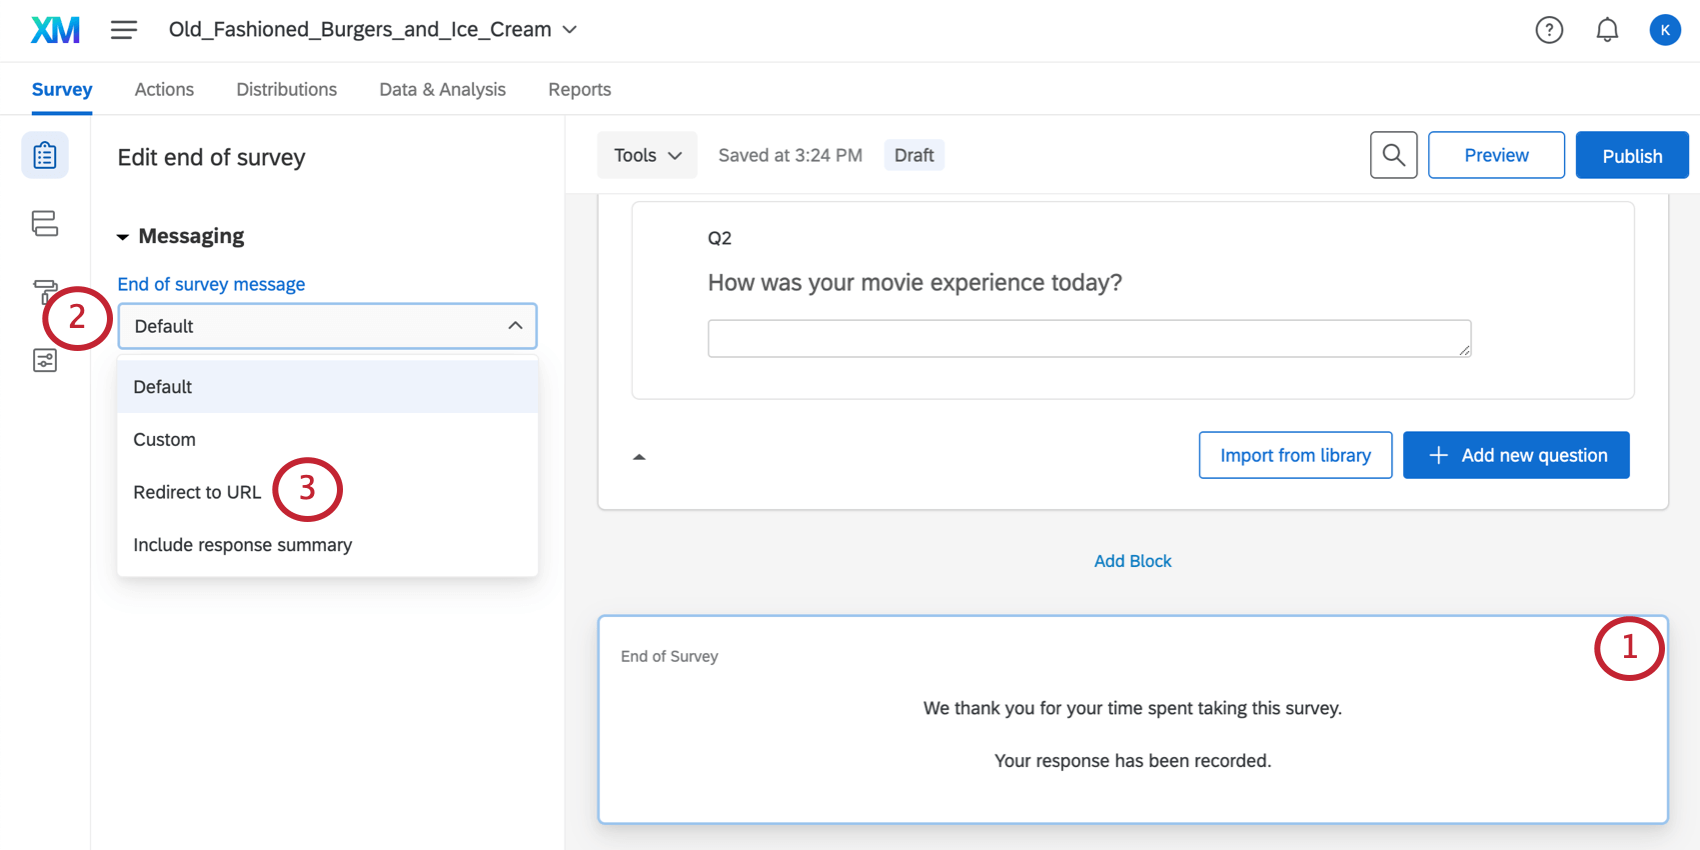
- On the left under Messaging, click the dropdown.
- Select Redirect to URL.
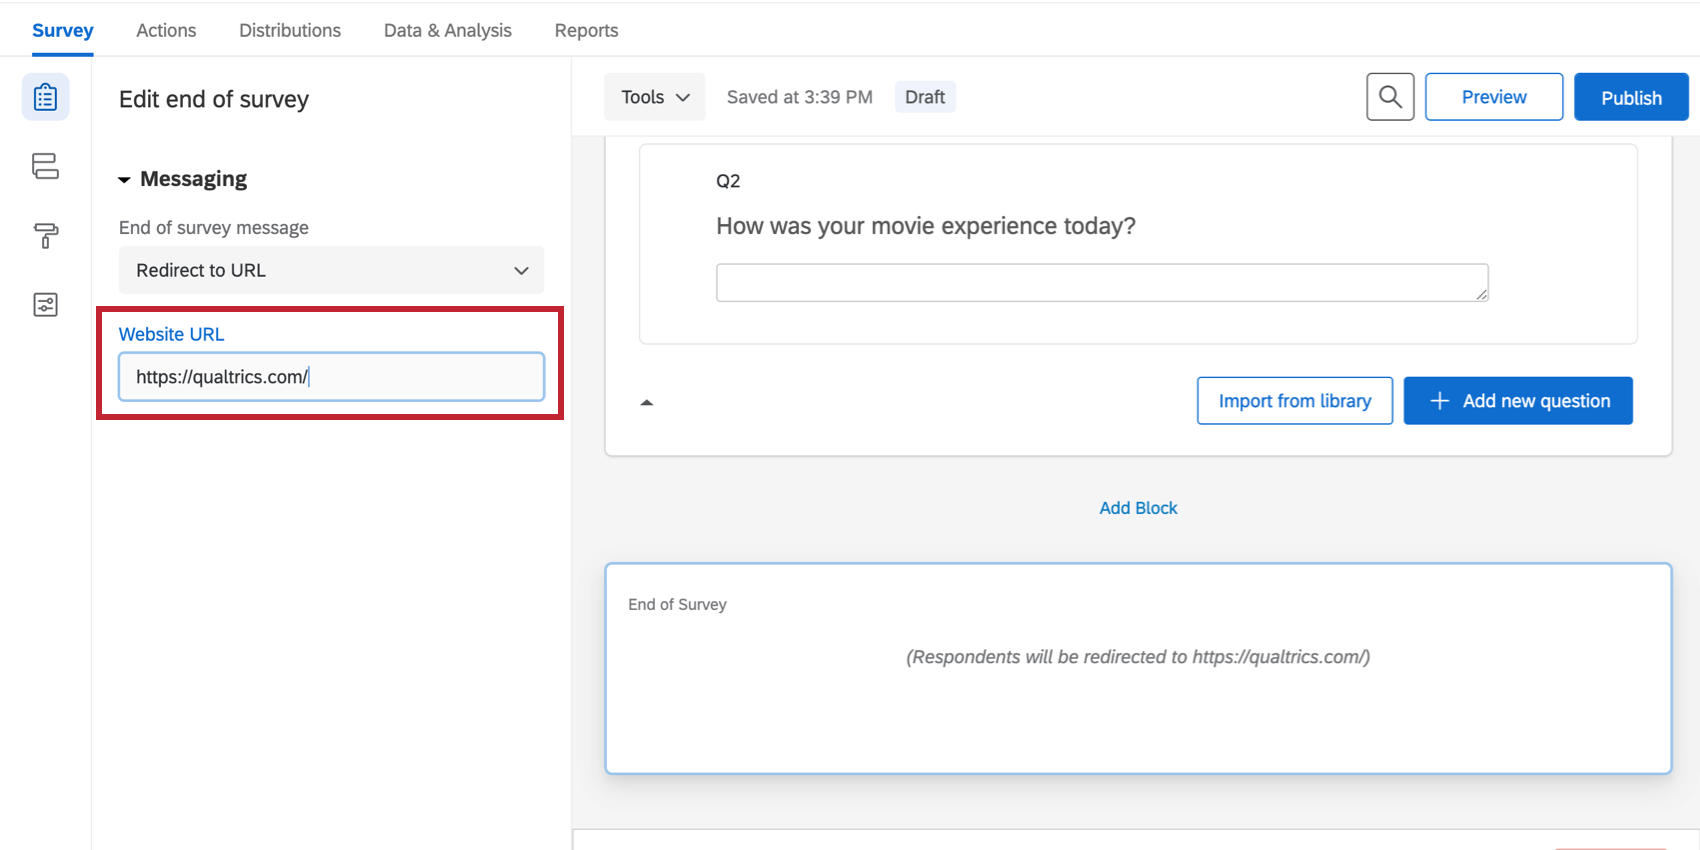
- Enter the website’s URL.