-

Qualtrics Platform -

Customer Journey Optimizer -

XM Discover -

Qualtrics Social Connect
Personal Links
About Personal Links
For those cases where you need to use a third-party mail system to distribute survey invitations but also need to track which response belongs to which recipient, Qualtrics can generate a list of unique, or “personal”, survey links. These links are tied to specific survey recipients, and the names and any other uploaded embedded data will be included with the responses in the results.
When you generate personal links, Qualtrics provides a spreadsheet that contains a row for each recipient including their name and their personal survey link. Most mailing systems can accept such a spreadsheet and will have a mail merge capability to include each recipient’s survey link in their email.
This page discusses how to generate that list of personal links for use in a third-party mail system.
Generating Personal Links
- Navigate to the Distributions tab.
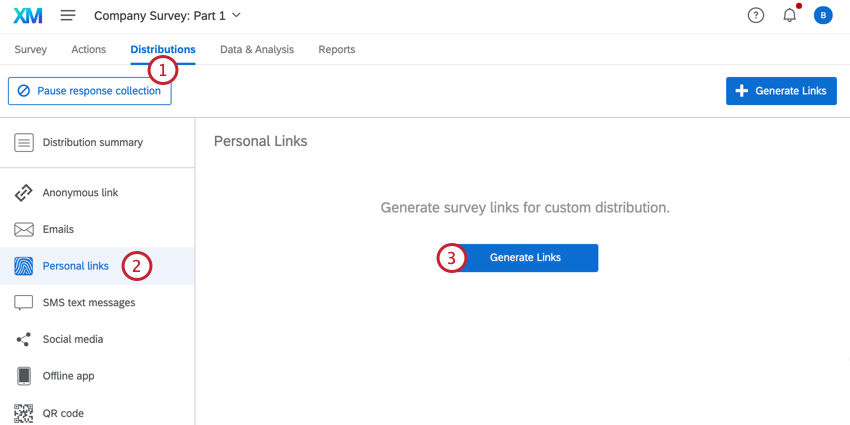
- Select the Personal links section.
- Select Generate links.
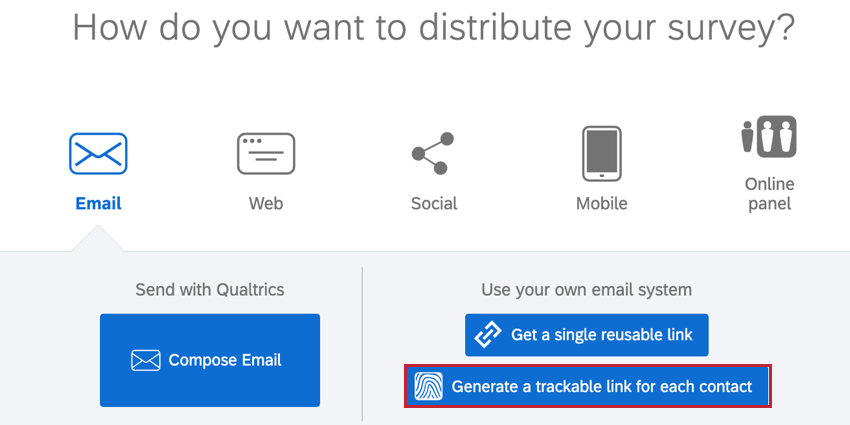
Qtip: If you have not yet activated your survey, you may see something different when you visit the Distributions tab. In this different view, you can click the Generate a trackable link for each contact option.
- Click Select Contacts.
- Select the library your contact list is saved in.
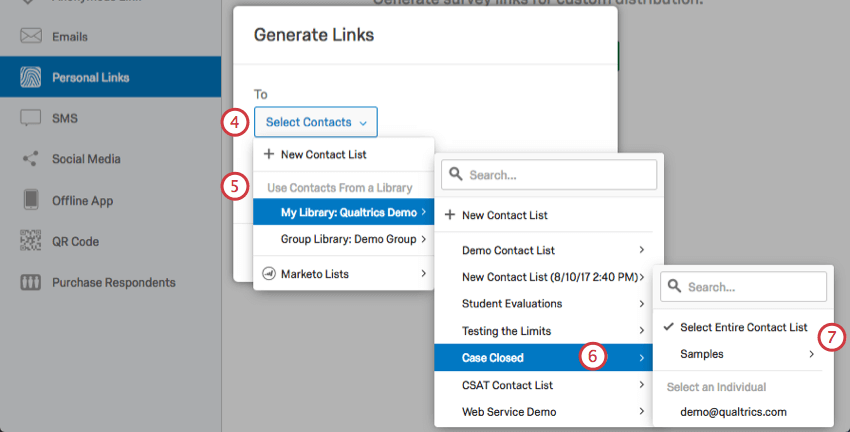
- Select the contact list or segment you want to generate links for.
Qtip: If you are using Marketo to manage your contact lists, you can choose from these Marketo lists instead. Visit our page on Marketo Extensions for more information.
- Choose to send to the whole contact list, an individual contact, or a small sample of your contact list.
- Set a link expiration date (by default, links are valid for 60 days).
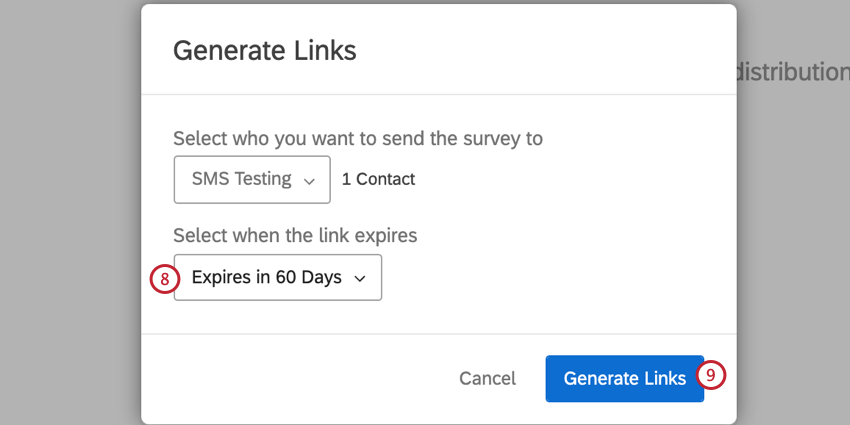
- Click Generate Links.
At this point, a spreadsheet will be downloaded to your computer. This spreadsheet will include the names of your contacts, their email addresses, and their personal links. You will be able to re-download this list later by clicking the gear icon to the far right of the list and selecting Download Links.
Managing Personal Links
Each time you generate new personal links, you will get a row in your personal links section marking the distribution and giving you various details and metrics.
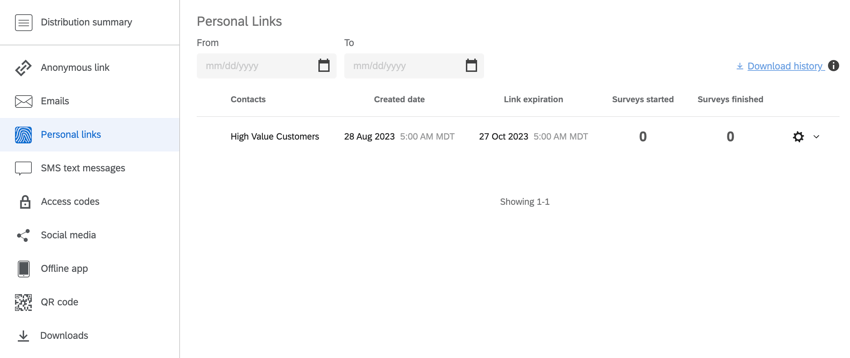
Here are the columns of information you can see for each link:
- Contacts: The name of contact list, sample, or individual you generated links for.
- Created Date: The day and time the links were generated.
- Link Expiration: The day and time all the links in the distribution will expire.
Qtip: Link expiration determines how long participants have to start their survey. Once they start their survey, the incomplete survey responses setting in the survey options takes effect.
- Surveys Started: The number of surveys that have been started from the links you generated.
- Surveys Finished: The number of surveys that have been finished from the links you generated.
- Gear: When you click the gear icon, you are given the option to download the links again or delete the links. Deleting the links breaks them, so that they can no longer be used to collect survey responses.
Qtip: If you re-download your personal links, you will see updated statuses for your respondents. These statuses include Survey Started and Survey Finished. If your respondent has yet to start the survey, their status will be Email Not Sent.