-

Qualtrics Platform -

Customer Journey Optimizer -

XM Discover -

Qualtrics Social Connect
Email Task
About the Email Task
Email tasks let you send an email notification in response to a variety of events in Qualtrics. The most common example is to send out an email to a person or group of people every time a survey response is submitted.
The email task is a great alternative to email triggers, and has the following improvements:
- Ability to use library messages (and thus provide message translations) for the email body and the subject line.
- Access to Workflows reporting for troubleshoot purposes.
- Ability to be triggered not just by survey response completion, but also by survey response edits, events in Salesforce, an ongoing schedule, changes made to tickets, and other events.
Setting Up an Email Task
- Go to the Workflows tab.
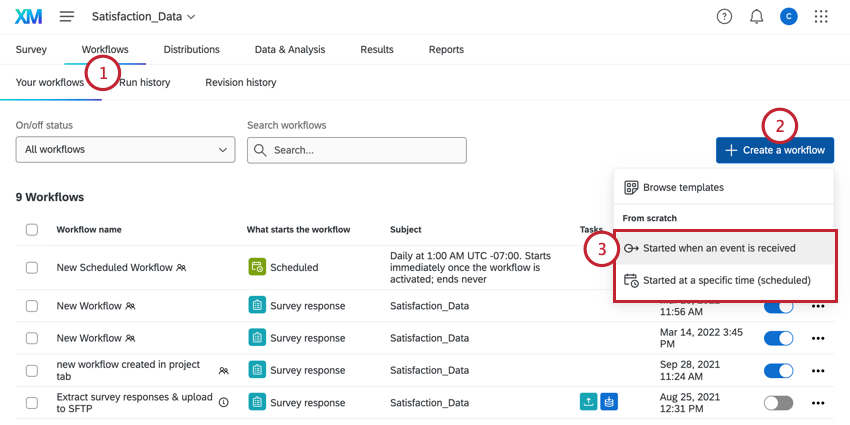
- Click Create a workflow.
- Determine whether the email should be sent on a schedule or based on an event. Visit the linked pages for more information.
Qtip: Choosing Event-Based and then survey response event is the most common, although you are free to select another choice.

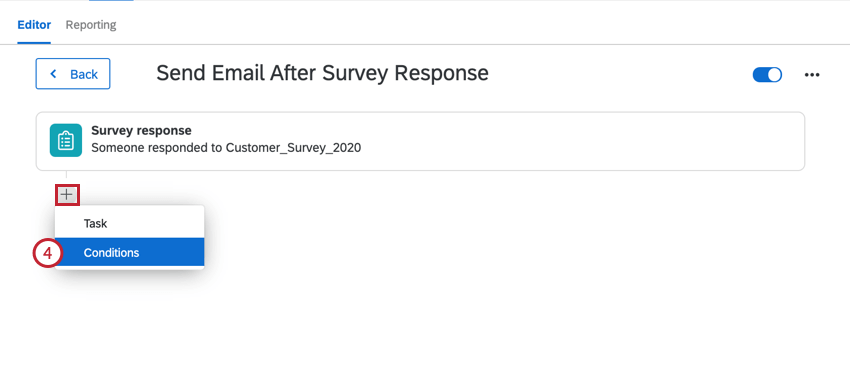
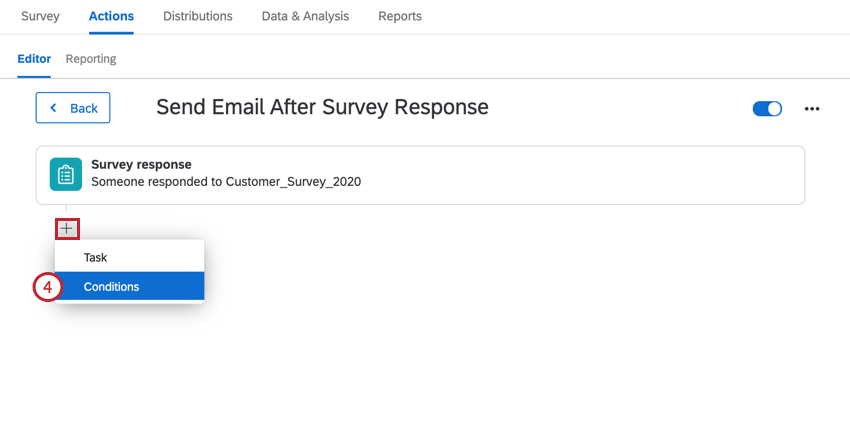
- Click the plus sign ( + ) and then Conditions to set the conditions under which the email is sent.
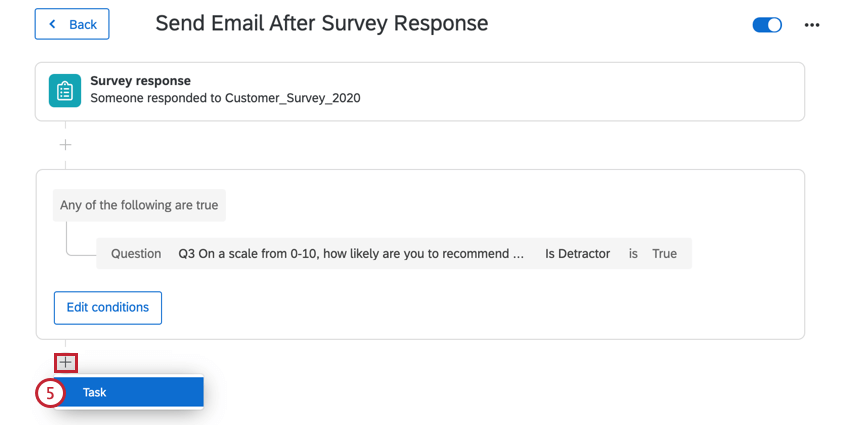
 Example: We only want to send a follow-up email to customers who were upset with the service they received. Thus, we set up a condition that only respondents who said they were slightly dissatisfied or extremely dissatisfied will receive a follow-up email.

- Click the plus sign ( + ) and select Task.
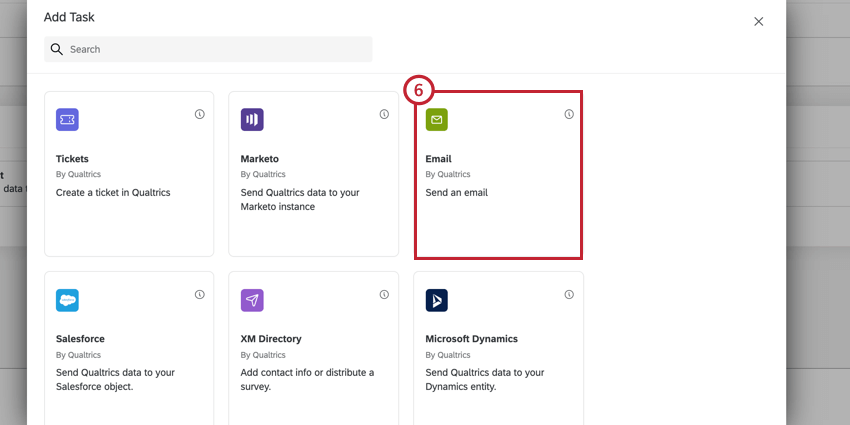
- Select Email as your task.
- Choose the recipient of the email. You can send to multiple email addresses by listing the emails separated by commas. You can list up to 30 emails here.
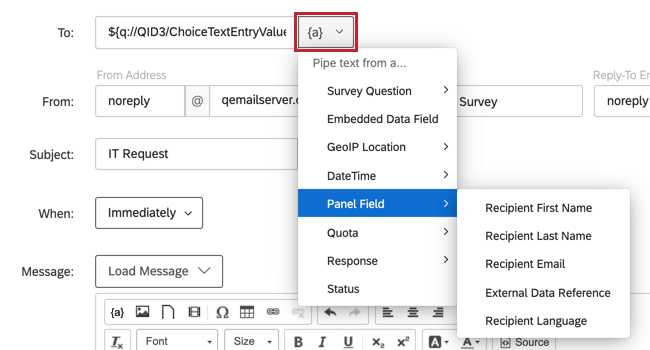
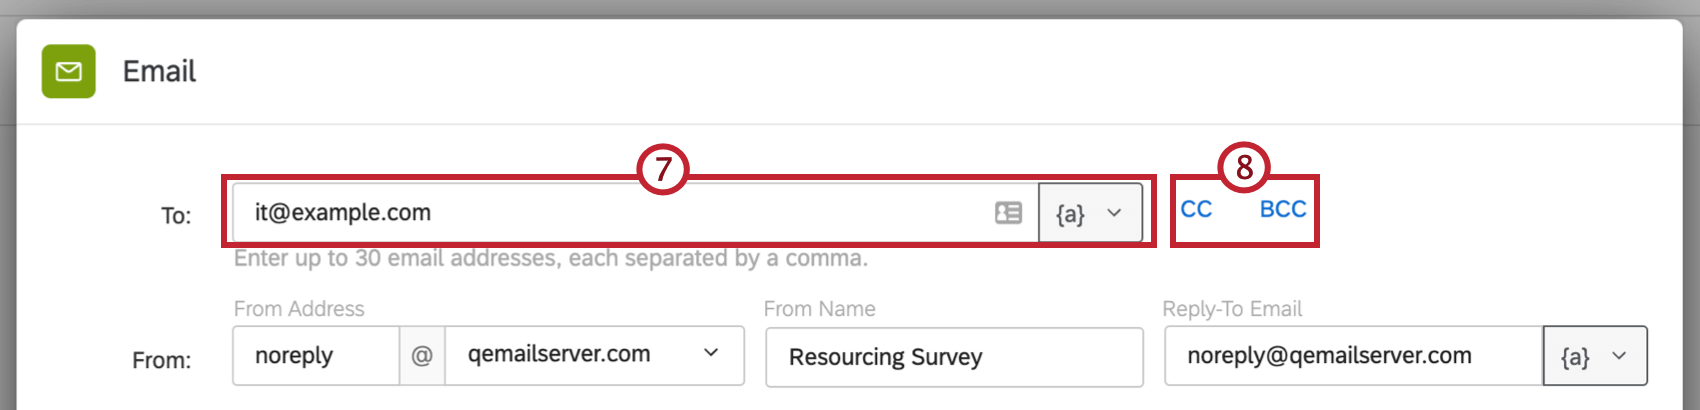 Qtip: If you asked the respondents for their email addresses, or this survey was initially distributed through email, you can click the piped text button and select the Survey Question or Panel Field where the respondent’s email address is stored.
- If you want to add CC or BCC recipients to the email, click CC or BCC.
Qtip: The CC field will be visible to all recipients, while the BCC field will not be visible to all recipients.Qtip: The BCC field will not be shown to the BCC recipient. See the RFC 2822 Internet Message Format document for more information on different ways the BCC field can be used.
- Enter an email address to CC or BCC. Only one email address can be entered in each field.
 Attention: If a BCC email address has been specified for your user division, this email address will automatically be BCCed on all emails for the task.
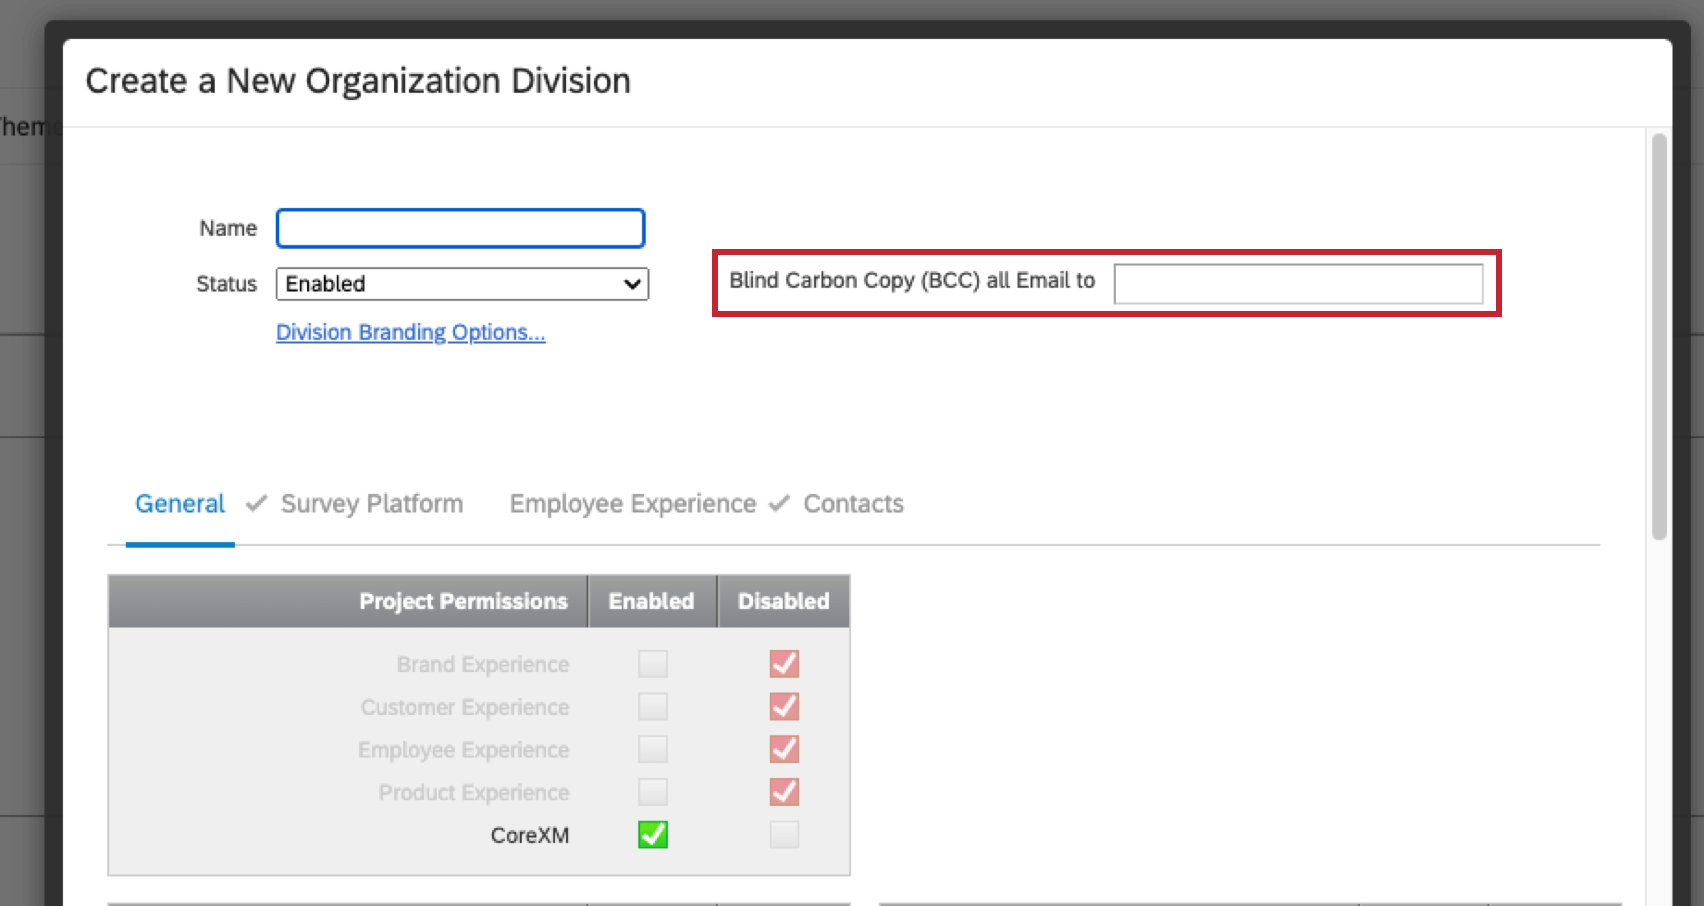 If you are not part of a division or there is no BCC email address specified for your division, the BCC email address specified for the brand, if there is one, will automatically be BCCed on all emails for the task.
 - Edit the From Address as desired. Use the domain dropdown menu to select any available sending domains.
Qtip: Often a brand has a series of custom FROM domains that a Brand Administrator and your organization’s IT team will set up. These valid domains allow you to use any email address with a valid domain as your “From” Address. For example, if you’re a student at Qualtrics University, you may be able to use any email address ending in @qualtricsuniversity.edu. If you’re having trouble setting your “From” email, reach out to your Brand Administrator.
- Edit the From Name as desired.
- Type the username and domain of the Reply-To Email. This is the email address that receives your respondents’ replies to the message. If you do not want to receive replies, you can use any of the default Qualtrics email domains. Otherwise, you can use a domain configured for use in your license, or pipe text to bring an email in from the survey or panel.
Qtip: The email you use doesn’t have to be real. For example, if you don’t want to receive replies but want the address to look official, you can set the Reply-To to YourCompany@qemailserver.com.Attention: Only one email address can be entered in the reply-to field.
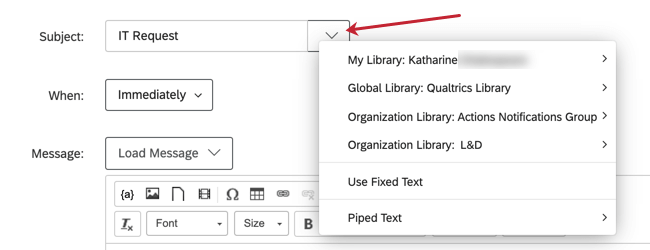
- Add a Subject to your email.
Qtip: If you click the dropdown next to the Subject field, you can choose a subject saved in your library (which can have translations), or add piped text.
- Choose how long after the triggering event happens (e.g., how long after a survey response is submitted) that the email will go out. The shortest time period you can choose is immediately and the longest is 30 months.
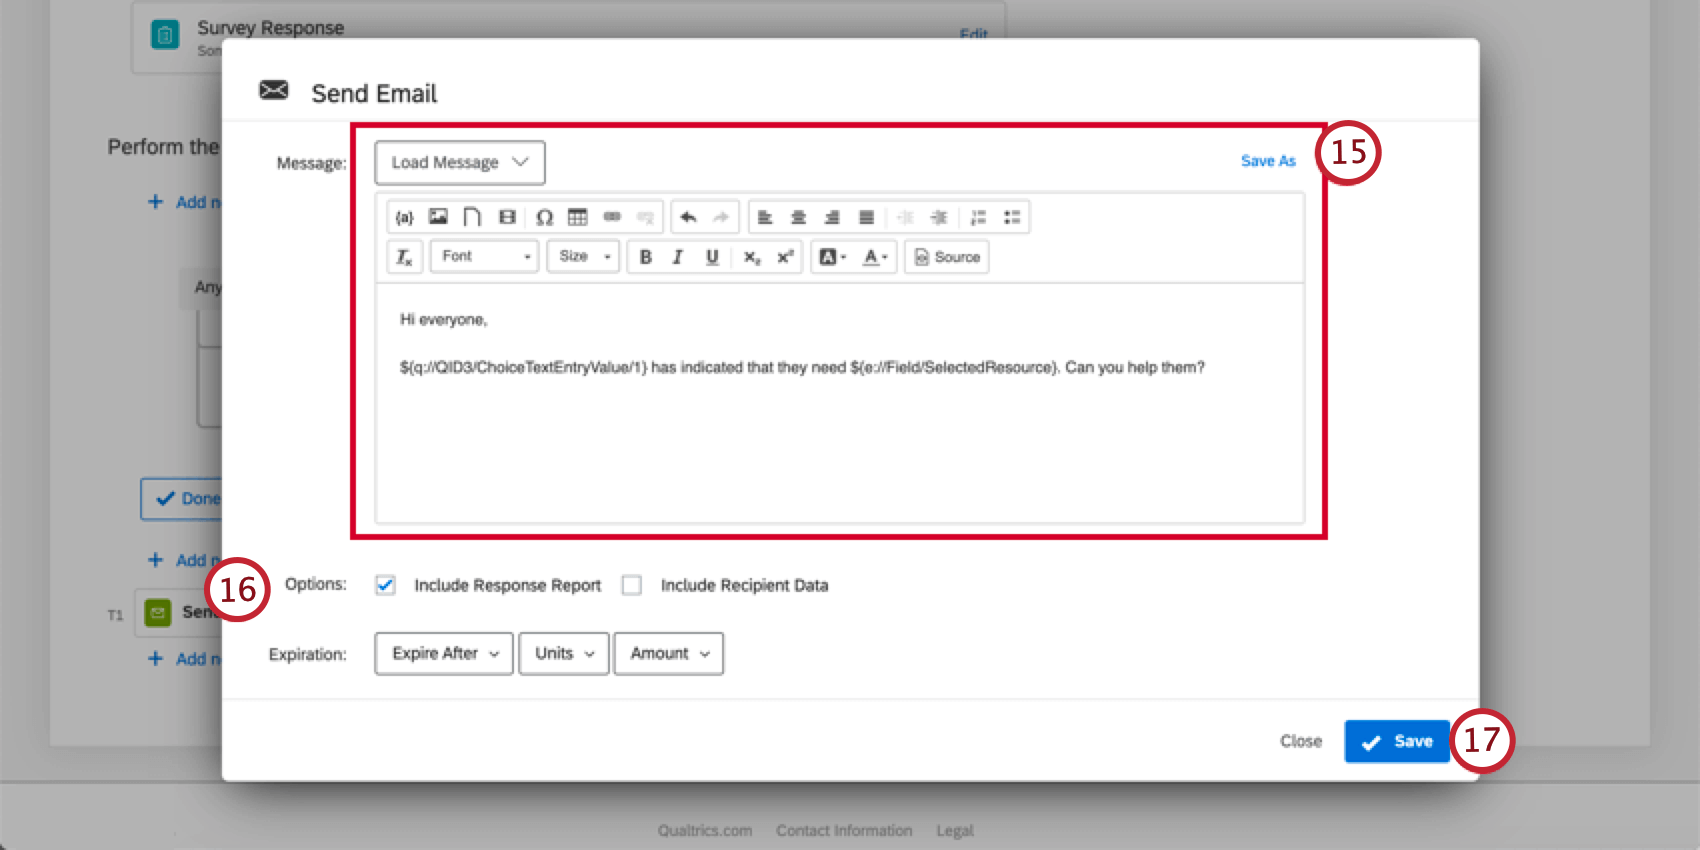
- Write your email message. You can use the Load Message dropdown to use something from your library, or, if you write a message you’d like to reuse, click Save As in the upper-right to save it to your library for later. For more info on customizing this message, see the rich content editor page.
 Qtip: If you click the dropdown next to the Message field, you can choose a general message saved in your library or add piped text. If adding piped text, fields from other tasks in your workflow will be available in the menu. For example, if you have a tickets task in the workflow before your email task, the ticket fields will be available in the piped text menu.
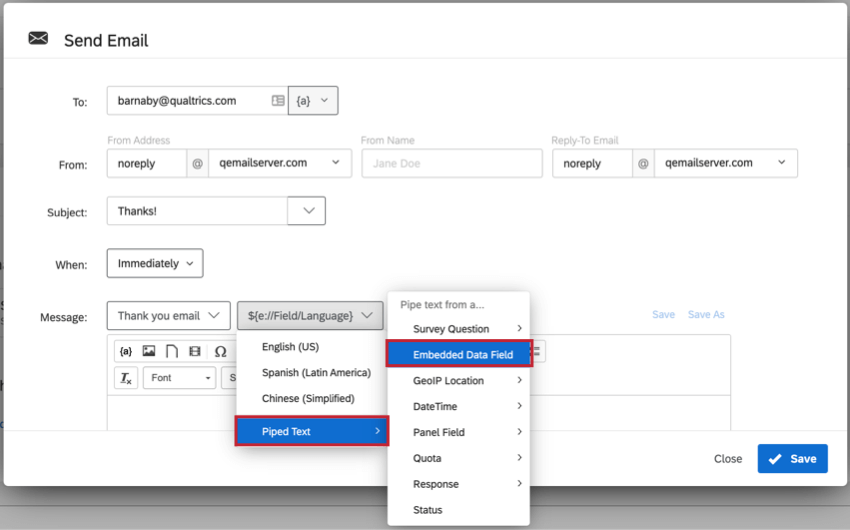
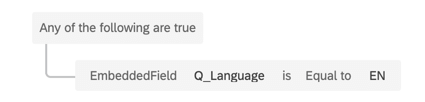
 Qtip: By default, messages in the email task will default to English. You can translate your task by using embedded data and translated messages from your message library. First, you’ll need to make sure that you have a Q_Language embedded data field in your survey flow. Once you have that, you’ll need to select Piped Text > Embedded Data Field in the Message dropdown field and then enter Q_Language in the box that appears. This will allow you to dynamically pull in your message in the language your respondent took the survey in.
 Attention: If you are including images in your email message, you must insert the images through the image icon in the rich content editor. You will be able to choose any images saved in your library (and add new images to your library from the email editor). If you manually paste an image into your email message, the email task will fail.
 - Decide if Include Response Report and Include Recipient Data are appropriate for this email. See response reports for more details.
Qtip: “Include Response Report” adds a summary of the questions and respondent’s answers to the body of the email (as well as includes a link to an online version). “Include Recipient Data” displays information about the respondent’s survey response.
- Click Save.
Response Reports
When creating an email task, you have the option to select Include Response Report. Response reports are a summary of the questions and the respondent’s answers. They come in the body of the email, in a linked webpage, and in a PDF export.
Piped Text
Instead of enabling “Include Response Report,” you can add a link to the single response report in your email task by using the following piped text. This allows you to control where the response report link appears in your message.
${srr://SingleResponseReportLink}
Additionally, you can add the following parameters to customize your response report link.
- ttl: The expiration of your link in seconds. The default is 7 days (604800 seconds).
Example: ${srr://SingleResponseReportLink?ttl=60} will generate a link that expires in 60 seconds.
- edata: The type of embedded data to display in the report. Valid options are “all,” “none,” and “user.” The default is “user.”
Example: ${srr://SingleResponseReportLink?edata=none} will exclude all embedded data from the report.
- password: The password needed to access the link. The default is no password protection.
Example: ${srr://SingleResponseReportLink?password=test123} will require anyone accessing the link to enter the password “test123” before they can view the report.
You can combine these parameters into 1 link. The first parameter should have a question mark ( ? ) in front of it. Join all of the following parameters with an ampersand ( & ).
Example: If I want to include all 3 parameters in the link, it would look like this:
${srr://SingleResponseReportLink?ttl=60&edata=none&password=test123}
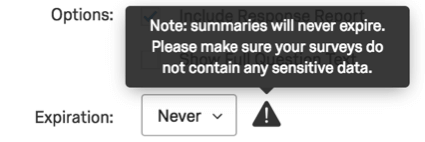
Expiration
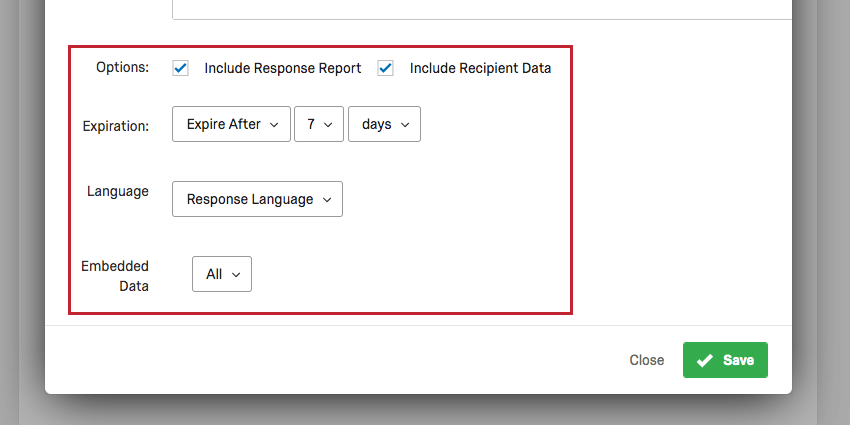
As an extra security measure, you can set when the response report link will expire. This only affects the webpage and the PDF export, not the body of the email. This expiration can be determined by hours, days, or months from the email task being sent.
Qtip: If you select Never for the expiration, you will receive a warning. If you decide you never want response reports to expire, you should make sure your survey does not request any sensitive data from the respondent.
Language
Determine the language of the response report. This allows you to compose different email tasks for different respondents by language; using Q_Language and corresponding language codes, you can set the conditions under which email tasks with translated message bodies and specified response report languages are sent out.
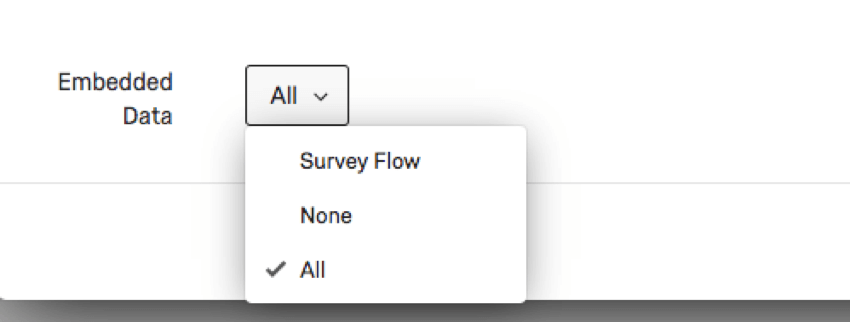
Embedded Data
The response report can contain the embedded data that is saved with the response. You can choose to include all embedded data, only the embedded data defined in your survey flow, or no embedded data.
Viewing and Exporting Response Reports
When response reports are enabled in an email task, they will appear in three formats:
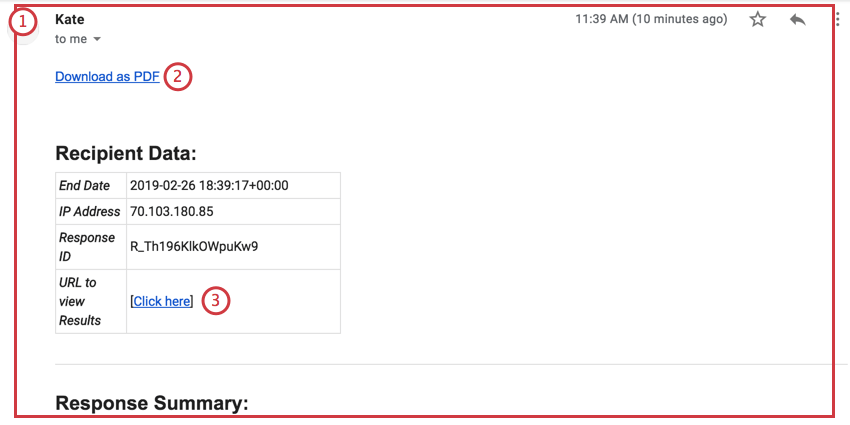
- Text in the email itself.
- A PDF export.
- A live link.
Qtip: Remember, the expiration setting in the email task defines when this link is disabled.
Response reports come with three headers of information: Recipient Data, Response Summary, and Embedded Data.
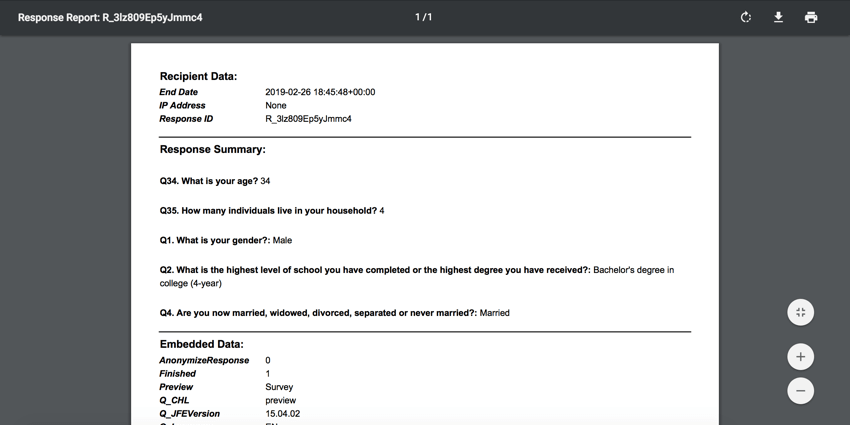
Recipient Data contains information such as the date the survey response was completed, IP Address, internal Response ID, and the URL to view the Response Report. The Response Summary contains all questions in the survey and their answers. Finally, Embedded Data contains all the embedded data you set in your Survey Flow, in addition to several default fields.
Qtip: By default, all answers to all questions and all embedded data are included in a response report. However, our Engineering Services team can create custom response reports to fit your organization’s needs. Contact your Account Executive if you’re interested in this solution.
For a more manual solution, consider using piped text in an email task. This will require building reports from scratch, which will not have the PDF export or live link.
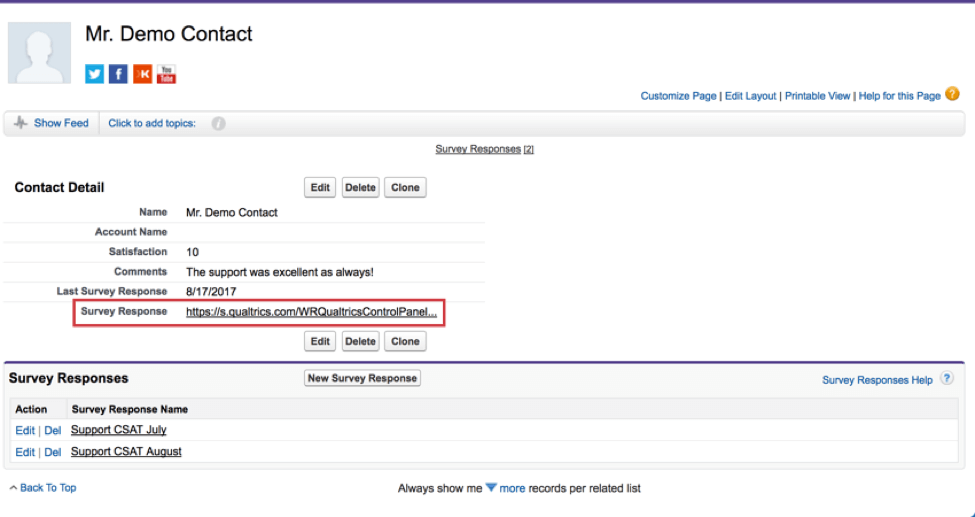
Mapping a Response Report Link in Salesforce
You can map a response report link to Salesforce so it appears on record pages. To map a response report link to Salesforce, see Mapping a Response Report Link.
When Email Tasks Are Sent
All types of survey responses can cause email tasks to be sent under certain conditions.
- Completed responses (people who got all the way to an end of the survey) will generate email tasks they meet the conditions for.
- Incomplete survey responses (people who didn’t finish their survey) do not generate emails unless the task has a condition added to it, and the response is recorded.
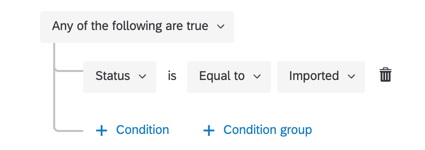
- Imported responses only generate emails if they’re selected as a response condition.
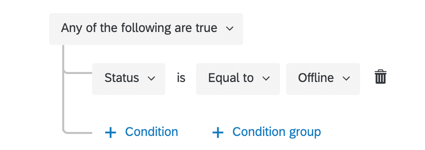
- Offline app responses only generate emails if they’re selected as a response condition and are then uploaded.
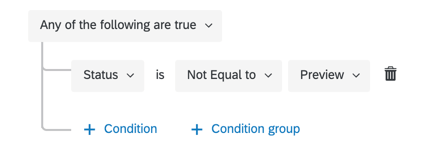
- Preview responses always generate emails they meet the conditions for, unless there’s specifically a condition saying they should not generate a response.
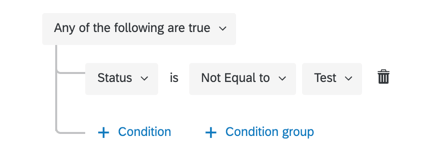
- Test responses always generate emails they meet the conditions for, unless there’s specifically a condition saying they should not generate a response.
Troubleshooting Email Tasks
This section has links to additional resources that can help you troubleshoot issues related to email tasks.
- Identifying Whether Email Tasks Failed: Workflows Reporting allows you to check on the status of tasks in your survey, and identify whether they succeeded. This troubleshooting tool is best for checking on issues on the task setup side, and will not help you dig deeper into email deliverability issues, such as invalid recipients.
- Email Deliverability Troubleshooting: There are certain rules that can be applied to any email distributions in Qualtrics. Check out Troubleshooting Email Distributions for a comprehensive guide.
- Troubleshooting Conditions: The way a condition on an email task is worded can change when the email task is executed. First, remember to check the general rules for who receives email tasks, and when. If you need help troubleshooting the way conditions are written, check out these resources:
- Creating Conditions (With step-by-step example)
- New Conditions and Condition Sets
- All vs. Any
- Nesting Logic
Examples of Use Cases for Email Tasks
Sometimes it can be hard to decide how or when to use a feature until you know how other users have used it successfully in the past. Below, we have a list of common use cases that include email tasks.
- Adding an email confirmation to an appointment / event registration survey
- Follow-up email displaying the randomized ID assigned to a respondent
- Building customized response reports with piped text
- Sending retake links upon survey completion
- Sending various alerts to customers or internal stakeholders, or soliciting feedback, in a “close the loop” setup