-

Qualtrics Platform -

Customer Journey Optimizer -

XM Discover -

Qualtrics Social Connect
Mail History (360)
About the Mail History Section
The Mail History section in the Messages tab summarizes the Status, Recipient details, Subject, Date, and how many emails were sent out. Additional distribution information can be downloaded in the Actions menu. These different details and options allow you to manage your email distributions and monitor progress.
Understanding Your Mail History
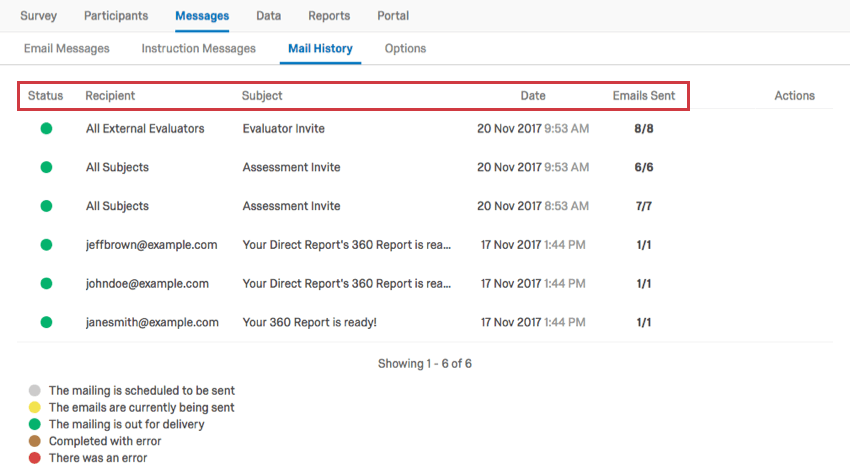
- Status: Indicates the status of a distribution. Note that the status for individual emails in a distribution could be different. For example, if you send a distribution to 10 people and 5 emails send and 5 bounce, the status will still be green.
- Gray: The mailing is scheduled to be sent.
- Yellow: The emails are currently being sent.
- Green: The mailing is out for delivery.
- Brown: Completed with error.
- Red: There was an error.
- Recipient: Specifies who the distribution was sent to. Subset: [condition] indicates you conditionally sent messages. Otherwise, an email or large group (i.e., All Evaluators) will display here.
Qtip: If you want to see every person the distribution was sent to, see Download Mailing History below.
- Subject: Specifies the type of message sent out. This can any of the message types you edit and save in the Email Messages section.
- Date: Specifies the date the message was sent out or will be sent out. If scheduled for a future date, the time remaining until delivery will appear in small red text below this time.
- Emails Sent: Indicates the number of emails successfully sent for that specific distribution.
Qtip: If the same messages are getting sent to the same email address within 12 hours, Qualtrics will screen out the duplicate emails after the initial email sends. However, if the message is even slightly different for the duplicate email addresses, or if the email addresses are at all different, the emails will still send.
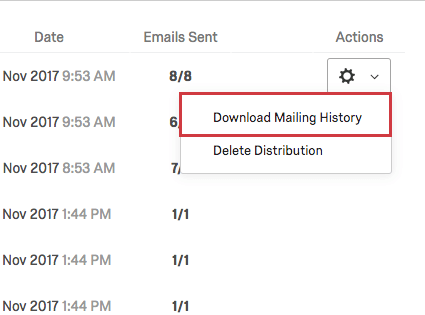
Download Mailing History
To export the history, click Download Mailing History.
Then, choose the desired delimiter (CSV/TSV/SSV) and field enclosure (“, ‘, empty) for your file. Once finished, click Download history. You can open this file on any spreadsheet editor on your computer.
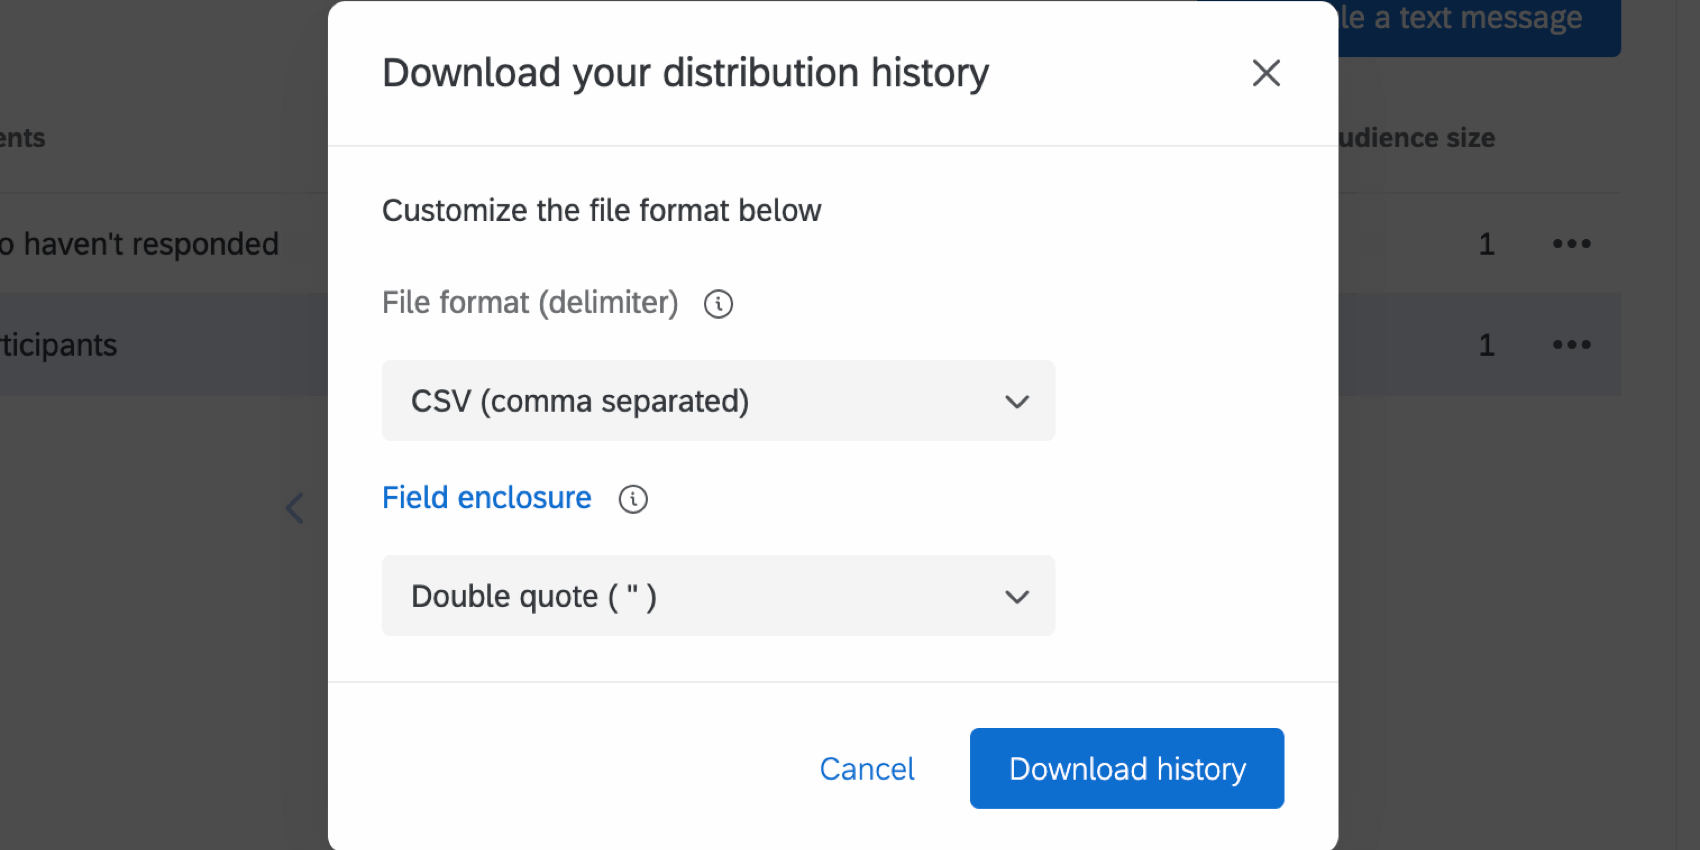
This file contains a list of all the email recipients along with the current status of each survey invitation. This downloadable history allows you to investigate which specific recipients have started the survey, which have finished, and which are not receiving the survey invitation.

- PersonID: A unique ID for the participant that is generated by Qualtrics. This can be used to search for the individual in the Participants tab. Just paste the PersonID into the Search bar.
- First Name: The participant’s first name.
- Last Name: The participant’s last name.
- Email: The participant’s email as specified in the Participants tab.
- User Name: The participant’s user name as specified in the Participants tab.
Qtip: While a participant’s user name is often their email, this may not always be the case. Be sure to double check the participant’s information in the Participants tab to confirm this information.
- Status: The status column helps you monitor whether the recipient received the message. Below is a descriptive list of possible status conditions.
- Success: The email successfully left Qualtrics email servers.
- Bounced: The email did not reach the recipient’s inbox. This could be for a number of reasons: the email address doesn’t exist, the receiving server has a high security firewall, the receiving mailbox is full, the recipient server is offline, etc.
- Failed: The email failed to send. Usually, this is because the from address for the email is using an invalid email domain. To use a custom email domain in the from address, it must be configured for use in Qualtrics. See Using a Custom From Address for more information.
- Timestamp: The timestamp of when the participant’s status changed. This is displayed in ISO 8601 format in the UTC time zone.
Evaluator Mailing History

There are certain columns that only appear when you download the history for the Evaluator Invite or Evaluator Reminder.
- External: This column indicates whether the participant is an external evaluator with a “Yes” or “No.” An external evaluator is an evaluator but not a subject. Often they are invited by the nomination process, but administrators can add them, too.
- Relationship: This is the relationship between the recipient and subject. For example, Manager, Peer, or DirectReport.
- Subject first name: The subject’s first name.
- Subject last name: The subject’s last name.
- Subject email: The subject’s email address.
- SubjectID: The PersonID for the subject.
Types of messages you can download mailing histories for
You can download a mailing history for:
- Subject invites
- Subject reminders
- Evaluator invites
- Evaluator reminders
- Emails sent when an evaluator is nominated through the portal
- Evaluator reminders sent from the portal or the Participants tab
You cannot download a mailing history for nomination approvals (i.e., the emails sent when a subject clicks “Send approval request” in the portal). This may appear in your mailing history as “Approval requested for 360 nominations;” if you download this file, the rows will be blank.
Edit Distribution
If you would like to edit scheduled distributions, you can do this by selecting Edit Distribution in the Actions menu. You can adjust any aspect of your message here. For more information, visit Email Messages for more information.
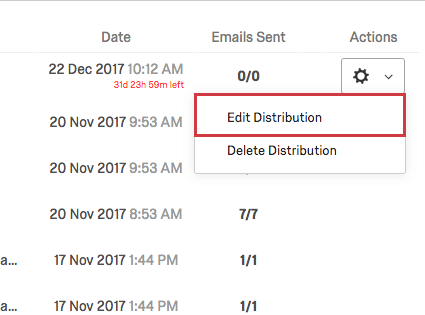
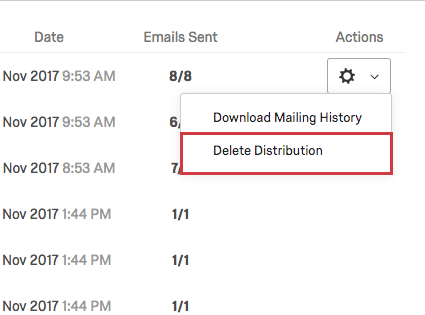
Delete Distribution
If you would like to delete scheduled or previous distributions, you can do this by selecting Delete Distribution in the Actions menu.