-

Qualtrics Platform -

Customer Journey Optimizer -

XM Discover -

Qualtrics Social Connect
Directory Messages
About Directory Messages
Brand Administrators can change the messages that appear when a contact unsubscribes from (or subscribes to) a mailing list or the entire directory. The entire brand can have the same custom messages.
Creating Subscription Messages
Before you can set the custom subscription messages for your brand, you will need to go into your library and create them.
You will repeat the steps in this section for each message you want to create. For example, if you want to have a separate message for opting into the directory, opting into a mailing list, opting out of the directory, and opting out of a mailing list, you will repeat these steps 4 times.
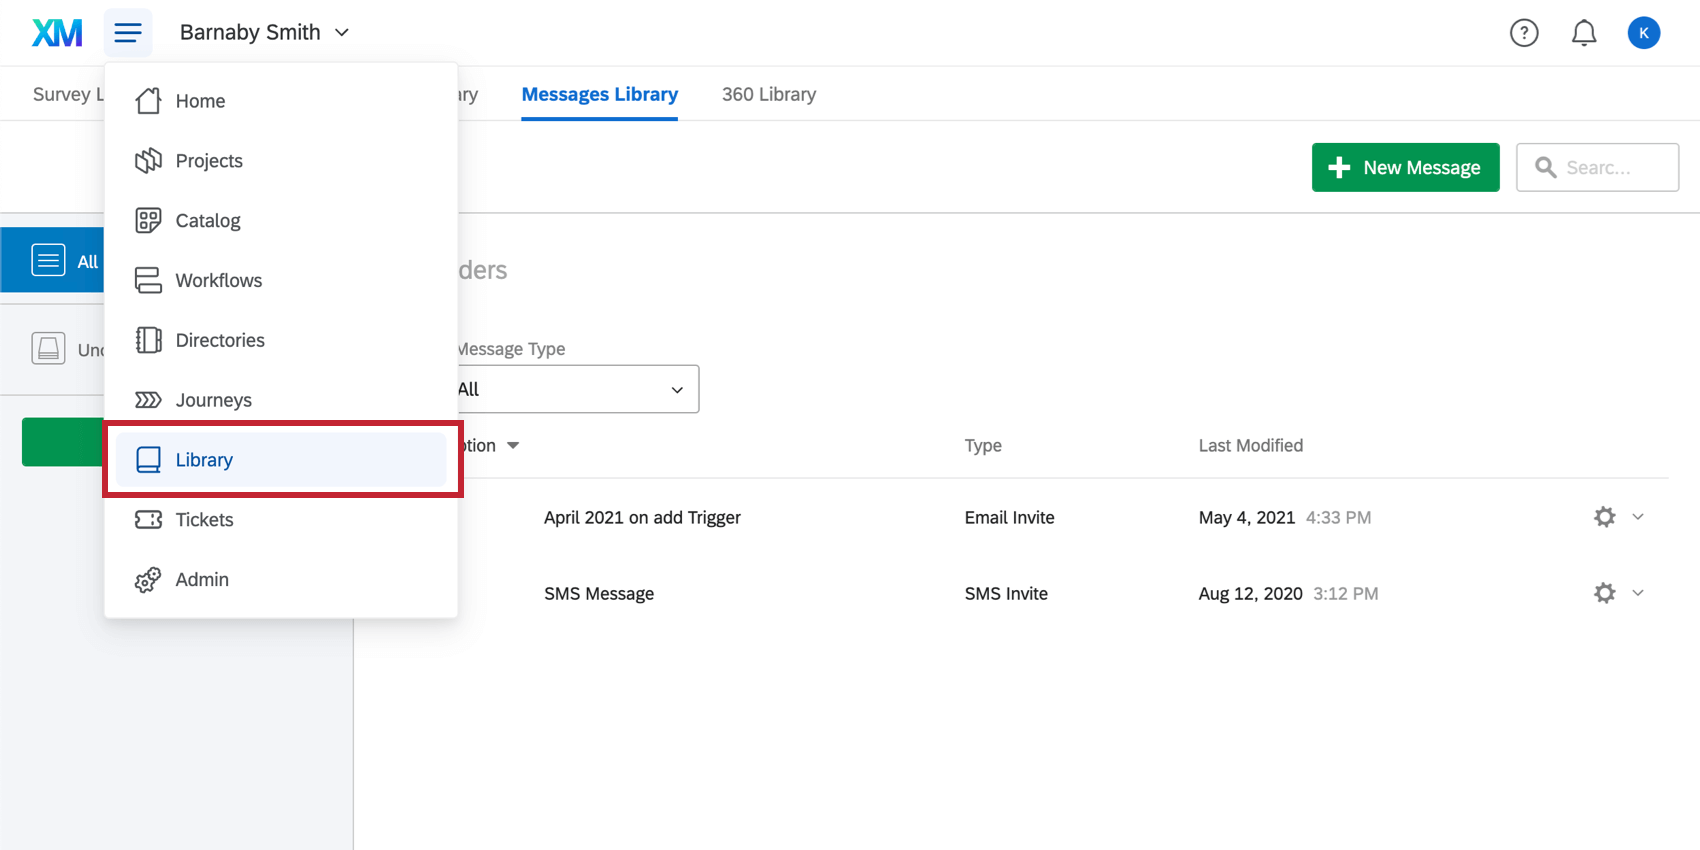
- Go to your Library.
- Click New resource.
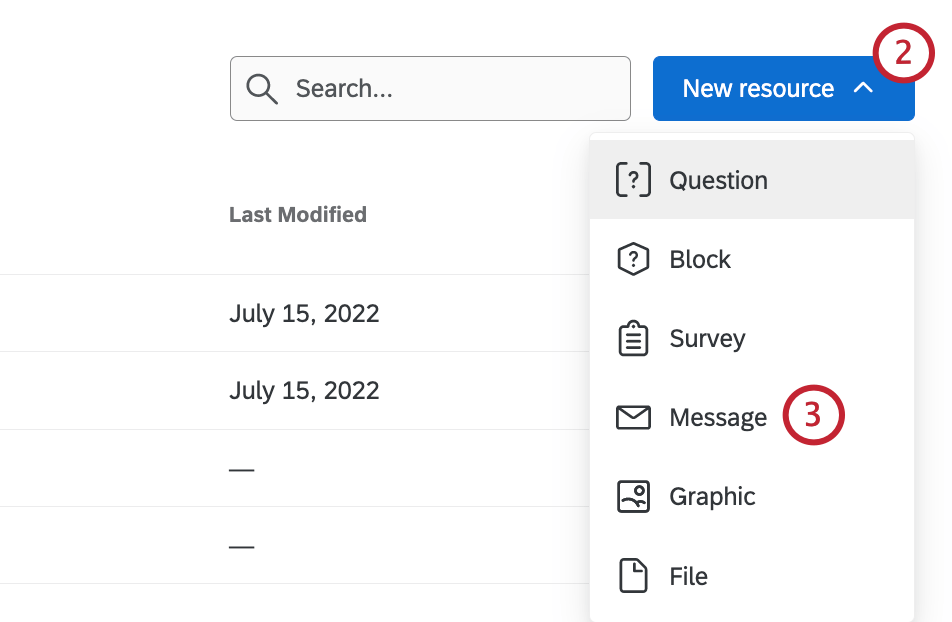
- Select Message.
- Set Message Type to Subscription Messages.
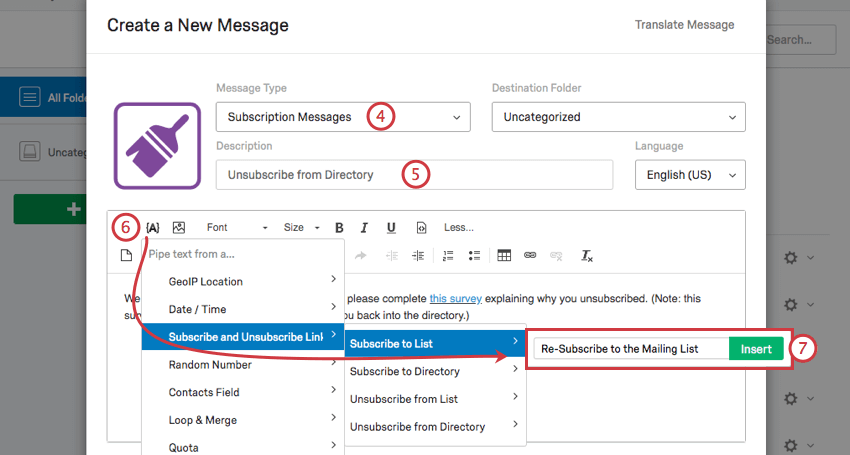
- Name your message so it’s easy to find later.
- Use the piped text button ( {A} ) to add special subscription links to your message. Here are your choices:
- Subscribe to List: When the recipient clicks this link, they will rejoin the mailing list.
- Subscribe to Directory: When the recipient clicks this link, they will opt back into the directory.
- Unsubscribe from List: When the recipient clicks this link, they will opt out of the mailing list, but still be opted into the directory.
- Unsubscribe from Directory: When the recipient clicks this link, they will opt out of the directory, and thus receive no distributions sent to any mailing list they’re a member of.
- Type the text of the link (e.g., “Click here to subscribe back to the mailing list”) and click Insert to place it in your message.
- Finish writing your message.
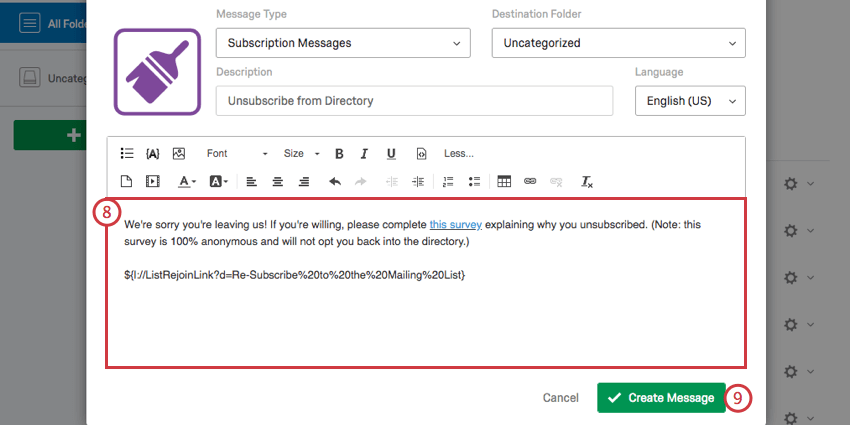
- Click Create Message.

Setting Subscription Messages
Once you’ve created subscription messages in your library, it’s time to make them public. You can have messages prepared for all the options on the page or just a few.
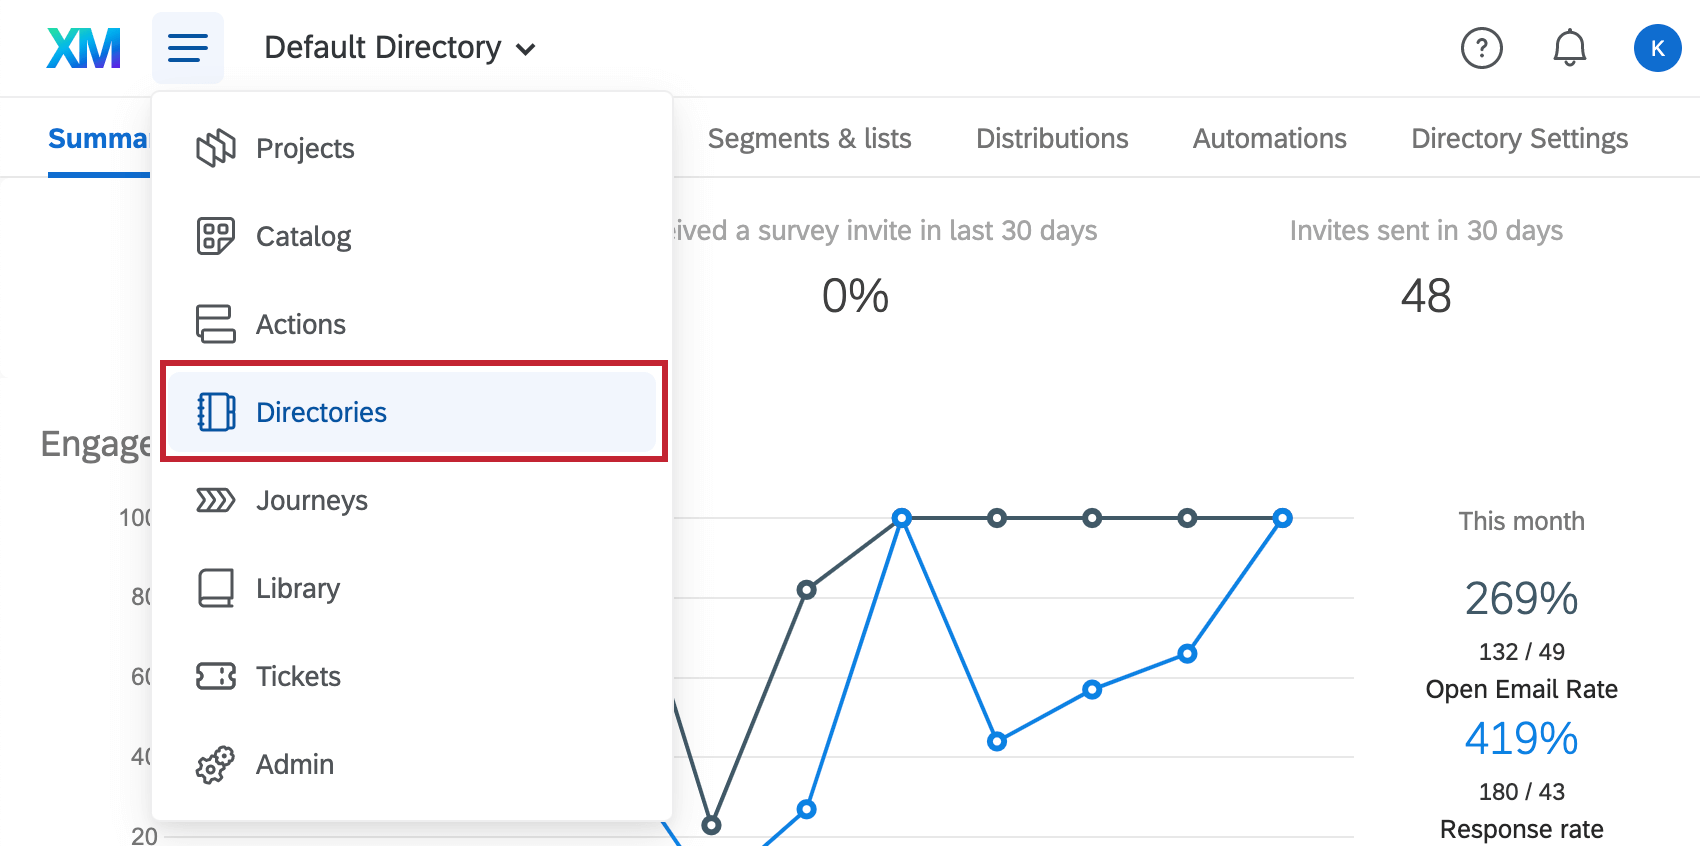
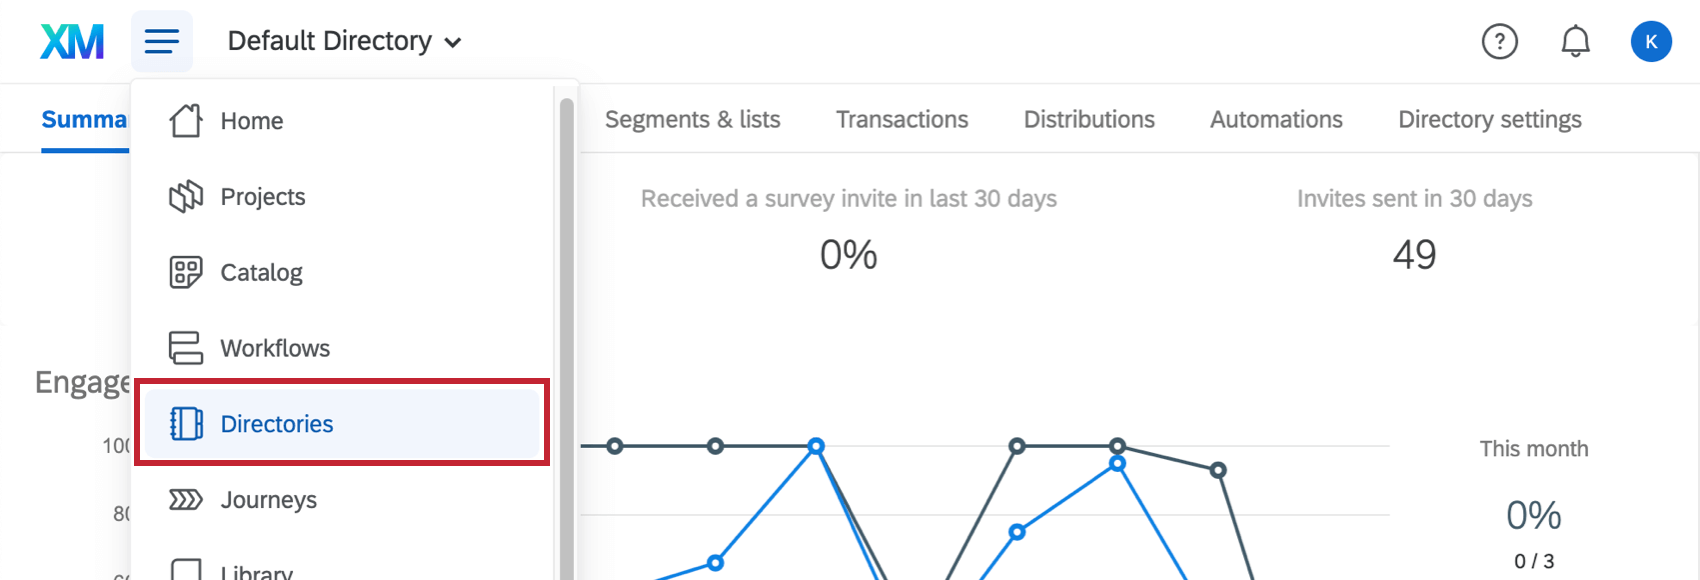
- Go to your directory by clicking Directories.
- Click Directory Settings.
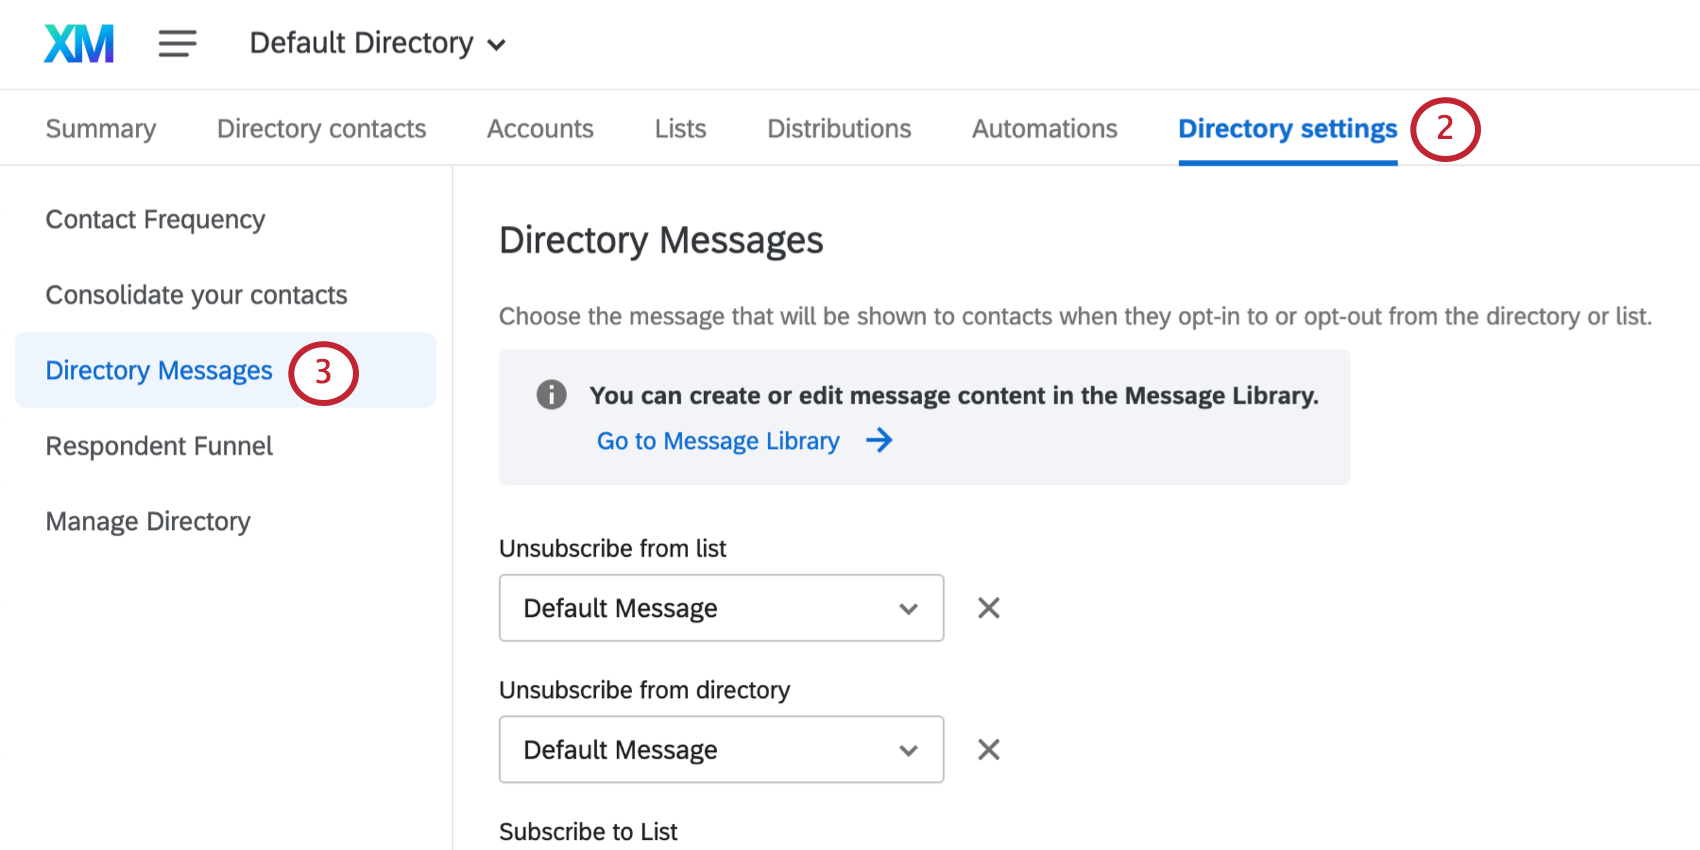
- Select Directory Messages.
- Using the dropdown, select the message that displays when the recipient unsubscribes from a list.
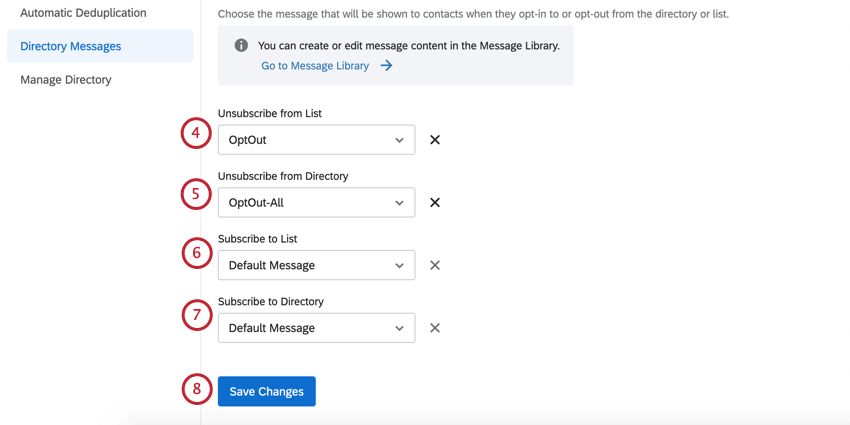
- Select the message that displays when the recipient unsubscribes from the entire directory.
- Select the message that displays when the recipient subscribes to a list.
- Select the message that displays when the recipient re-subscribes to the entire directory.
- Click Save Changes when you’re finished.
Recipient Workflow
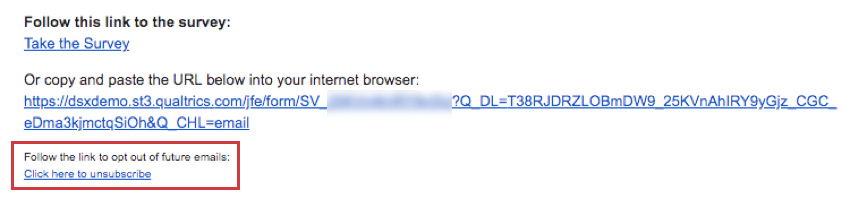
When you send a survey invite to someone, it must always include an opt-out link. These generally appear as a link saying something like, “Click here to unsubscribe,” as seen below.
The default Unsubscribe from List message then appears. This message contains a link to subscribe to the mailing list, and a link to unsubscribe from the directory (all mailing lists).
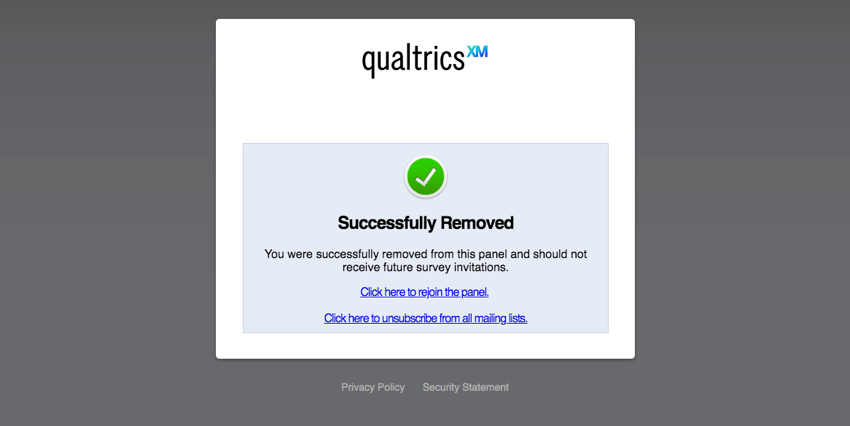
If the recipient selects Click here to unsubscribe from all mailing lists, they will be taken to the Unsubscribe from Directory message. This message contains a link to re-subscribe to the directory (all mailing lists).
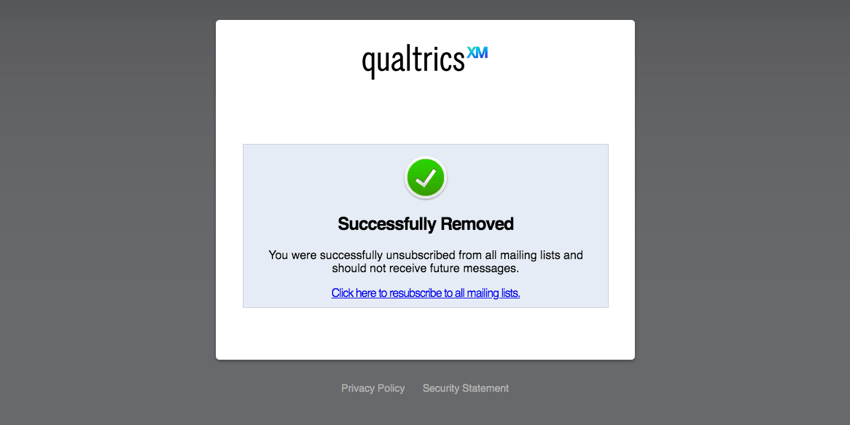
If the recipient clicks the link, they see the Subscribe to Directory message. This only contains a link to again unsubscribe from the directory.
