-

Qualtrics Platform -

Customer Journey Optimizer -

XM Discover -

Qualtrics Social Connect
Grouping Elements in the Survey Flow
About the Group Element
Have you ever needed to group elements in your randomizer, so they appear in a fixed order? Have you ever needed to organize content, but branching doesn’t seem quite right? Then the group element is for you!
The group allows you to group elements in your survey flow together. This page explains how to create a group element, and how to use it in some common scenarios.
Adding a Group Element
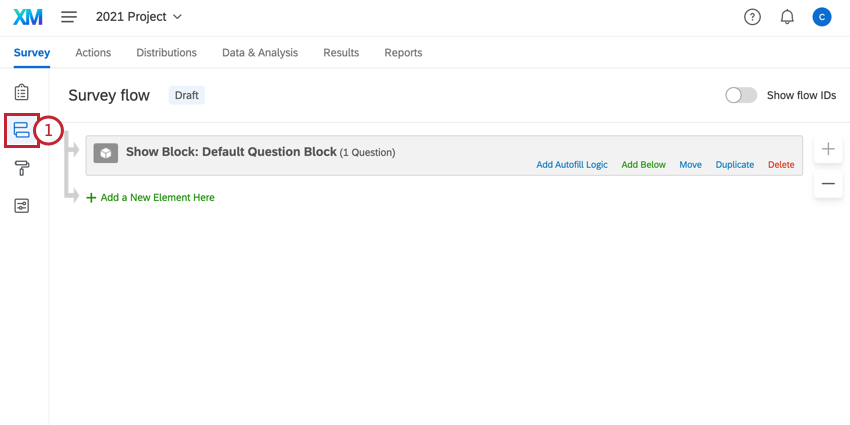
- In your survey editor, go to the Survey flow by clicking the survey flow icon in the left navigation bar.
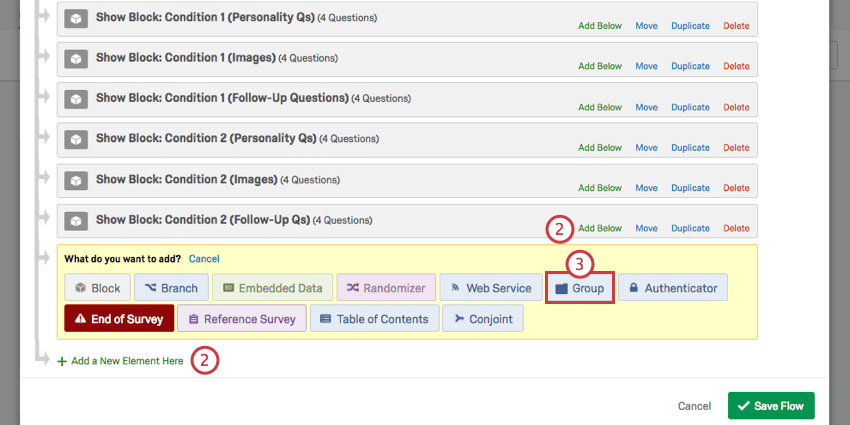
- Click Add Below on a specific block to add a group below it, or click Add a New Element to place it at the bottom of the Survey Flow.
 Qtip: You can always move this element later.
 - Select Group.
- Click Untitled Group to rename it, then click Done. This is to help you organize content, so you don’t have to if you don’t need to.
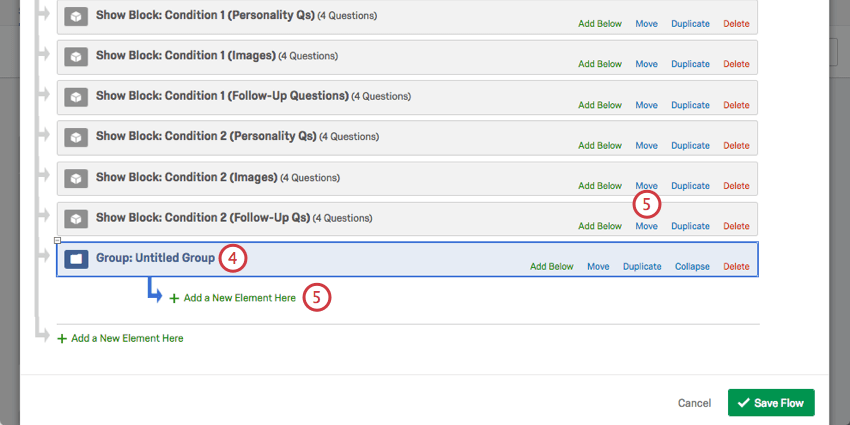
- Click the Add a New Element Here that is indented under the group to add new elements beneath. You can also click Move on any element you want to put under this group and drag it underneath.
- Click Save Flow when you’re done with your edits.
Organizing Content with Group Elements
Group elements can be great for keeping blocks paired together. This is useful if content always has to stay together, but you need to use separate blocks for it. This grouping can also be used to move a lot of items around together, without having to move elements 1 at a time.
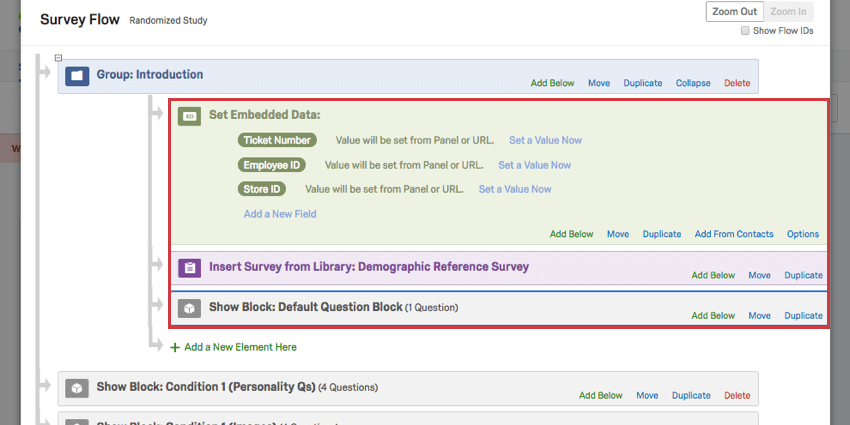
Example: You have an introduction that includes a block, an embedded data element, and a reference survey. Lots of colleagues are working on this survey with you, and you want to make sure that this content is never separated.
- Create a group element.
- Drag the appropriate elements underneath it by clicking Move and dragging those objects so they are indented under the group.
- Name the group to clarify what you’re using it for.
Fixed Display Order within Randomization
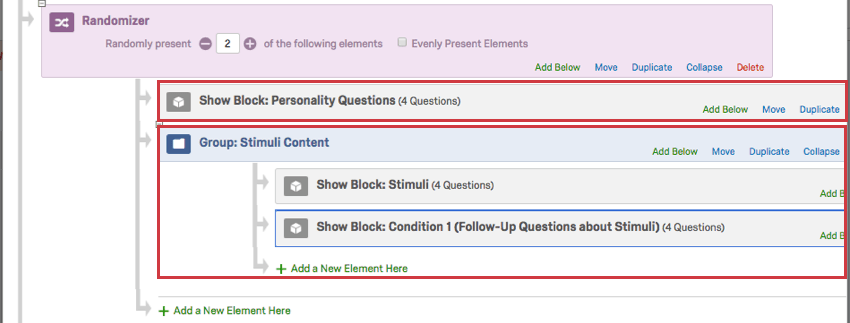
Randomizing blocks is a great way to ensure the order of presentation doesn’t affect the responses your subjects give. However, sometimes it’s unavoidable that certain content under a randomizer has to appear in a certain order. For example, you’ll want to make sure stimuli always appears before the follow-up questions about that stimuli.
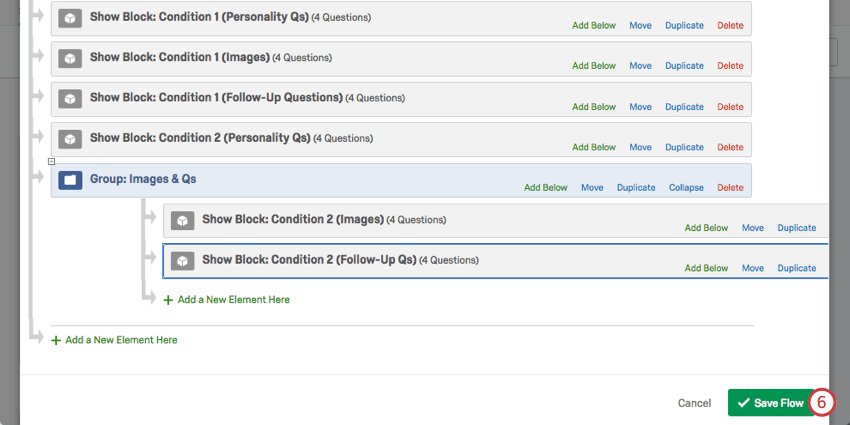
In our example set up, we have blocks devoted to Personality Questions, Stimuli, and Follow-Up Questions about Stimuli. We want Stimuli to always appear before the Follow-Up Questions block, but we don’t care if Personality Questions appear before or after stimuli-related content.
Under the randomizer, we add the Personality Questions block. Then we add a group element and drag the Stimuli block and the Follow-Up block under this group. See the set-up below.
Types of Projects this Feature Is Available In
You can group elements in any type of project that lets you customize a survey flow. This includes: