-

Qualtrics Platform -

Customer Journey Optimizer -

XM Discover -

Qualtrics Social Connect
Rich Content Editor
About the Rich Content Editor
The Rich Content Editor allows you to add special formatting to your text. Using this editor, you can bold, underline, change colors and fonts, add hyperlinks, add lists and tables, and even insert videos and images.
Accessing the Rich Content Editor
You can find the rich content editor almost anywhere you work with text in the Qualtrics platform. Below are some of the more common locations.
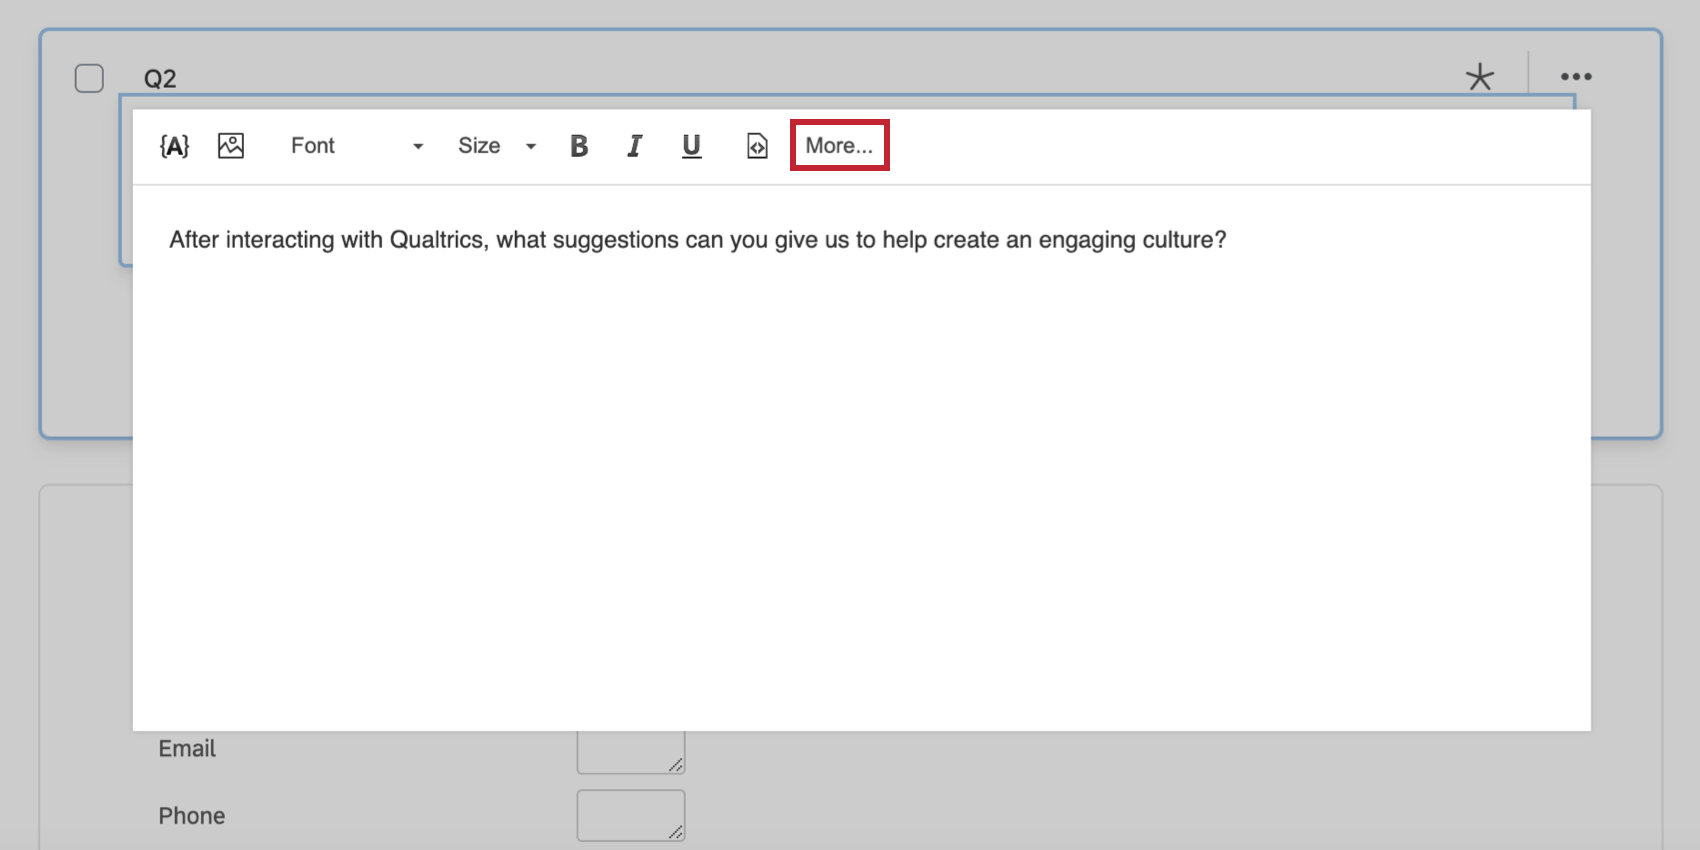
Question Text
The question text editor uses plain text by default. Click the Rich Content Editor tab on the top left of the editor to access rich text.
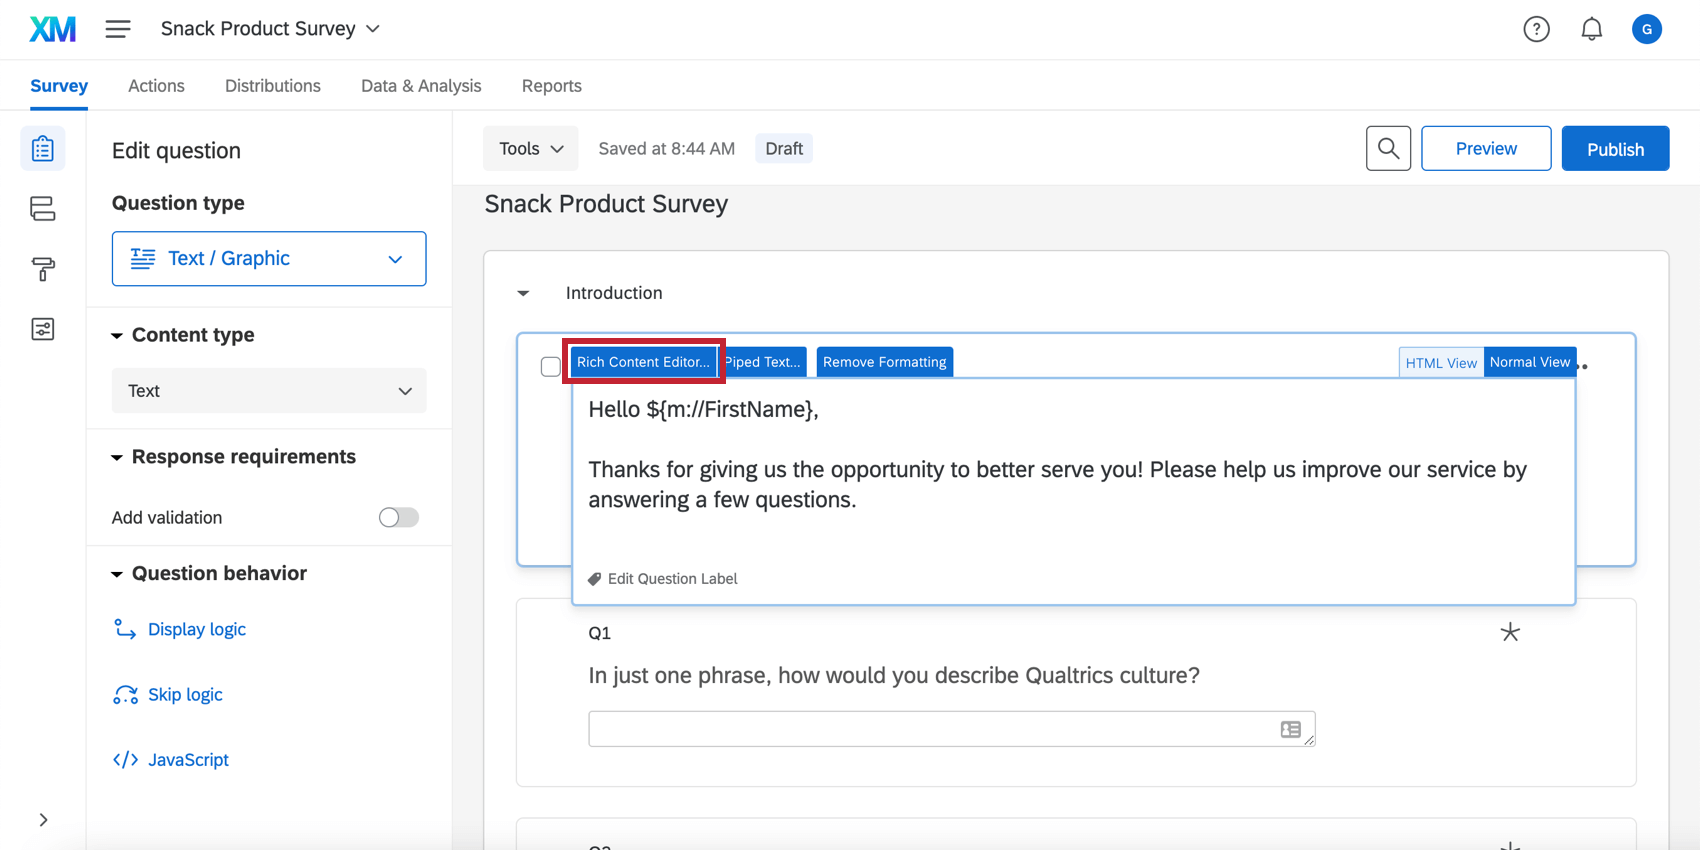
Changes in this rich content editor are saved automatically. To exit the rich content editor, click anywhere in the gray space outside of the rich content editor window.
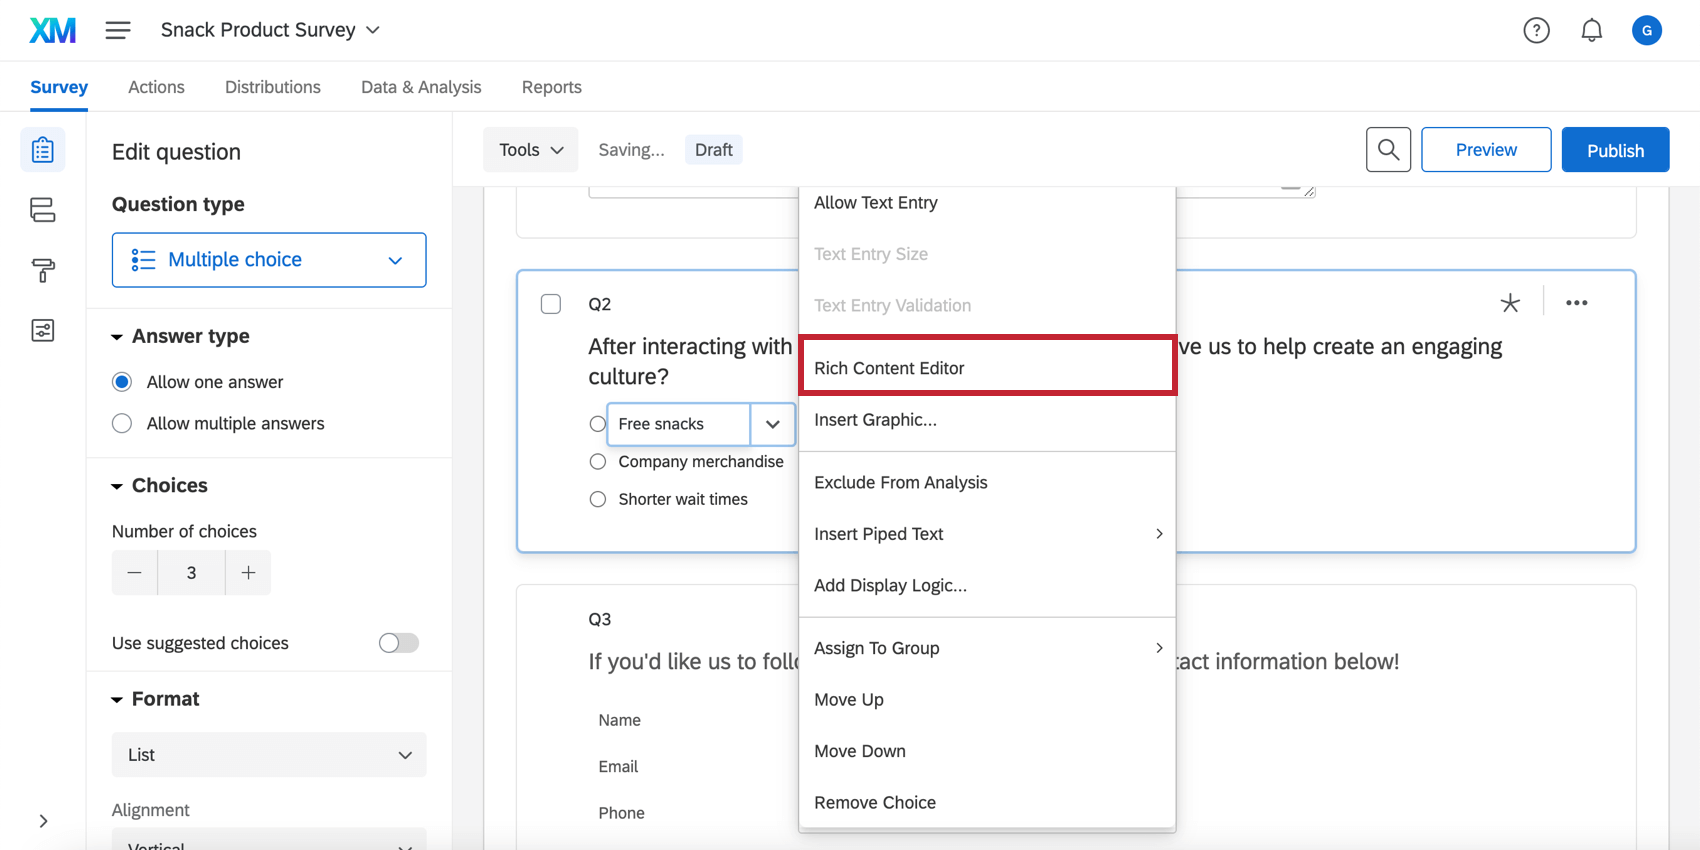
Choice Text
The choice text editor uses plain text by default. To access the rich content editor, click on the choice text and then click the blue dropdown menu to access the choice options. Select Rich Content Editor from the list.
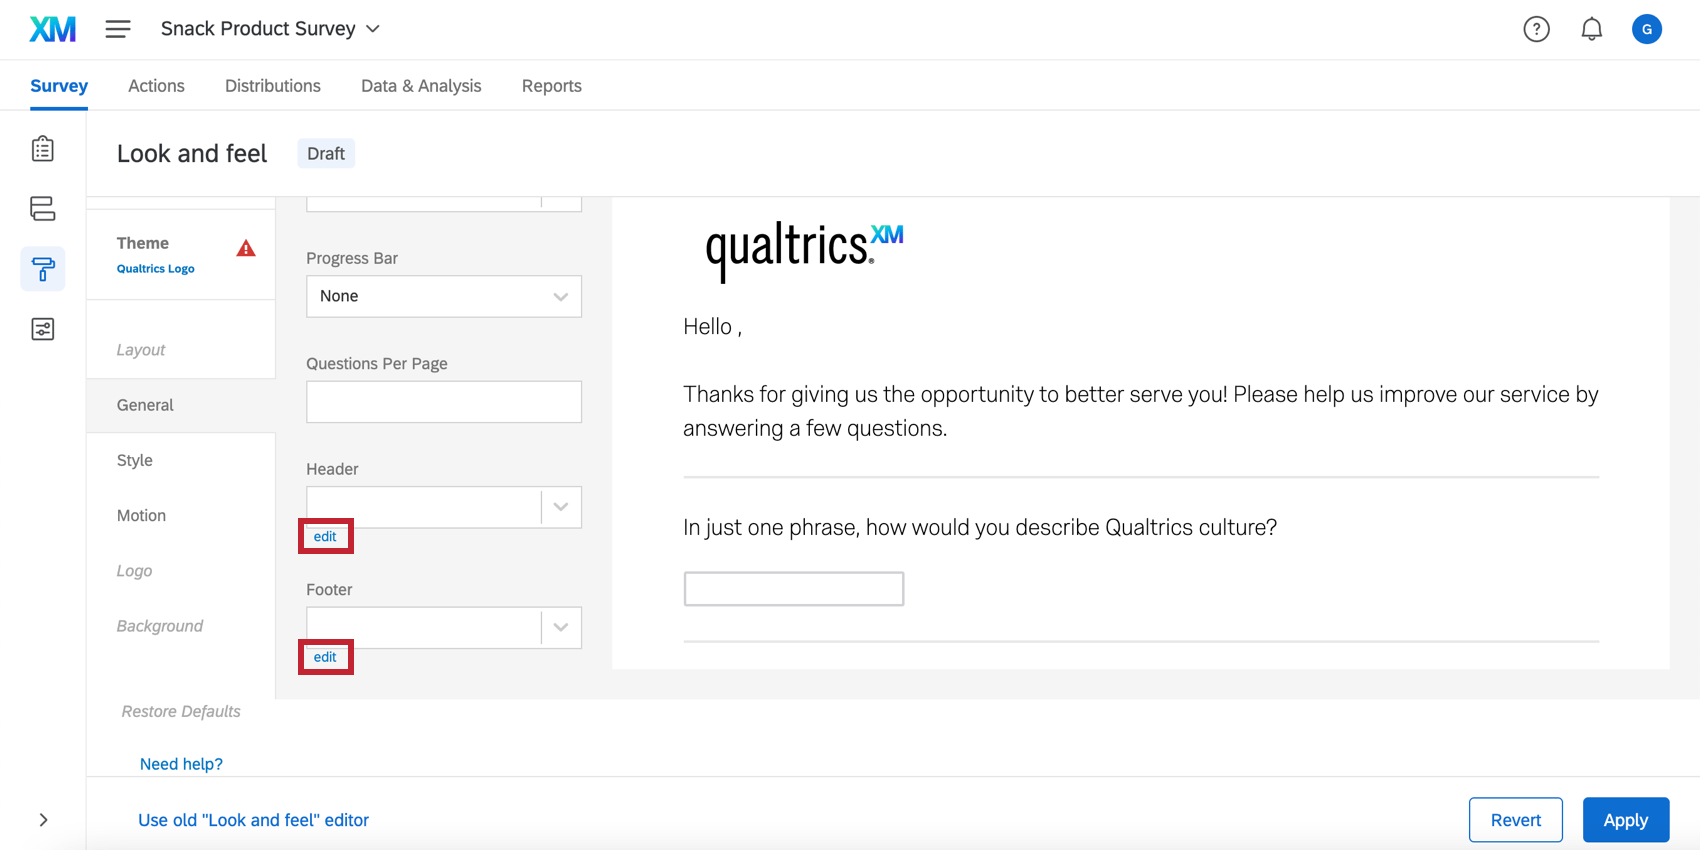
Survey Header and Footer
By default, the survey header and footer are written in plain text. Click edit to enter the rich content editor.
Email Editor
By default, the email editor uses the rich content editor. This includes email distributions, emails on tickets, email tasks, emails sent via the XM Directory task, and anywhere else in the Qualtrics platform where you can send an email.
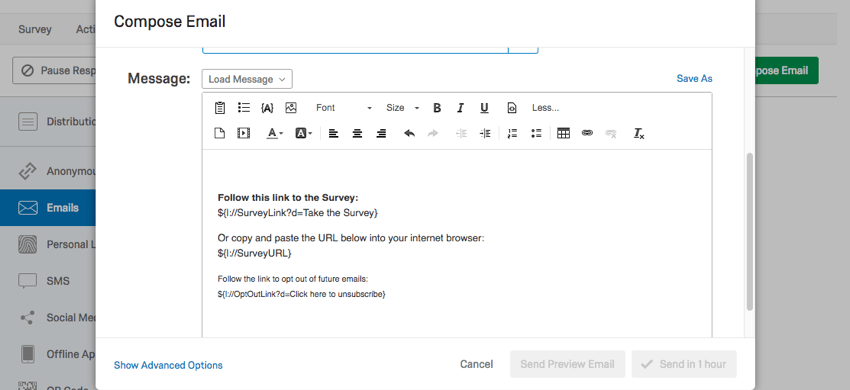
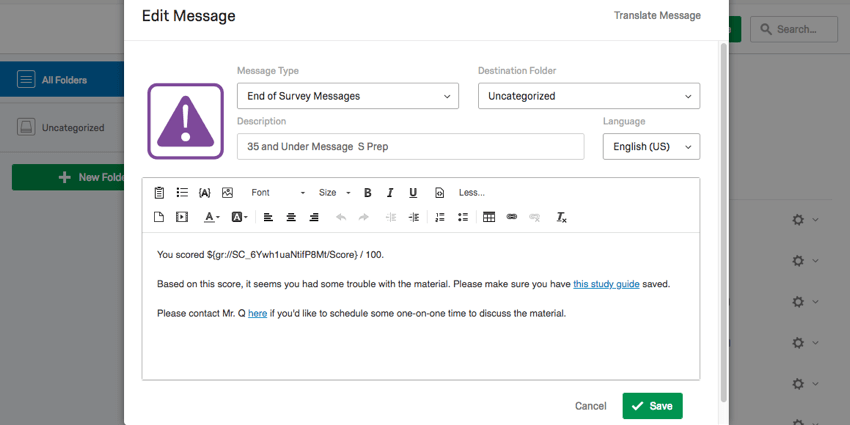
Library Message Editor
By default, library messages are written in the Rich Content Editor.
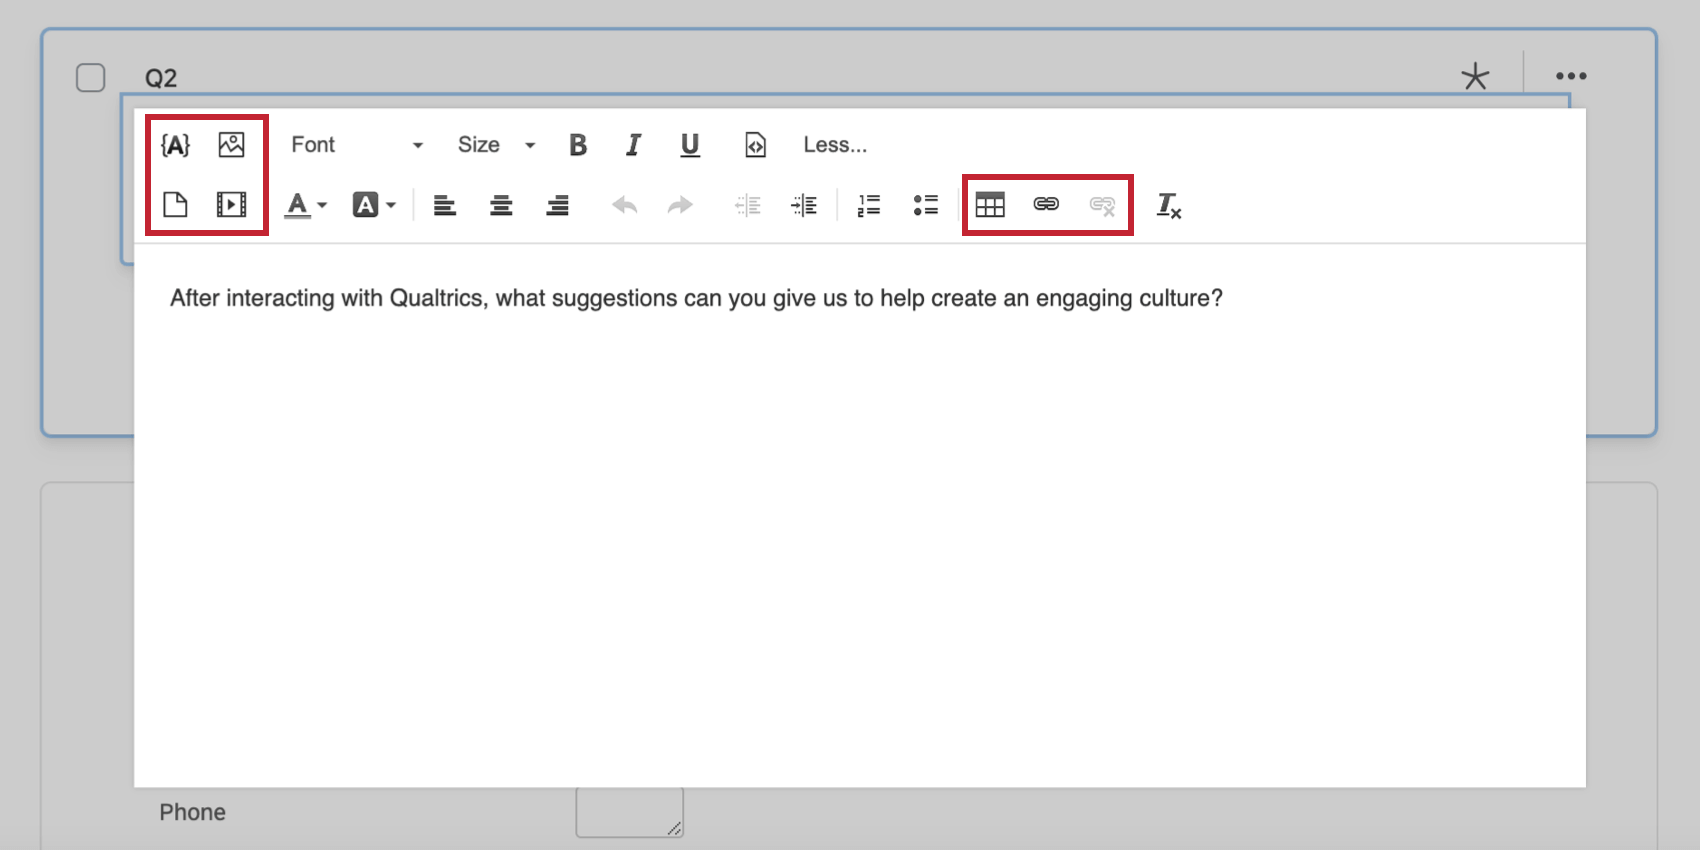
Inserting Rich Content
The Rich Content Editor is where you’ll go any time you need to insert media, tables, images, or other rich information into your text. This section will cover inserting each type of rich content.
Piped Text
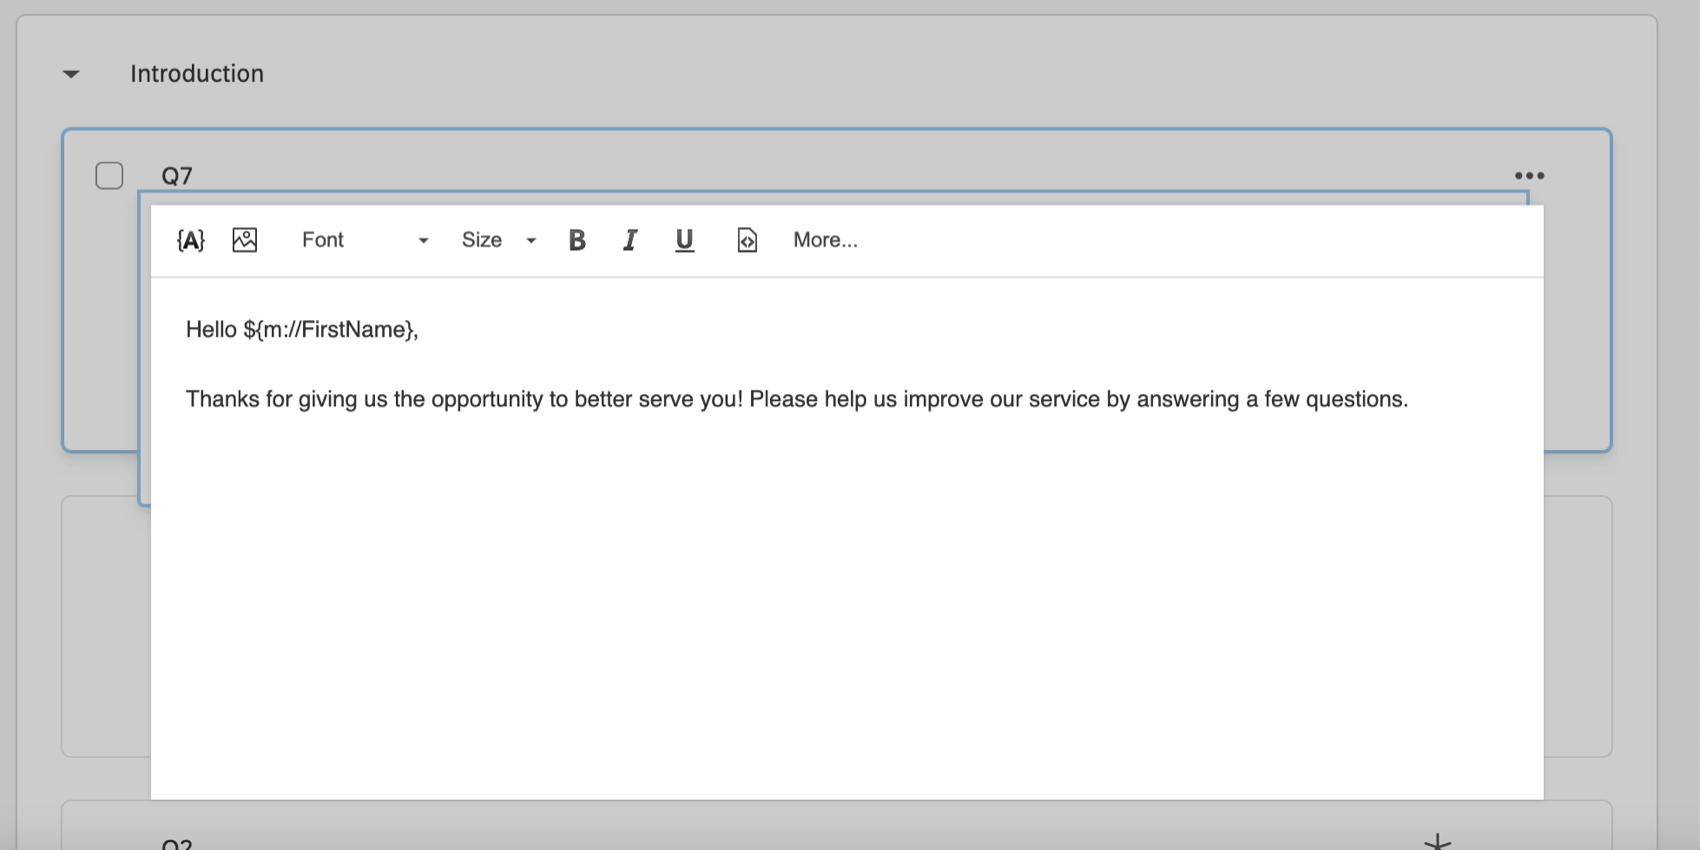
Piped text is accessed via the {A} icon. Piped text is used to display dynamic text that changes from respondent to respondent.
Example: In this example, we use piped text to pull in the respondent’s first name to the introductory question.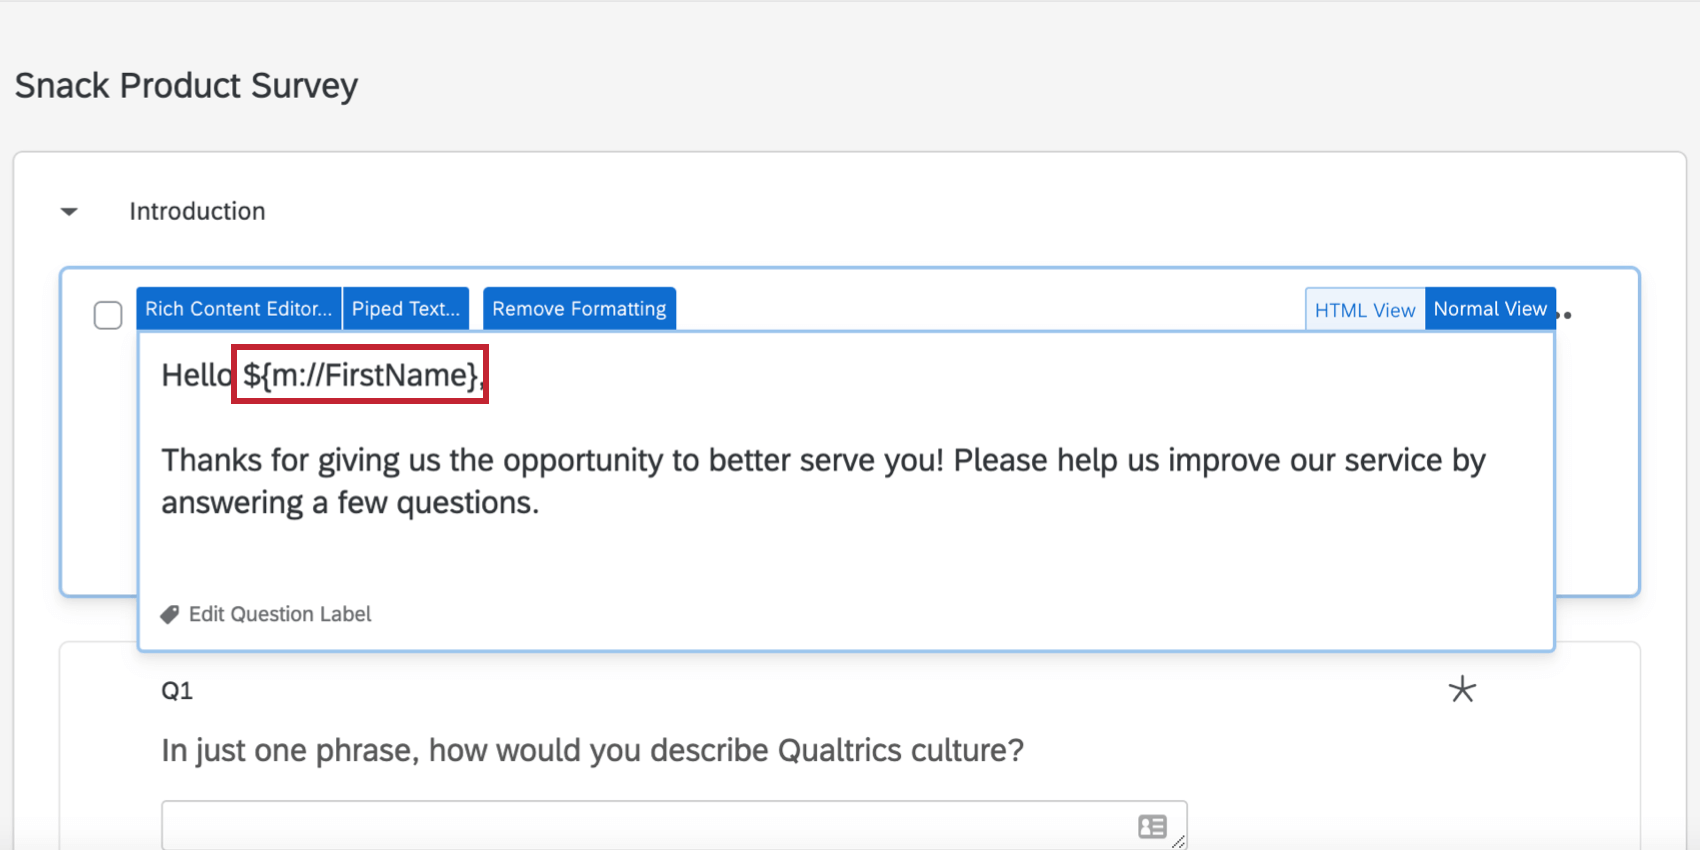
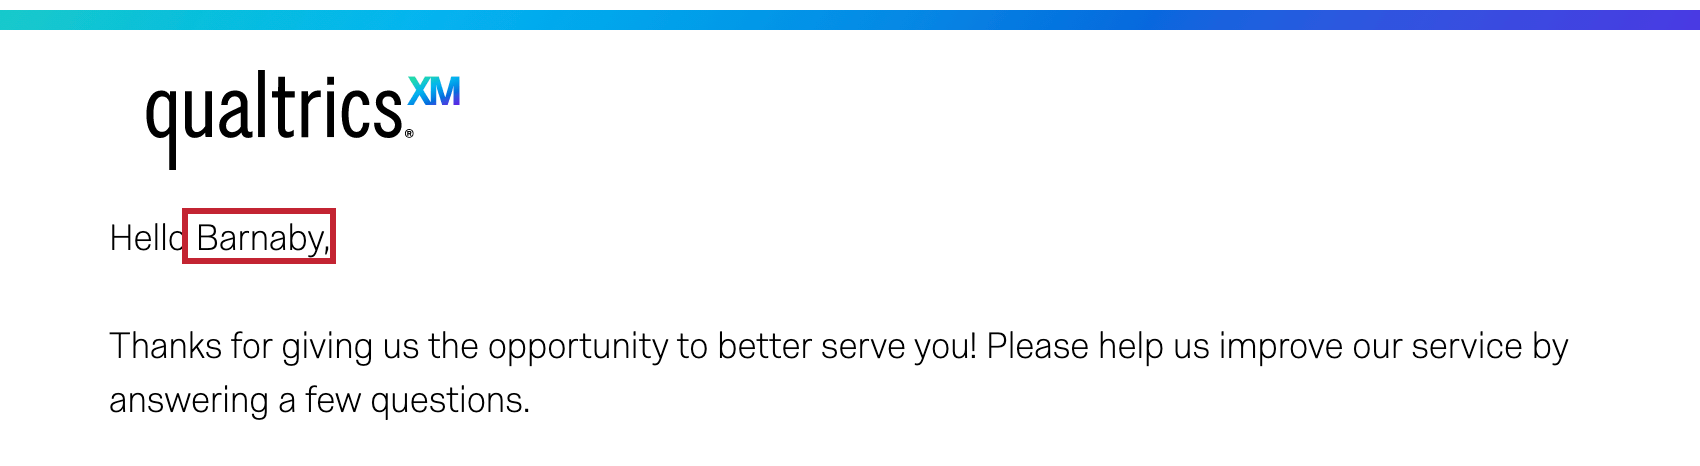
When the respondent takes the survey, their name is pulled from the contact list used to distribute the survey, and they receive a personalized survey experience.
Image
You can insert an image by clicking the ![]() icon. You will then have the option to choose an image from your library, or upload a new image. See Insert a Graphic for more information about inserting and customizing images.
icon. You will then have the option to choose an image from your library, or upload a new image. See Insert a Graphic for more information about inserting and customizing images.
File
Insert a file for your respondents to download by clicking the ![]() icon. See Insert a Downloadable File for more information.
icon. See Insert a Downloadable File for more information.
Media
Click the ![]() icon to embed video or audio clips. See Insert Media for more information about the types of media you can insert.
icon to embed video or audio clips. See Insert Media for more information about the types of media you can insert.
Table
Click the ![]() icon to insert a table. After choosing to insert a table, a popup will appear where you can determine the following aspects of your table:
icon to insert a table. After choosing to insert a table, a popup will appear where you can determine the following aspects of your table:
- Table Properties
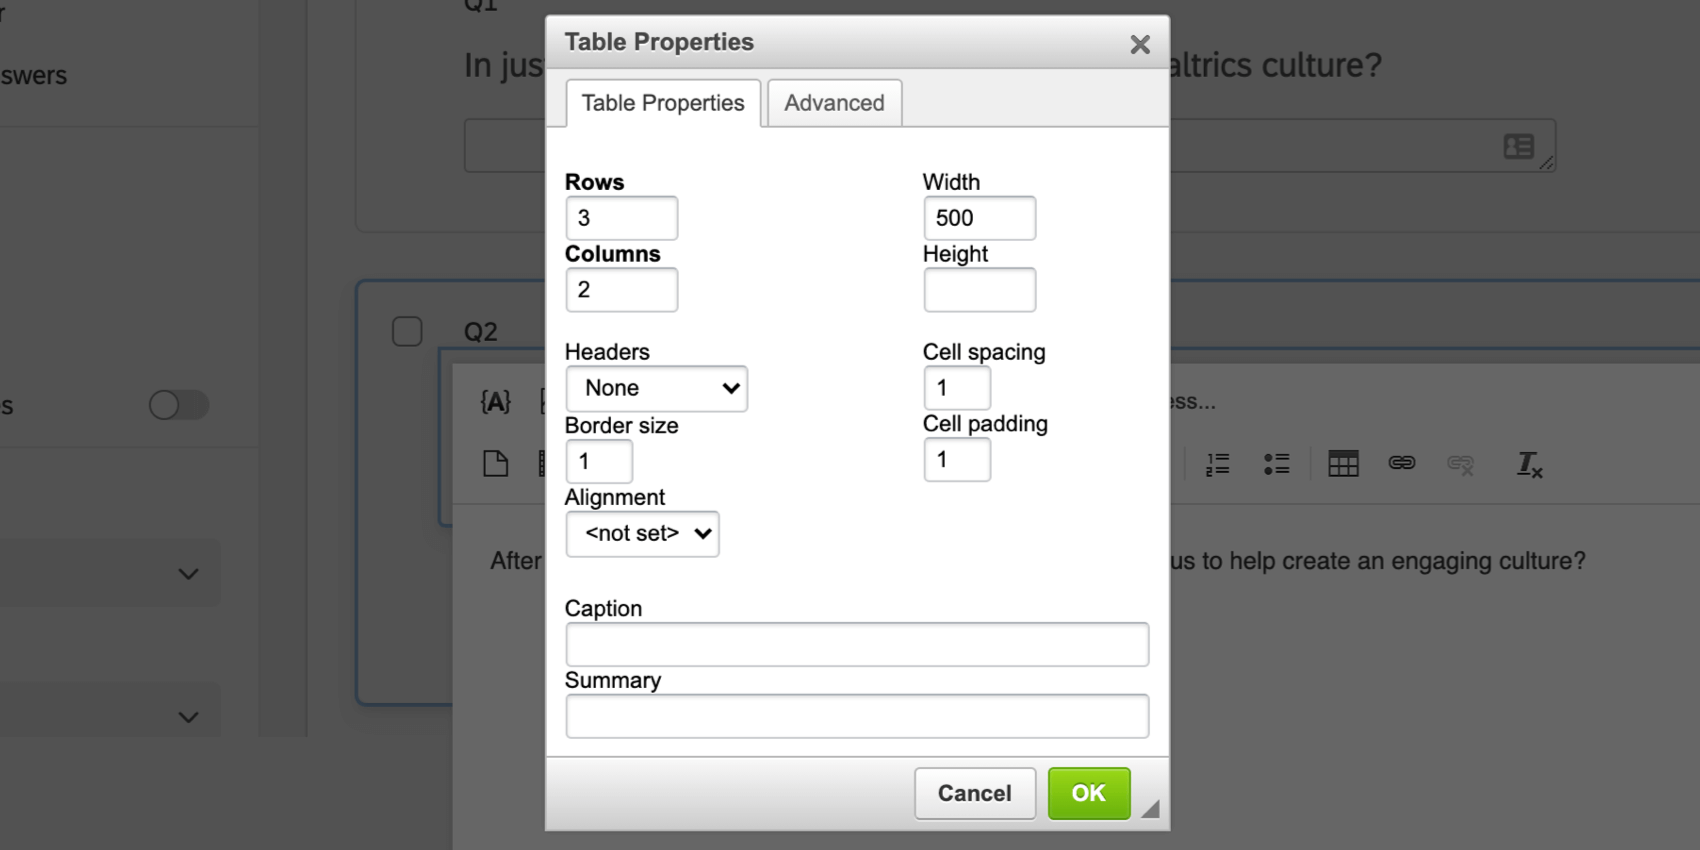
- Rows: The number of rows in the table.
- Columns: The number of columns in the table.
- Width: The width of the table, in pixels.
- Height: The height of the table, in pixels.
- Headers: Choose if you want headers on the first row, first column, both, or neither.
- Border Size: The table border size, in pixels.
- Cell Spacing: The amount of space between table cells, in pixels.
- Cell Padding: The amount of space between text in a cell and the cell wall, in pixels.
- Alignment: The alignment of the table in the text editor.
- Caption: Add a caption to the table which acts like a title
- Summary: Add a summary explaining the table’s purpose. This is most useful for screen readers.
- Advanced:
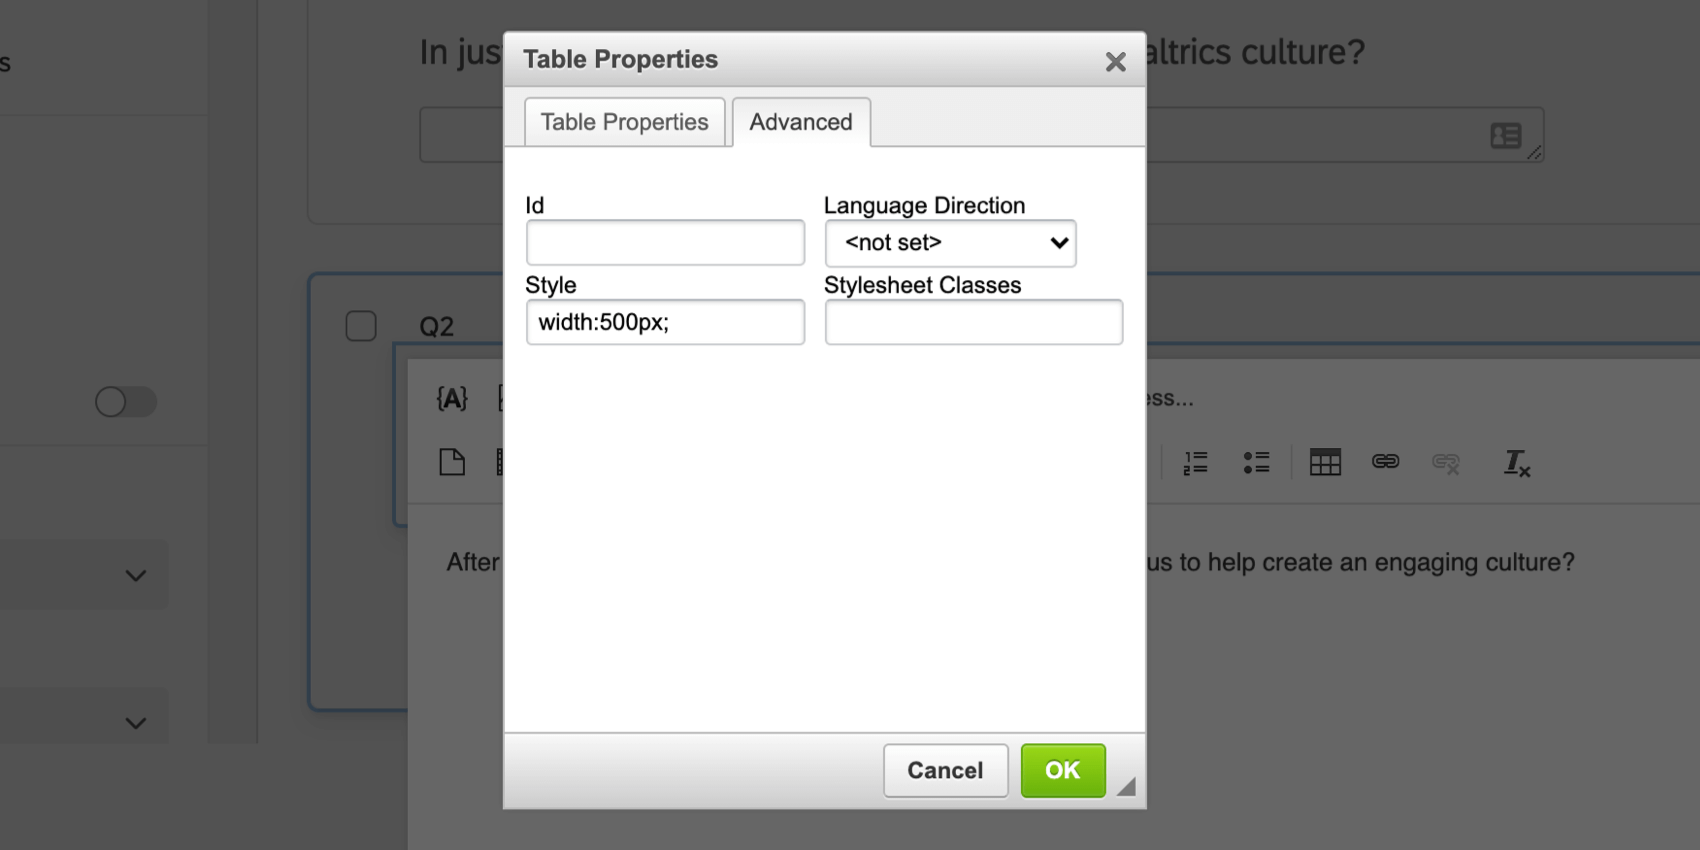
- Id: Assign the table an HTML Id.
- Language Direction: Determine if the text in the table is read left to right or right to left.
- Style: Add HTML style attributes to your table.
- Styleclass: Add HTML styleclass attributes to your table.
Hyperlink
Use the ![]() icon to insert a hyperlink to another webpage. See Insert a Hyperlink for more information about the customization options available for hyperlinks.
icon to insert a hyperlink to another webpage. See Insert a Hyperlink for more information about the customization options available for hyperlinks.
Formatting Rich Text
In addition to inserting rich content, the rich content editor also has text formatting features that you can use to achieve any styling you need. Below are the available options.
Keyboard Shortcuts
The rich content editor accepts many keyboard shortcuts to make your text editing more efficient. You can perform the following actions with keyboard shortcuts:
- Copy: CMD + C (Mac) or CTRL + C (PC)
- Cut: CMD + X (Mac) or CTRL + X (PC)
- Paste: CMD + V (Mac) or CTRL + V (PC)
- Bold: CMD + B (Mac) or CTRL + B (PC)
- Italics: CMD + I (Mac) or CTRL + I (PC)
- Underline: CMD + U (Mac) or CTRL + U (PC)
- Redo: CMD + Y (Mac) or CTRL + Y (PC)
- Undo: CMD + Z (Mac) or CTRL + Z (PC)
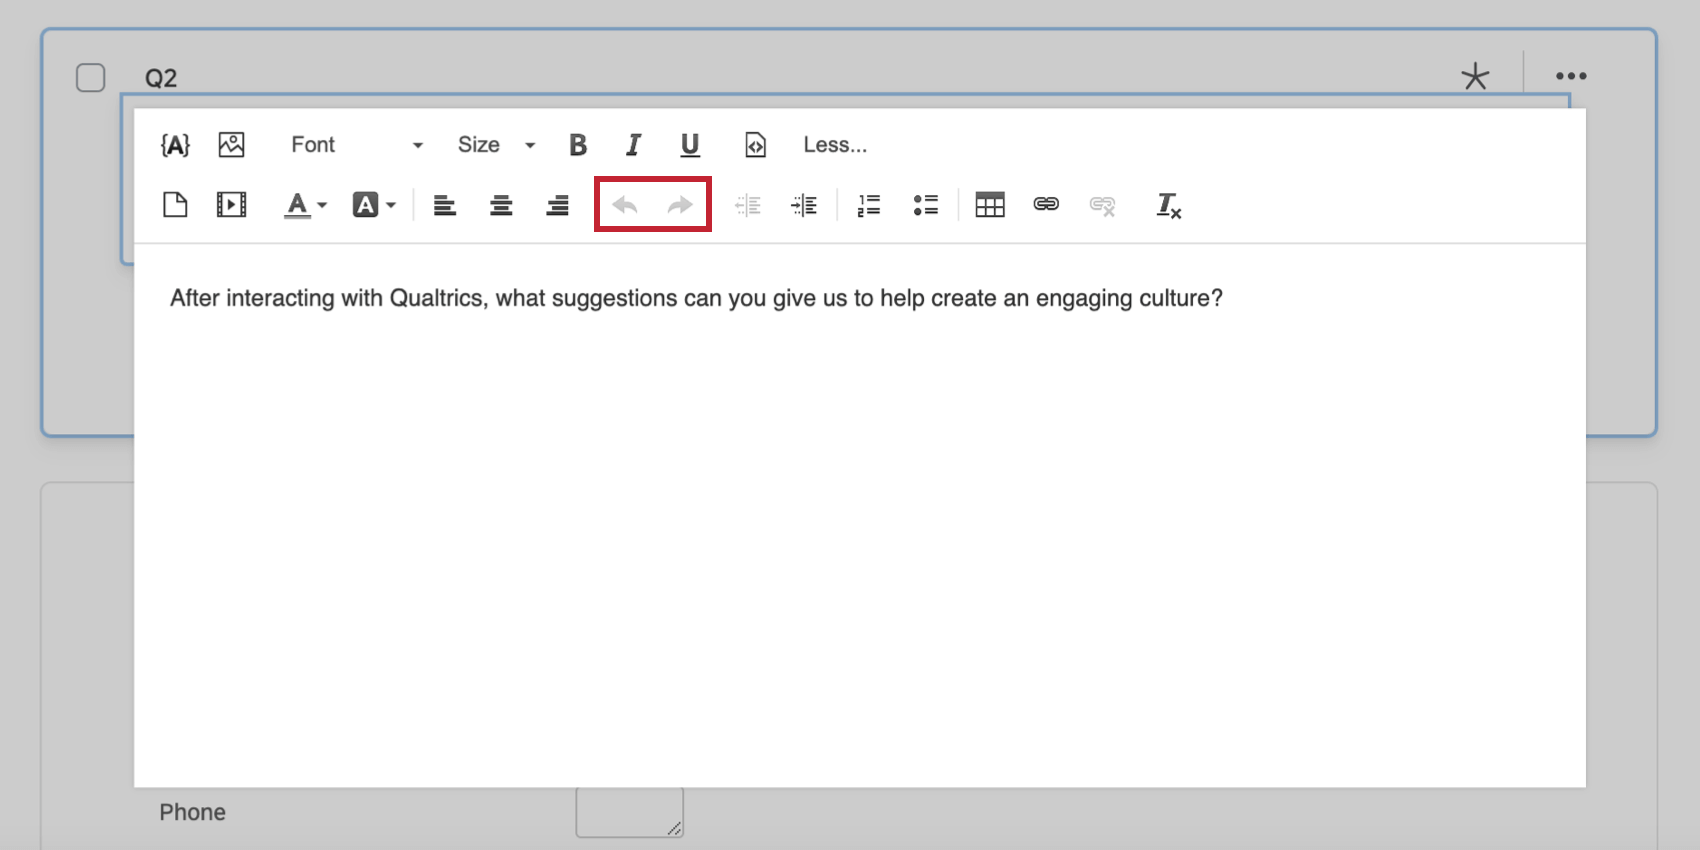
Undo / Redo
You can reverse changes made within the Rich Content Editor by using the Undo and Redo buttons
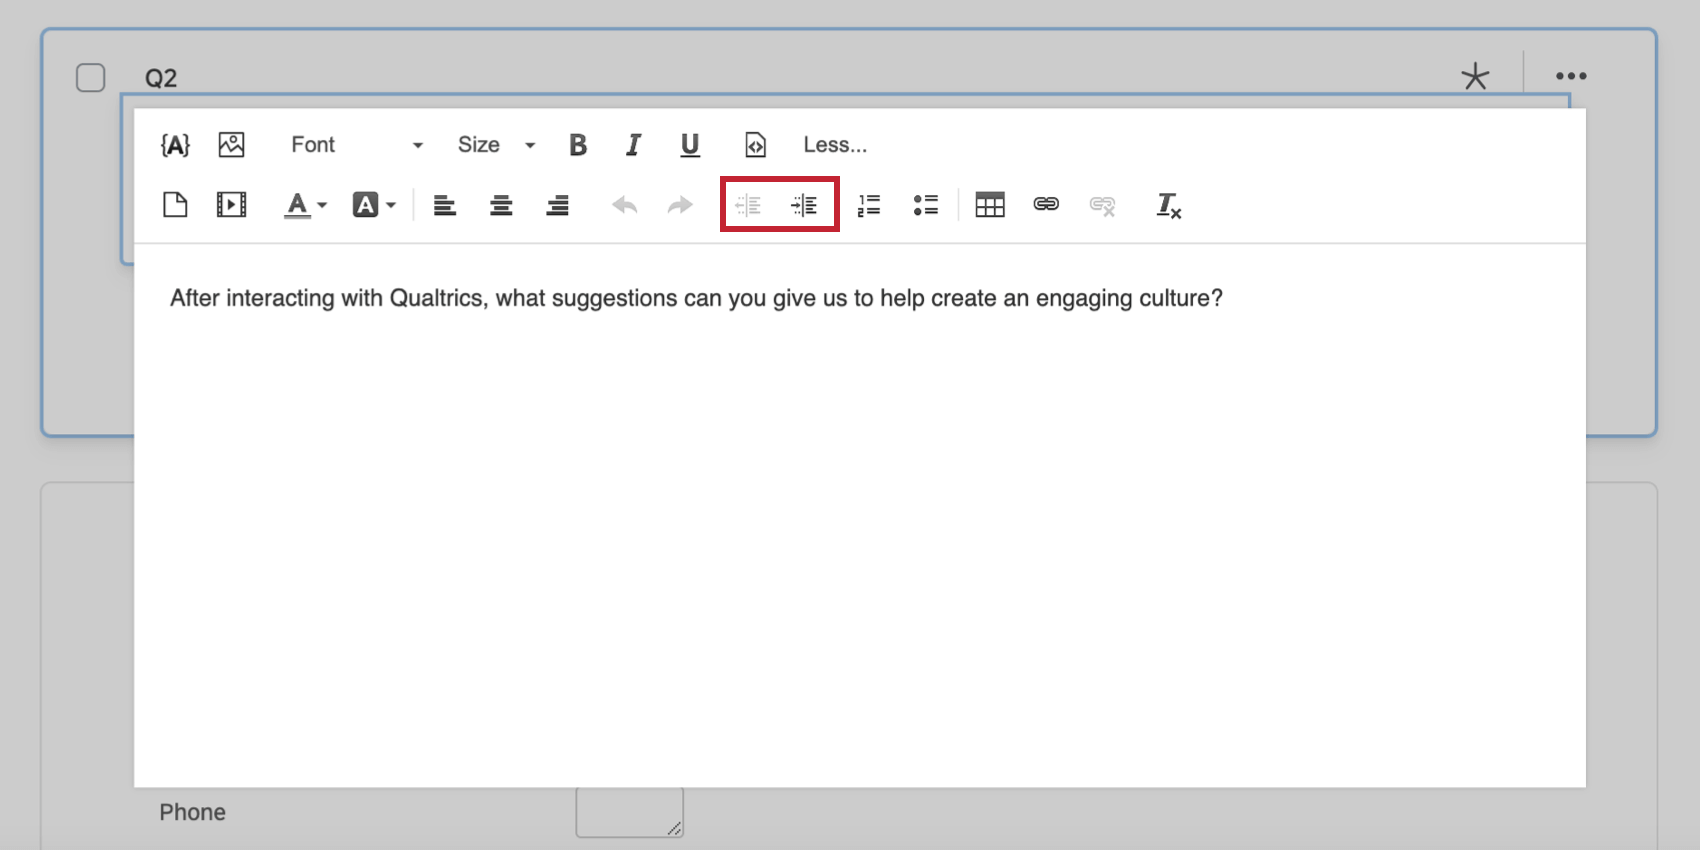
Text Alignment
With the Text Alignment options, you can align selected text to the right, center, or left.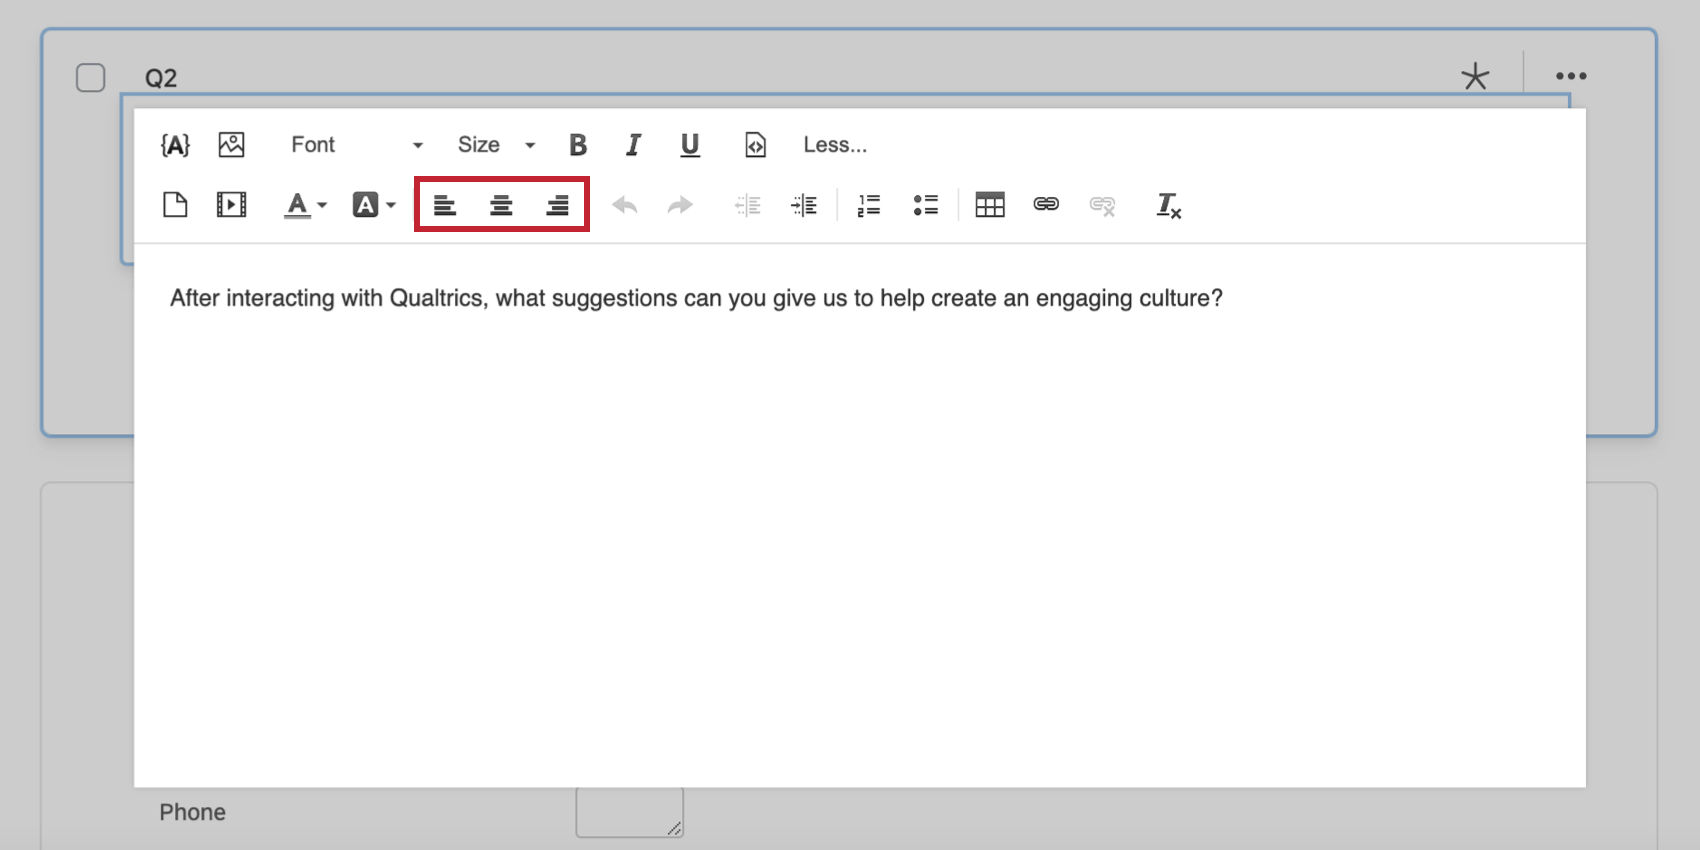
You can also increase or decrease indentation.
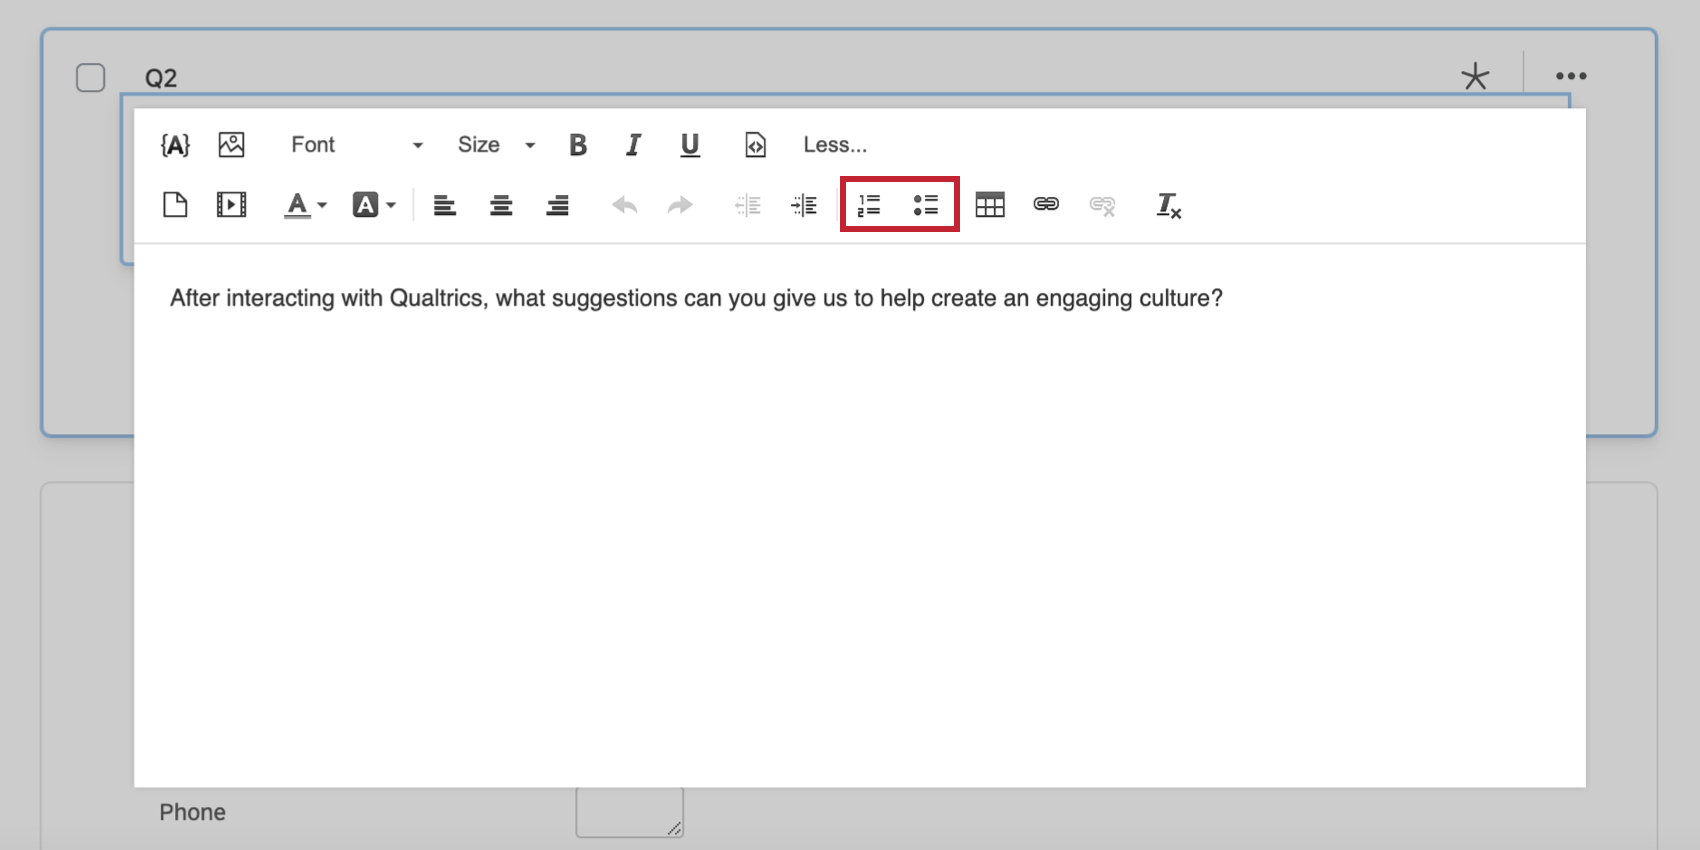
Numbered/Bulleted Lists
With these options, you can turn selected lines of text into a numbered or bulleted list.
HTML Source View
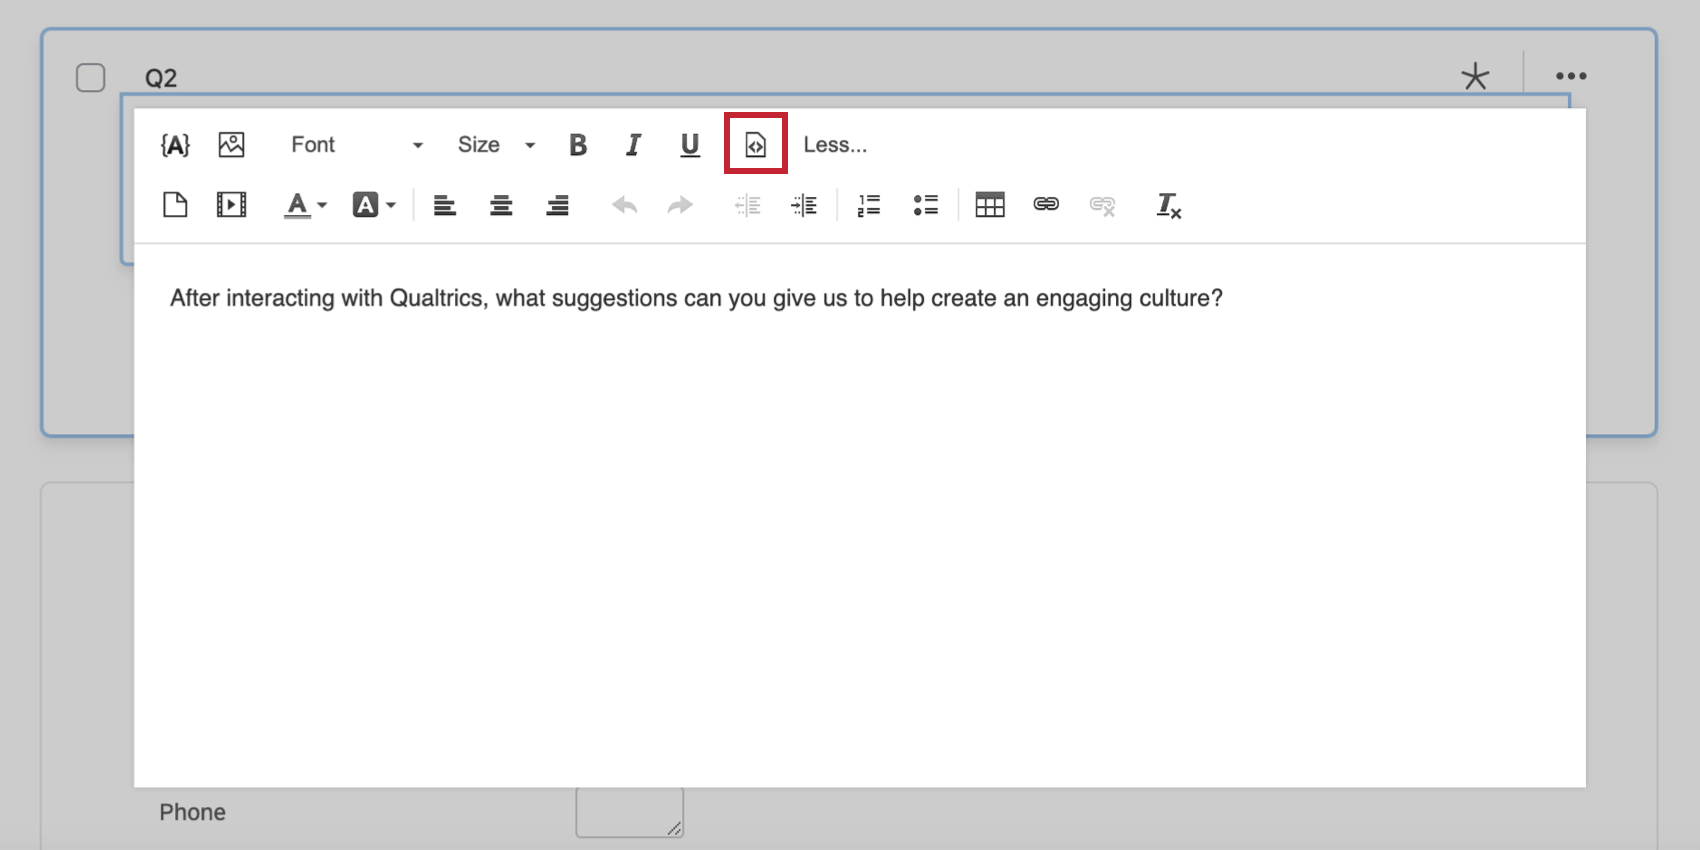
The HTML source view gives you the option to see the HTML behind your text and make any direct edits to the code. Take a look at the examples in this section to see what different rich content features look like in the HTML view.
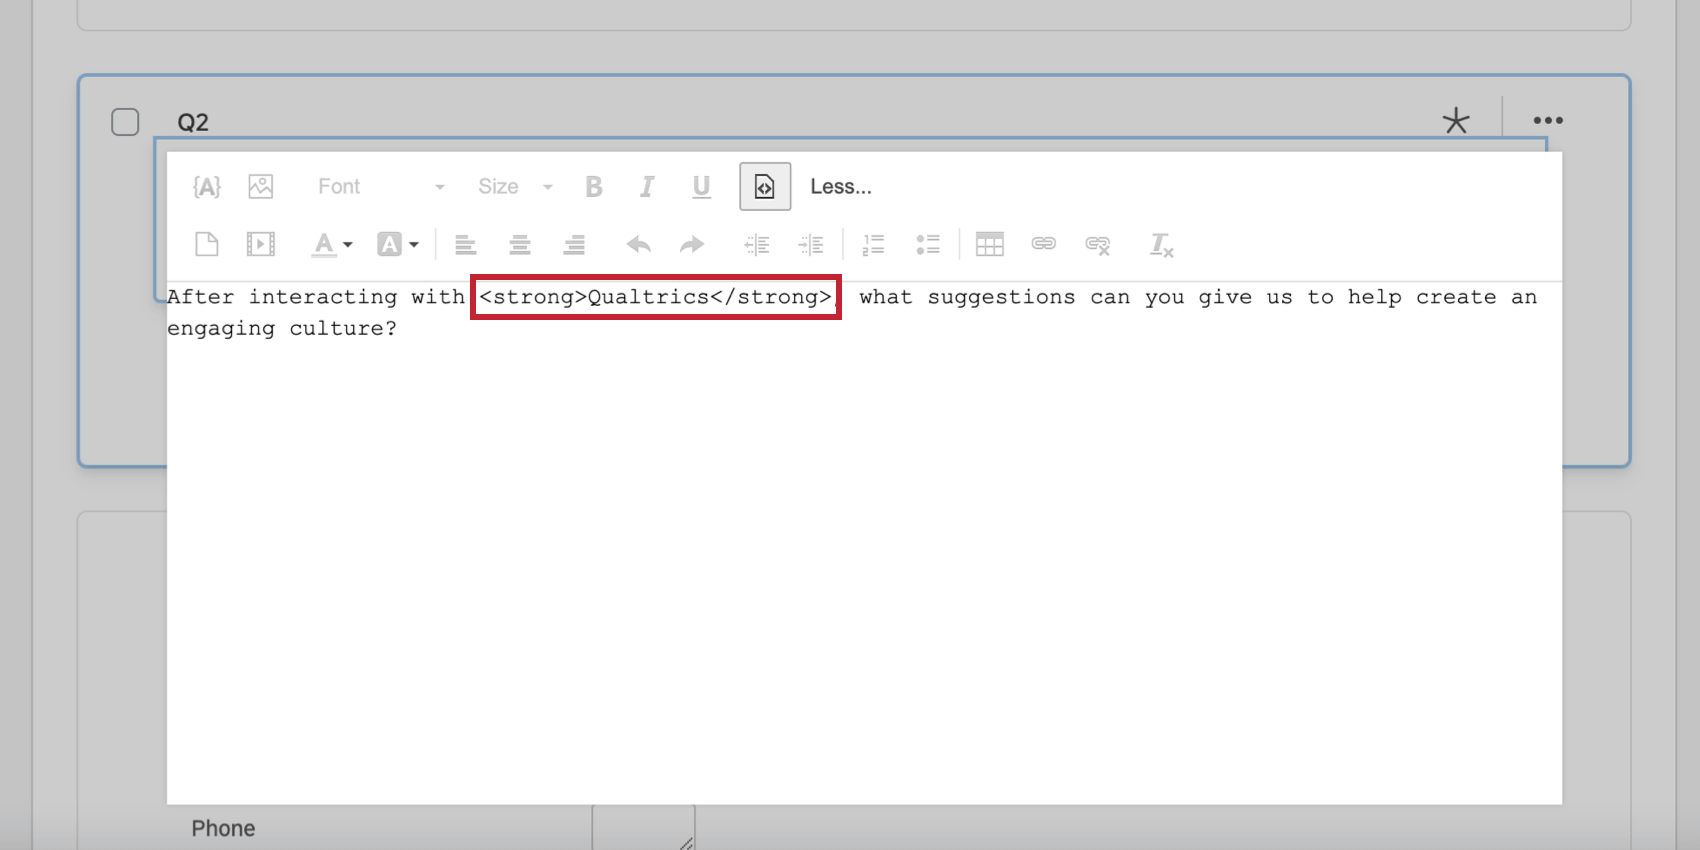
- Bold: Bolded text is surrounded by
<strong> </strong>tags.
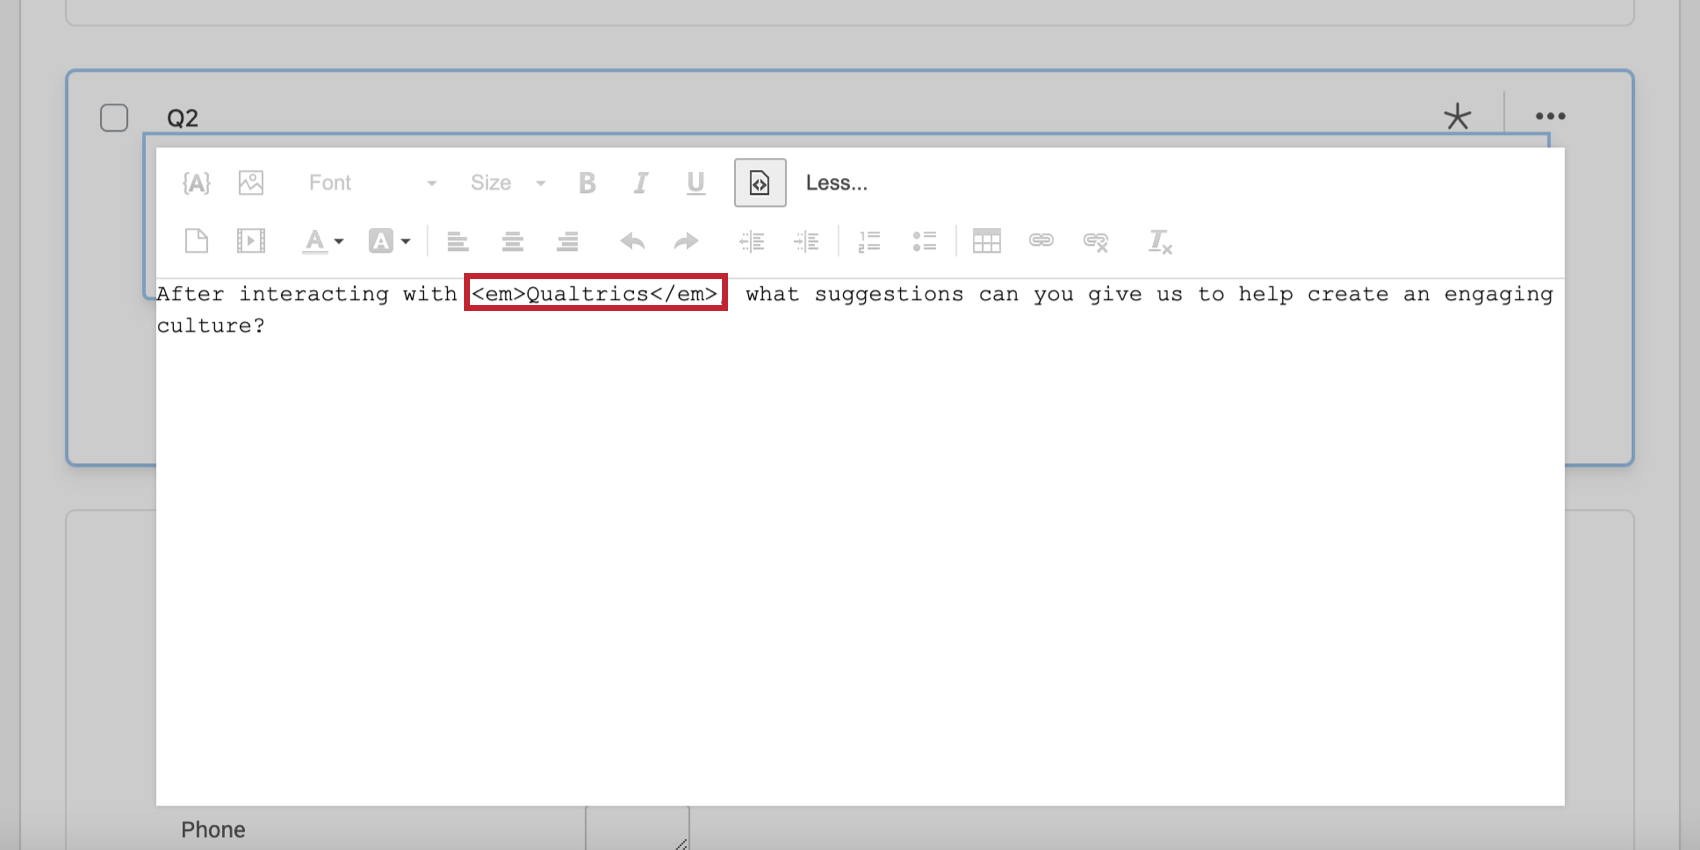
- Italic: Italicized text is surrounded by
<em> </em>tags.
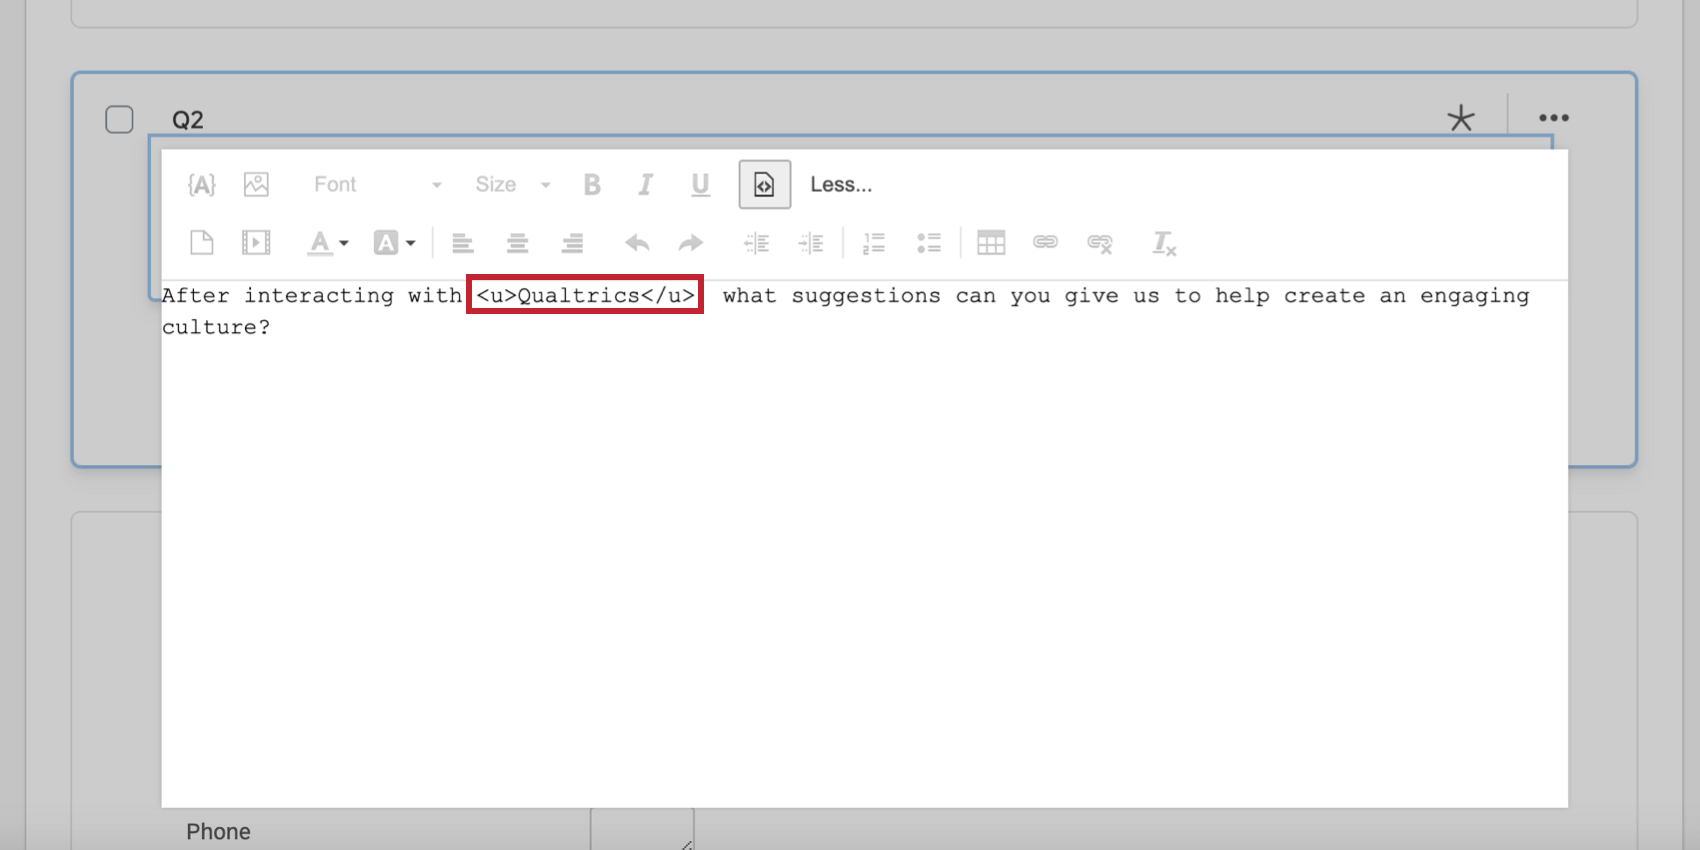
- Underline: Underlined text is surrounded by
<u> </u>tags.
- Alignment: Aligned text is surrounded by
<div style="text-align: orientation;"> </div>tags, where “orientation” is either right, left, or center, depending on the alignment.

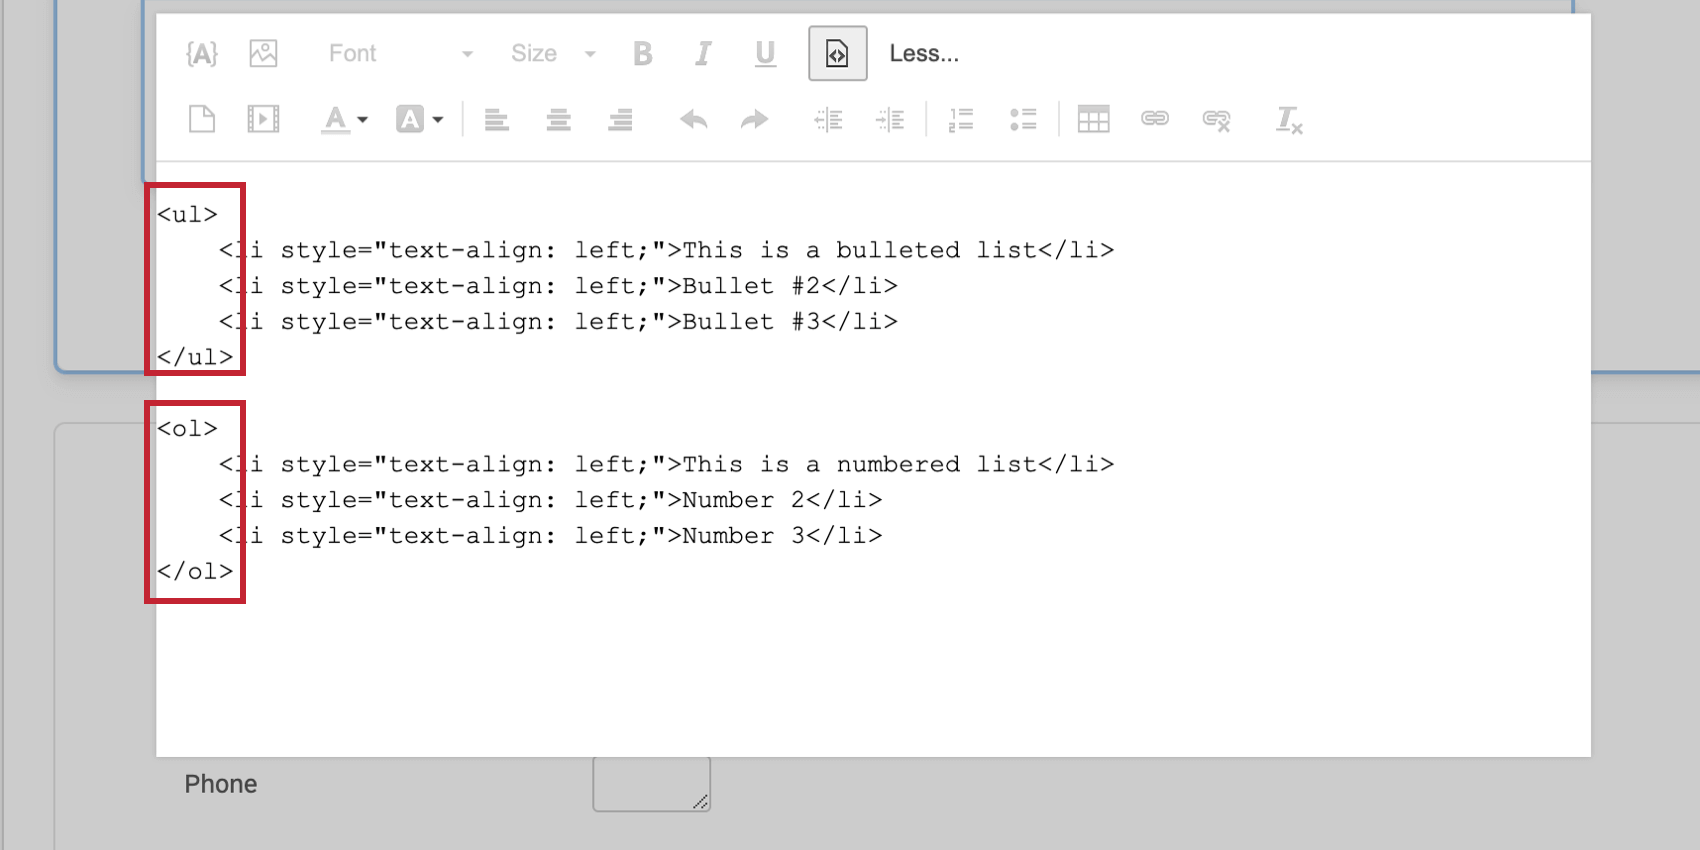
- Lists: You can have two types of lists: bulleted or numbered. Bulleted lists are surrounded by
<ul> </ul>tags while numbered lists are surrounded by<ol> </ol>tags. Each item in the list is surrounded by<li> </li>tags, regardless of list type.
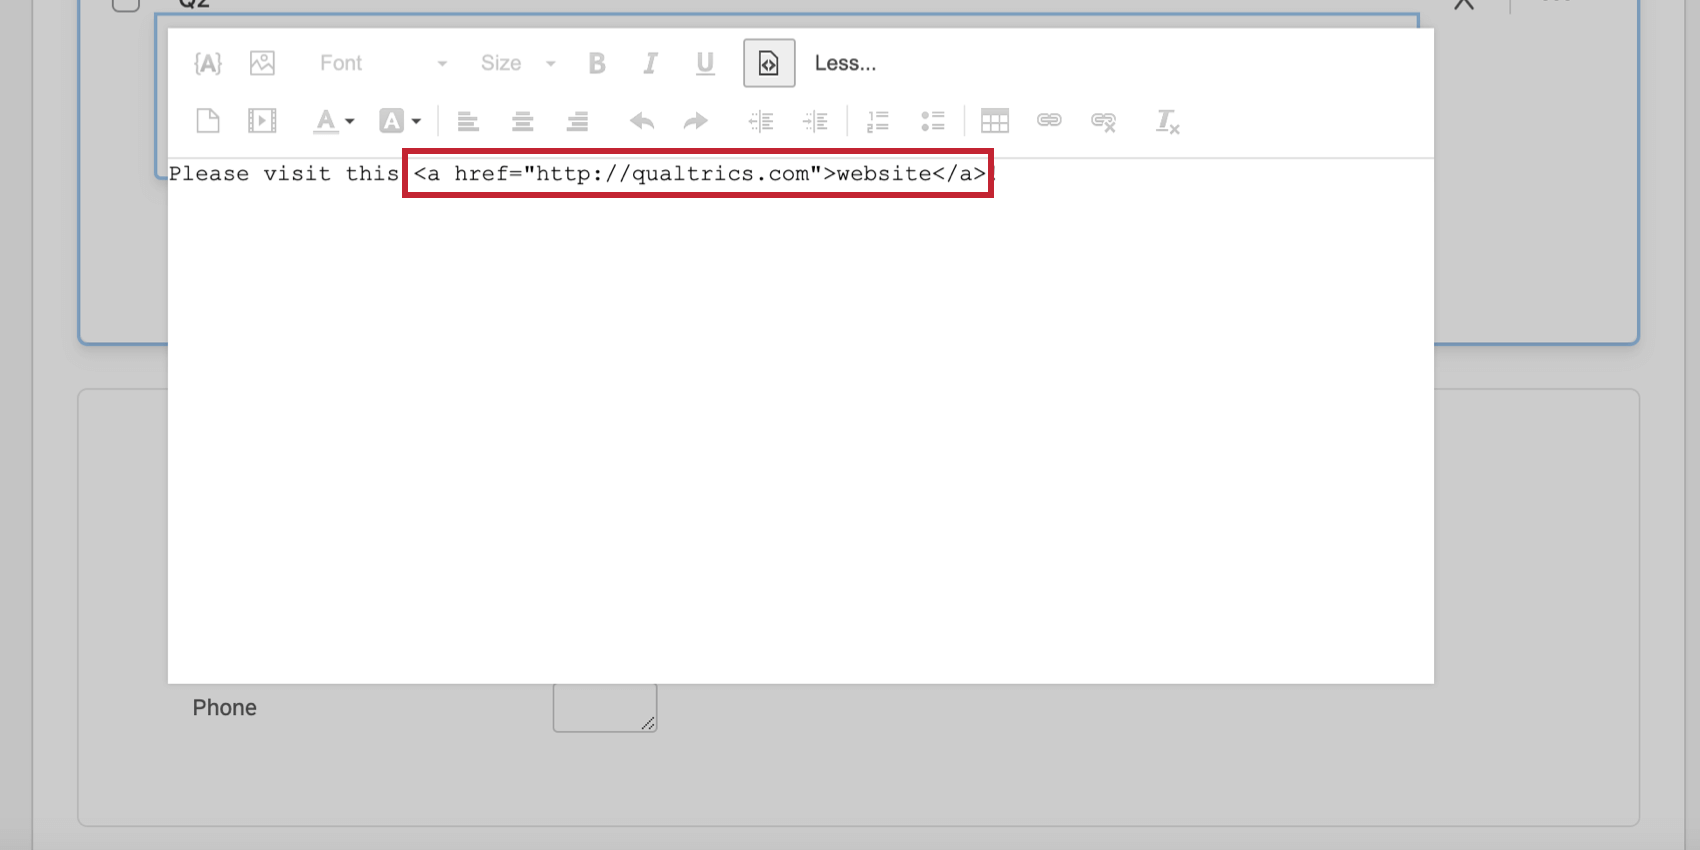
- Hyperlink: Hyperlinks follow the format of
<a href="website URL">hyperlink text here</a>.
- HTML Space: The HTML space is a nonbreaking space, meaning the space will not break to a new line. Two words separated by a nonbreaking space will stick together (not break into a new line). The code for an HTML space is
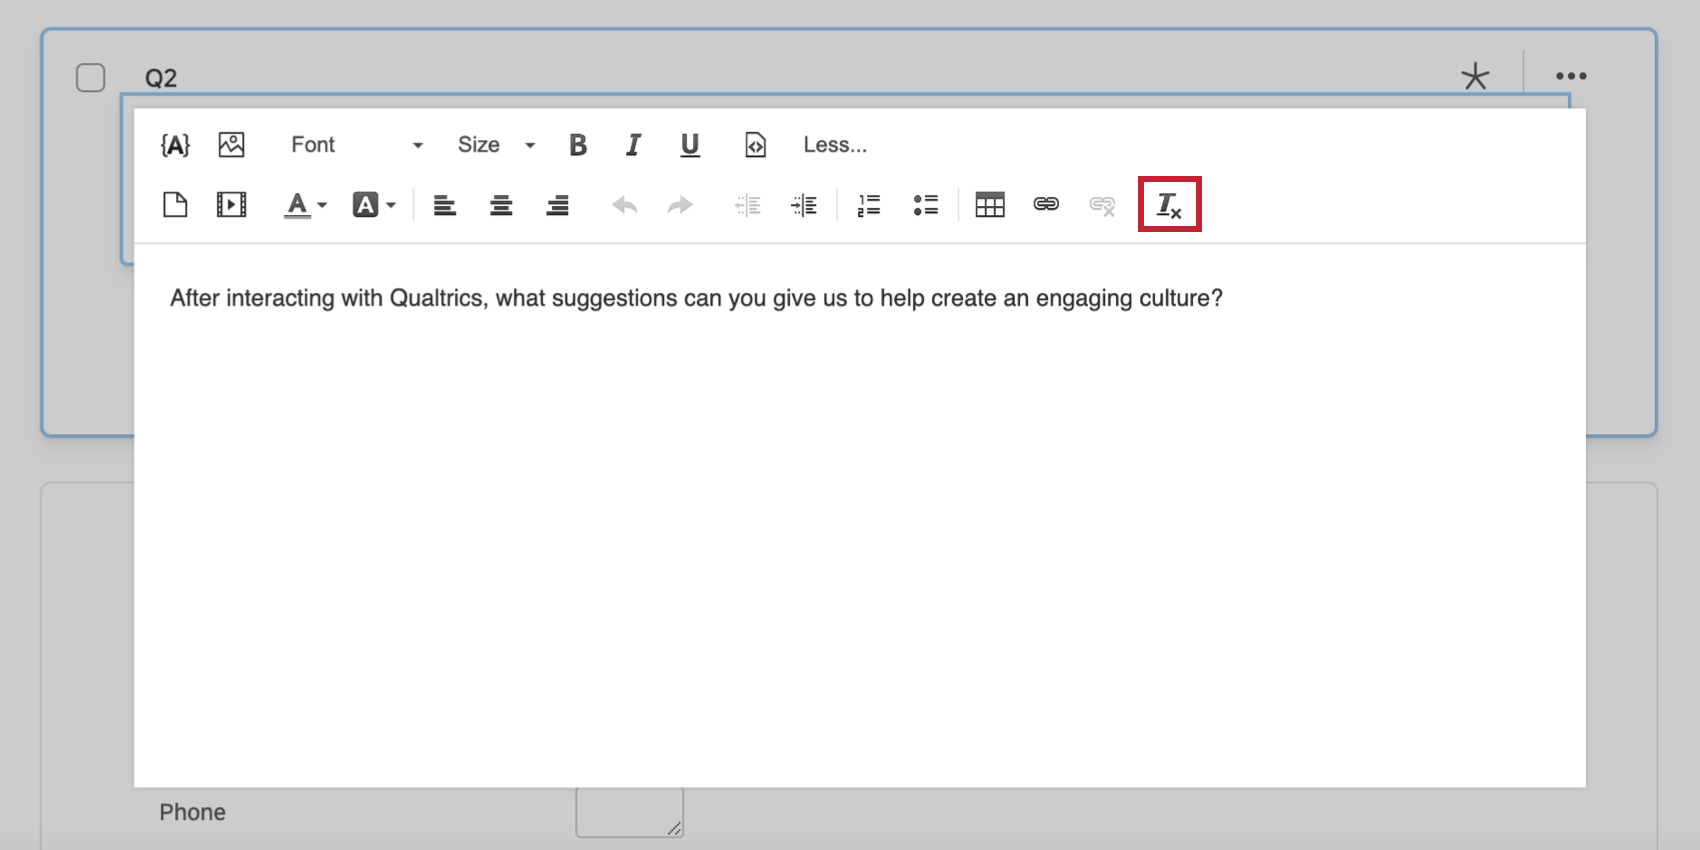
Remove Format
The Remove Format option will remove all formatting from the selected text. Highlight the text you want to clear formatting from before clicking the clear formatting icon.
Format
Apply different heading styles to text. You will be able to select a specific paragraph format: Normal, Heading 1, Heading 2, Heading 3, Heading 4, Heading 5, or Heading 6. Highlight the text you want to apply formatting to, or select your desired formatting and begin typing.


Qtip: By formatting your text with the Format menu, you can allow survey respondents to use their keyboard to jump between headings on the page.
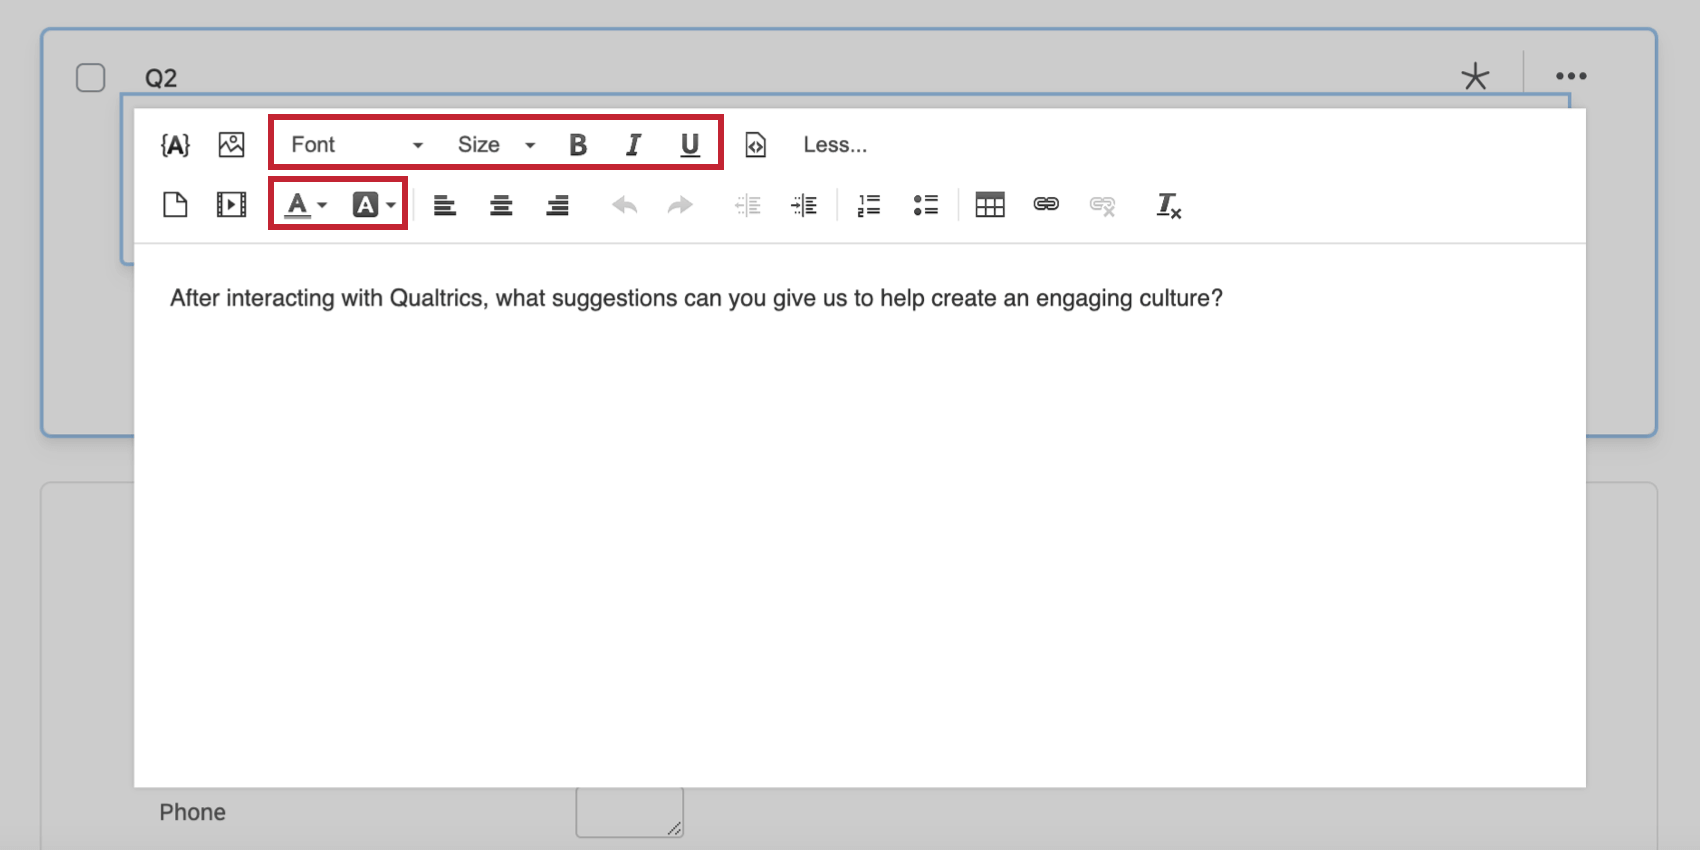
Font Styles
Change font typeface, font size, style, and color. Highlight the text you want to apply formatting to, or select your desired formatting and begin typing.
Rich Content Editor vs. Survey Theme
You might notice that formatting you specify in the rich content editor sometimes does not appear in your actual survey. Or, you may have not applied any formatting changes to your text, but still find that your text is being modified. Both of these scenarios are due to your settings in the style and theme sections of the look and feel menu.
By default, if you apply special formatting with the rich content editor, that formatting will override the settings in the look & feel menu. However, any text that does not have additional formatting applied to it will follow the settings in the look and feel menu.
Example: In this example, the words “highest level” have been bolded in the rich content editor.
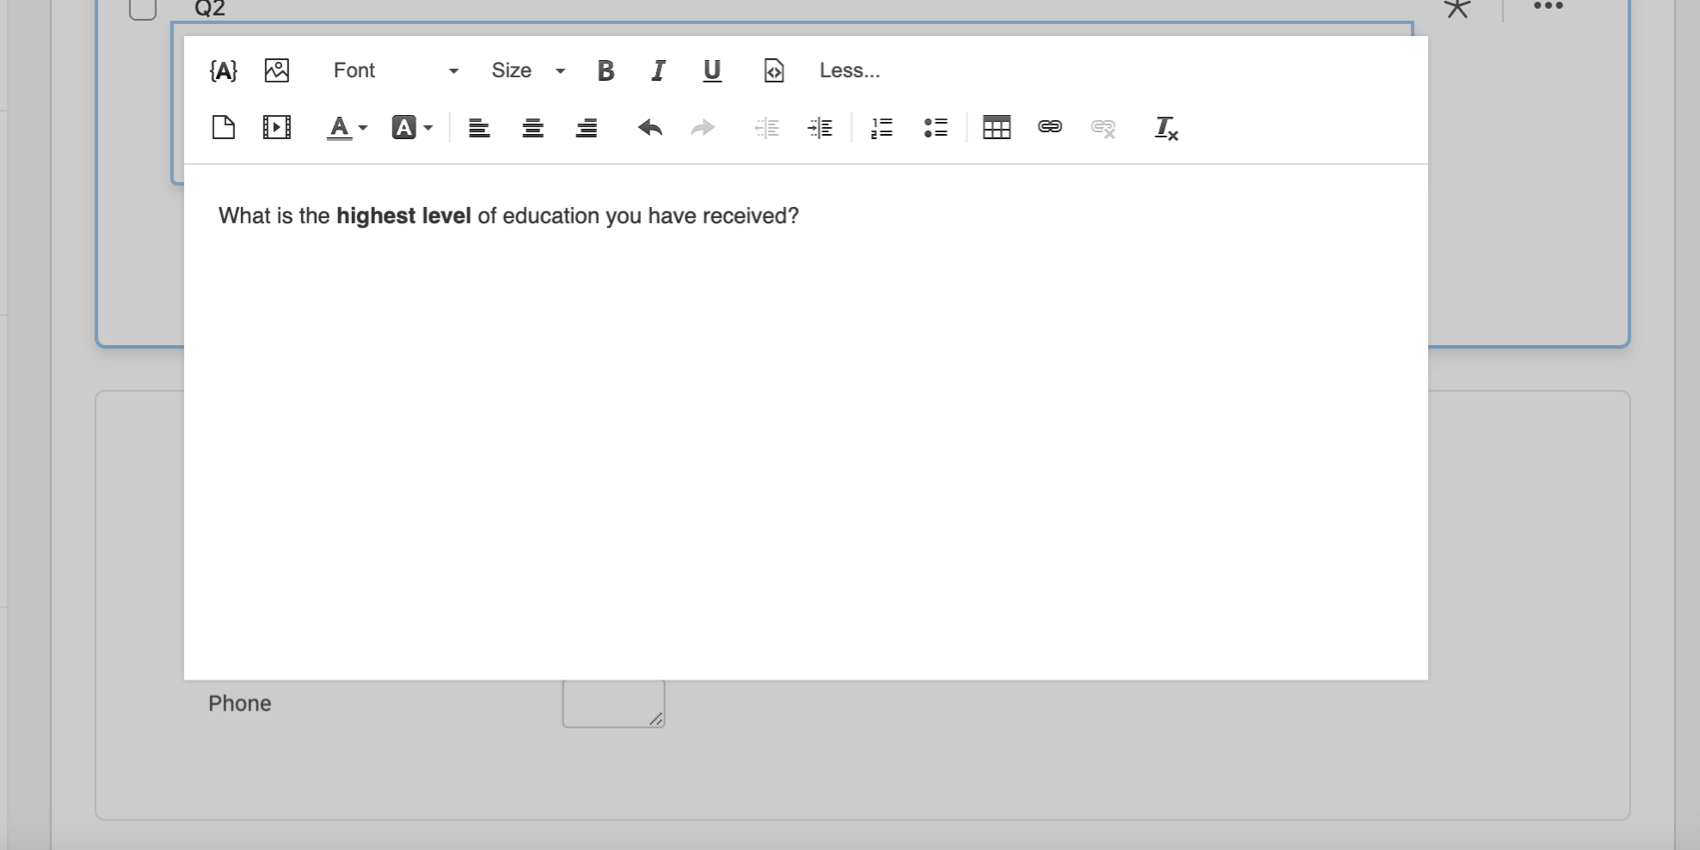
However, when the respondent takes the survey, all words are bolded.
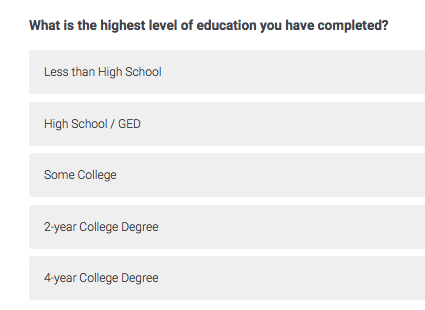
This discrepancy can occur when the theme for your survey has styling that overrides what you set in the Rich Content Editor. In the example above, the font options in look & feel specifies that all question text should be bold, making the bolding you do in the rich content editor unnoticeable. Luckily, this is easy to address by changing the font options in the style section of the look & feel menu.

Rich Content Editors in Different Project Types
The rich content editor is available in just about every type of project where you customize a survey. When you customize their survey, all rich content editor options are available in the following projects:
- Survey projects
- XM Solutions
- Engagement
- Lifecycle
- Ad Hoc Employee Research
- Pulse
- 360
- Conjoint
- MaxDiff
Keep in mind the rich content editor may also exist in a similar but slightly different form outside of survey-building. For example, in reports or dashboard widgets.