
Managing CX Dashboard Users
What's on this page
About Managing CX Dashboard Users
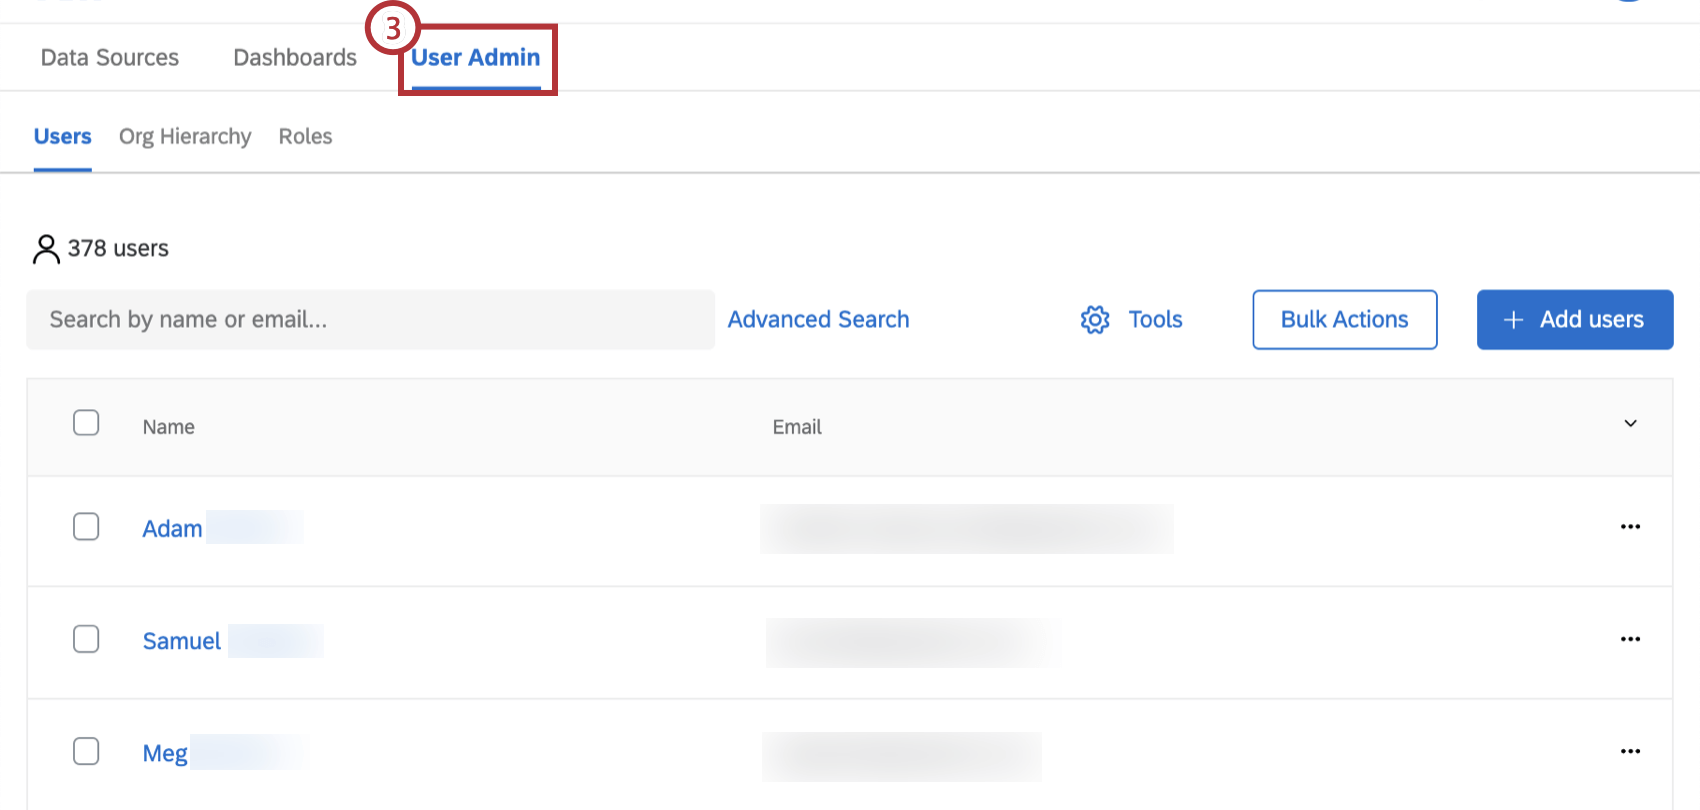
Your CX Dashboard has a tab called User Admin that’s devoted to managing the users who have access to the dashboard. The Users subsection is where you manage the specific users; you can upload them, add metadata to them, and edit their existing information.
The users listed in User Admin are present in your entire brand. When you edit their information, it affects their information in all other dashboard projects they’re involved in.
Qtip: This page refers to managing users in CX Dashboard projects only.
Getting Access to the User Admin
The User Admin tab is only available in dashboard projects if you are a project administrator with one of the following permissions:
- You are a Brand Administrator
- You are a CX Administrator
- You have the Manage CX Users permission enabled
Division Administrators do not have access to these features.
Navigating to the User Admin
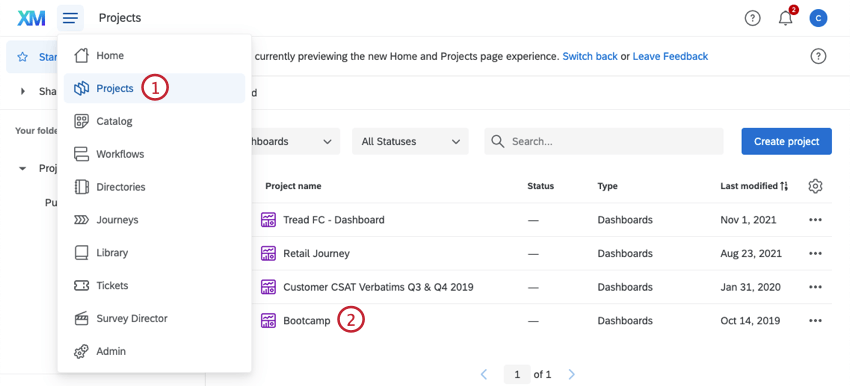
Now you can select Users to manage and upload users. Go to Roles to create roles and add users to them.
Searching Users
You can search through your list of users or filter them. This can help when selecting users to remove, export, or email login credentials.
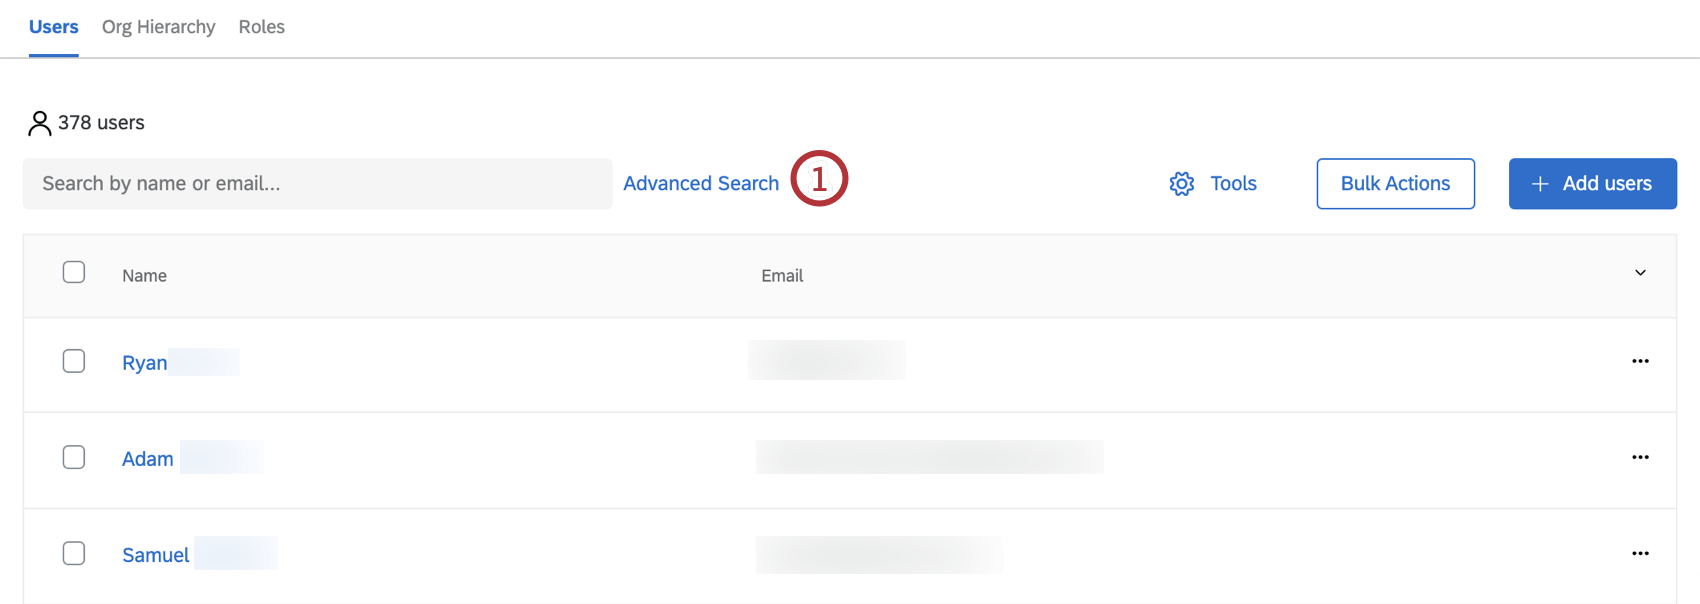
You can do a simple search for users by typing parts of names or whole names into the field.
Search terms go away when you navigate away from the tab.
Advanced Search
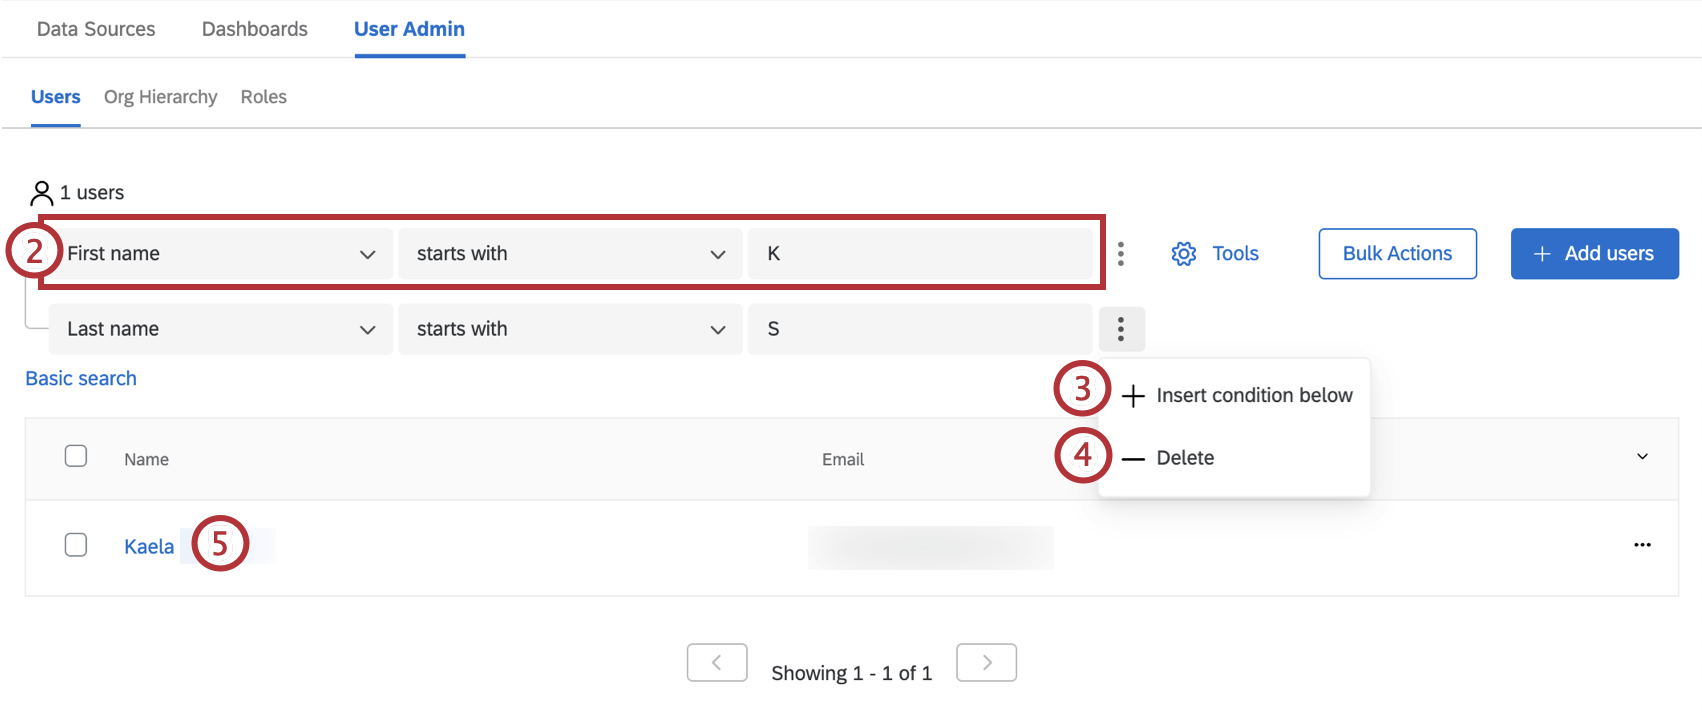
Qtip: Multiple criteria is treated with “AND” logic. In the pictured example, the first name must start with K and the last name must start with S.
Qtip: You can remove an advanced search entirely by clicking Basic Search next to it instead.
Qtip: These advanced search terms cannot be used to sort users into roles. See the Roles (CX) support page instead.
Adding Users
From the Users subsection, you can manually add, import, or export a list of users. Go to the Adding, Importing, and Exporting Users (CX) support page for further instructions.
User Information Window
When you click on the first name, last name, or email address of a user, it will open a page that contains their user information along the left, and information about their metadata, hierarchies, and roles on the right.
Click Users or Edit User to return to the Users page when you’re done making changes. Changes will be saved automatically.
Qtip: Click Actions and then Send password reset email to email a password reset email to the user.
Metadata
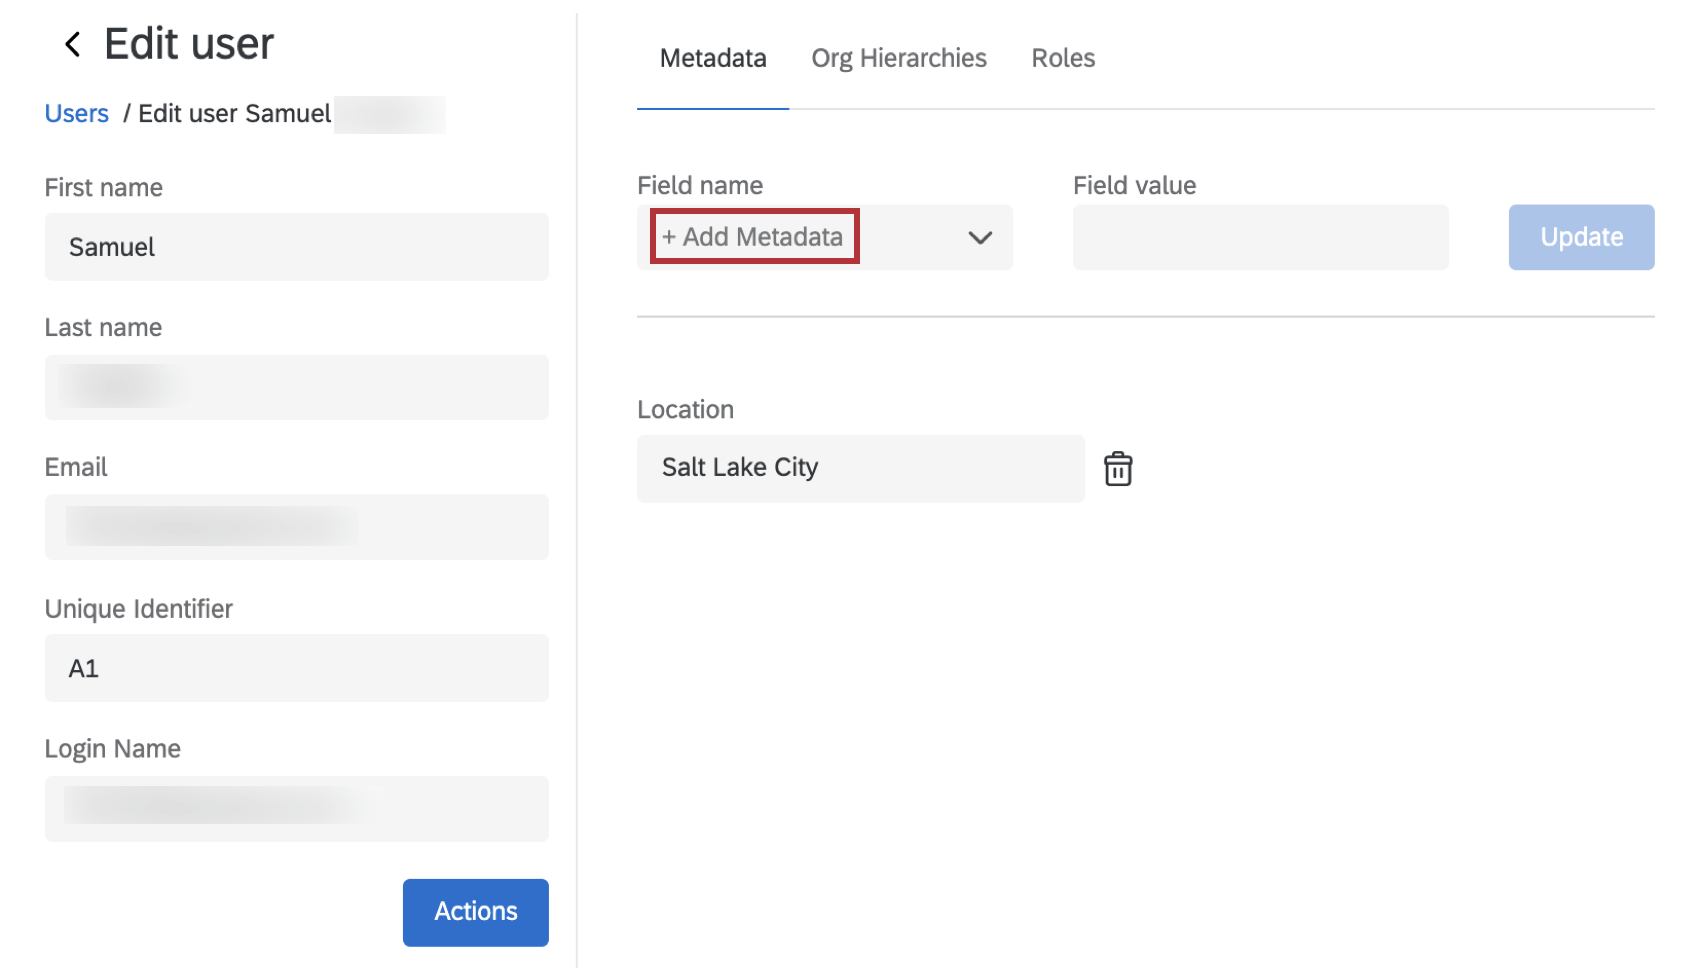
You can add new metadata, also called user attributes, by selecting Add Metadata. Select from a list of existing attributes and enter a value. Click Update to save the field.

You cannot rename attributes or add new ones. To do so, see the User Attributes (CX) support page. To delete existing metadata fields, click the trashcan icon.
Org Hierarchies
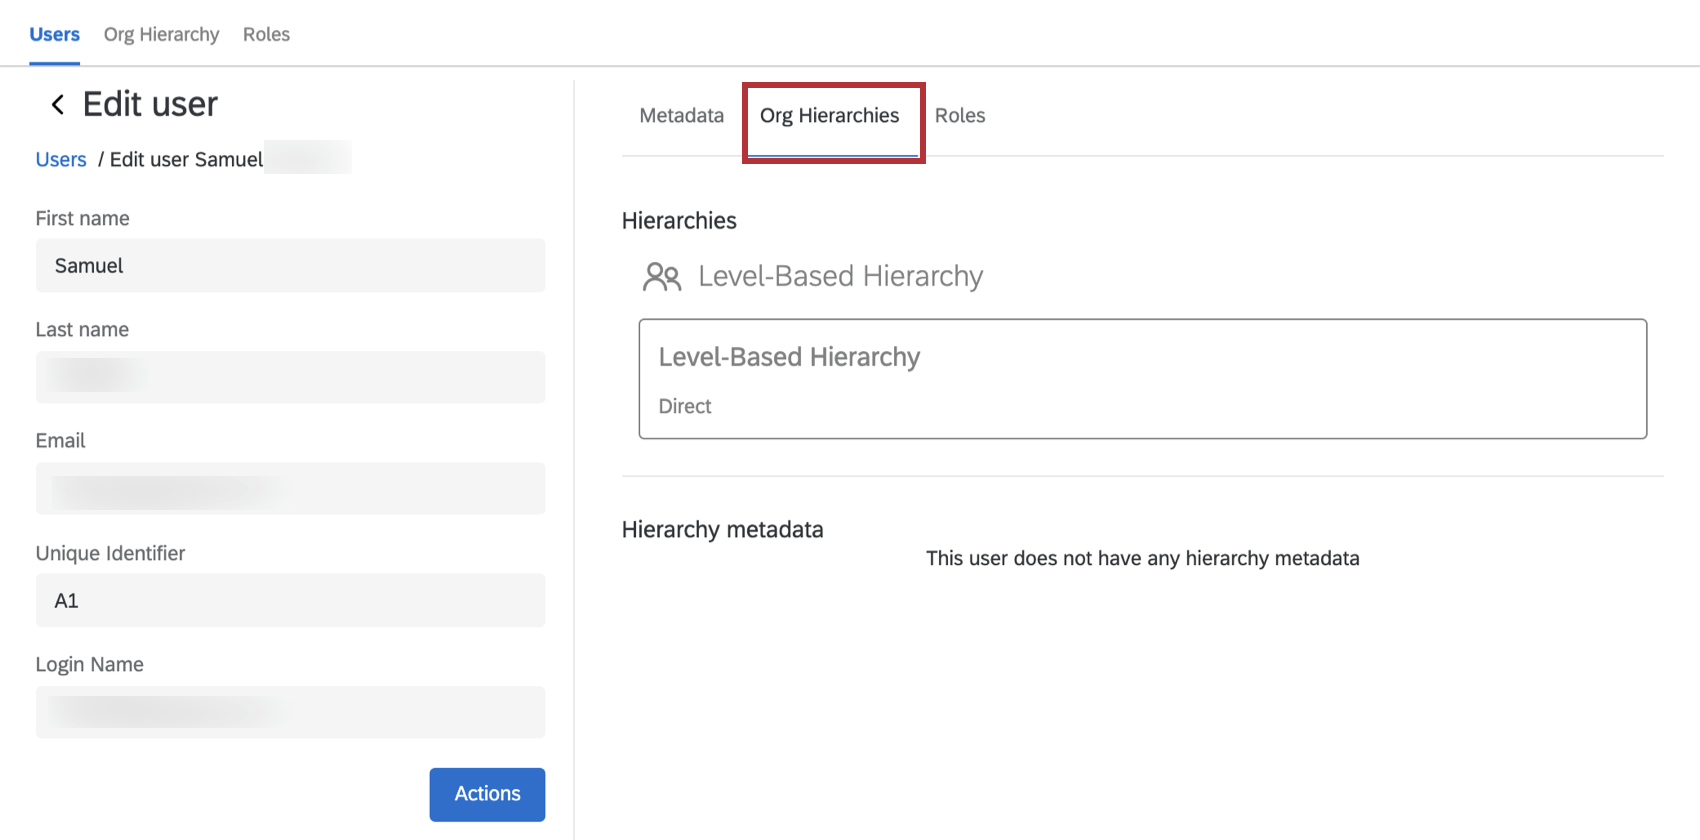
Org Hierarchies that the user belongs to are listed in the Org Hierarchies section within the Users tab. Hierarchy metadata for the user is also displayed here.

Hierarchies cannot be edited from this tab. To make changes, visit the Org Hierarchies tab.
Roles
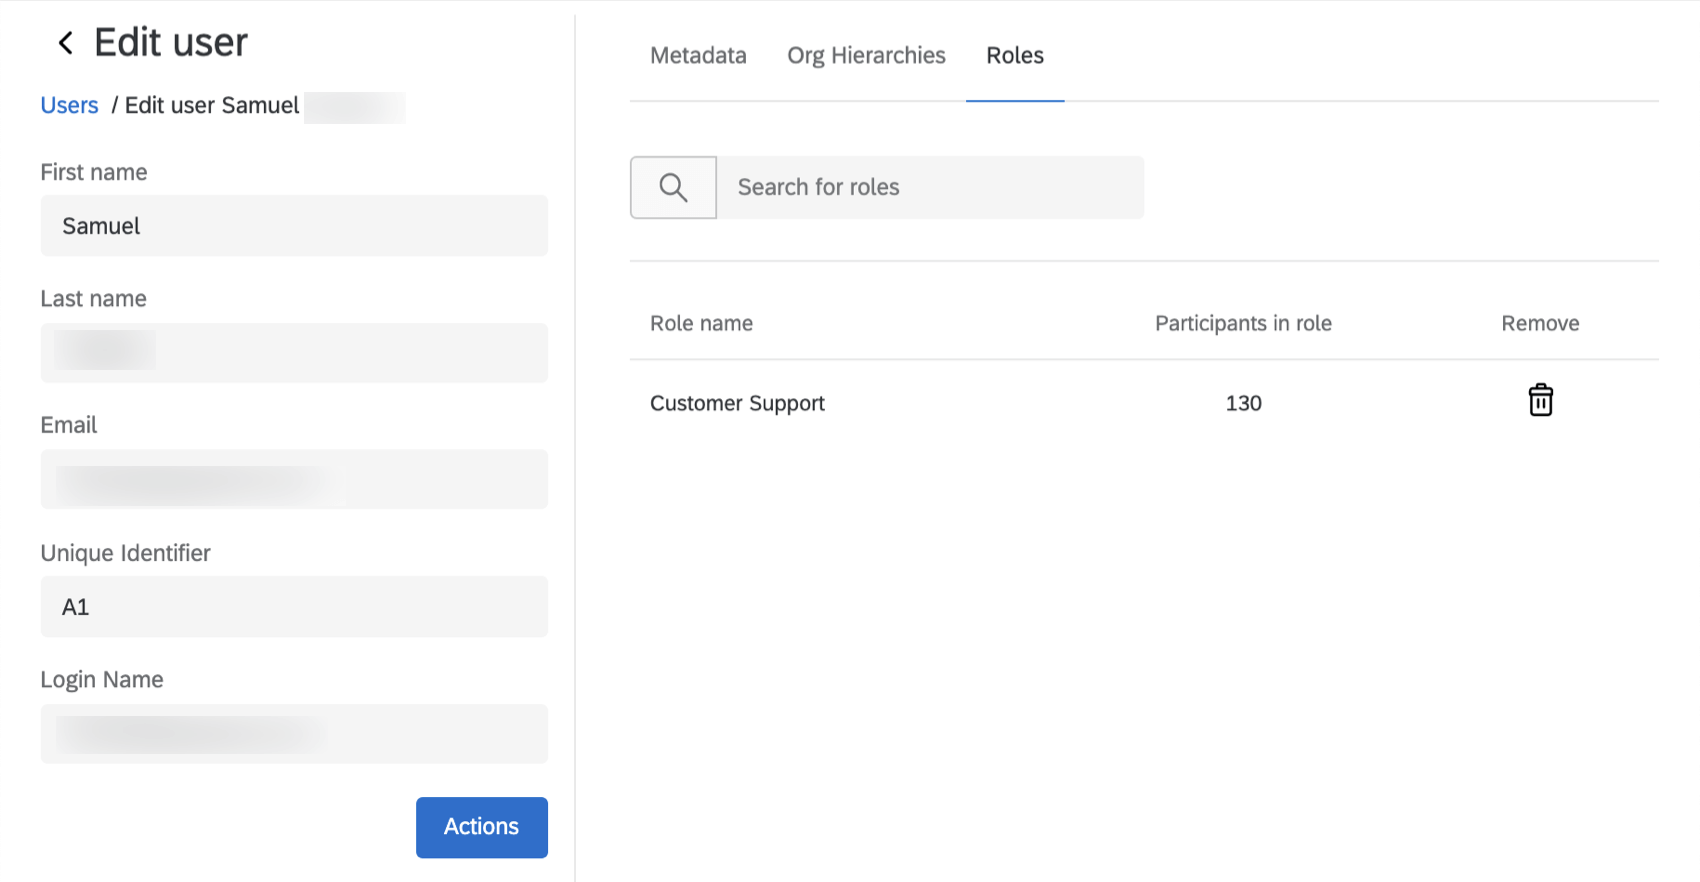
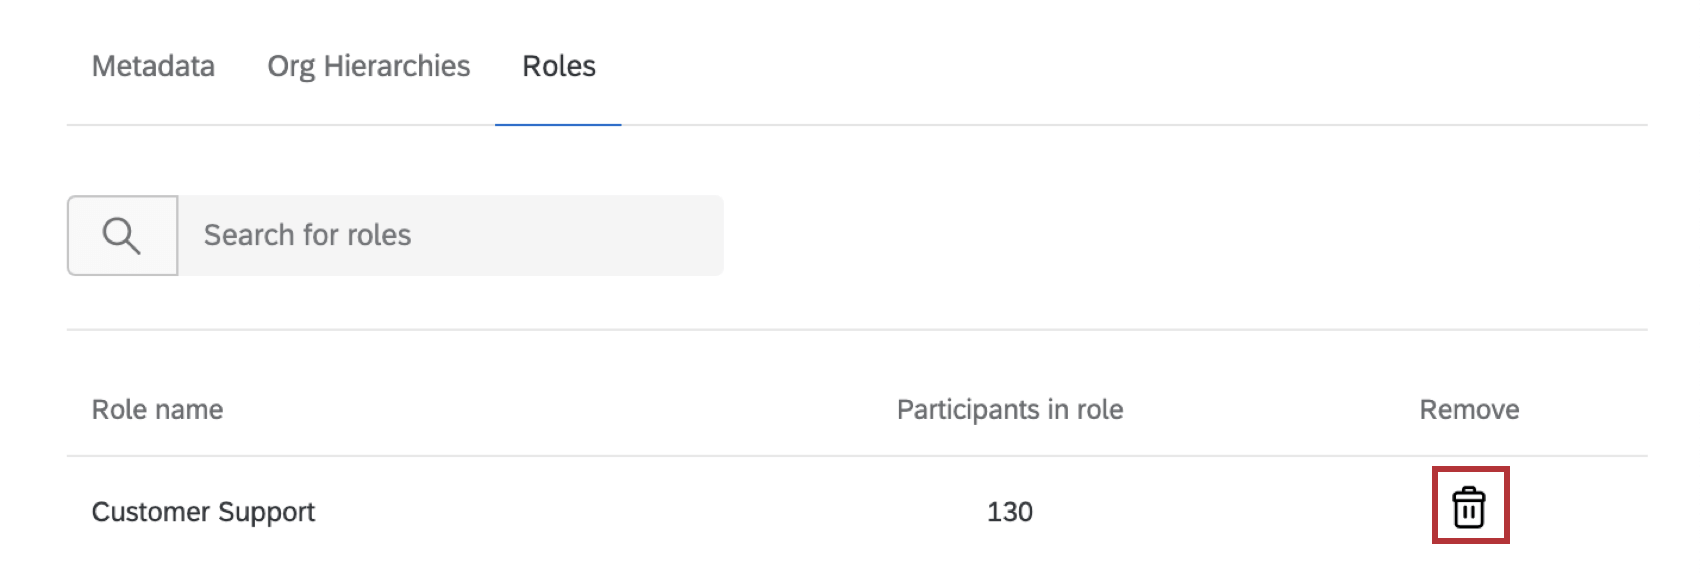
Roles that the user belongs to are listed in the Roles section within the Users tab.
Click the trashcan in the “Remove” column to remove the user from that role.

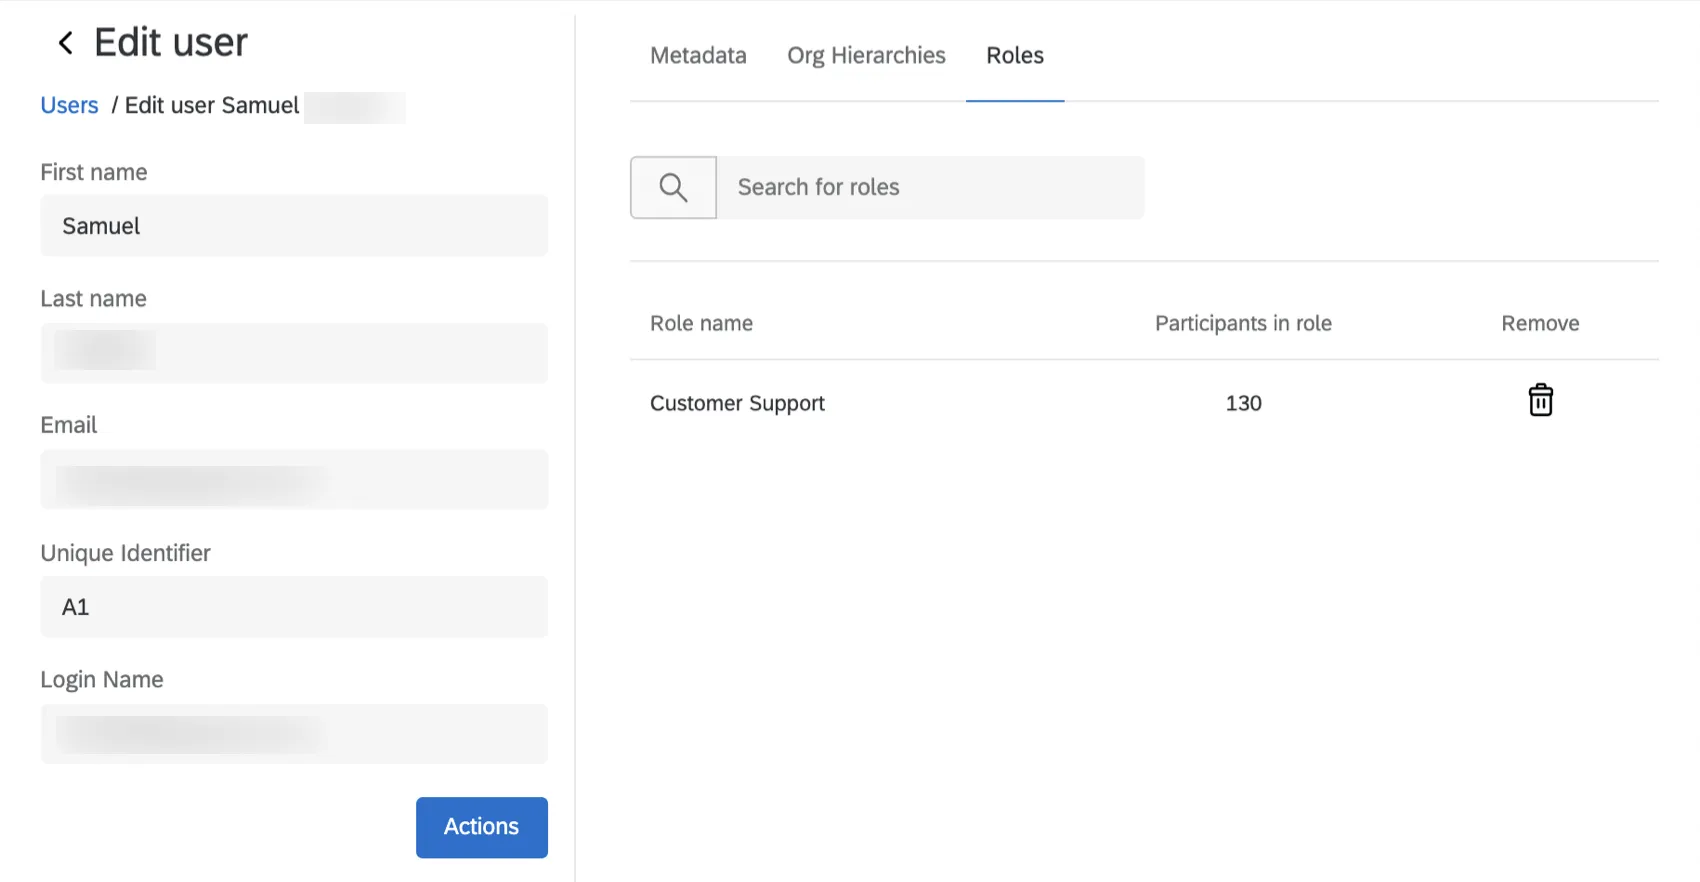
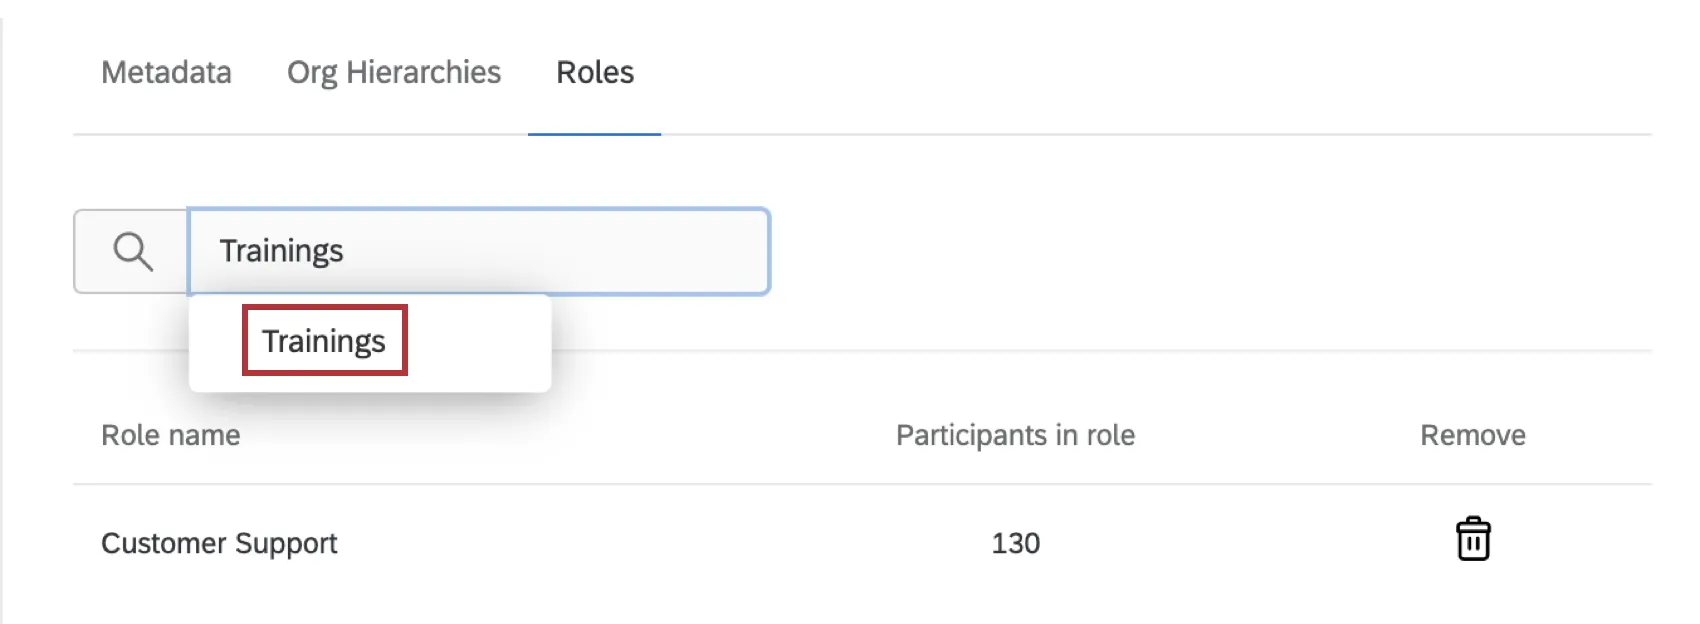
Type the name of a role to search for it, then click the appropriate role to add the user to it.
To learn about creating roles and how they work, see the Roles (CX) support page.
Email Login Credentials to Users
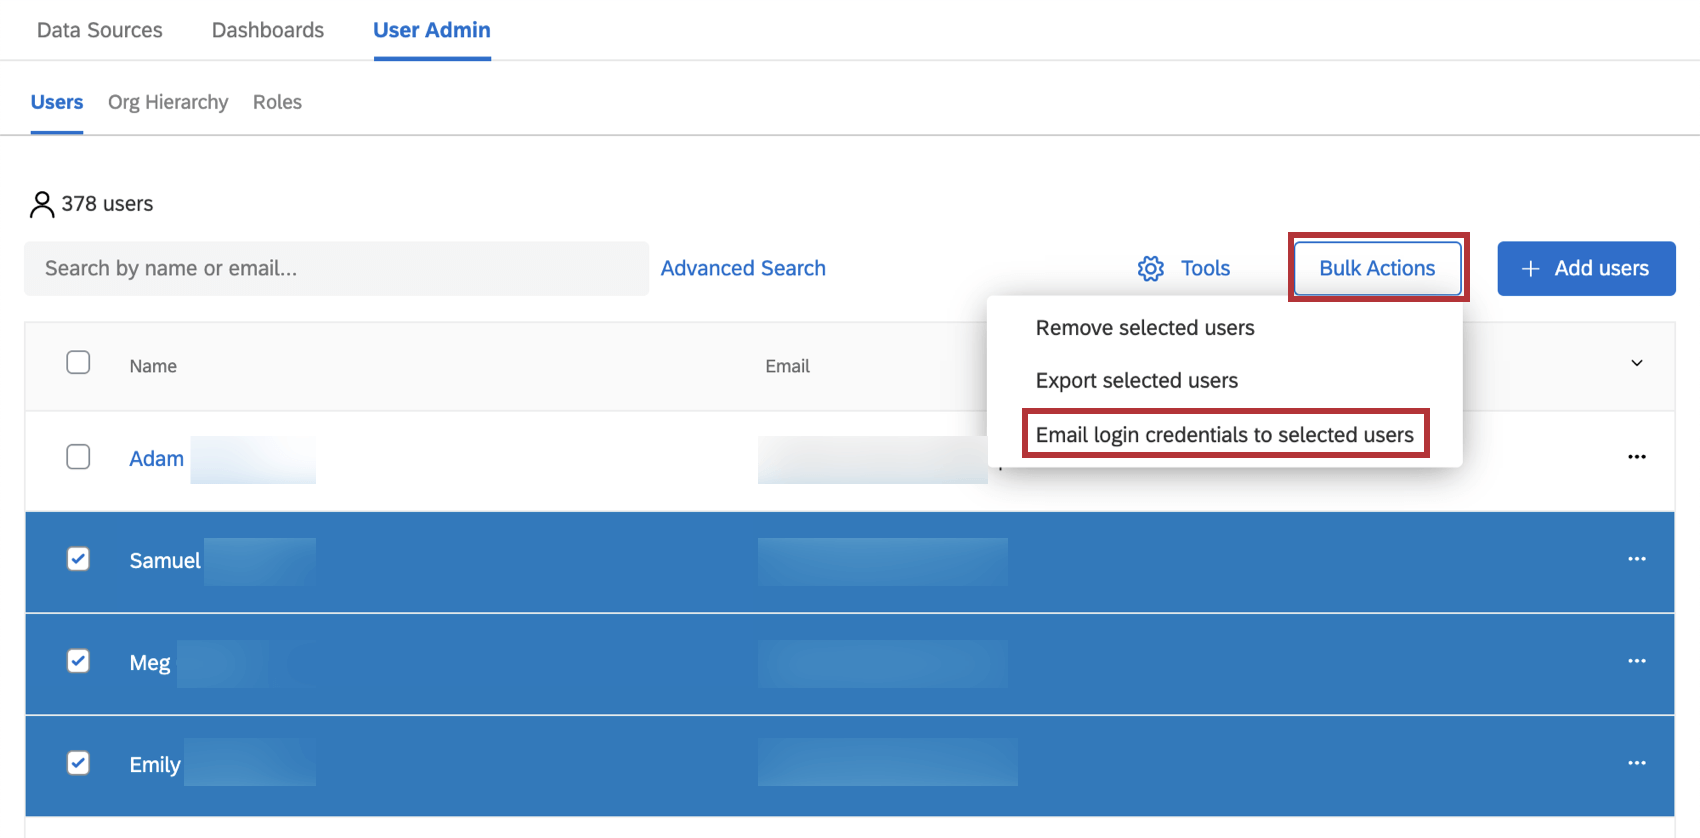
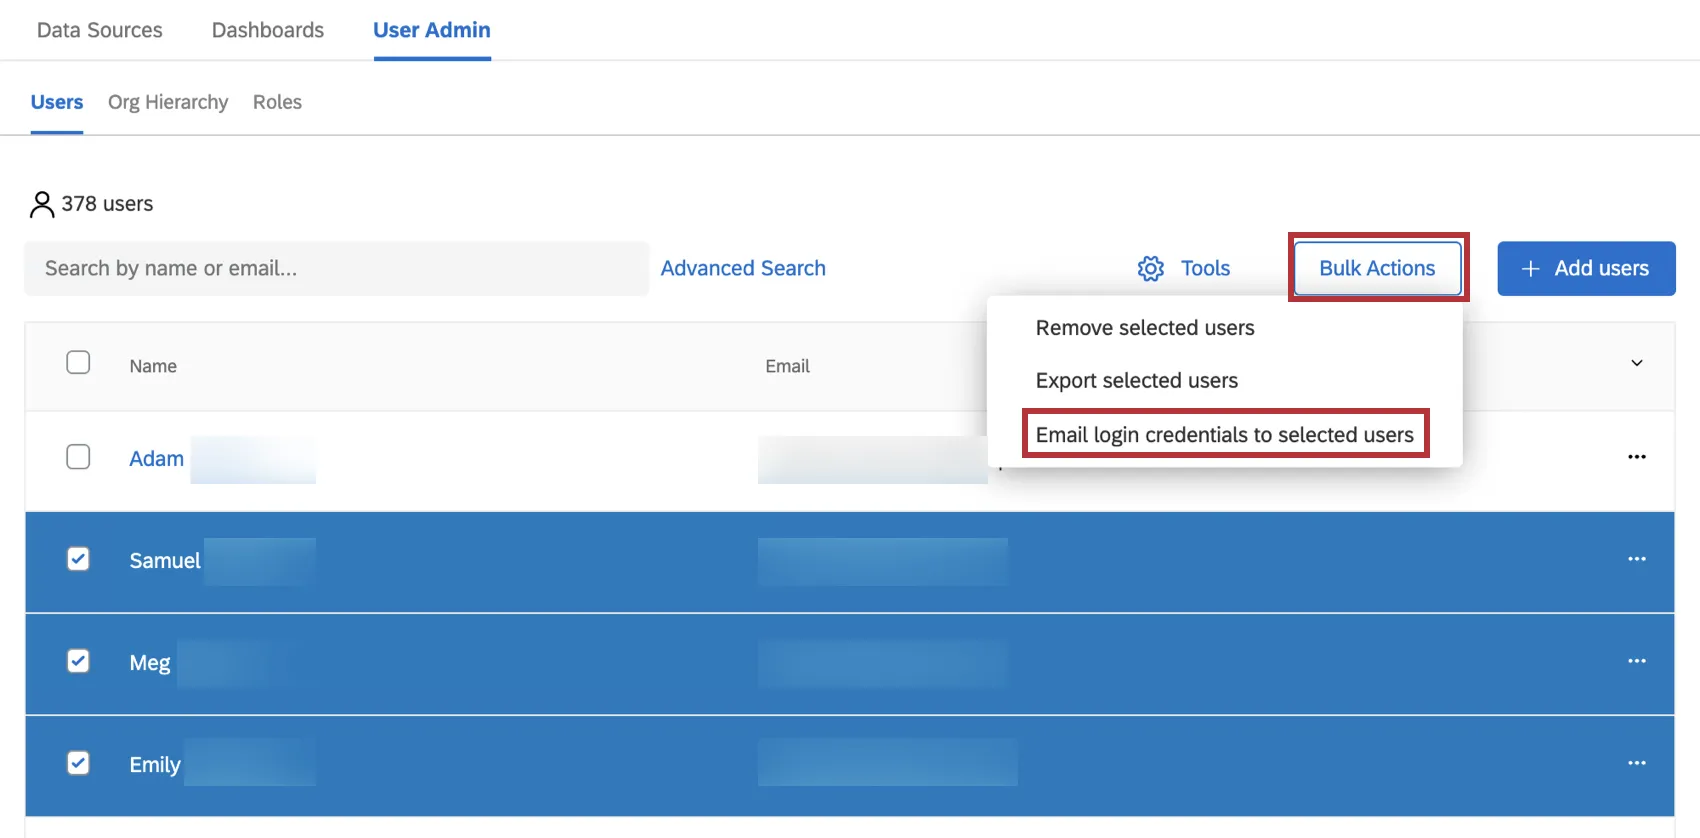
When new users that haven’t yet signed in are imported or added, they are not sent login credentials automatically. When you are ready to send the users their credentials, you can select them from the users tab and email them their credentials. Select a user, or multiple users, and click Bulk Actions, then Email login credentials to selected users.
This option is also helpful if users forgot their usernames.
If the user has already received an email with login credentials, the password will be omitted from the email for privacy. This includes if they’ve been sent login information for any past dashboard project.
If the user is having trouble with their password, advise them to reset their password instead.
Qtip: If your brand uses SSO, you will not have the option to email login credentials. Instead, users access Qualtrics CX dashboards by logging in at their organization’s portal with their usual credentials.
Adding Columns
You can choose what columns you see to make locating users easier.
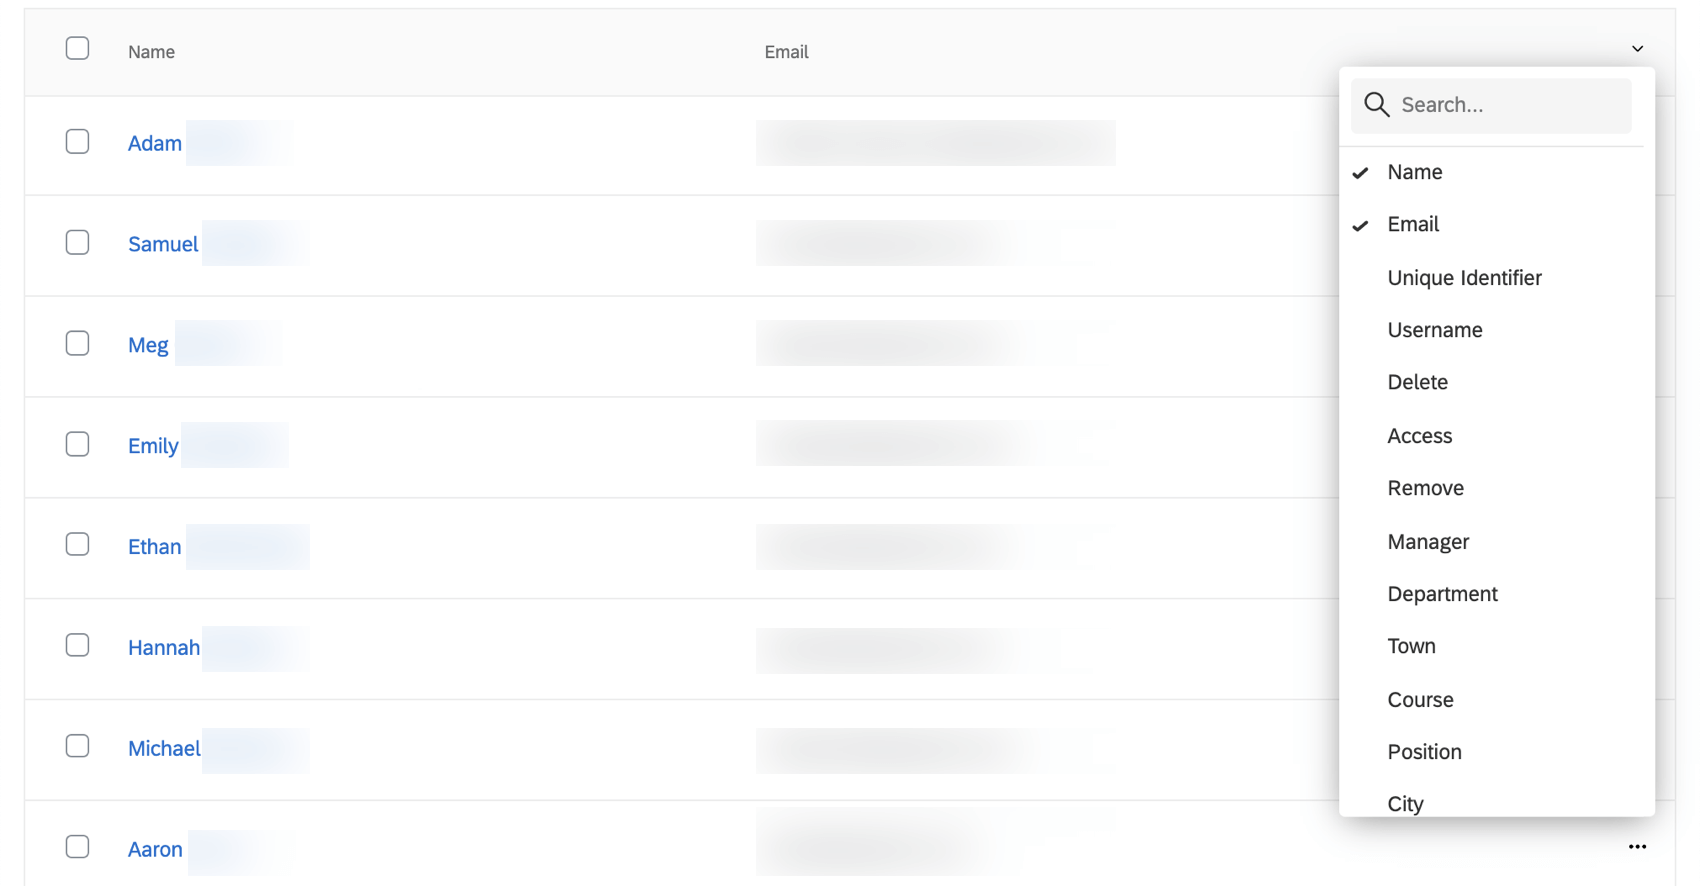
To customize what metadata is shown in the user table, click the down arrow in the top-right corner of the table to select which fields are displayed.
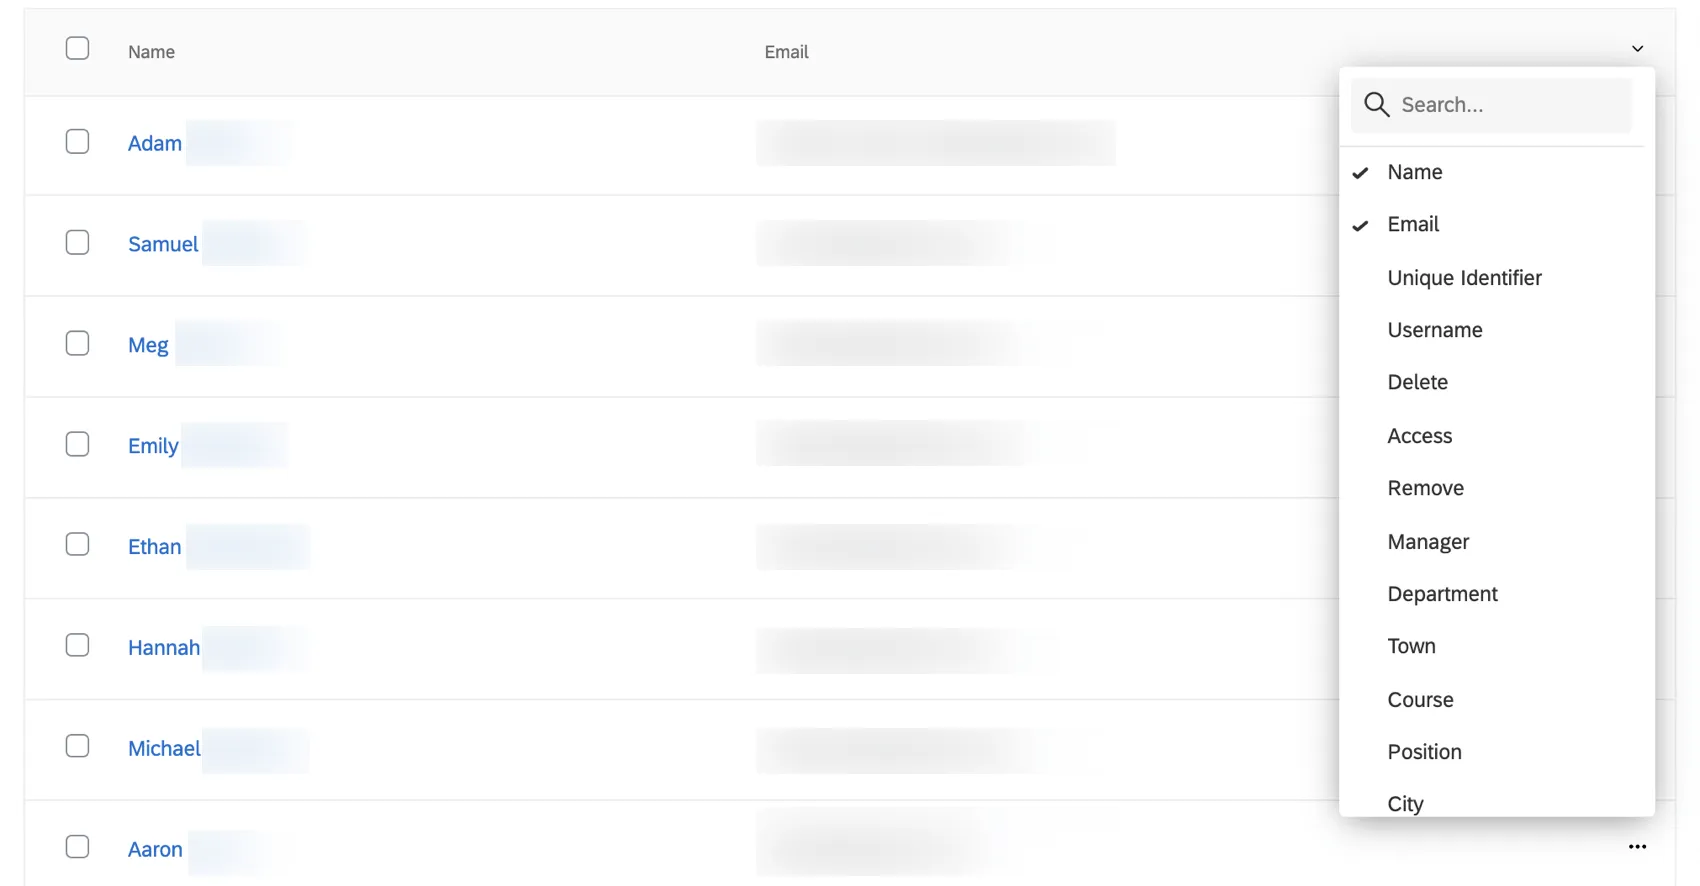
Columns with a check next to them are displayed. You can select any metadata in your brand, or the contact fields First Name, Last Name, and Email. Search fields by name or use the arrows at the bottom of the list to navigate through the list of metadata.
If you don’t want a column to appear anymore, click the column name to remove it from the table.
FAQs
Can I add just one user at a time to the User Admin tab?
Can I add just one user at a time to the User Admin tab?
How do I set the password for new dashboard users?
How do I set the password for new dashboard users?
When are Roles automatically assigned to users?
When are Roles automatically assigned to users?
Is the role updated with the correct users when the Automatic Role Enrollment conditions change?
Is the role updated with the correct users when the Automatic Role Enrollment conditions change?
When you upload users in bulk, are they automatically added to a role based on the criteria they meet?
When you upload users in bulk, are they automatically added to a role based on the criteria they meet?
Are Roles updated on a user after their metadata changes?
Are Roles updated on a user after their metadata changes?
If I change a role name, will it update the corresponding metadata values on my users?
If I change a role name, will it update the corresponding metadata values on my users?
That's great! Thank you for your feedback!
Thank you for your feedback!