
Filtering Data (Designer)
What's on this page
About Filtering Data (Designer)
You may want to analyze a subset of data that meets specific criteria. Building filters allows you to work with subsets of refined data rather than the entire collected dataset. You can filter your own personal analysis or create filters that can be used by all users in your project.
Creating Filters
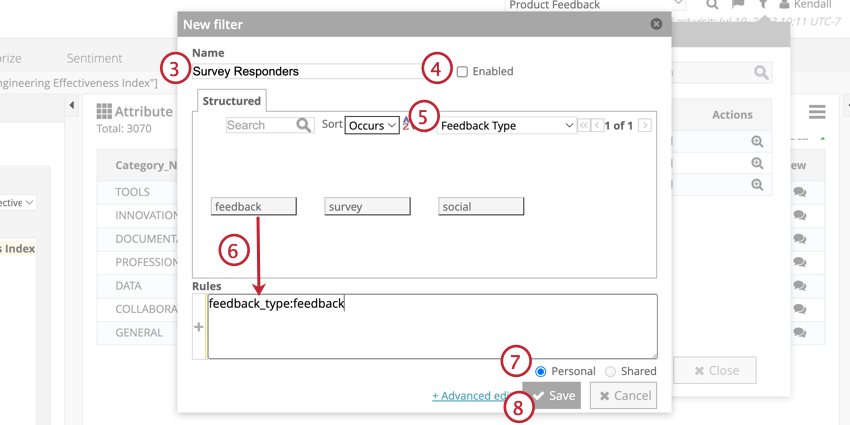
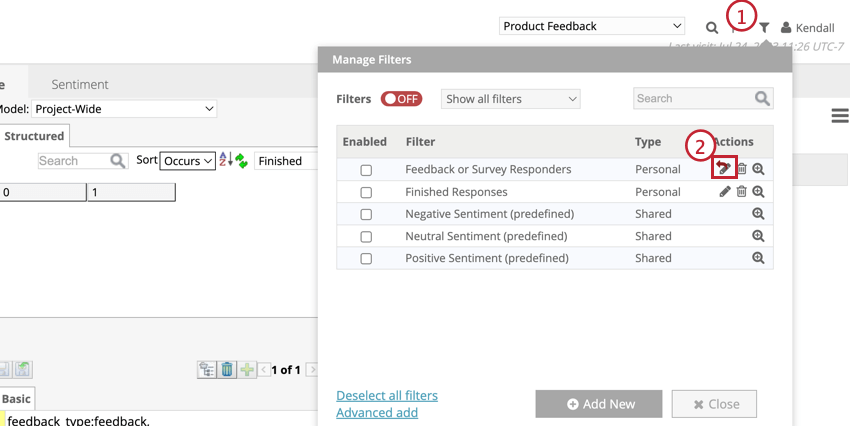
You can create a filter at any time in the Manage Filters panel at the top of the navigation bar. Filters are built using structured attribute values, for more information, see Filtering by Structured Data.
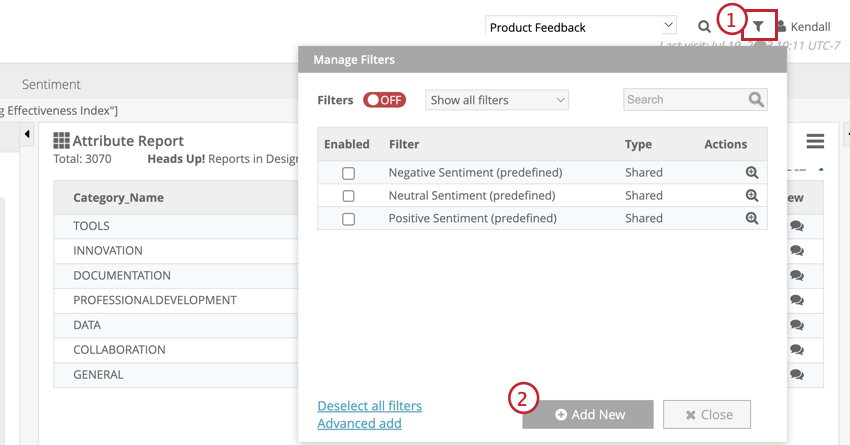
Attention: When you filter for multiple values, by default, any data that matches the values in the Rules box will be included— so data from users that meet any of the criteria will be included. See Category Rules (Designer) for more information.
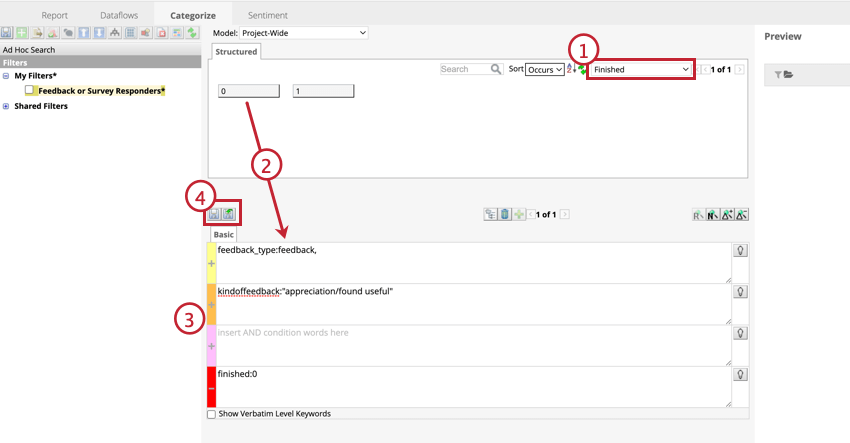
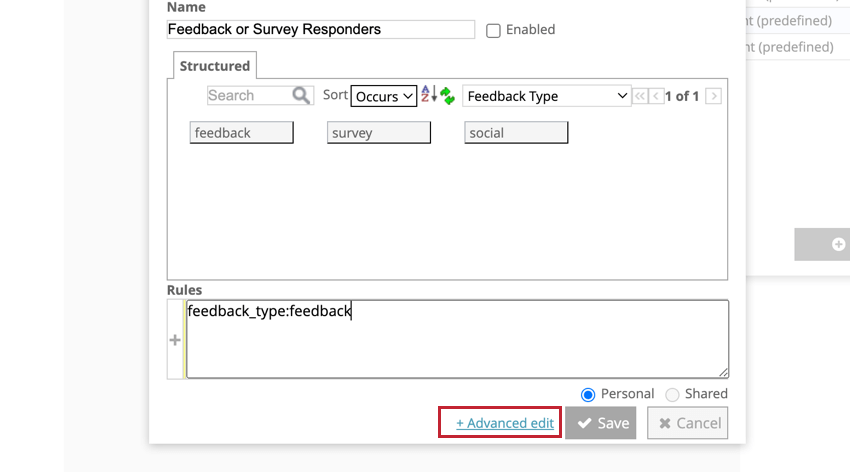
You can also create Advanced filters to use more rule lanes and verbatim-level keywords. To make an advanced filter, either click Advanced edits in the New filter panel when creating a filter, or navigate to the Categorize tab.

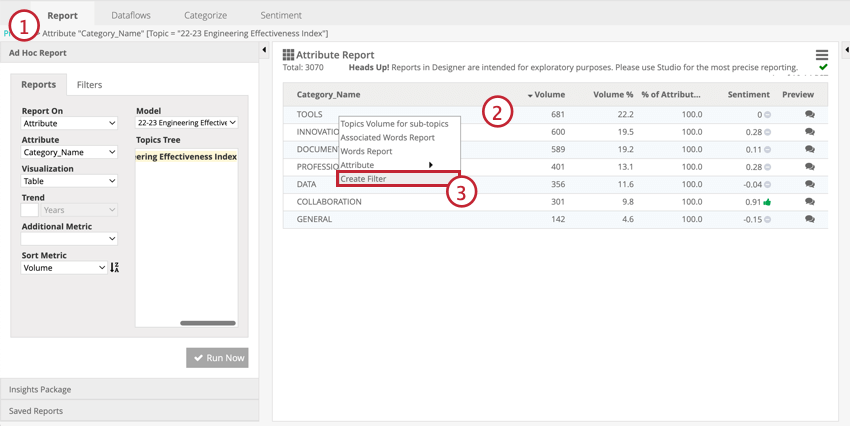
FILTERING BY REPORT ELEMENT
You can use report elements such as categories, attributes, words, or relationships to make filters in the Report tab.

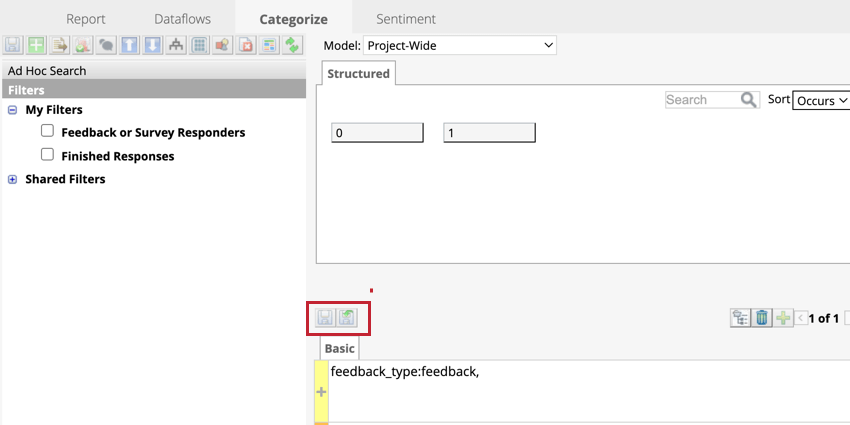
Editing Filters
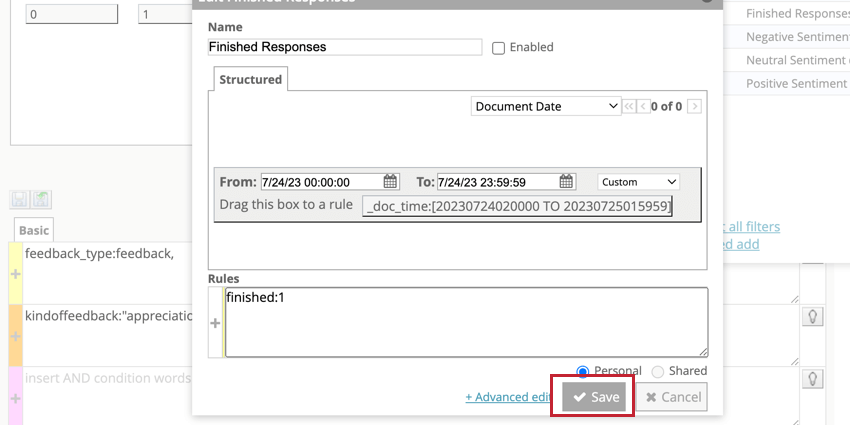
Qtip: If you’re editing an advanced filter , edits need to be made in the categorize tab. Click the button above the rule lanes to save these filters.

Deleting Filters
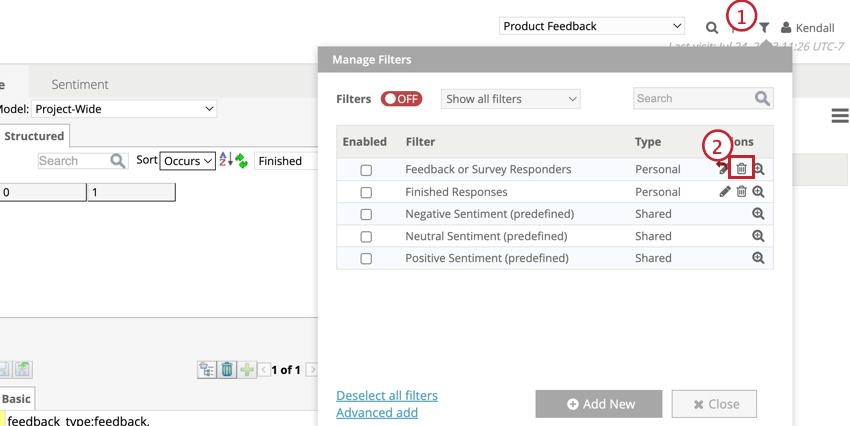
Attention: The three predefined sentiment filters and any shared filters used in exception rules cannot be deleted.
Applying Global Filters
Global filtering applies enabled filters to the entire project:
- The Categorize tab will only show words from sentences that match global filters. The preview panel will also be filtered.
- The Report tab will only show data that matches the global filter and any local filters selected in the report settings.
- The preview panel in the Sentiment tab will only show sentences that match the global filter.
To apply filters globally, turn on global filtering and enable the filters you would like to apply.
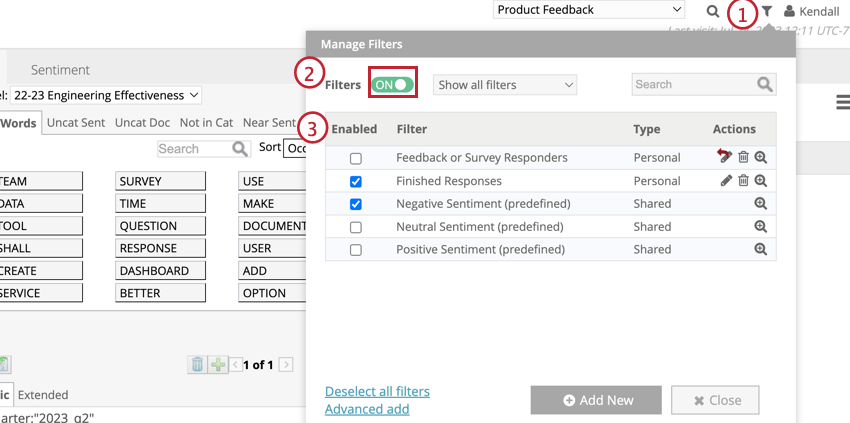
Qtip: If multiple filters are enabled, the dataset will only show data that satisfies both filters. For the example above, only finished responses with negative sentiment will be shown.
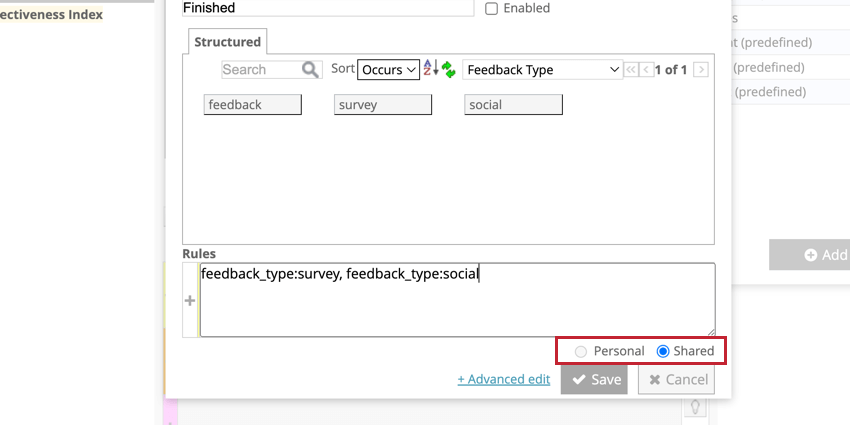
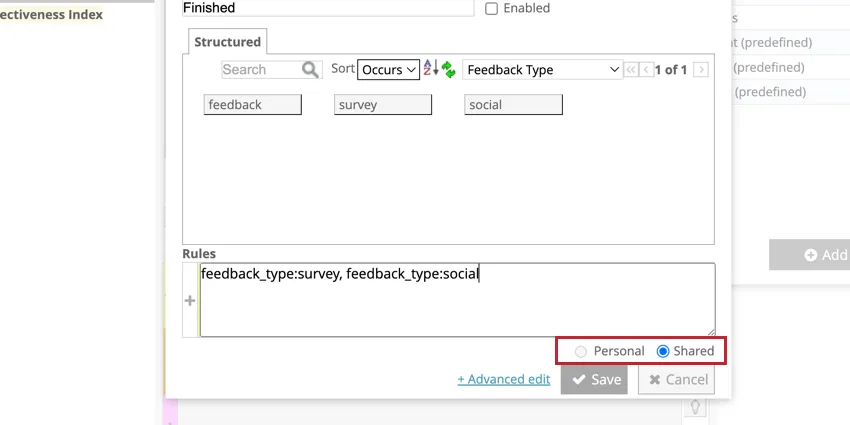
Sharing Filters
Shared filters can be accessed by all users across a project. When creating a filter from the manage filters menu, click the Shared option underneath the rule lane.
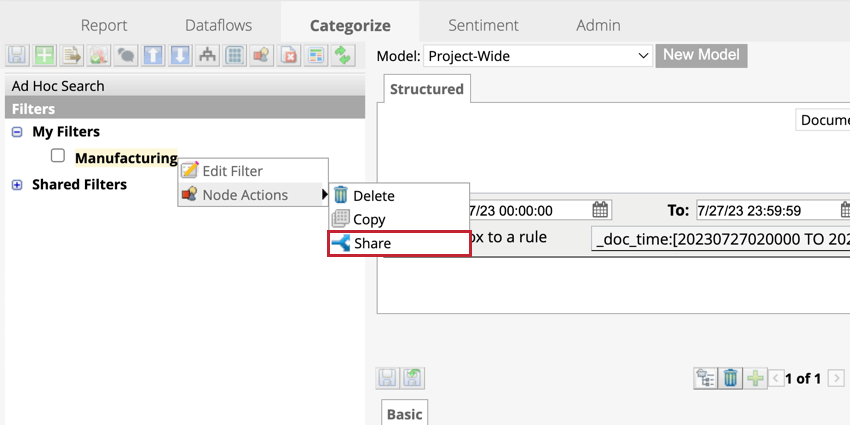
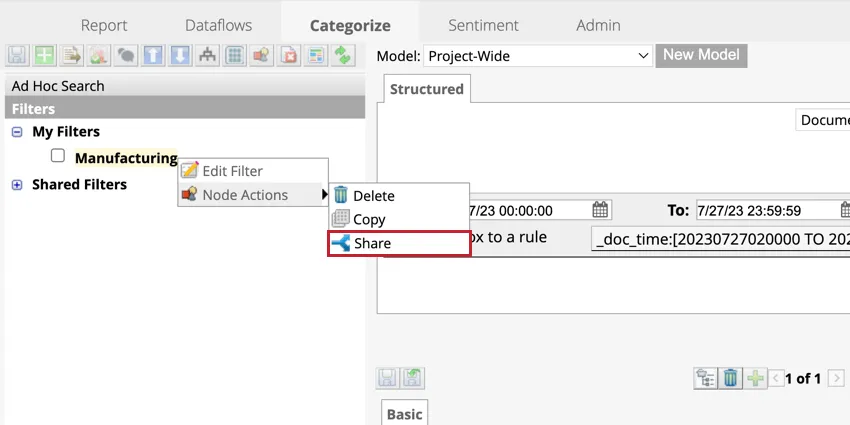
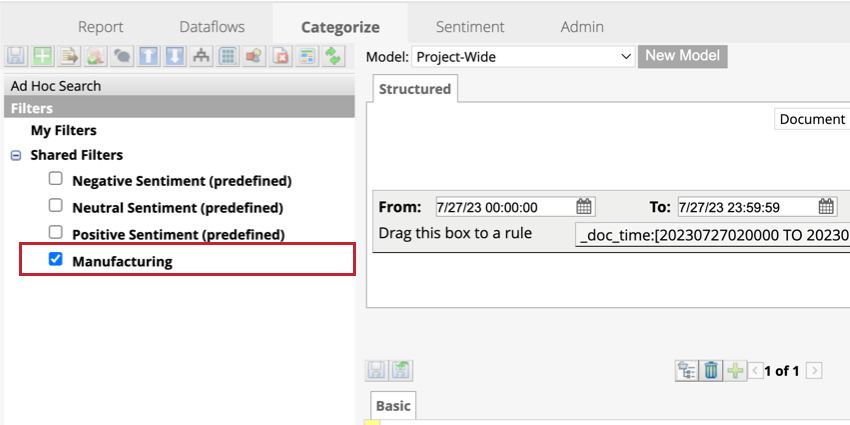
If you’re creating an advanced filter from the categorize tab, right-click the filter and hover over Node Actions, then click Share. This will move the filter into the Shared Filters list where it is accessible by project users.
Attention: If a user edits a shared filter, their changes will be applied to all users who have access to that filter.
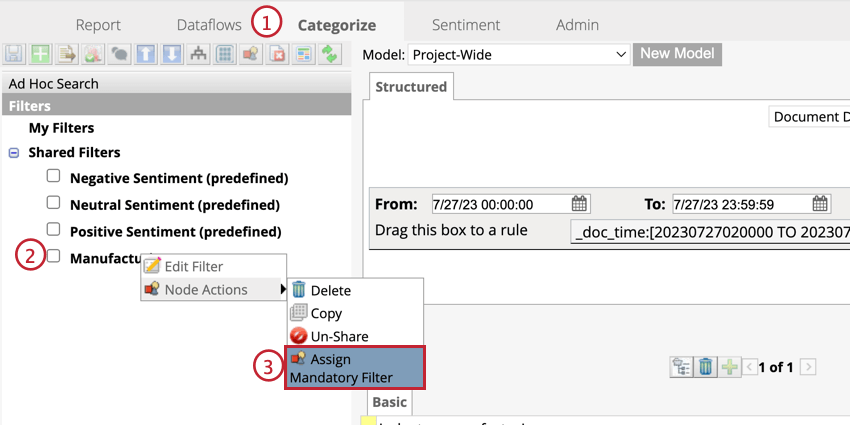
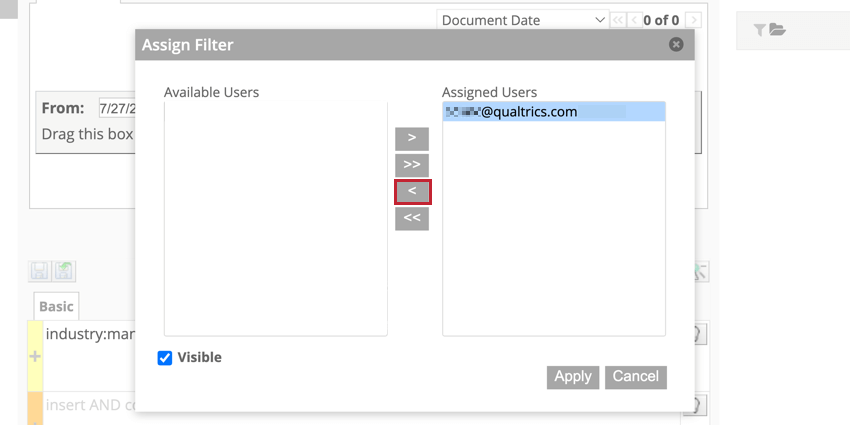
Assigning Mandatory Filters
Mandatory filters can be used to limit the data that is available to users for analysis. This is especially useful when multiple divisions, regions, or products are loaded into the same project.

To un-assign a user to a mandatory filter, follow the steps above to get to the Assign Filter panel, select the user you would like to un-assign, and click the left-facing arrow ( < ) to move the user into the Available Users box.

That's great! Thank you for your feedback!
Thank you for your feedback!