
Date Field Format (CX)
What's on this page
About Dashboard Date Field Formats
You can customize the formats of date fields in your dashboard. This can be used to set the day, month, and year order in a date. You can also specify whether the date includes time data (seconds, minutes, etc.) and how you want the time to display.
Dates in the following formats are automatically parsed and do not need their format specified:
- YYYY-MM-dd
- YYYYMMdd
- YYYYMMdd:HHmmss
- YYYY-MM-dd HH:mm:ss
- YYYY-MM-dd‘T’HH:mm:ss.SSS‘Z’
Qtip: You cannot customize date formats for default date fields like Recorded Date, End Date, and Start Date. These default fields are formatted automatically.
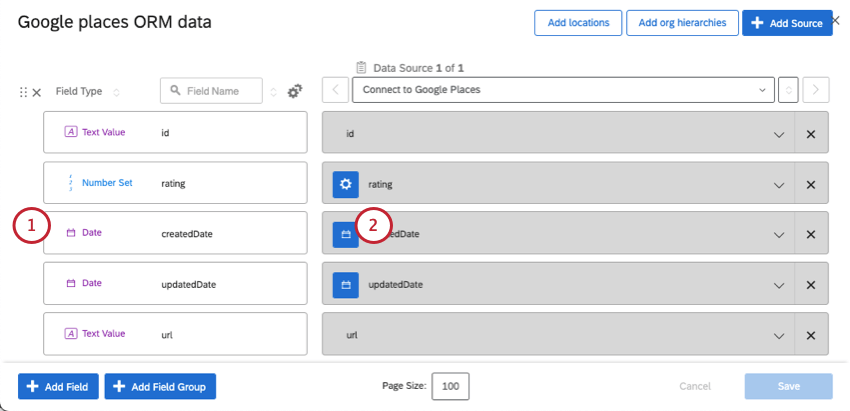
Changing Date Formats in the Data Mapper
Qtip: The data mapper is the default, simplest way you define dashboard data. See Data Mapper (CX) for more details.
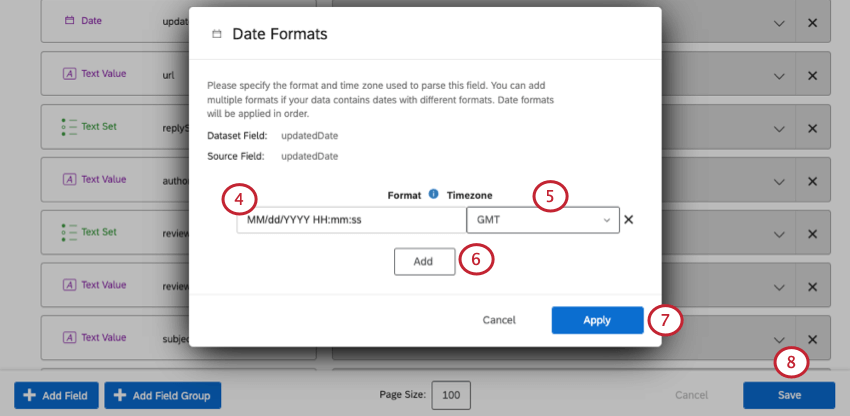
Default date fields like recorded and end date will follow the time zone of the dashboard. When creating a new date field, the default time zone selected is often GMT, the CX Dashboard default. However, it is best practice to verify the correct time zone for the new field you are adding.
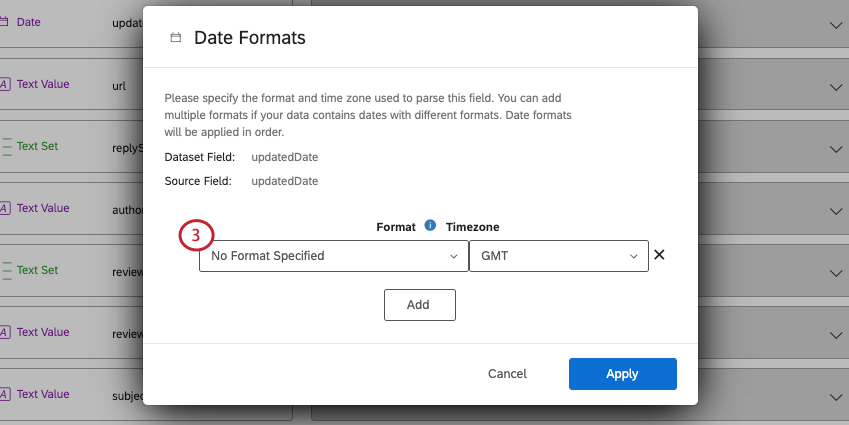
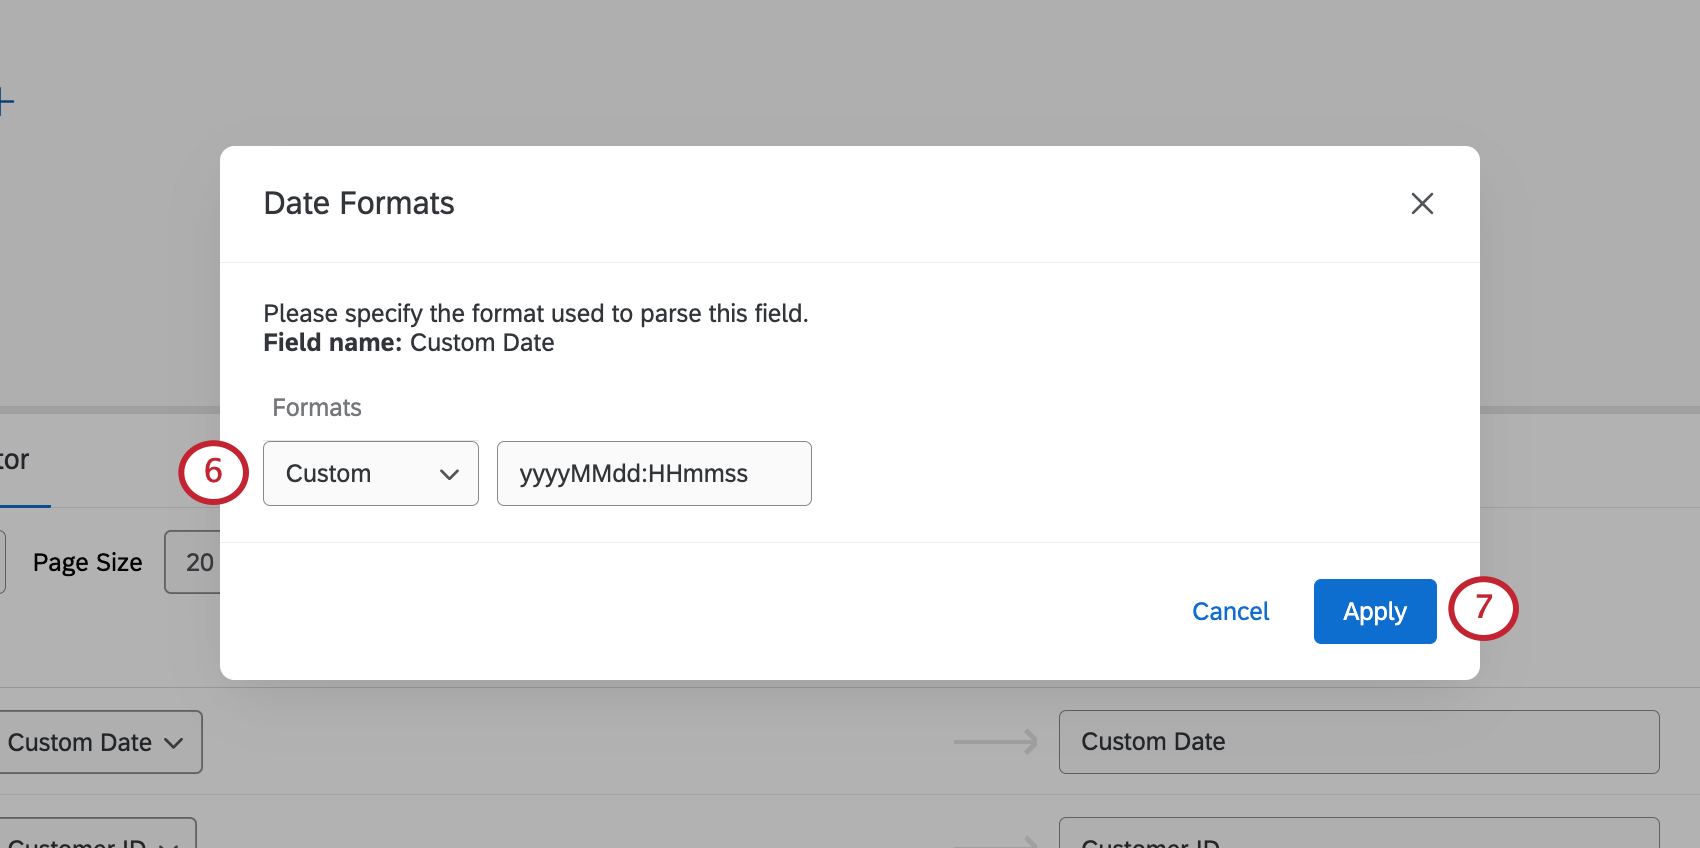
Qtip: The list of date formats is not all inclusive. If you are using a date format that is not in the list, you’ll need to create a custom date format by selecting Custom.
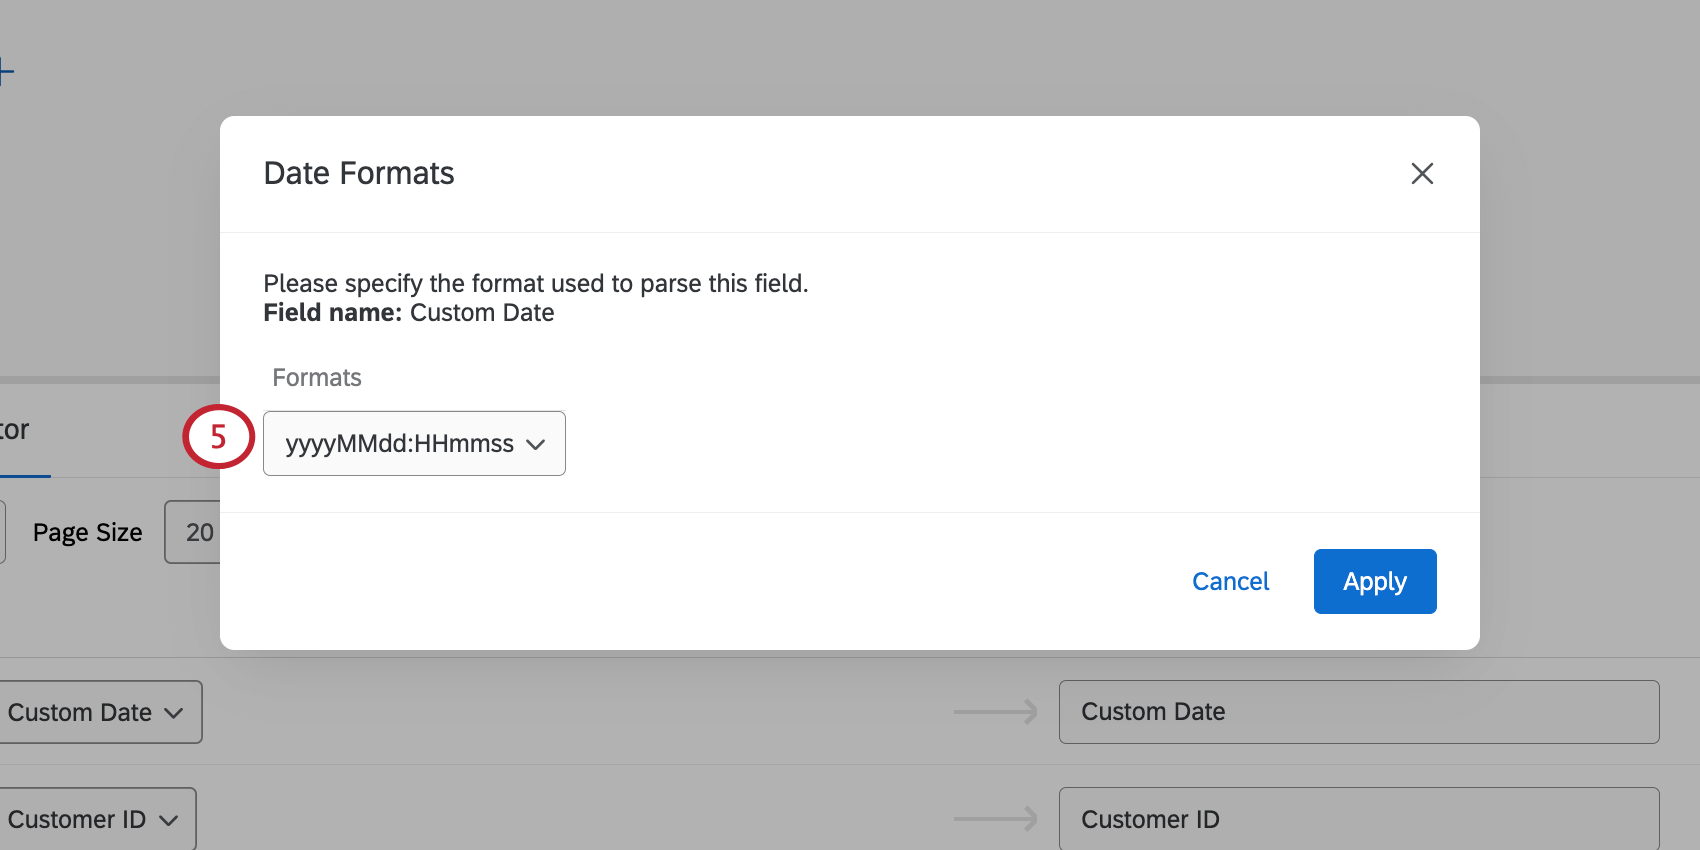
Changing Date Formats in Data Models
You can only customize dates at the source in a data model. These formats are then carried through the model’s joins, unions, and output dataset.
Qtip: The time zone of your custom date fields will always match the time zone set for the dashboard.

Date Format Syntax
To specify a custom format, please use the following symbolic syntax:
| Symbol | Meaning | Presentation | Examples |
|---|---|---|---|
| G | era | text | AD |
| C | century of era (>=0) | number | 20 |
| Y | year of era (>=0) | year | 1996 |
| x | weekyear | year | 1996 |
| w | week of weekyear | number | 27 |
| e | day of week | number | 2 |
| E | day of week | text | Tuesday; Tue |
| y | year | year | 1996 |
| D | day of year | number | 189 |
| M | month of year | month | July; Jul; 07 |
| d | day of month | number | 10 |
| a | halfday of day, one character | text | A |
| tt | halfday of day, two characters | text | AM |
| K | hour of halfday (0~11) | number | 0 |
| h | clockhour of halfday (1~12) | number | 12 |
| H | hour of day (0~23) | number | 0 |
| k | clockhour of day (1~24) | number | 24 |
| m | minute of hour | number | 30 |
| s | second of minute | number | 55 |
| S | fraction of second | number | 978 |
| z | time zone | text | Pacific Standard Time; PST |
| Z | time zone offset/id | zone | –0800; –08:00; America/Los Angeles |
| , | escape for text | delimiter | |
| ‘ ‘ | single quote | literal | ‘ |
Qtip: 2-digit years (e.g. 94 or 24) are interpreted within the date range of 1944-2043. For example, “44” would be processed as “1944”, and “43” would be processed as “2043”. For specificity, use 4-digit years.
For example, if you have date and time data in this format: 2024-08-30T12:30:22, it should be presented in the date format field as YYYY-MM-dd‘T’HH:mm:ss.
That's great! Thank you for your feedback!
Thank you for your feedback!