
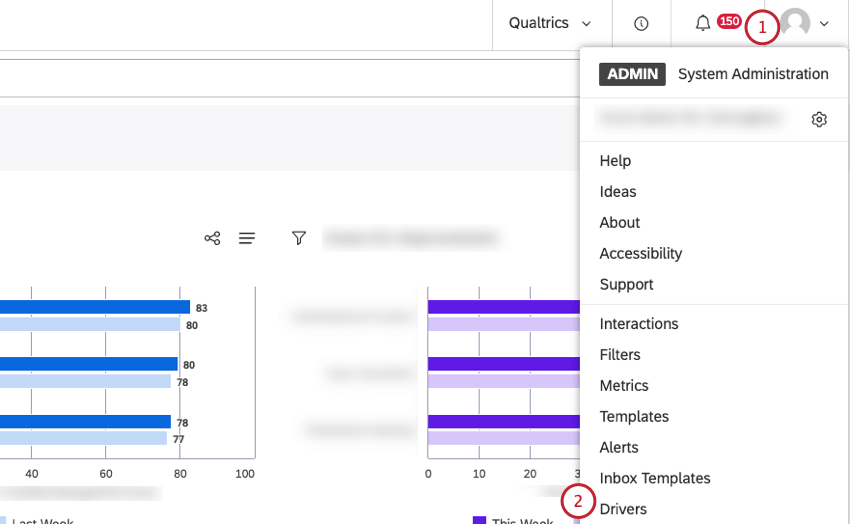
Managing Drivers (Studio)
What's on this page
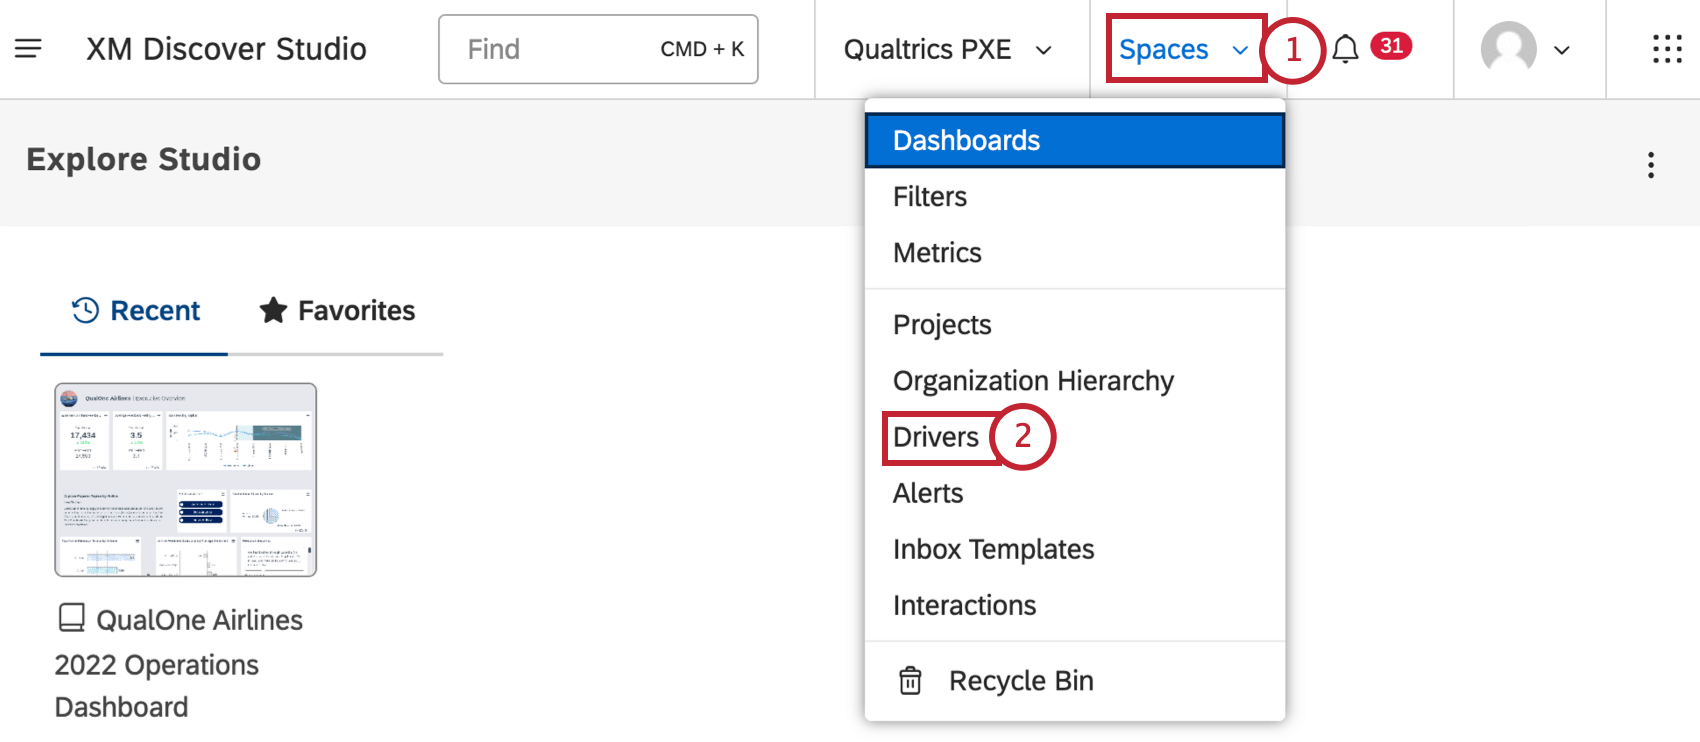
About Managing Drivers
After you create drivers in Studio, you can carry out a range of actions on the Drivers page, including the following:
- Editing driver settings
- Sharing drivers with other users
- Reassigning drivers to another owner
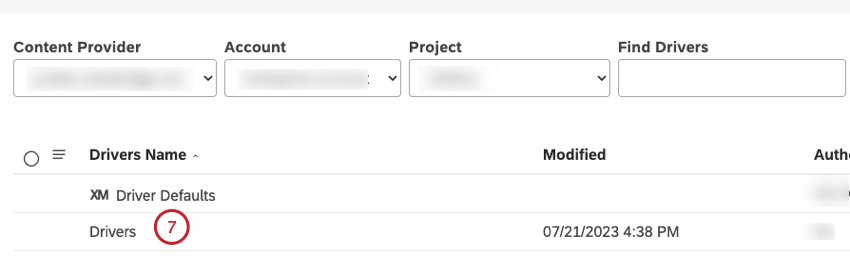
- Finding the drivers behind your data
- Copying drivers
- Reporting on drivers
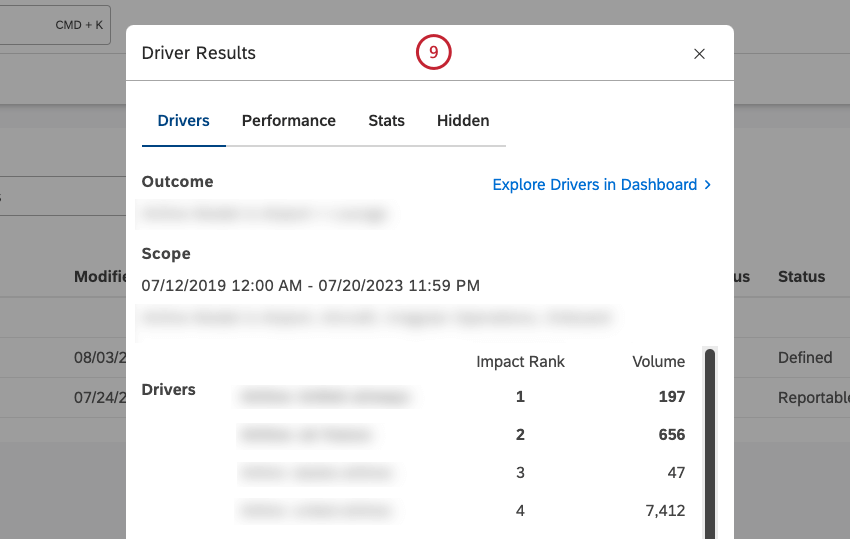
For information about viewing and managing driving results, using the impact rank to differentiate drivers, and hiding and unhiding drivers that are not useful for your analysis, see Working With Driver Results.
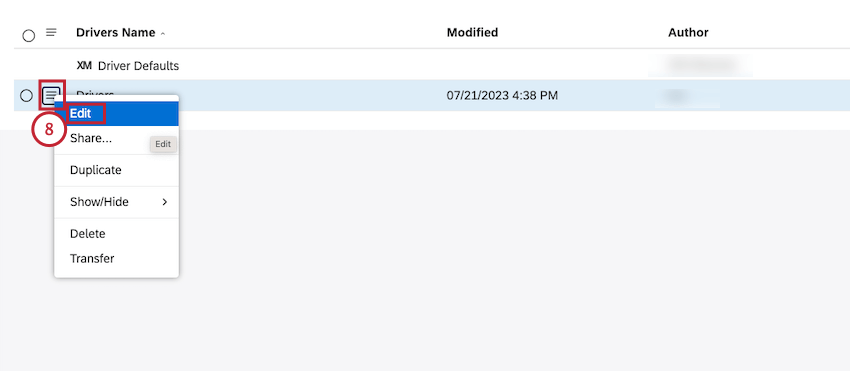
Editing Drivers
Qtip: You can edit your own drivers and drivers to which you have Can Edit access.
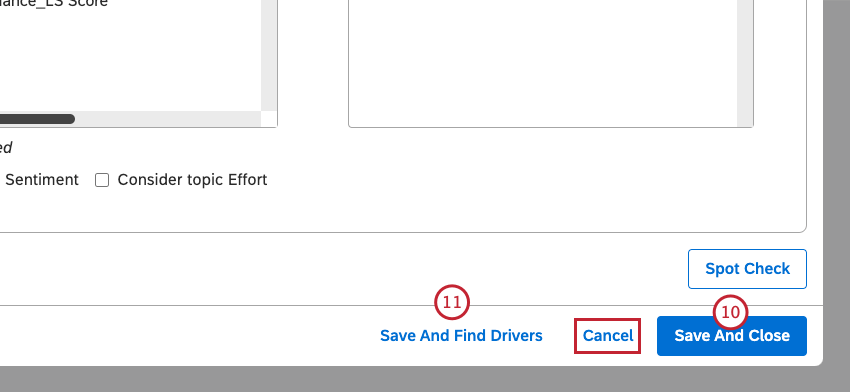
Qtip: You need to choose Save And Find Drivers after editing the driver settings to update the results of your investigation.


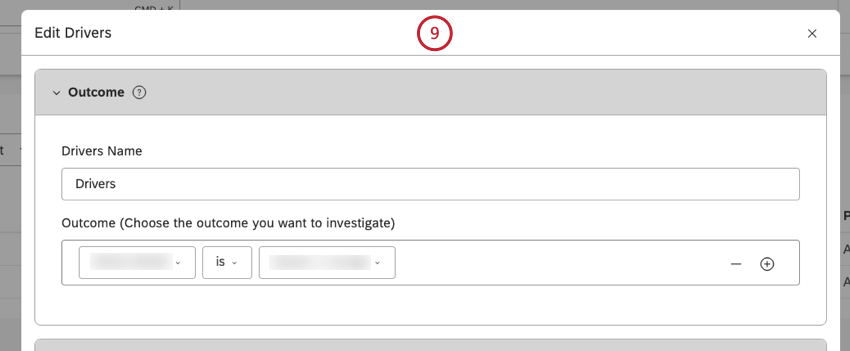
Attention: This option does not update existing drivers if they have been found previously.
To update the driver, click the Save And Find Drivers button.
Qtip: Drivers and their impact rank are derived when you click Save and Find Drivers or Find Drivers (for more information, see the Finding Driver Results section). However, you can re-run and iterate on drivers, for example after updating the time range and scope or excluding attributes and topics that are not useful.
Qtip: Click Cancel to close the Edit Drivers window without saving the changes.
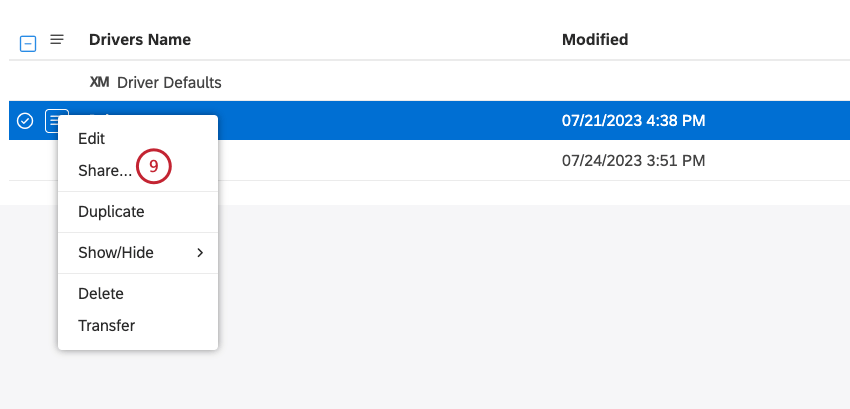
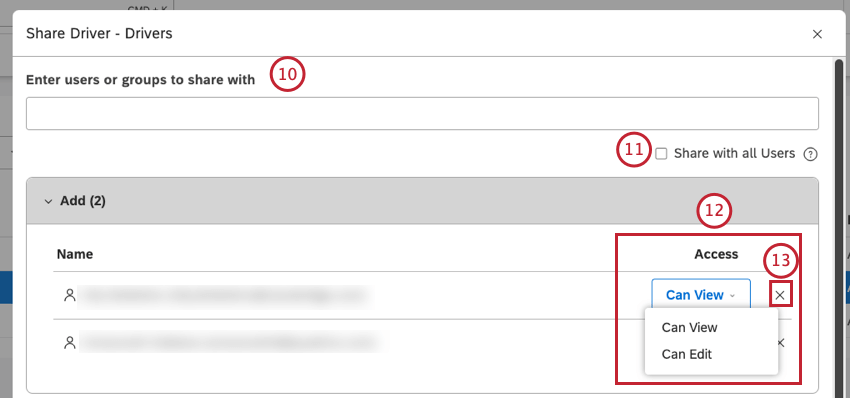
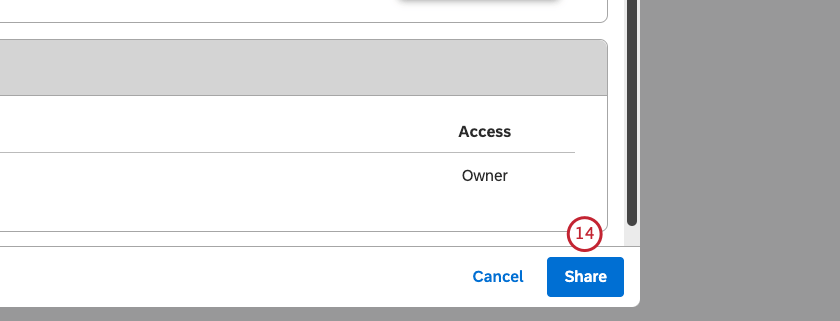
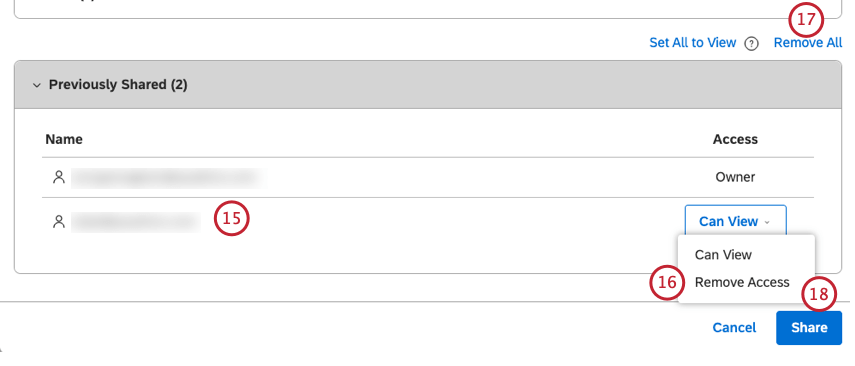
Sharing Drivers
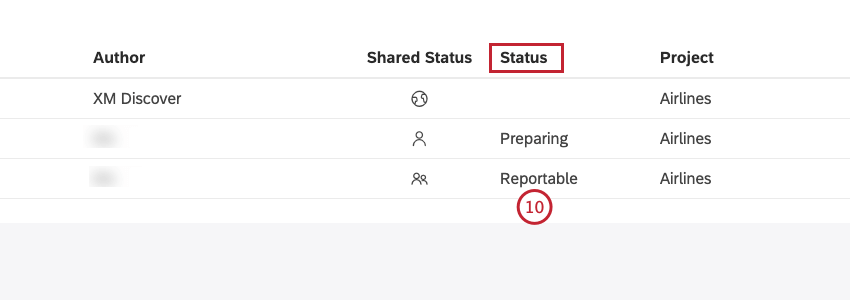
Qtip: Once you share a driver, its status changes from Private to Shared or Public.
You can share your drivers with other users if you wish to let them view the drivers and report on them. You can share drivers with individual users, groups, or everyone in your master account. When sharing, you can choose between viewer-level access (requires a Can View permission) and editor-level access (requires a Can Edit permission).
When you share a driver with a group, all members of that group will be able to use the driver. Users who join the group after you have shared a driver will still get access to it. As soon as any user leaves the group, the driver will no longer be accessible to that user. You can stop sharing your driver at any time.

Qtip: You can enter the name of the driver in the Find Drivers box to find it.
Qtip: Wait for the email address (or the name of the group if sharing with a group) to appear in the dropdown menu and then select it.
Attention: Bulk sharing overwrites any previously shared permissions a user may have.
Qtip: This action requires a Share to All permission.
- Can View: Allows the user or group to view driver settings, results, and report on them.
- Can Edit: Allows the user or group to edit driver settings, find drivers, and report on them. Qtip: The Can Edit access is not available when you share a driver with all Studio users.
 Qtip: You can add as many users and groups to the Addsection as required.
Qtip: When a driver is shared with a group, removing a user from that group will also make your driver inaccessible to that user.
Drivers Permissions
The following table provides an overview of the available permissions for each access level when sharing drivers.
| Permission | Owner | Can Edit | Can View |
|---|---|---|---|
| Can view driver settings | Yes | Yes | Yes |
| Can view driver results | Yes | Yes | Yes |
| Can report on drivers | Yes | Yes | Yes |
| Can edit driver settings | Yes | Yes | No |
| Can find driver results | Yes | Yes | No |
| Can share a driver | Yes | No | No |
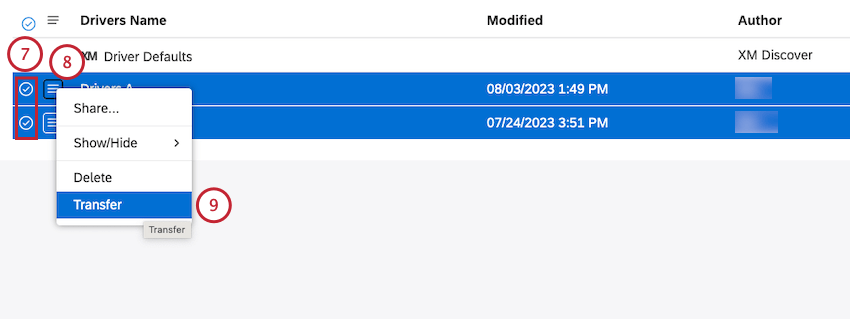
Transferring Drivers
Qtip: Once you reassign driver ownership to another user, you cannot undo this action. Only the new owner can change driver ownership further. You can retain a Can Edit permission to the driver by selecting the Retain Share Edit Access checkbox during the transfer.
Driver owners can transfer their drivers to other users, making them the new owners. Driver ownership can only be transferred to users who satisfy the following conditions:
- Have Create and Manage Drivers permission.
- Have at least read-only access to the corresponding project in the content provider.

Qtip: You can enter the name of the driver in the Find Drivers box to find it.
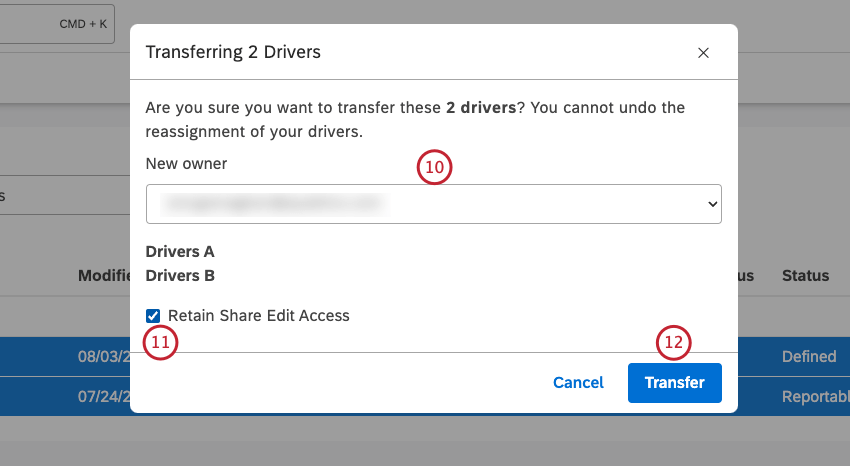
Qtip: Deselect this checkbox if you don’t need to access the drivers.
After you click Transfer, the drivers are transferred to the new owner.
Finding Driver Results
After you create a driver, you need to run it for XM Discover to find the drivers in your data. You need to find drivers in the following cases:
- For a driver in the Defined state, finding drivers is a necessary step before you can view them or use them in reports.
- For a driver in the Reportable state, finding drivers is required after you change driver settings to update the results.
For information on viewing and working with driver results, see Working With Driver Results.
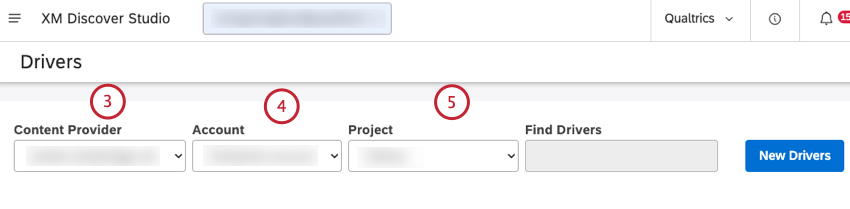
Qtip: You can enter the name of the driver in the Find Drivers box to find it.
Qtip: If you need to make changes to the driver before running it, click the driver name, change the settings, and then click Save And Find Drivers. For more information, see Editing Drivers.
Qtip: Red warnings must be fixed before drivers can be found.
Duplicating Drivers
In addition to creating new drivers, you can duplicate the drivers you created previously.

Qtip: You can enter the name of the driver in the Find Drivers box to find it.
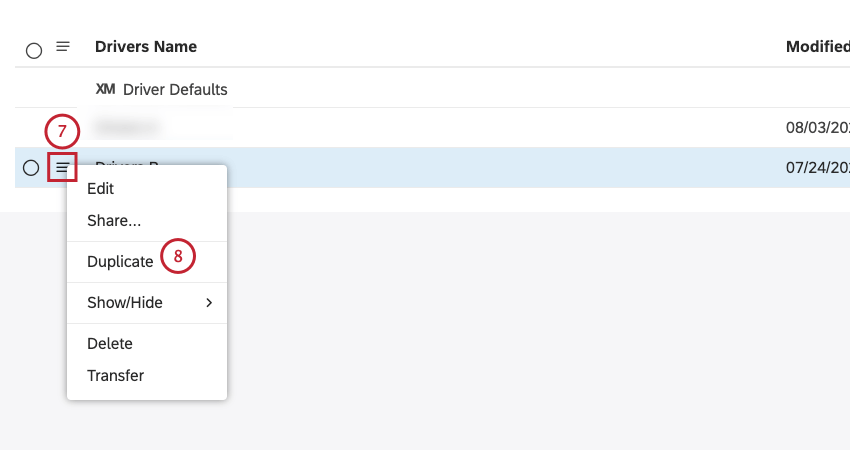
Qtip: You can edit and rename the copy.
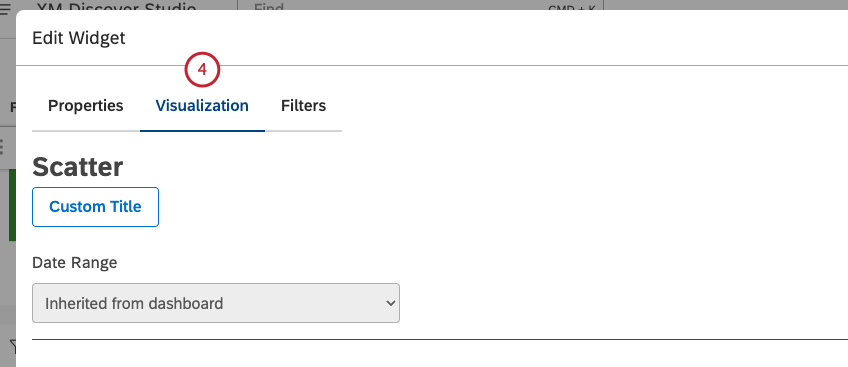
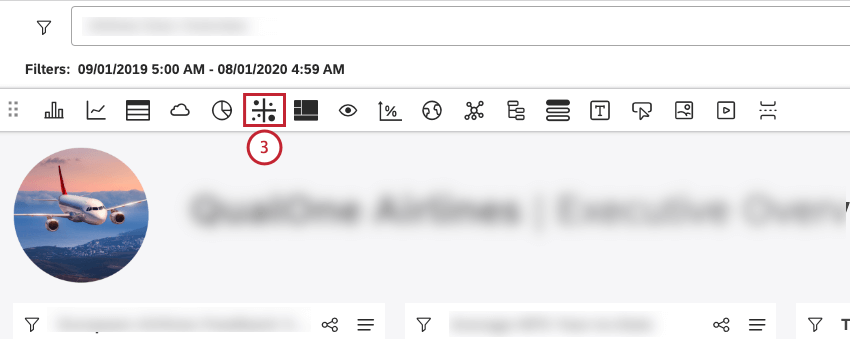
Reporting on Drivers
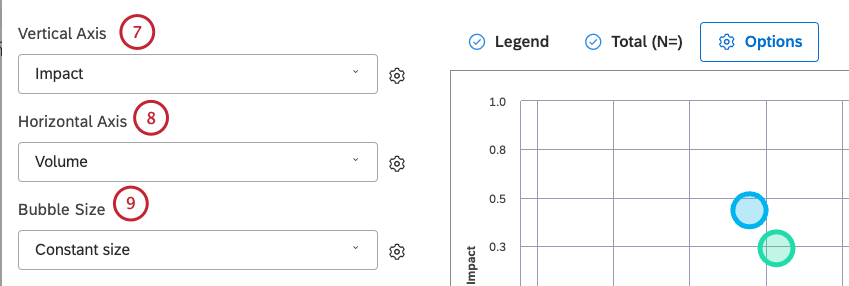
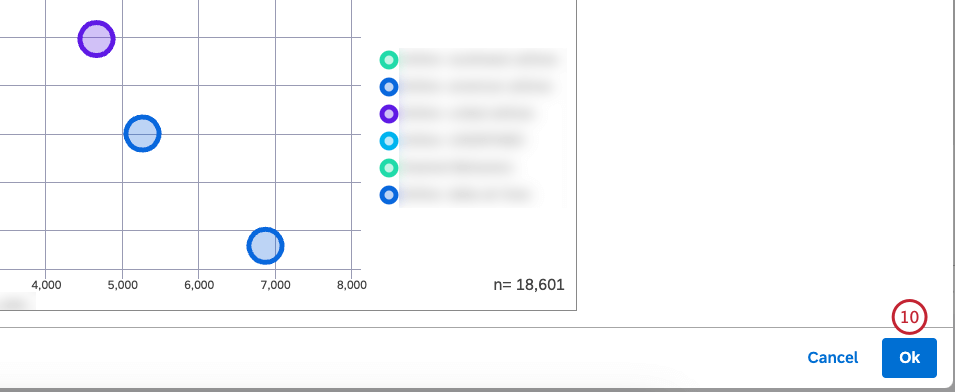
You can group data by drivers and combine the impact score with other calculations using the scatter widget. There are 2 ways you can add a driver-based scatter widget:
- Create a scatter widget manually and group data by drivers.
- Create a scatter widget automatically using the Explore Drivers in Dashboard feature. For more information, see Working with Driver Results. Qtip: Drivers are updated only when you run the find drivers procedure, not when the widget runs.
Grouping Data by Drivers Manually


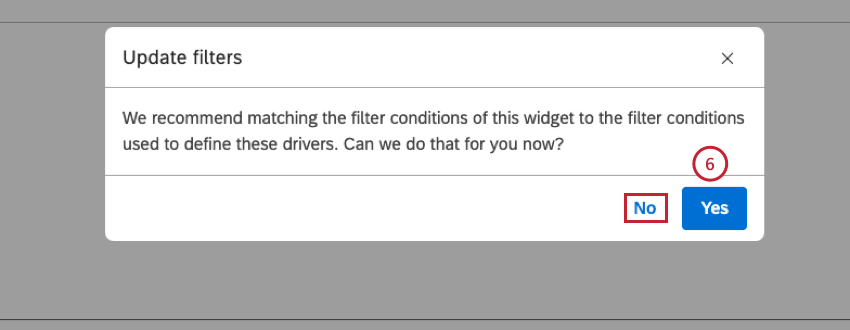
Qtip: Click No if you do not want to sync widget filters with the drivers.
Qtip: You can switch filter syncing on and off in the Filters tab.
Syncing Widget Filters With Drivers
The best way to analyze drivers is in their context which is achieved by syncing widget filters with drivers. When data in a scatter widget is grouped by drivers, you can switch filter syncing between the widget and drivers on and off.

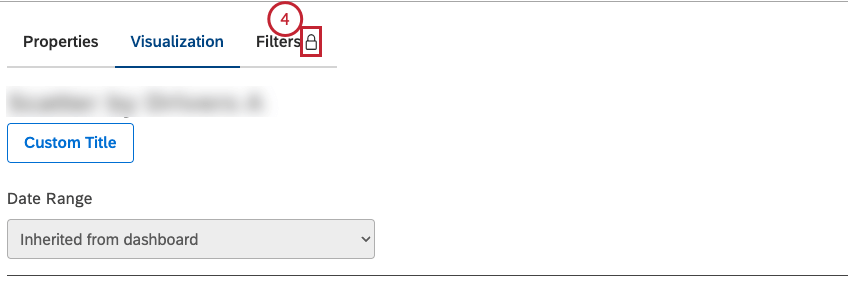
Qtip: When widget filters are synced to drivers, the Filters tab has a lock icon on it.
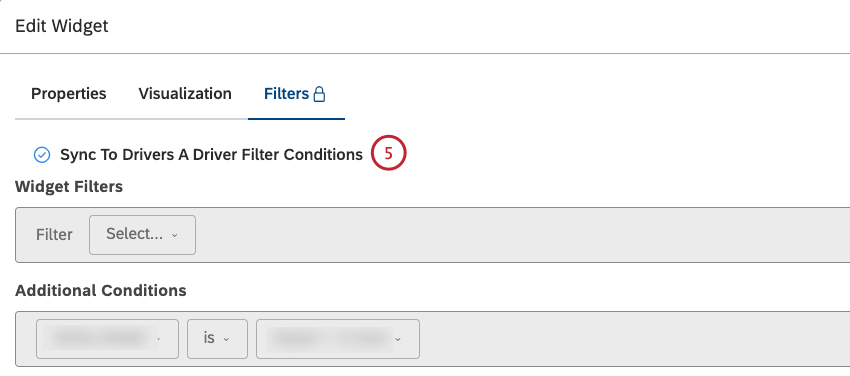
Qtip: Deselect the Sync to Drivers A Drier Filter Conditionscheckbox to turn filter syncing off.

Deleting Drivers
Attention: If you delete a driver used in a widget, the widget will remain in the dashboard, but will return an error because the driver definition will be gone.
You can delete the drivers you no longer need.


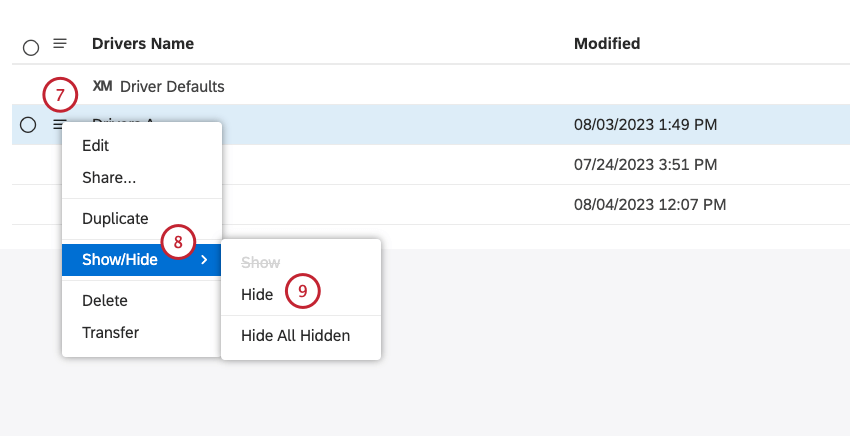
Hiding and Unhiding Drivers
Qtip: Hiding a driver only affects its visibility for the current user and has no impact on other Studio users.
Hiding a Driver
You can hide drivers without deleting them.

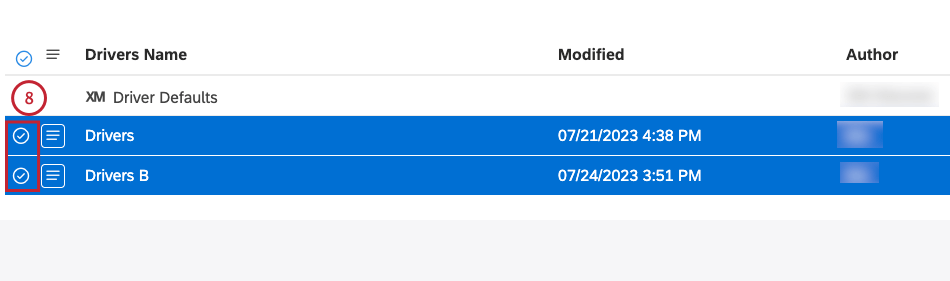
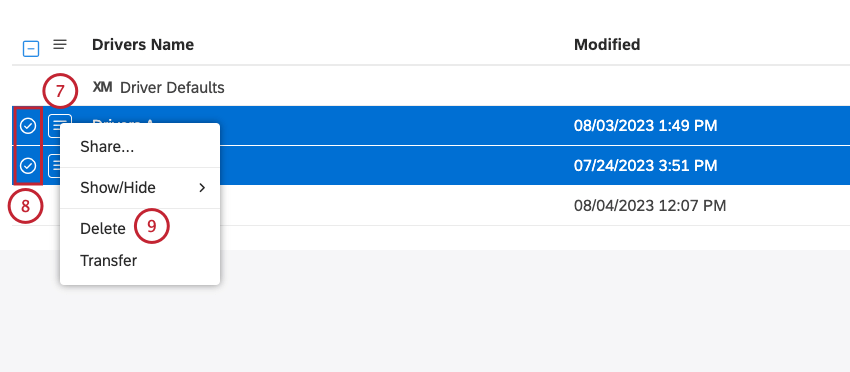
Qtip: Select the checkbox beside each of the drivers that you want to delete to delete more than one driver at once.
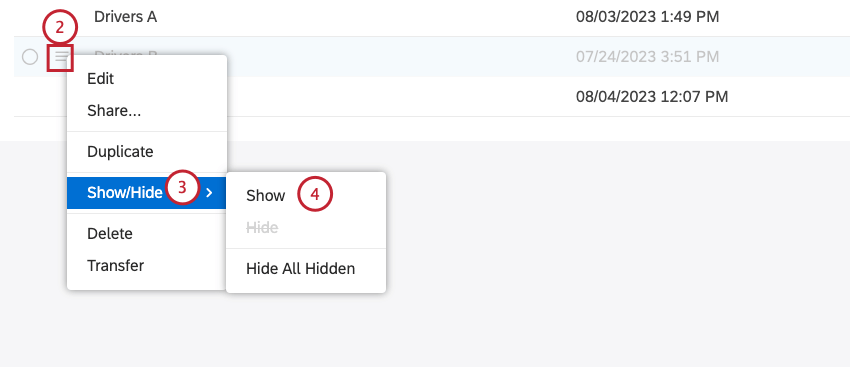
Unhiding a Driver
You can unhide hidden drivers.
Qtip: Select the checkbox beside each of the drivers that you want to delete to delete more than one driver at once.
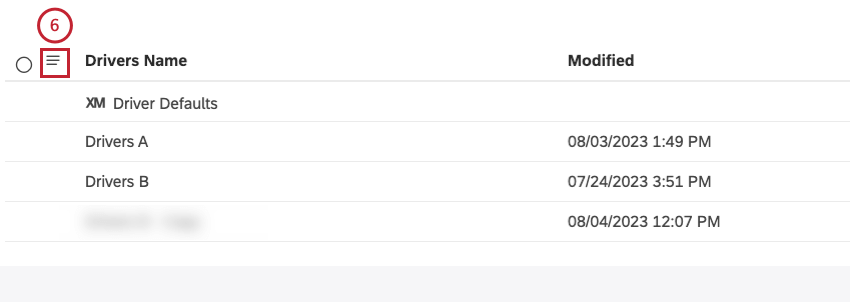
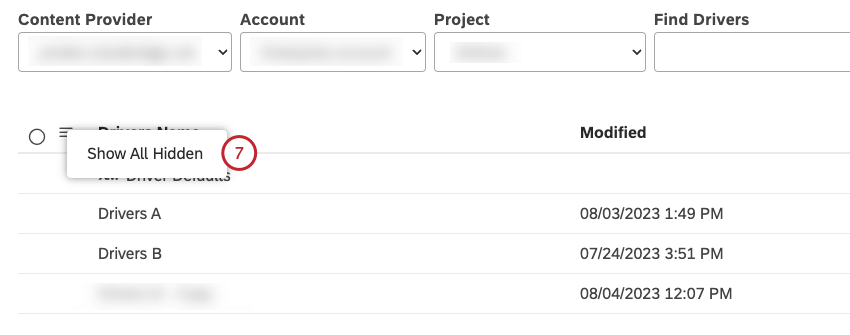
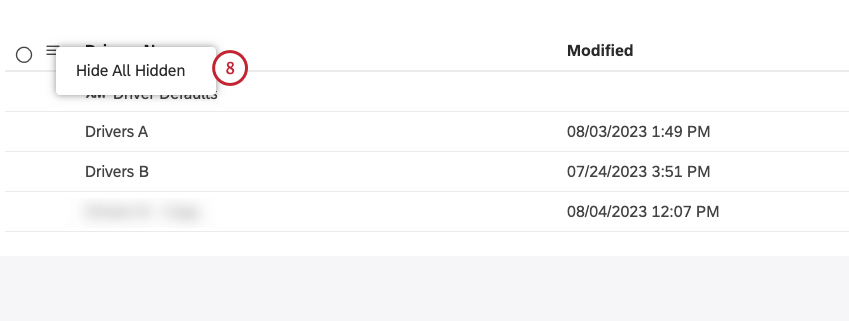
Turning Hidden Drivers Visibility On or Off
You can turn hidden driver visibility on or off.

That's great! Thank you for your feedback!
Thank you for your feedback!