
Clipping, Saving, & Sharing Documents (Studio)
What's on this page
About Clipping, Saving, and Sharing Documents
In document explorer and feedback widgets, you can share documents with your colleagues either through a link or a dashboard.
Feedback Sharing and Data Security
If a Studio user has direct data access to a project and its documents, they can share data using dashboards.
Report Consumer license users never have direct access to data. They can only view documents specifically shared with them by a Studio user via a dashboard. Because they are not granted direct access to any data, Report Consumers cannot give other users access to documents.
What this means for sharing
- Copying a link to an interaction: Anyone can copy a link, but only users with permission to view the data (i.e., Studio users with data access to the related project) can view the documents using the link. Users without project data access (i.e., Report Consumer users) will see an error message. Links do not give universal access to an interaction, since this would circumvent data access security.
- Sharing documents via dashboard: Only Studio users with Create and Edit Dashboard permissions can share feedback through a dashboard. Sharing feedback through a dashboard lets you give a specific set of users access to the chosen documents via the dashboard sharing mechanism. Report Consumer users cannot share documents to any other Studio user (Report Consumer or other types), since this would circumvent data access security.
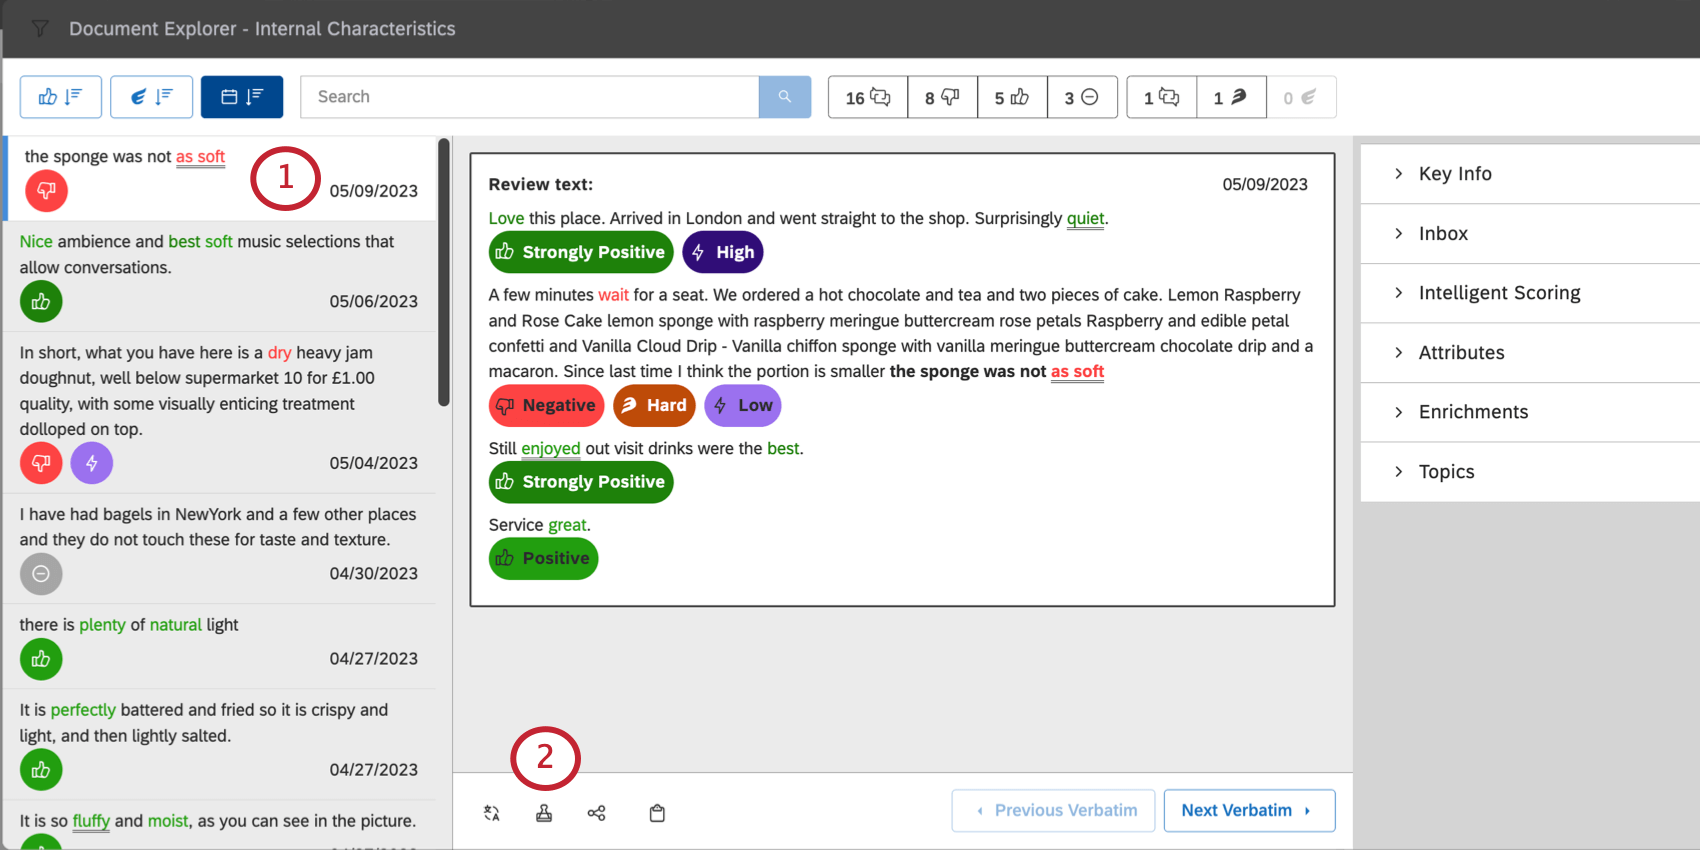
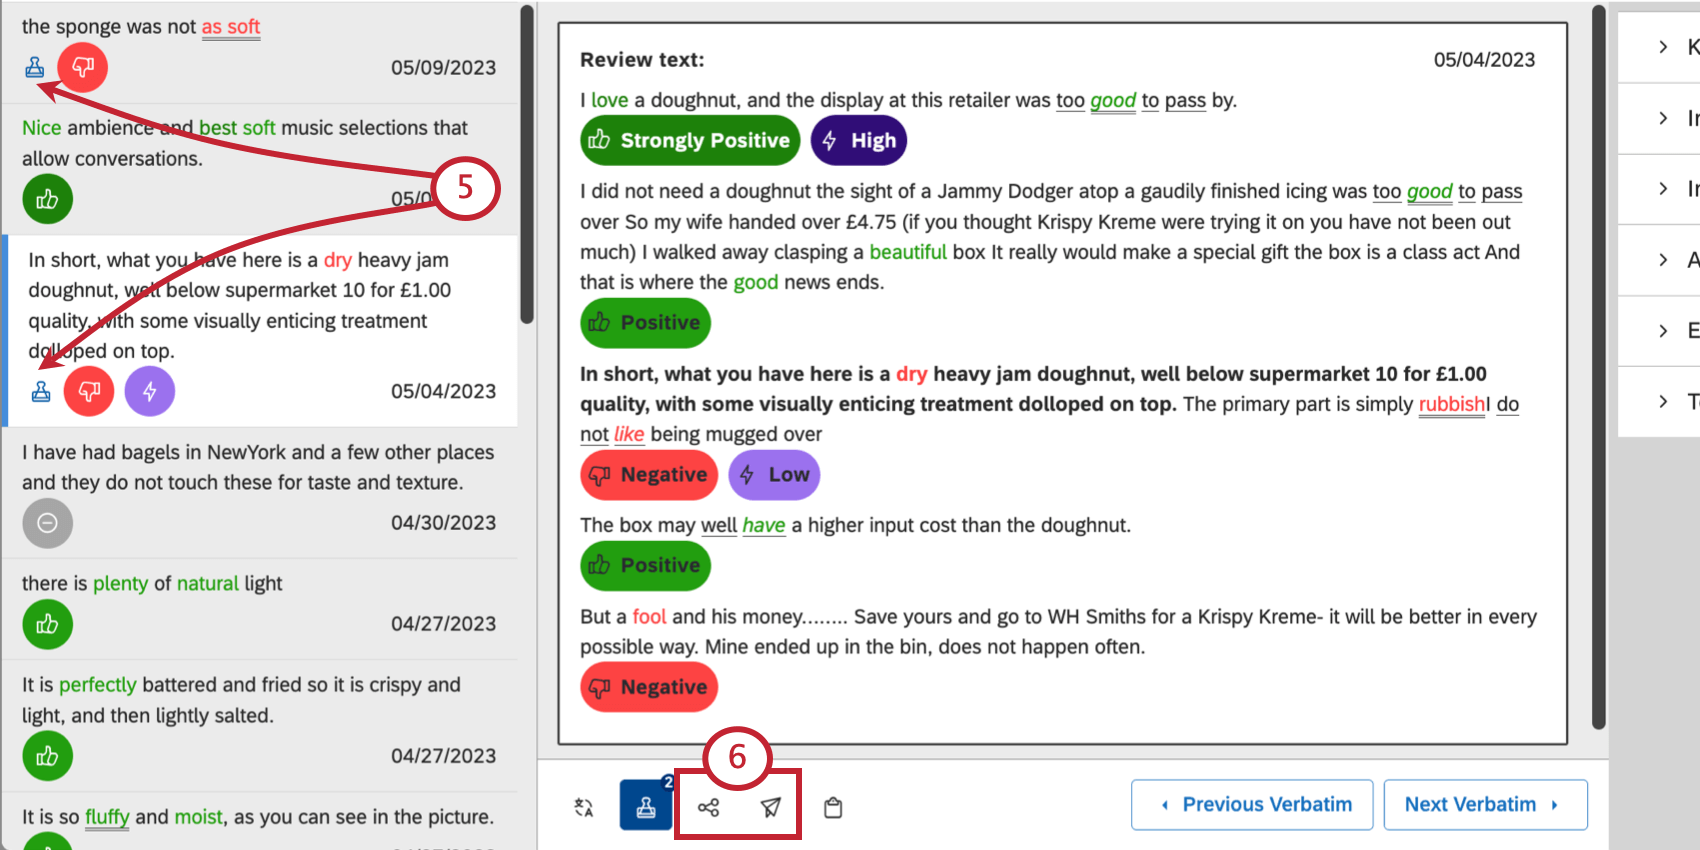
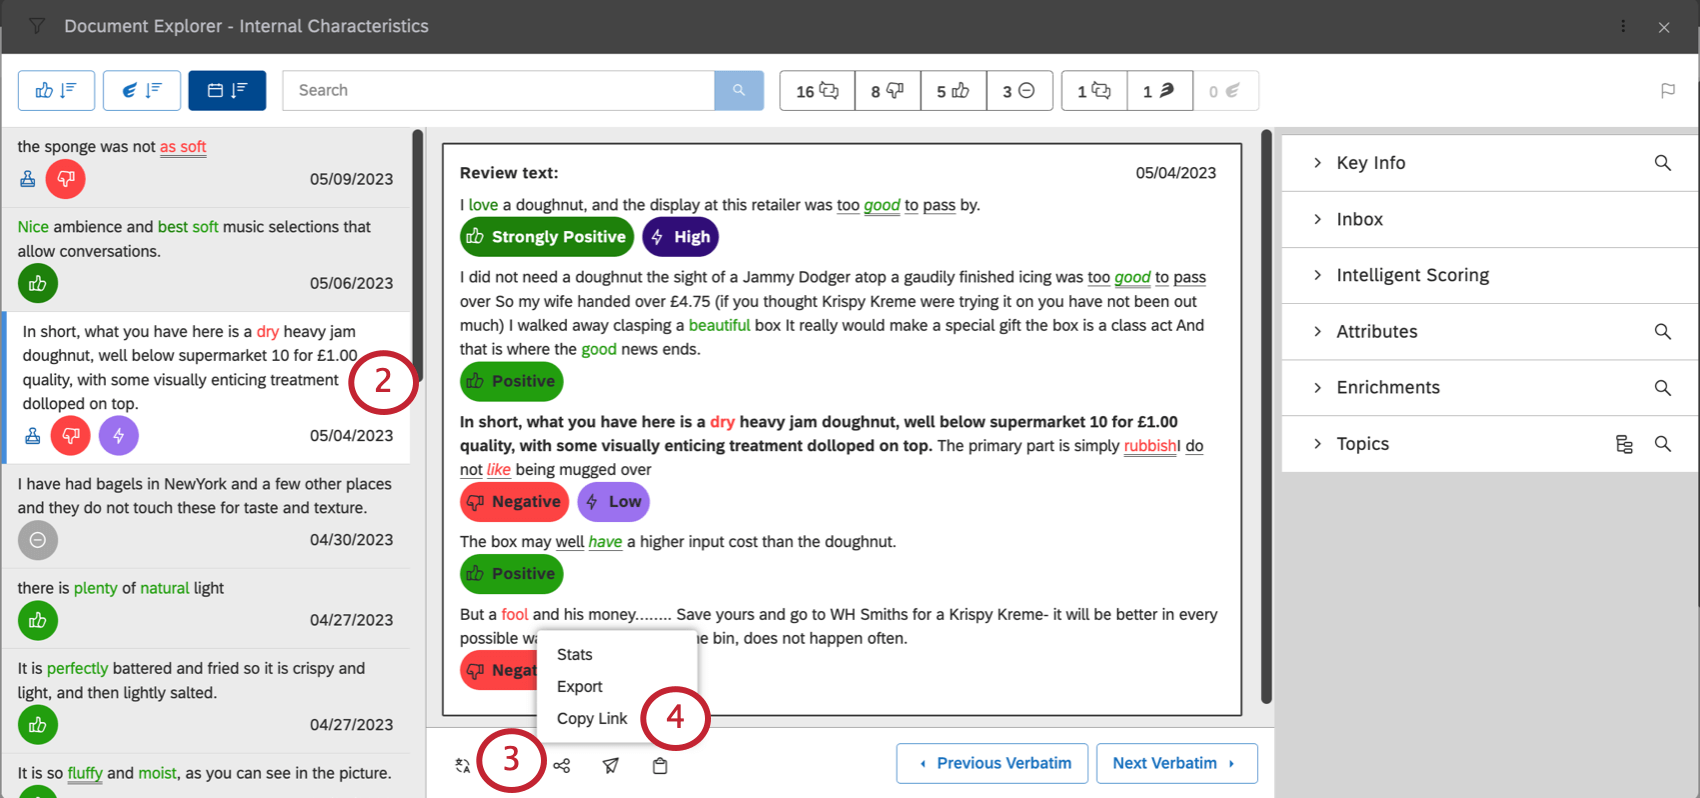
Clipping Documents
Clipping documents lets you select multiple specific documents at once for sharing or exporting.
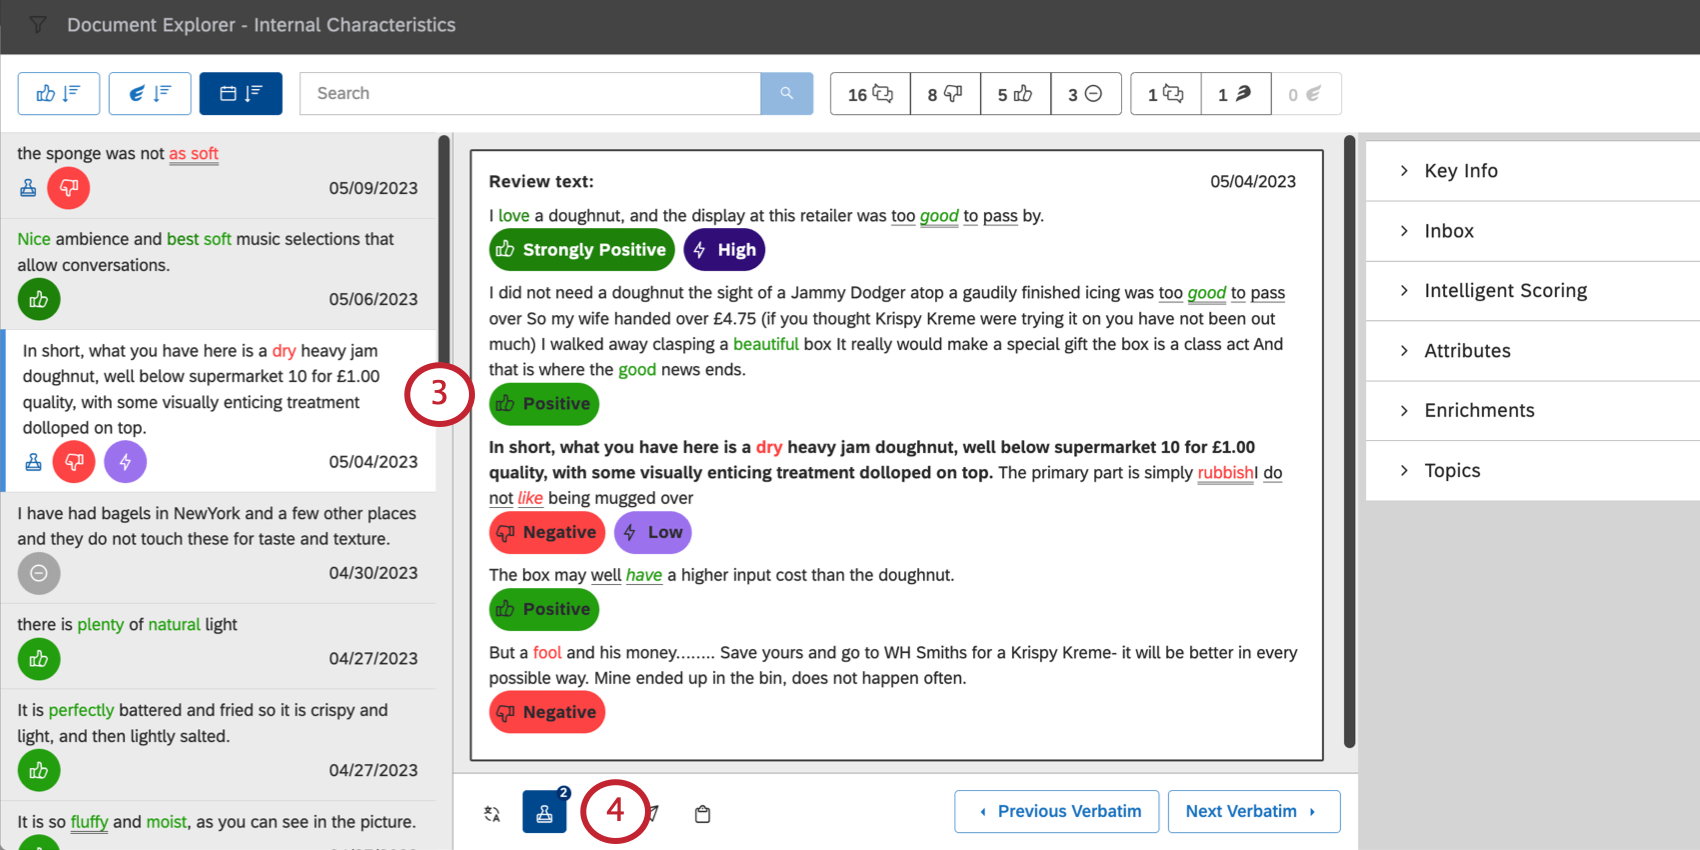
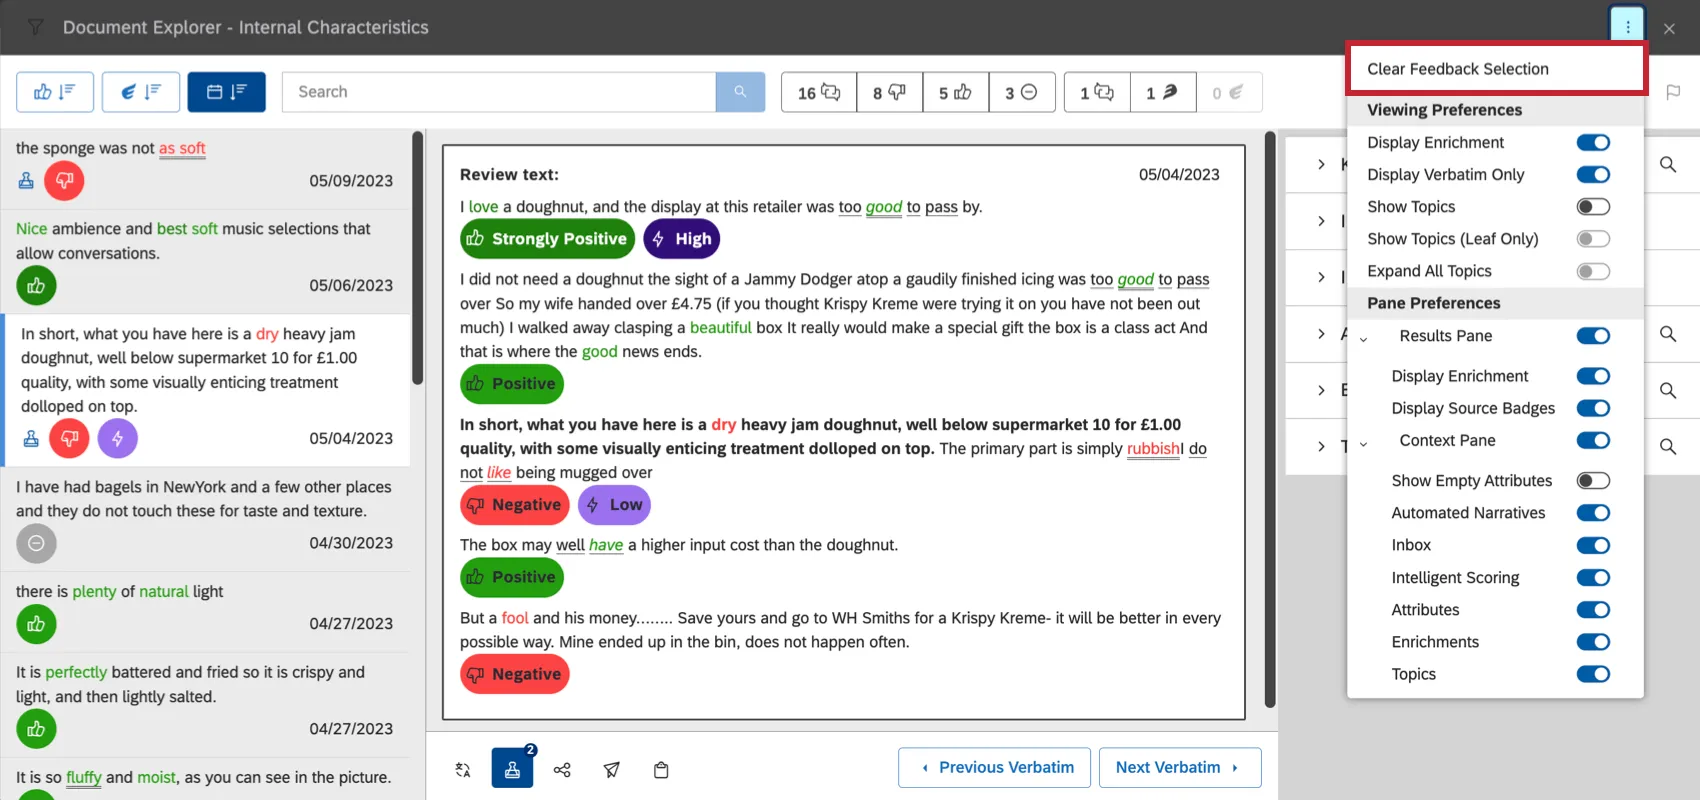
Qtip: To unclip a document, select the document, and click the clip button again. You can also use the menu in the upper-right and select Clear Feedback Selections.

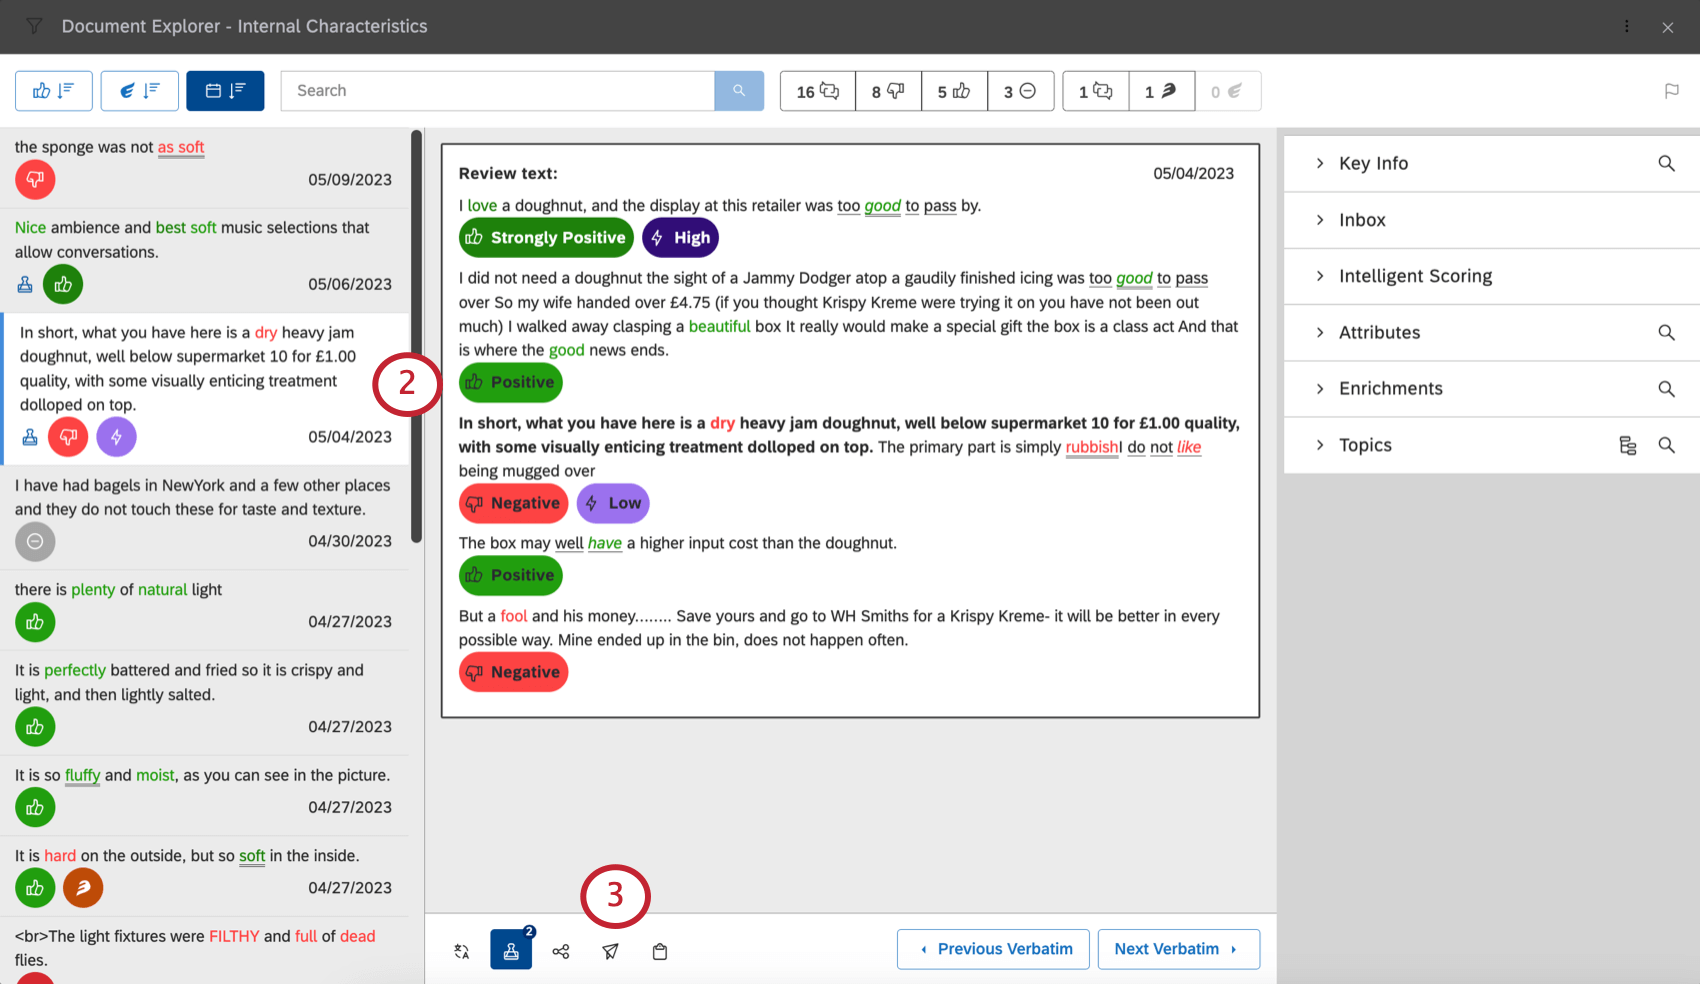
Sharing Feedback Using a Link
You can copy a link to one or more documents and share it with others. The link opens selected documents in document explorer.
Qtip: Link behavior depends on an account-wide link sharing setting. See Link Sharing Settings for details.
Sharing Feedback Through a Dashboard
You can call out one or more documents using a dashboard. When you share documents this way, a dashboard is created with a feedback widget inside that contains your clipped documents.
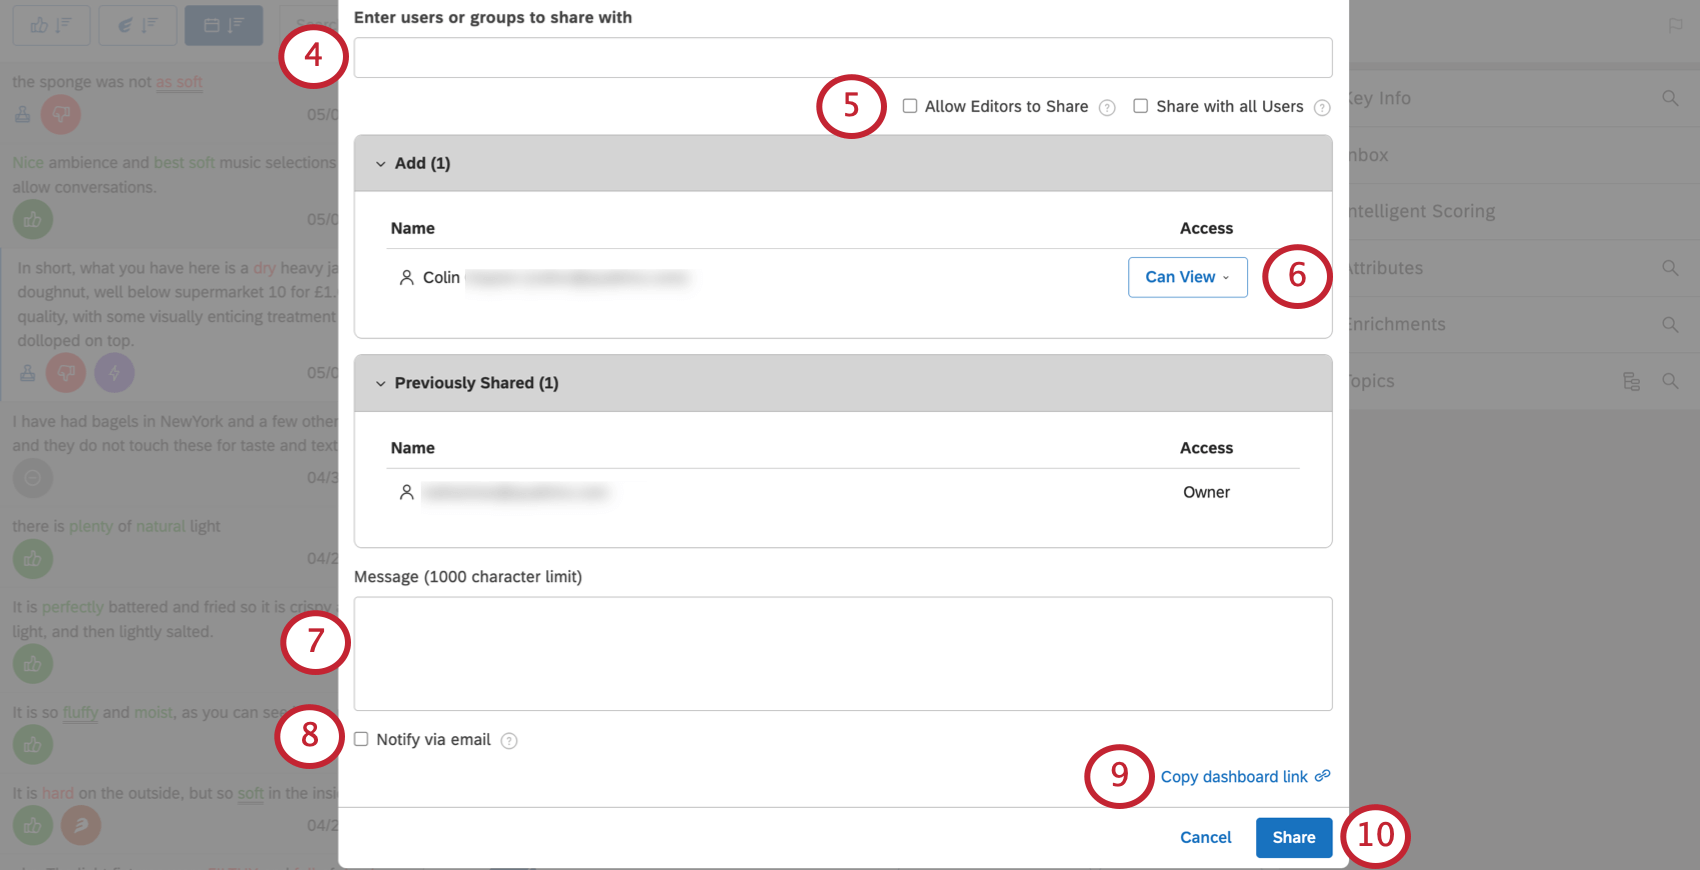
- Studio users: Type the user’s first name, last name, or email, then click it.
- All Studio Users: You can distribute organization-wide dashboards to every Studio user in your Master Account by selecting
- Share with all Users: This setting will make it available to every user, including new users who register after the dashboard is created. You can still add specific users and groups when you use this option. Qtip: This action requires a Share To All permission.

- Studio groups: Type the group’s name, then click it. When you share a document with a group, all members of that group will have access. It does not matter when a user joins the group—users who join the group after you have shared will still get access. However, as soon as any user leaves the group, your document(s) will no longer be accessible to that user.
- Unregistered users: Type the email address of a person you want to share your document(s) with. Then press Enter. When you finish sharing, this person will be invited to create a Studio account.
- Can View: Allows users to view, refresh, and export your document(s), but not make any changes to it.
- Can Edit: Allows users to make some changes to your document(s), but not as much as the owner. For more information, see Can View vs. Can Edit. Qtip: Can Edit won’t be available when sharing a document(s) with all Studio users or unregistered users.
Qtip: If you’re sharing with all users, not everyone will receive an email notification. Only users and groups in the Add section will be emailed.
Qtip: You can paste this link into the Message field.
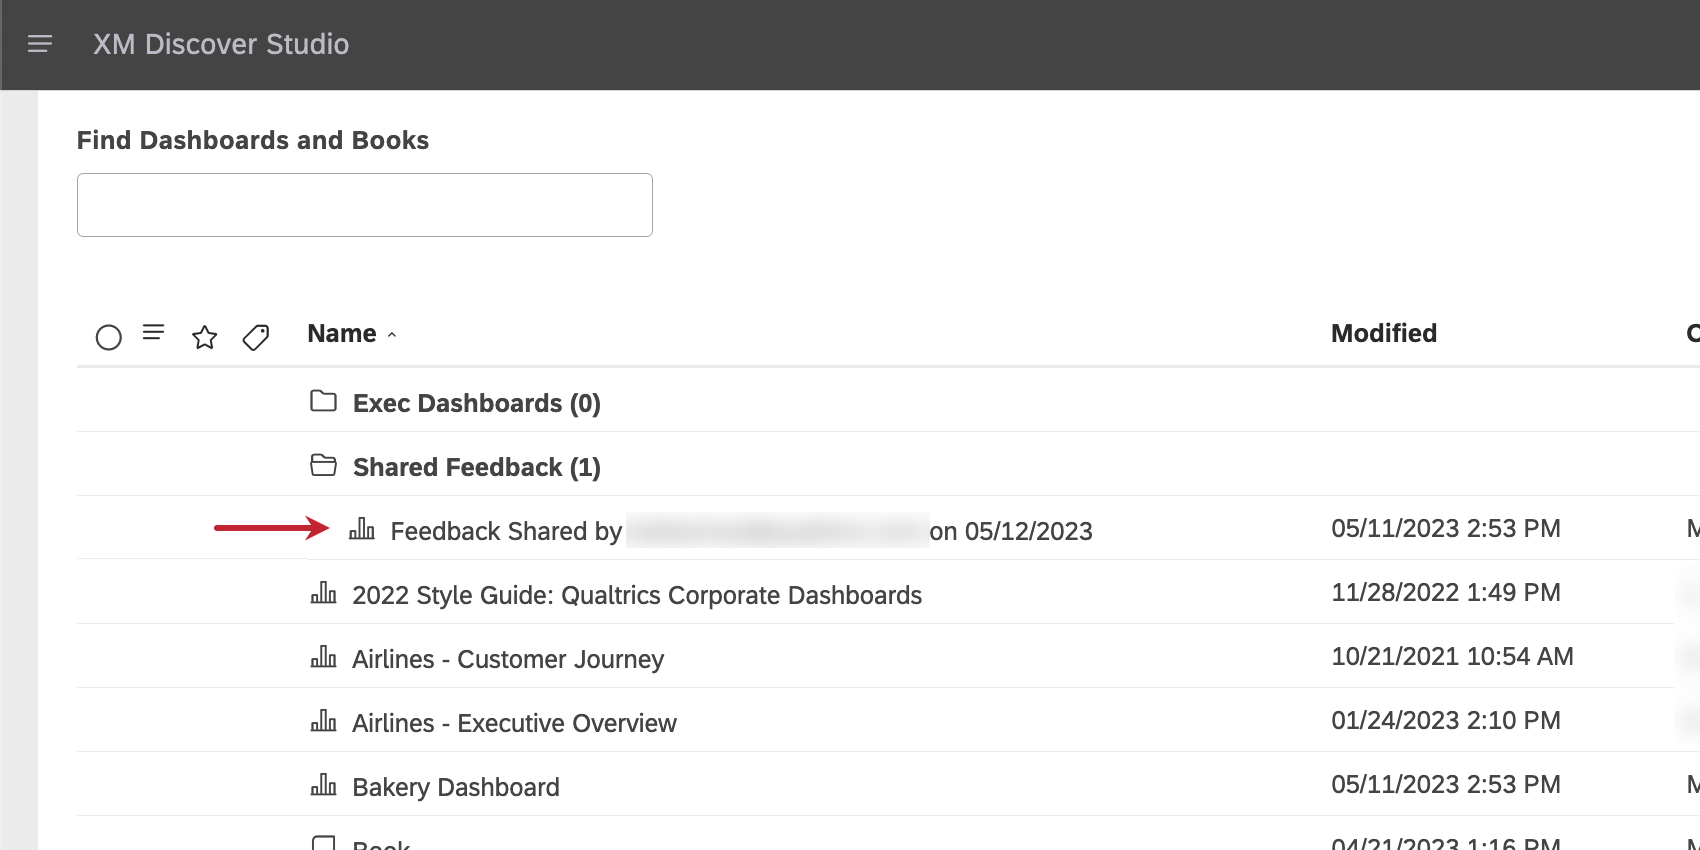
Finding Documents Shared as Dashboards
Once you’ve shared documents through a dashboard, you and your collaborators can find these documents in the same way. On the Studio homepage, scroll down to Find Dashboards and Books, and look under the Shared Feedback folder. The date that the documents were shared will be in the dashboard’s name, along with the owner’s email.

Identifying the Original Widget
When looking at documents that have been shared in the past, you may be curious where it came from. We’ll explain here how to figure out what widget and dashboard the document data came from.
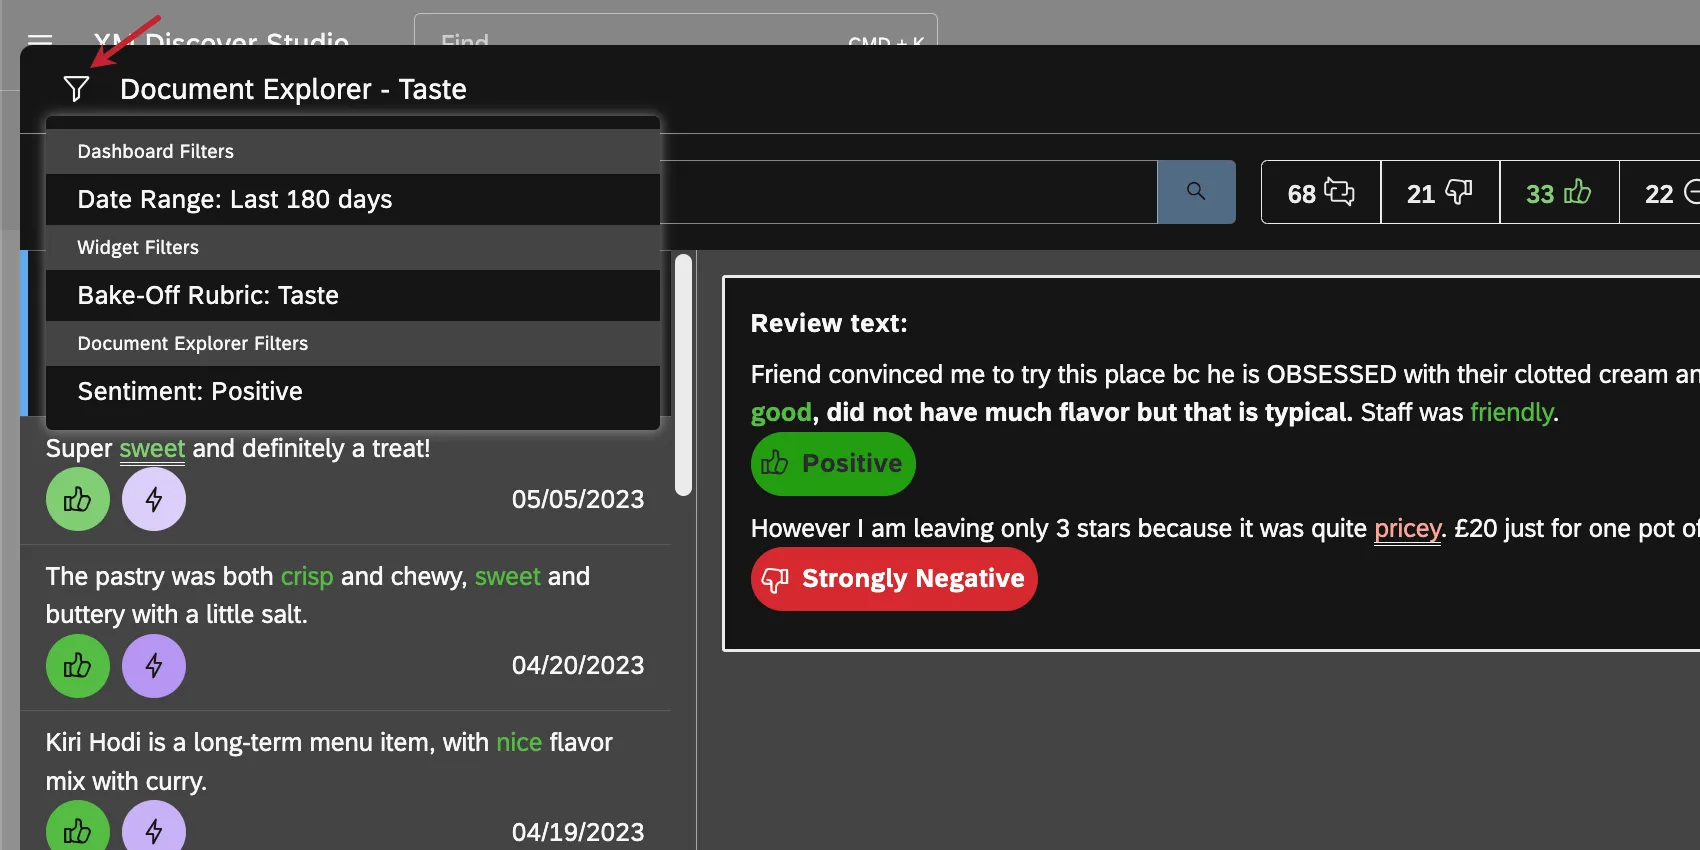
The Dashboard Filters and Widget Filters can help you determine where the documents originated. These filters cannot be turned on or off in document explorer.
That's great! Thank you for your feedback!
Thank you for your feedback!