
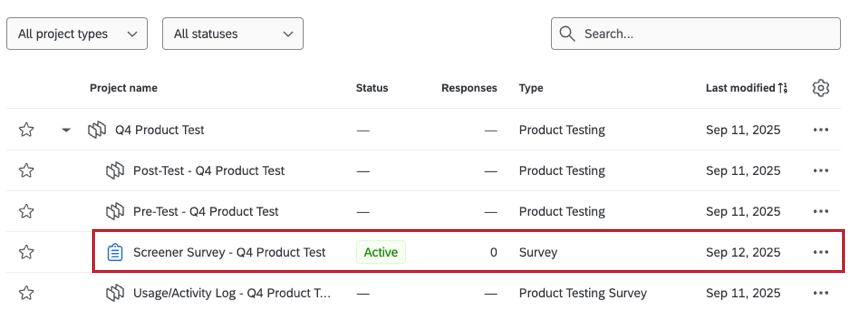
Participants Tab (Product Testing)
What's on this page
About the Participants Tab
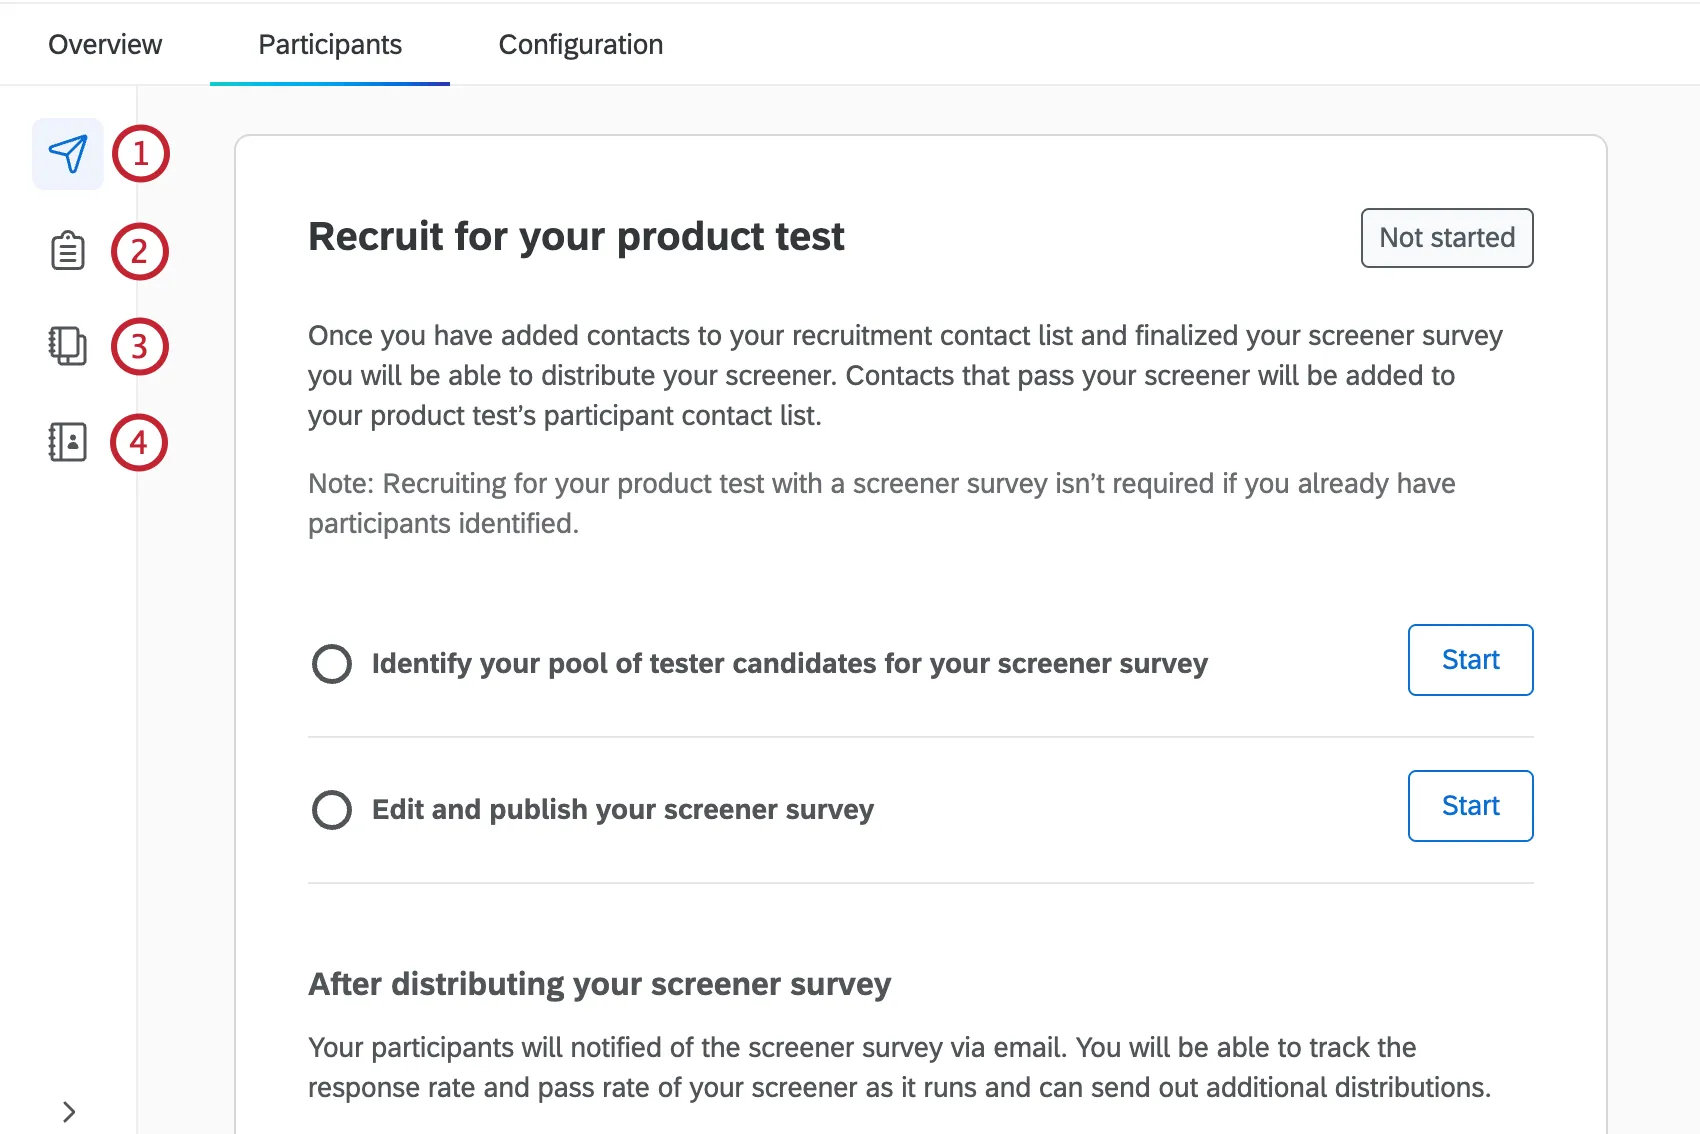
In the Participants tab you can identify candidates for your product test. These candidates will receive your screener survey, and anyone who passes can take part in your product test. You can also edit, publish, and distribute your screener survey within this tab.
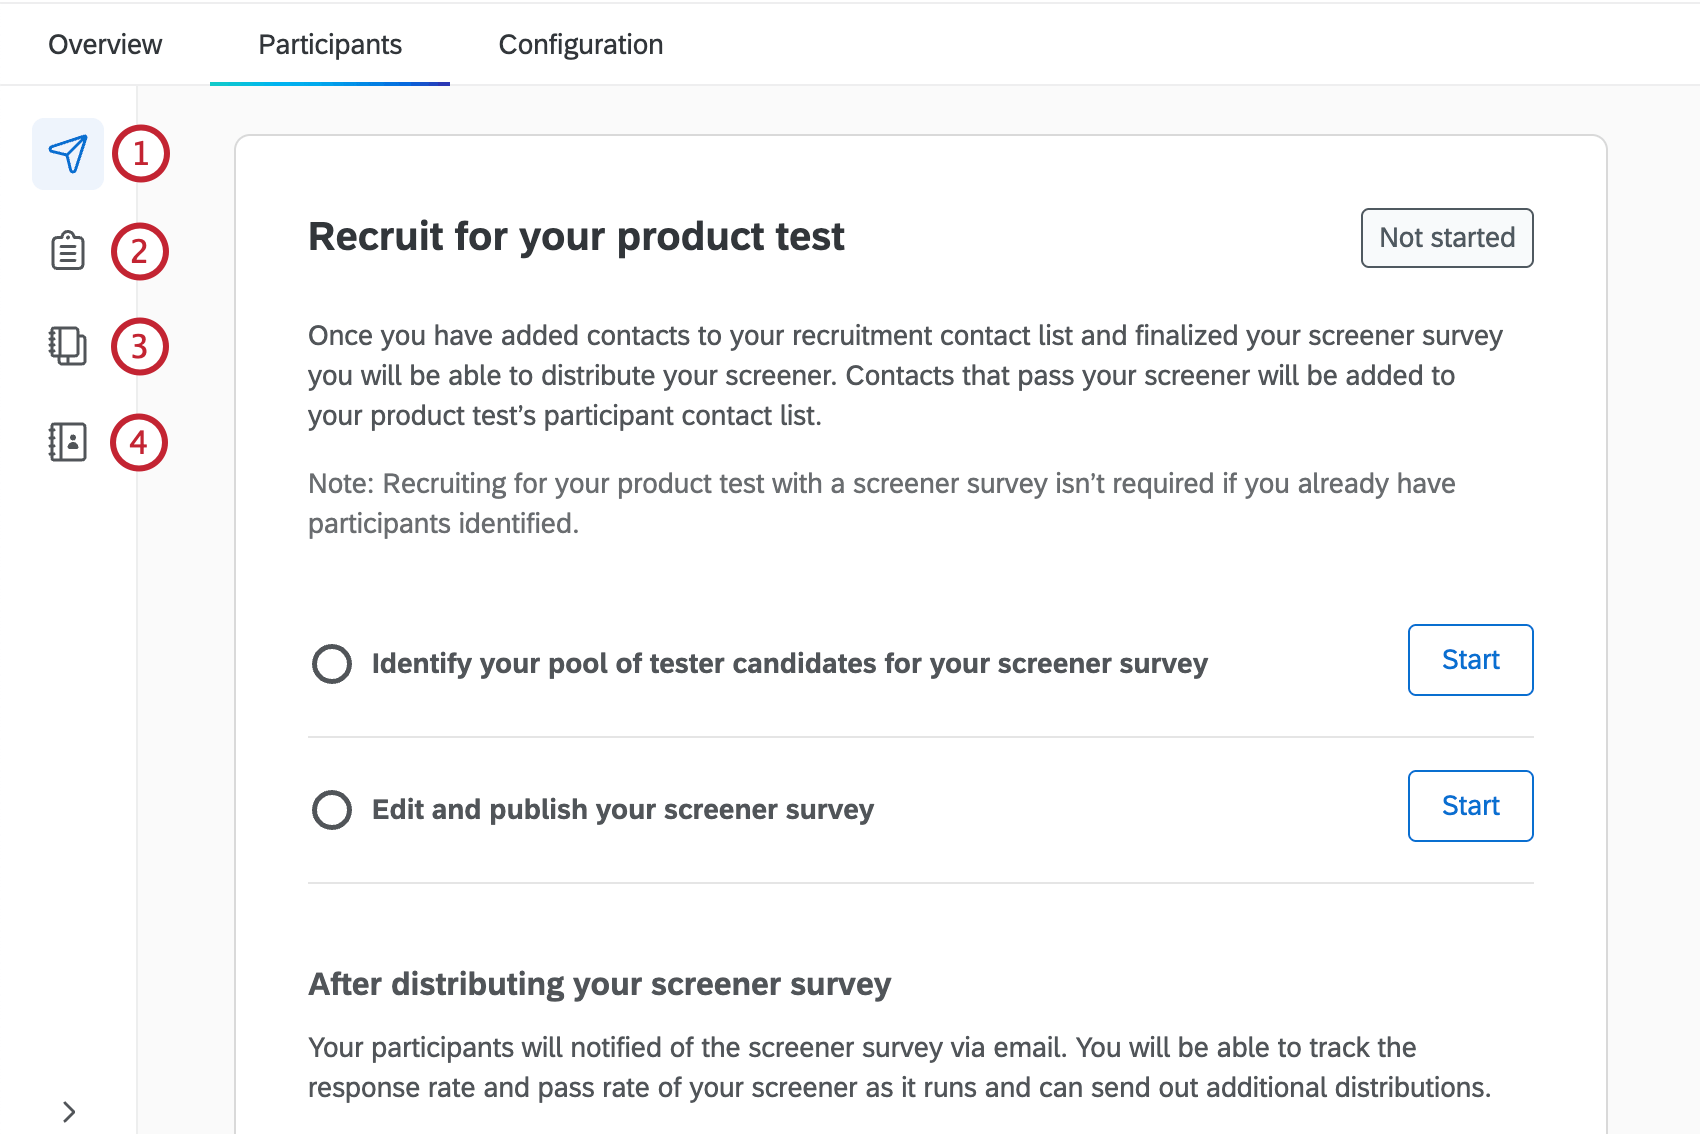
There are 4 sections within the Participants tab:
For more information on Product Testing projects, see Product Testing Overview.
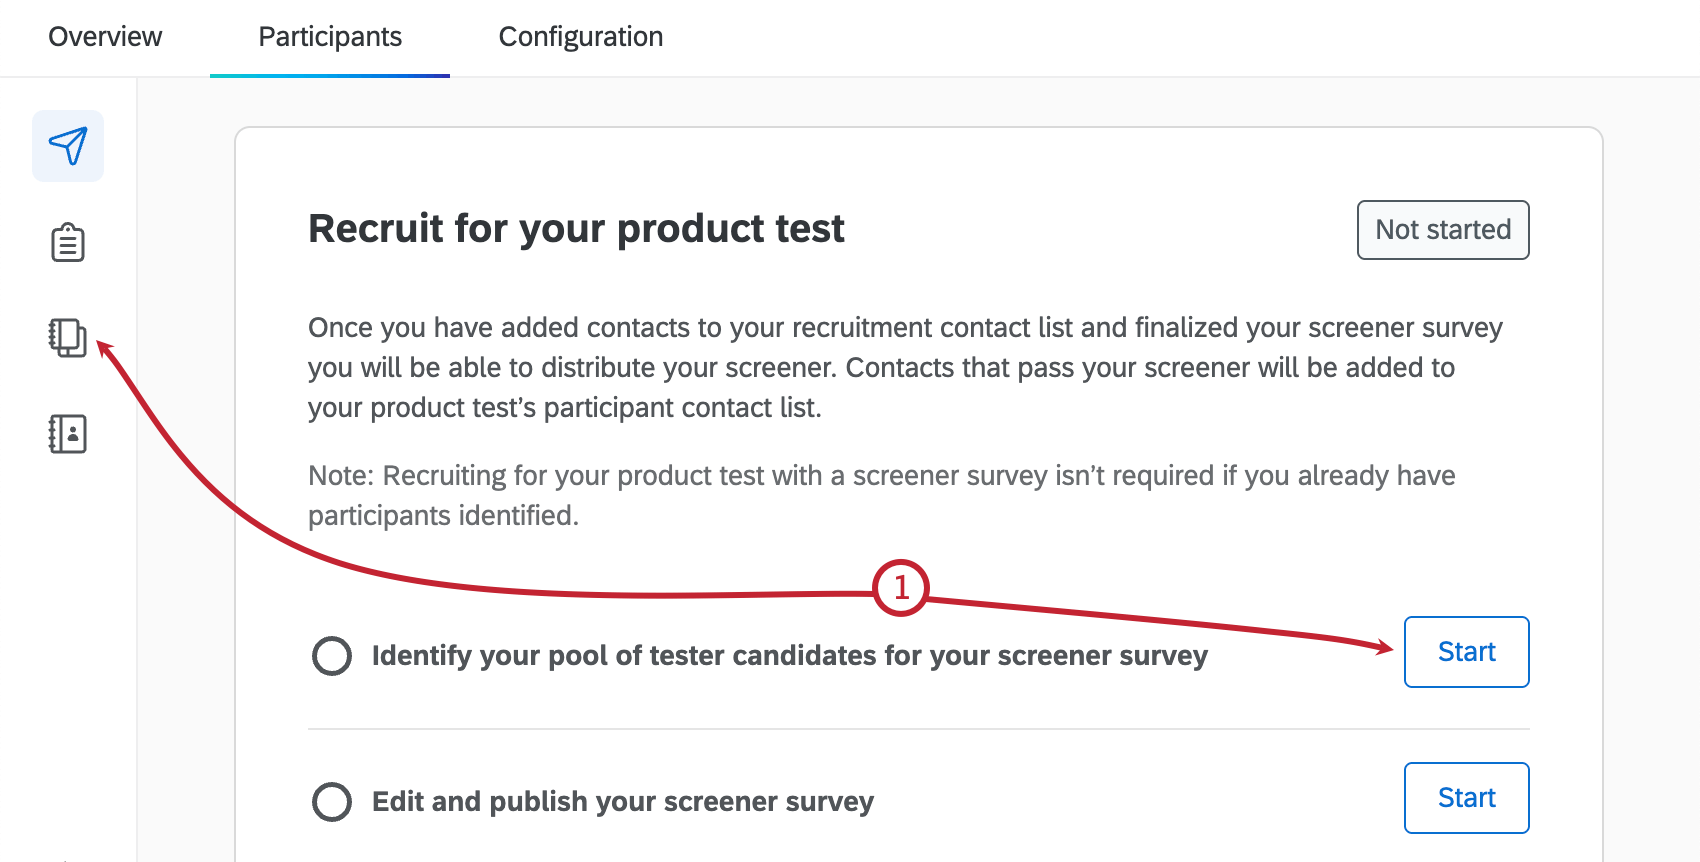
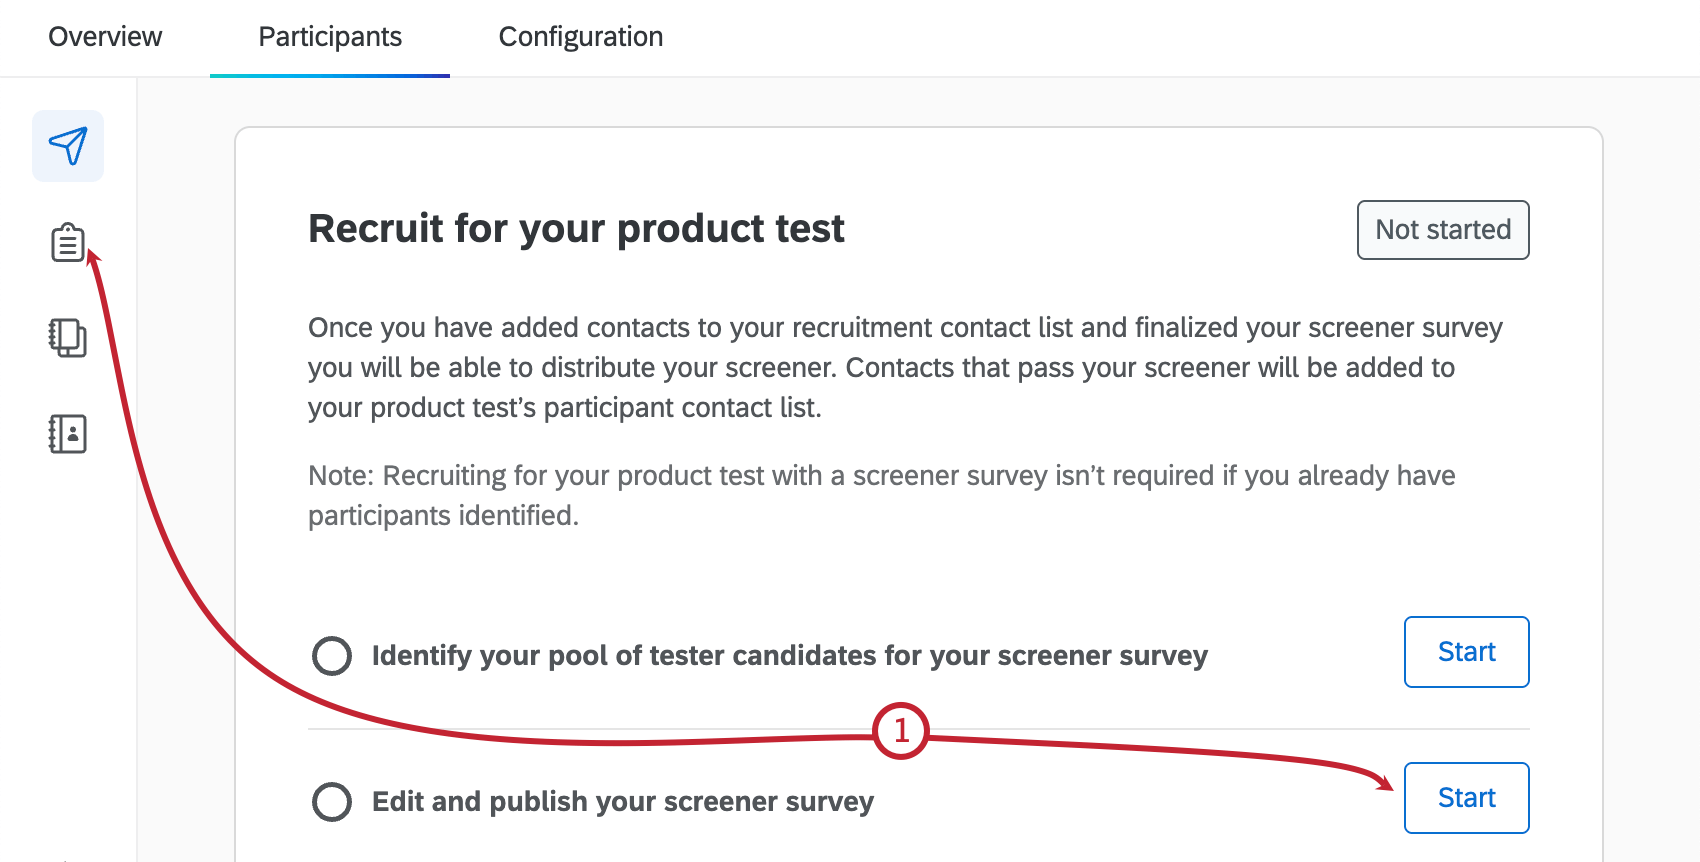
Identifying Tester Candidates
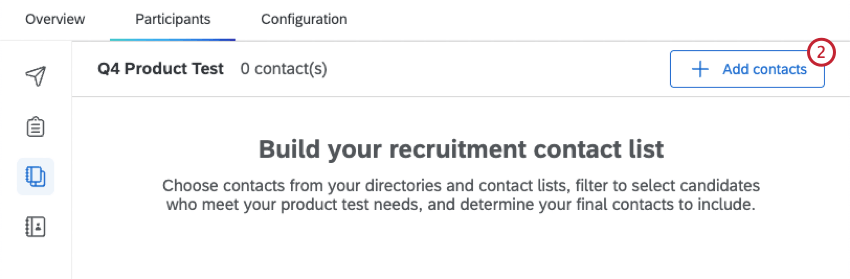
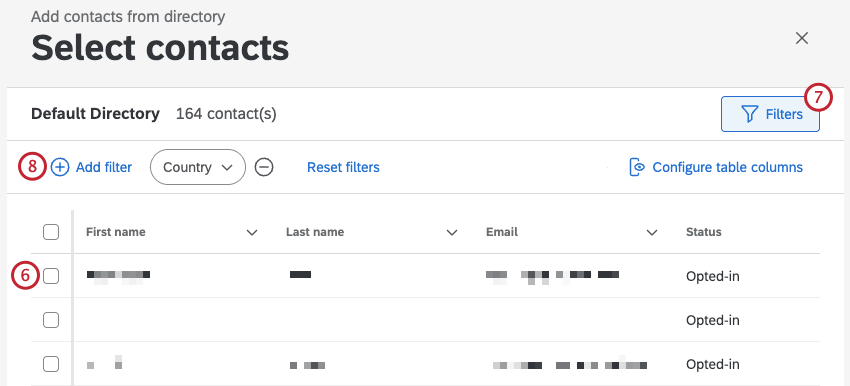
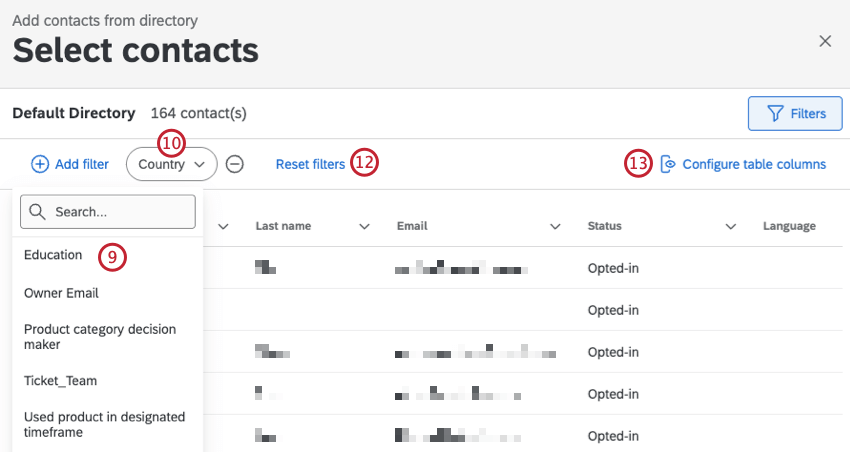
Before sending your screener survey, you have to build a contact list of potential tester candidates. This list is built with contacts you choose from your default directory, and can include contacts in any of your existing contact lists.

Qtip: You can only view contacts from the same directory as the list you previously made or selected when creating your product test.
Qtip: Only lists you’ve created or that have been shared with you will show up here.
Qtip: If you have duplicate email addresses in your directory, you’ll see a warning at the top of the page, as this can cause unexpected behavior. Click Merge contacts to merge any duplicate contacts.

Qtip: It may take some time for your contacts to be added to the list.
After you’ve created your contact list, you can click Edit from the Participants tab at any time to make edits or add additional contacts.
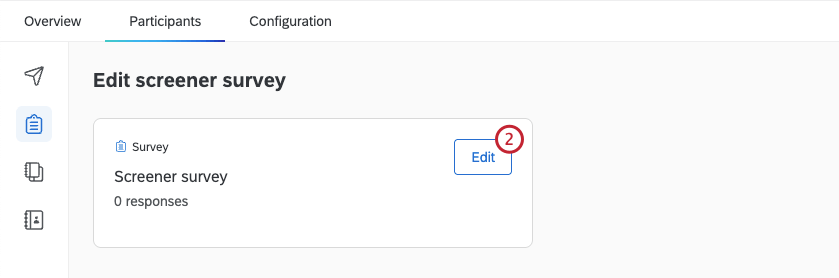
Editing & Publishing Your Screener Survey
Before you send your screener survey, you have to publish it. You can also edit the survey details and add additional questions before sending it out.
Qtip: You can navigate away from your survey at any time and your changes will be saved automatically. To get back to the survey, either access it from the Participants tab, or you can find it within your Product Test project on the Projects page.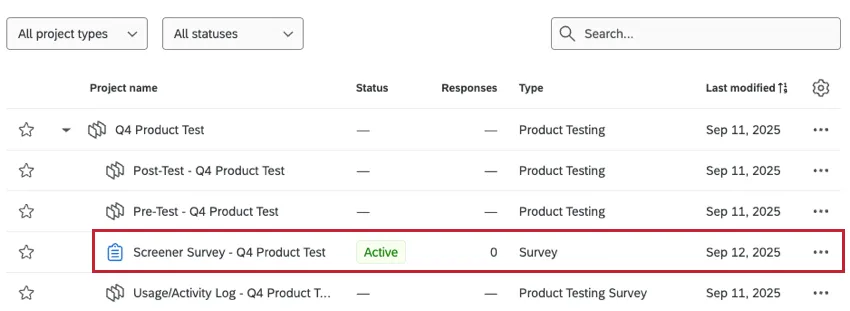
You can click Edit next to “Edit and publish your screener survey” at any time to make additional edits to your survey.

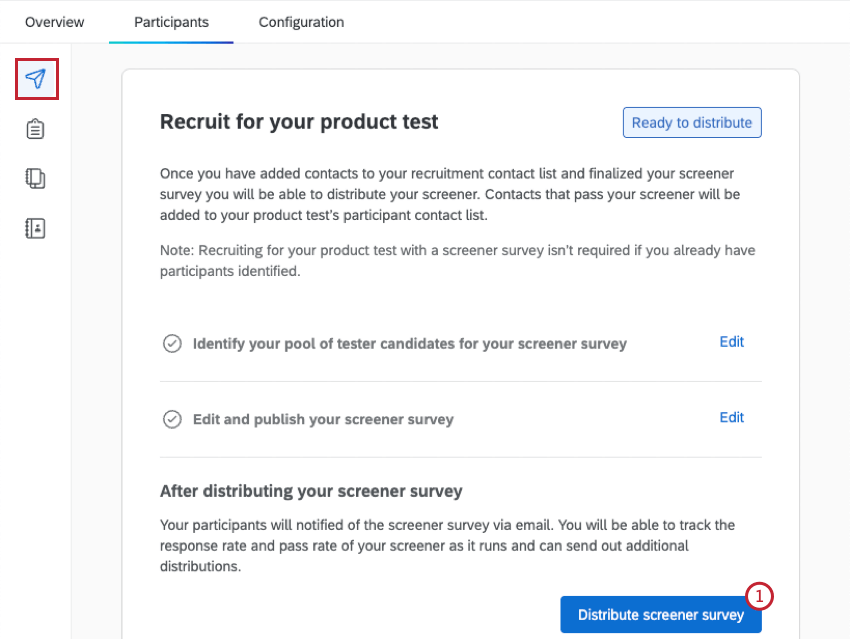
Distributing Your Screener Survey
After identifying your pool of tester candidates and publishing your screener survey, you are reading to distribute it.
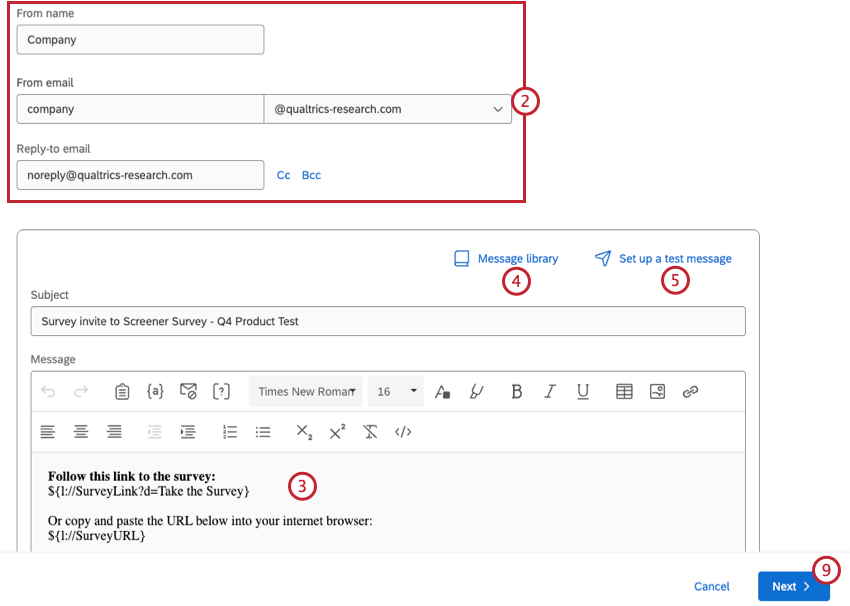
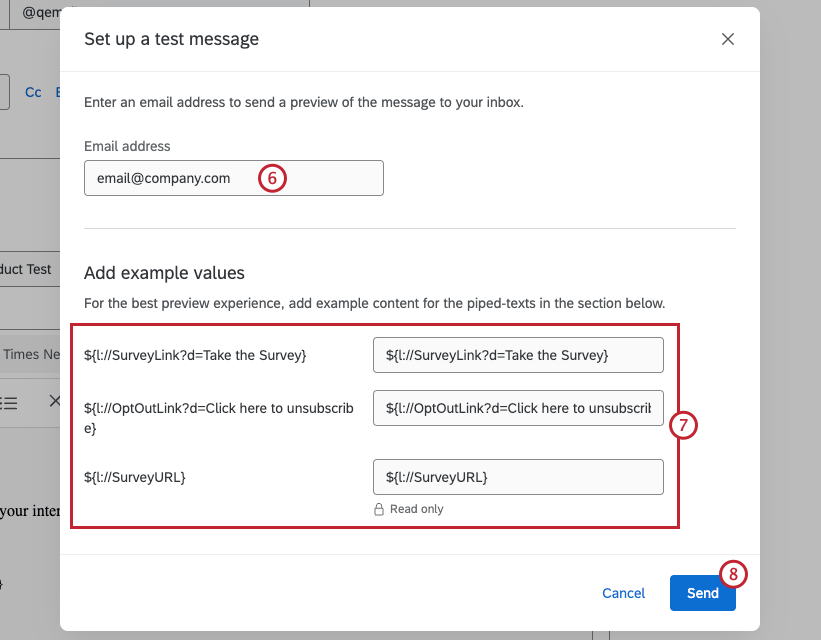
Qtip: You can only enter one email address in this field. A list of comma-separated emails will not be accepted.
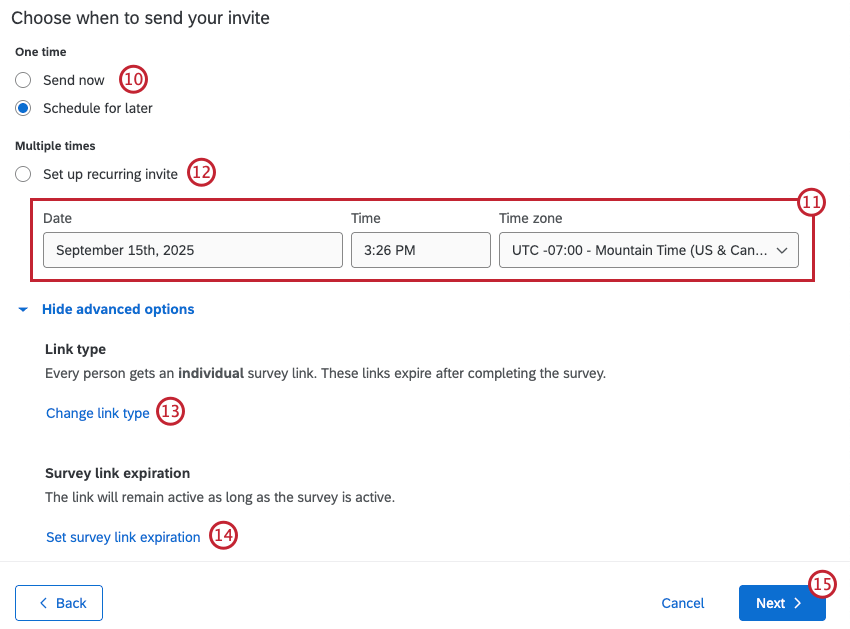
- Send now: Send the email immediately.
- Schedule for later: Send the email at a later date and time

After Distribution
Once you’ve distributed your screener survey, this section will display all the emails that have been sent to your tester candidates. You can send additional email messages, or pause response collection once your recruitment goal has been met.
Finalizing Your Product Test Contact List
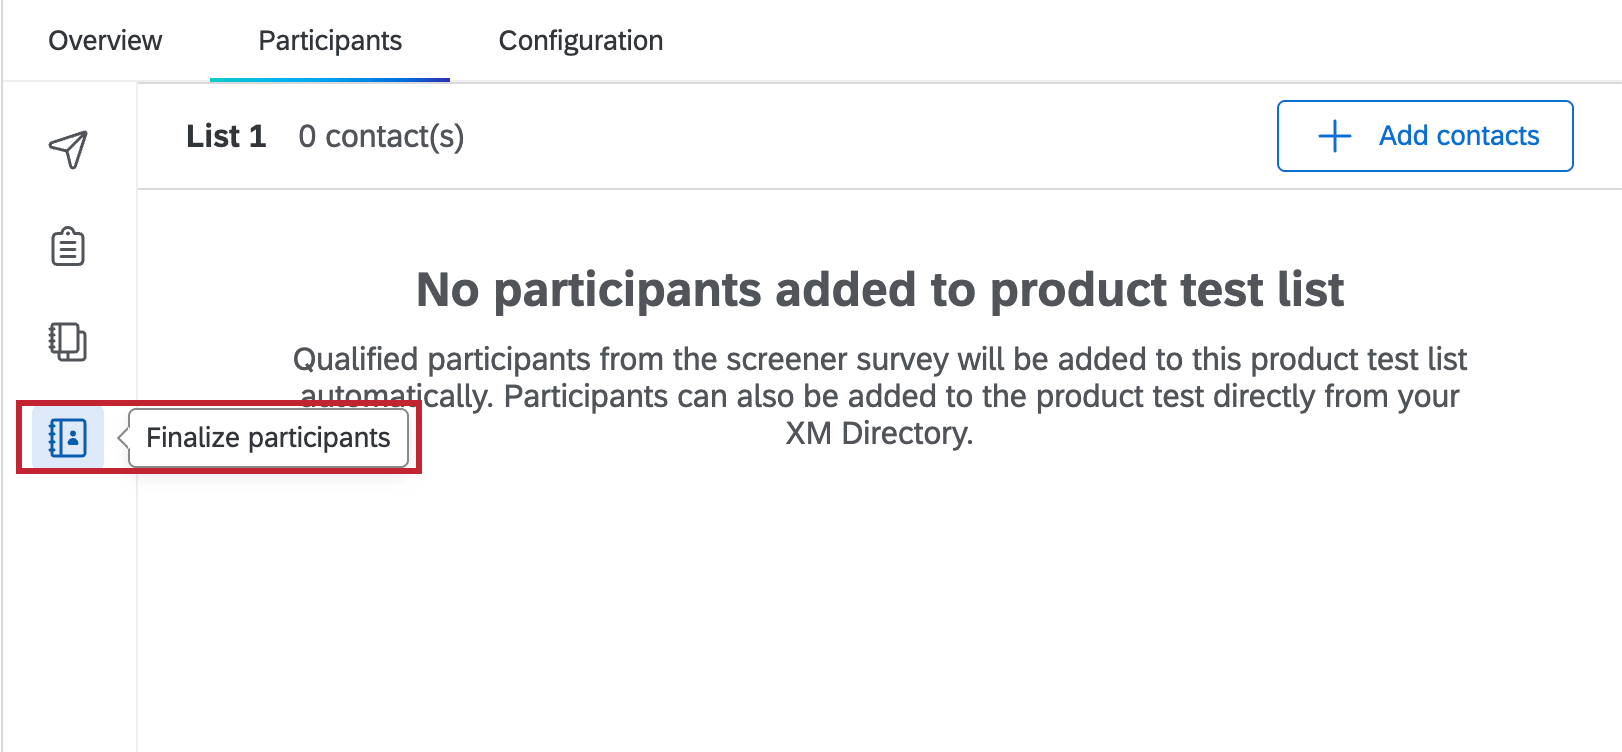
After your screener survey is distributed, any contacts who pass your screener criteria will be added to the product test contact list. There are 3 ways you can access this list:
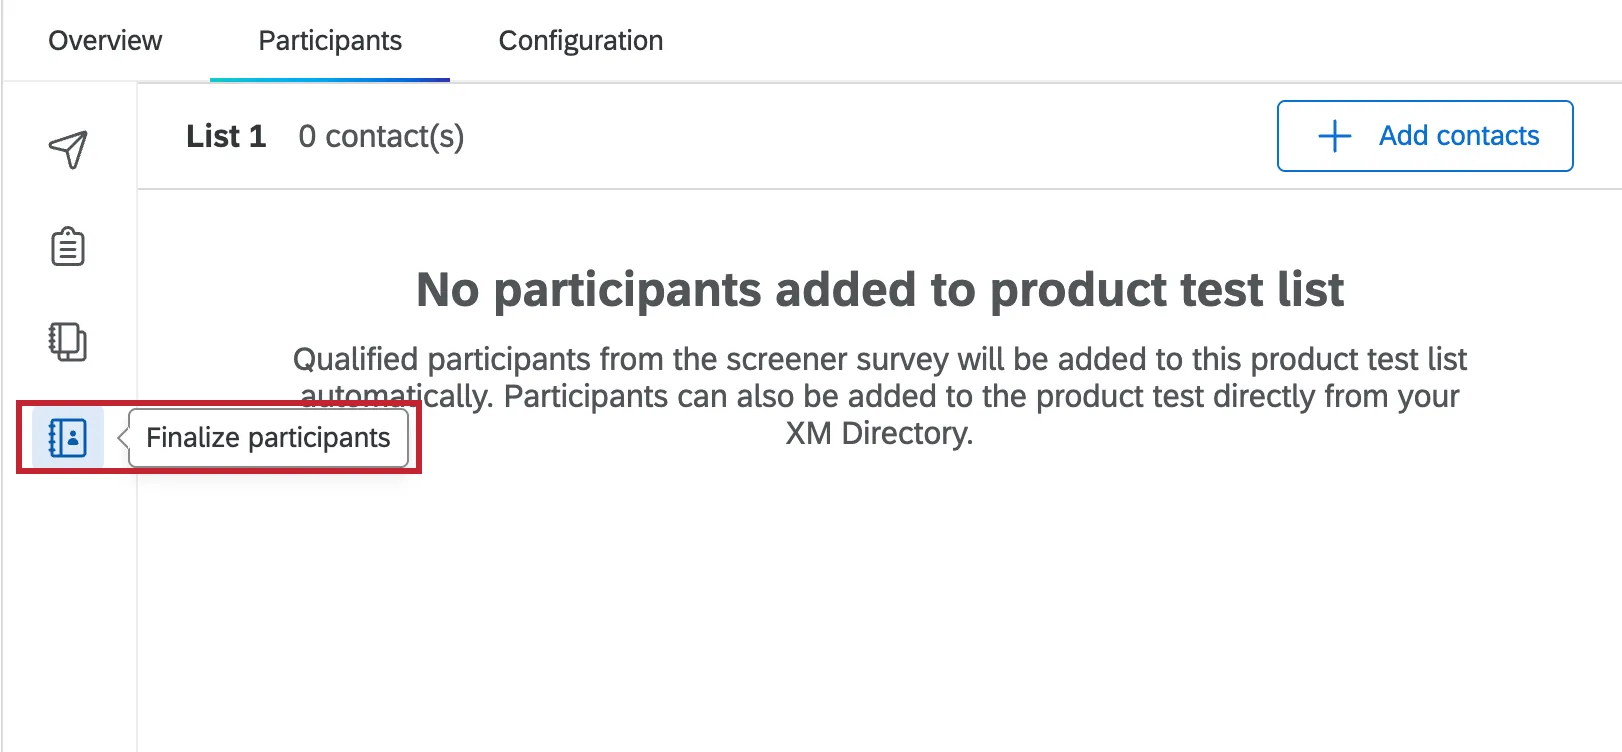
Qualified participants from your screener survey will be added to this contact list automatically. To add additional people from XM Directory, follow steps 2-14 in Identifying Tester Candidates.
After Launching Your Product Test
Once your product test is launched, your screener survey will be closed and your participant lists will be locked. At this point you can’t add anyone to the distribution list for your screener survey or product test. For instructions on launching your product test, see Launching Your Product Test.
That's great! Thank you for your feedback!
Thank you for your feedback!