
Omnichannel Listening Management
What's on this page
About Omnichannel Listening
Omnichannel listening is the practice of tracking and analyzing what your customers are saying in conversations with your organization. By importing chat, email, and voice data into Qualtrics, you can gain insights on customer sentiment and agent performance.
Workflows can pull contact center data into Qualtrics for text analysis and dashboard creation. There are several workflow tasks that can help you import data into Qualtrics from your contact center vendors:
Contact center data should be imported into a project configured to receive chat, email, or voice data. The following project types can be used depending on the type(s) of data you have:
On this support page, we’ll cover how to achieve an omnichannel listening setup end-to-end, from workflow creation, to the best dashboard presentation.
Once your omnichannel listening program has been created, you can view interaction usage within the Interaction Usage report in the Admin tab. This will include all the chats, emails, and voice data you’ve uploaded to Qualtrics.
Attention: The setup of an Omnichannel Listening program is conducted by the Qualtrics Implementations team. If you have questions about your implementation or if this feature is available for your license, please reach out to your Qualtrics account team.
Attention: Voice projects have a different setup than chat data and email data projects. While the same instructions can be followed to configure chat data and email data projects, voice projects have distinct instructions, and the differences are called out below on this page.
Qtip: Automated and importing voice data only works with English data.
Permissions Required
To use this feature, you’ll need a Brand Administrator to enable the following user permissions for you or a user type you belong to:
- General permissions:
- Create Email Project (only necessary if you’re importing email data)
- Create Chat Project (only necessary if you’re importing chat data)
Manage Voice Pipelines (only necessary if you’re importing voice data)

Qtip: Voice projects also require certain permissions with your voice provider. See Permissions and Voice Provider Requirements for more information.
- AI Assisted Text Analytics (for analyzing XM Discover data)
- Automated Text Analytics (for analyzing Qualtrics Platform data)
- Extension permissions:
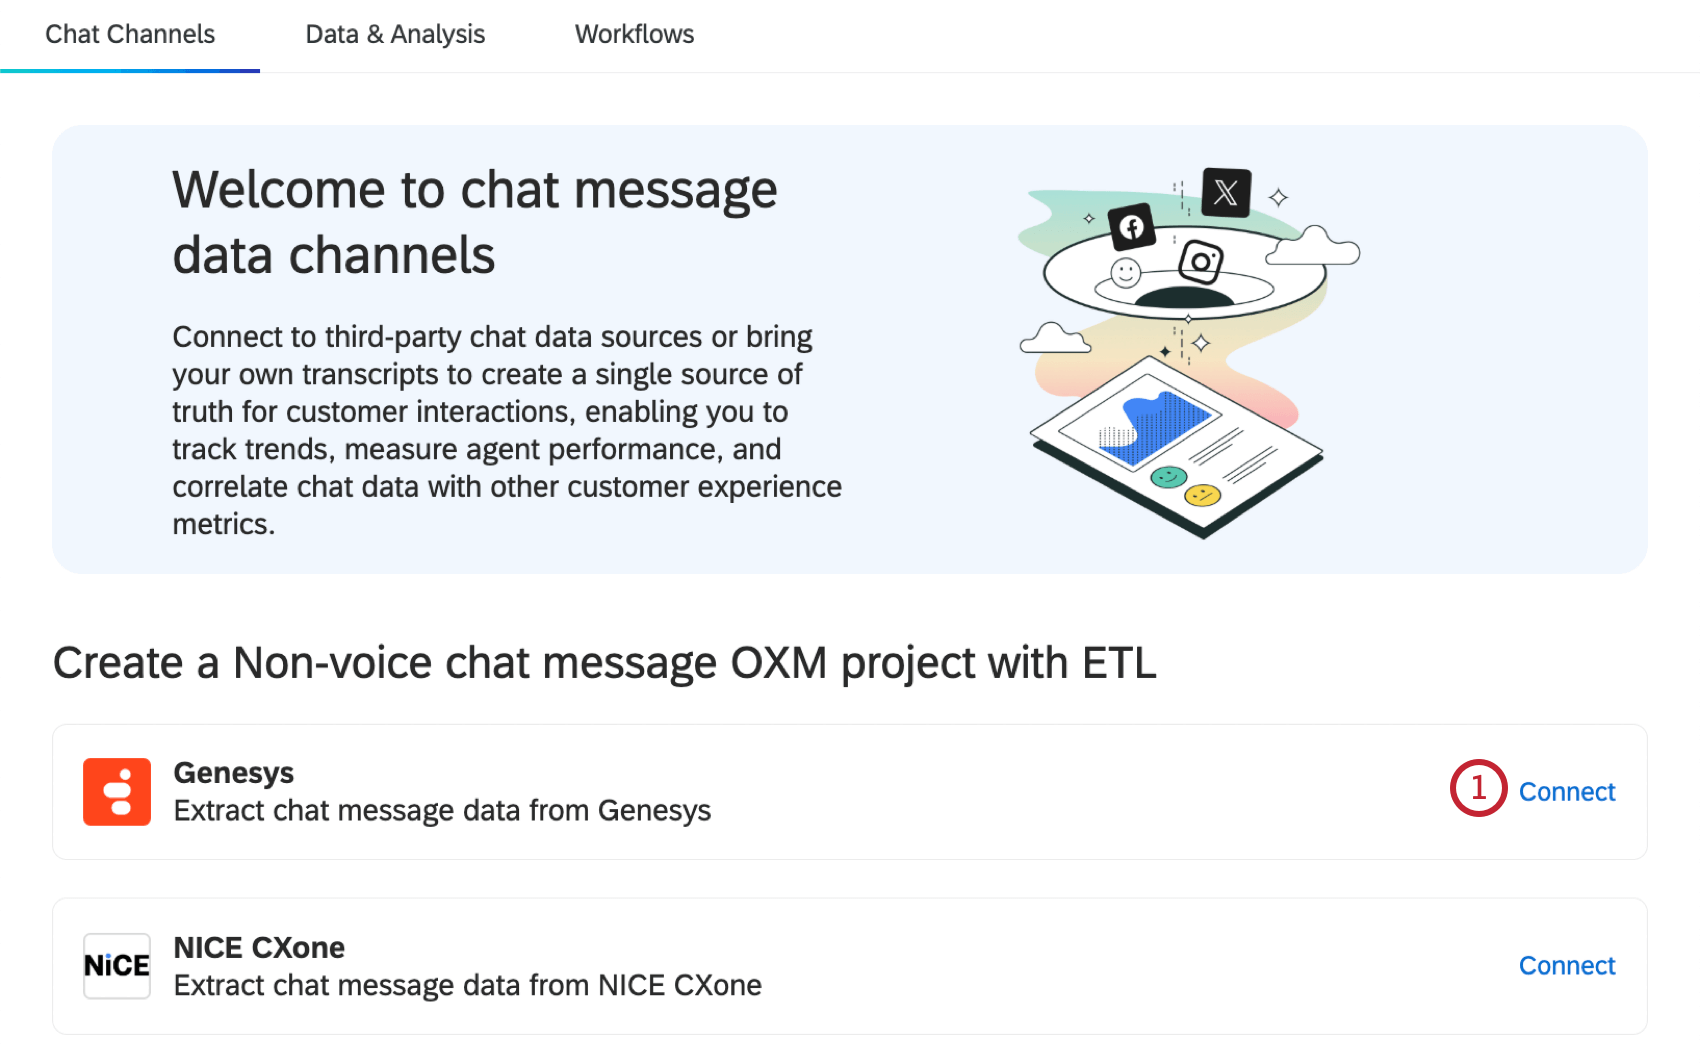
- Extract data from Genesys
- Extract data from NICE CXone
- Extract data from Salesforce
- Load data to Conversational Analytics
Step 1: Creating a Project
Before you start regularly pulling data from your contact center into Qualtrics, you need to create a project in which you can store this data. All of your contact center data can eventually be displayed in the same dashboard, so if you have multiple types of data to import, you will create multiple projects.
Chat and Email Data
If you have chat or email data to import into Qualtrics, see the linked resources below for step-by-step instructions on creating each type of project:
Qtip: Data from multiple contact center sources can be added to the same Chat Data or Email Data project.
Voice Data
If you have voice data to import into Qualtrics, see the linked resource below for step-by-step instructions:
Step 2: Creating Contact Center Tasks
Chat and Email Data

Qtip: You will also be able to immediately run the workflow after it’s created, if you choose.

- Extract data from Genesys
- Extract data from NICE CXone
- Salesforce Extractor Task Qtip: For importing data for OXM, you’ll be extracting Emails from Salesforce.
Qtip: While we recommend creating these workflows in your email data or chat data project, they can also be created within stand-alone global workflows.
Voice Data
After creating a Voice project, create a voice task to import your voice data. See Configuring a Voice Task for step-by-step instructions.
Step 3: Modifying Data
Attention: This step only applies to chat and email data. It does not apply to voice data.
After you’ve connected a workflow to extract data from your contact center, if desired, you can transform your data by adding additional tasks to your workflow. The following tasks can be used to modify your data before it is loaded into your project:
- Transform Task: Make basic changes to your extracted fields.
Redact and Substitute Data Task: Redact or substitute specific fields from your data source.
Qtip: Using a Redact and Substitute Data Task is helpful if you have sensitive data in your loader task that you’d like to protect, like customer contact or payment information.
Step 4: Loading Data to a Project
Attention: This step only applies to chat and email data. It does not apply to voice data.
After you’ve created an extraction task and set up any desired transformations to your data, you have to make sure the data is sent back to your project. Within the workflow you created, click Add a data destination.
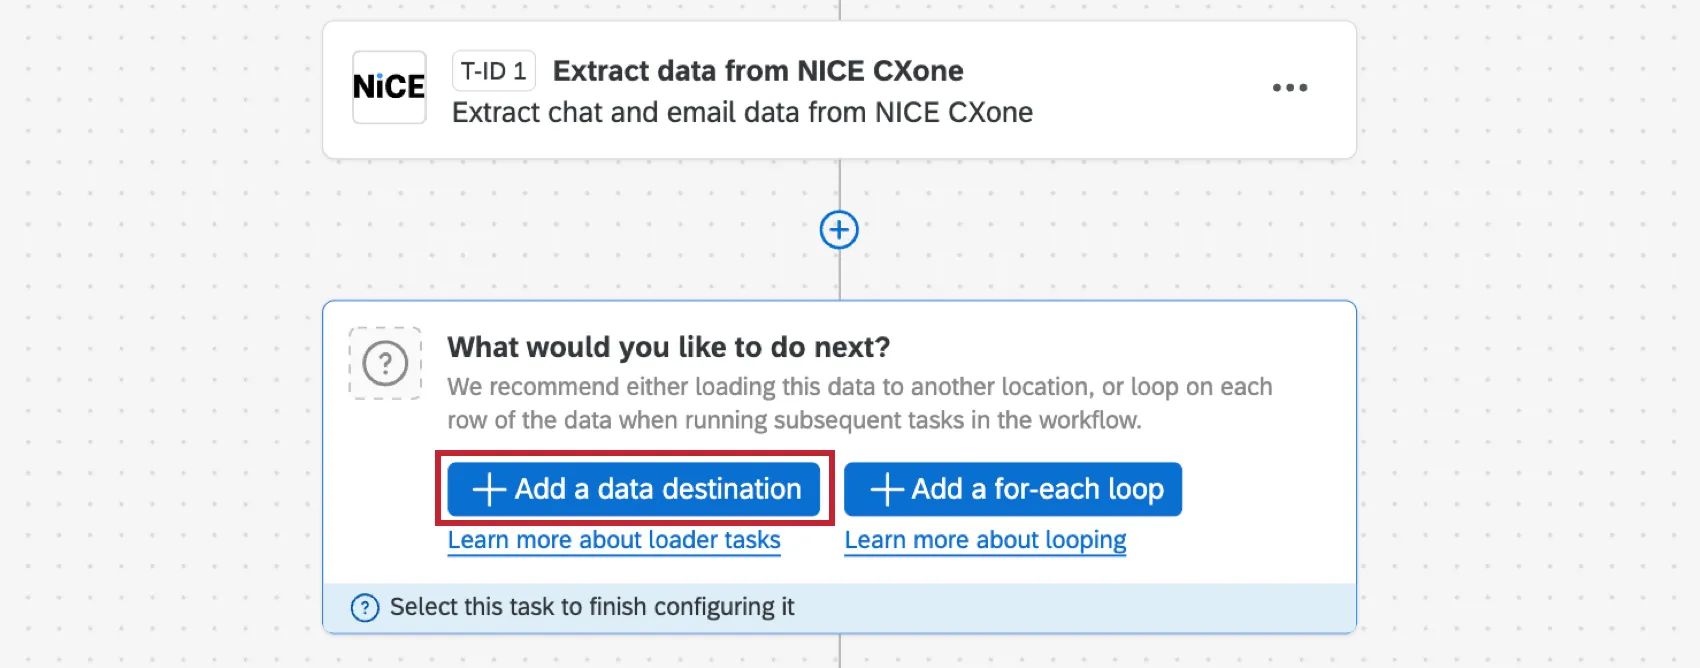
Select the Load Data to Conversational Analytics Task. For instructions on setting up this task, see Setting Up a Load Data to Conversational Analytics Task. The project you created in Step 1 will already be selected as the destination project.
Step 5: Analyzing Data
Once data starts to flow from your contact center to your project’s Data tab, it’s time to perform conversational analytics. To do this, first head to the Text Analytics tool, which will identify key themes and categories with the power of AI.
To learn more, see Automated Text Analytics.
Qtip: Automated Text Analytics comes with support from a Qualtrics representative, such as an Implementation Consultant or a Technical Success Manager. This representative will take care of implementing Text Analytics into a dashboard data setup.
Step 6: Building Dashboards
After your contact center data is in Qualtrics, it can be reported on using dashboards. Dashboards allow you to pull in data from many sources, build charts and tables with dynamic filtering, and then provide role-based access to your stakeholders.
Below are some resources you can use to get started:
- Getting Started With CX Dashboards: If you’re new to dashboards, use this series of pages to learn the feature end-to-end, from initial dashboard design, to sharing the final product with stakeholders.
- Using Multiple Datasets in a Dashboard: One of the easiest ways to make sure all of your conversational data makes its way into the same dashboard is to use multiple datasets. With this option, you can create 1 dataset for each project, add them each to the same dashboard, then link the fields that the projects have in common.
- Creating a Data Model and Joins: Data models allow you to use left outer joins, a means of combining data records that’s different from merging or linking fields. If you’re a more experienced dashboard designer or have complex data needs, you may want to try joins.
Qtip: As you create your data model, recommendations will appear, making joins quicker and easier than ever. We recommend adding all of your key sources first, then seeing what your data modeler says to do next. For examples of datasets this feature can help you build, see Recommended Edits.
FAQs
What’s the difference between linking, merging, or joining fields?
What’s the difference between linking, merging, or joining fields?
Linking fields ensures different fields from multiple datasets are mapped to each other. You should use this option to create a simple link between datasets. For example, if all you want to do is show data from different sets side by side in the same dashboard, or add a few shared filters for this data, then we recommend linking fields.
Joining fields combines multiple data sources within the same data model, using one field as a “key” to identify records that should be combined. You should use this option to add context to data. For example, if you have multiple stores you manage and collect feedback on, you can have a location directory with important information about all of the stores. Your surveys would then only need the store ID collected with each response. The join can be used to enrich the survey responses with this store data.
That's great! Thank you for your feedback!
Thank you for your feedback!