
XM Directory Triggers in Workflows
What's on this page
About XM Directory Triggers in Workflows
Workflows are the new and improved way to automate tasks for XM Directory, such as sending out a confirmation message when a contact’s added to a list, or adding contacts to mailing lists based on criteria they match. Workflows not only match this functionality, but have much more to offer, including:
- More message types: Send not only confirmation emails, but text messages, Slack messages, and Microsoft Teams messages.
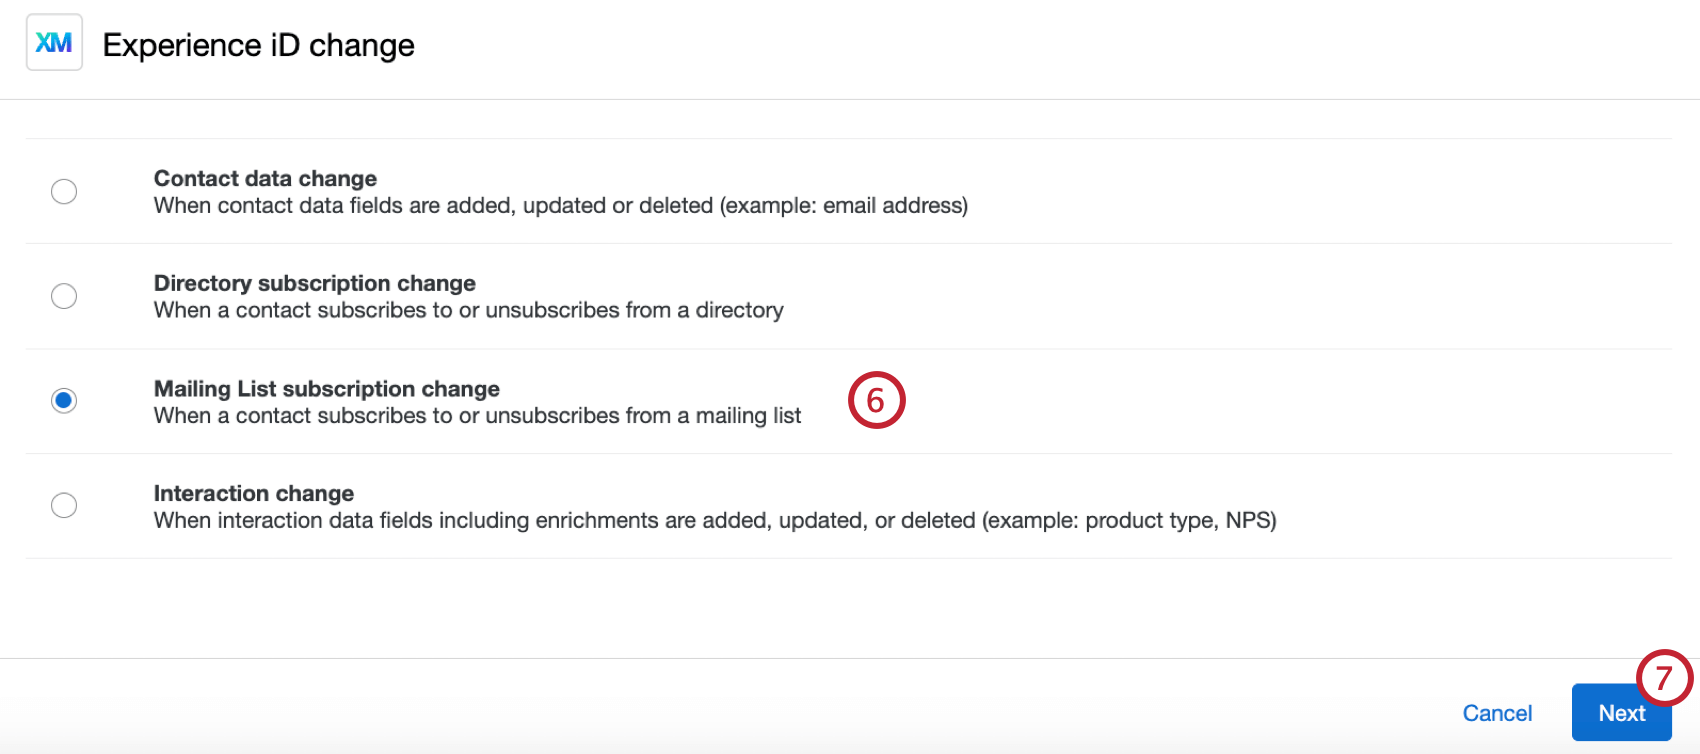
- More events: Trigger workflows based on additional events, such as segment membership changes and a contact subscribing to or unsubscribing from a list.
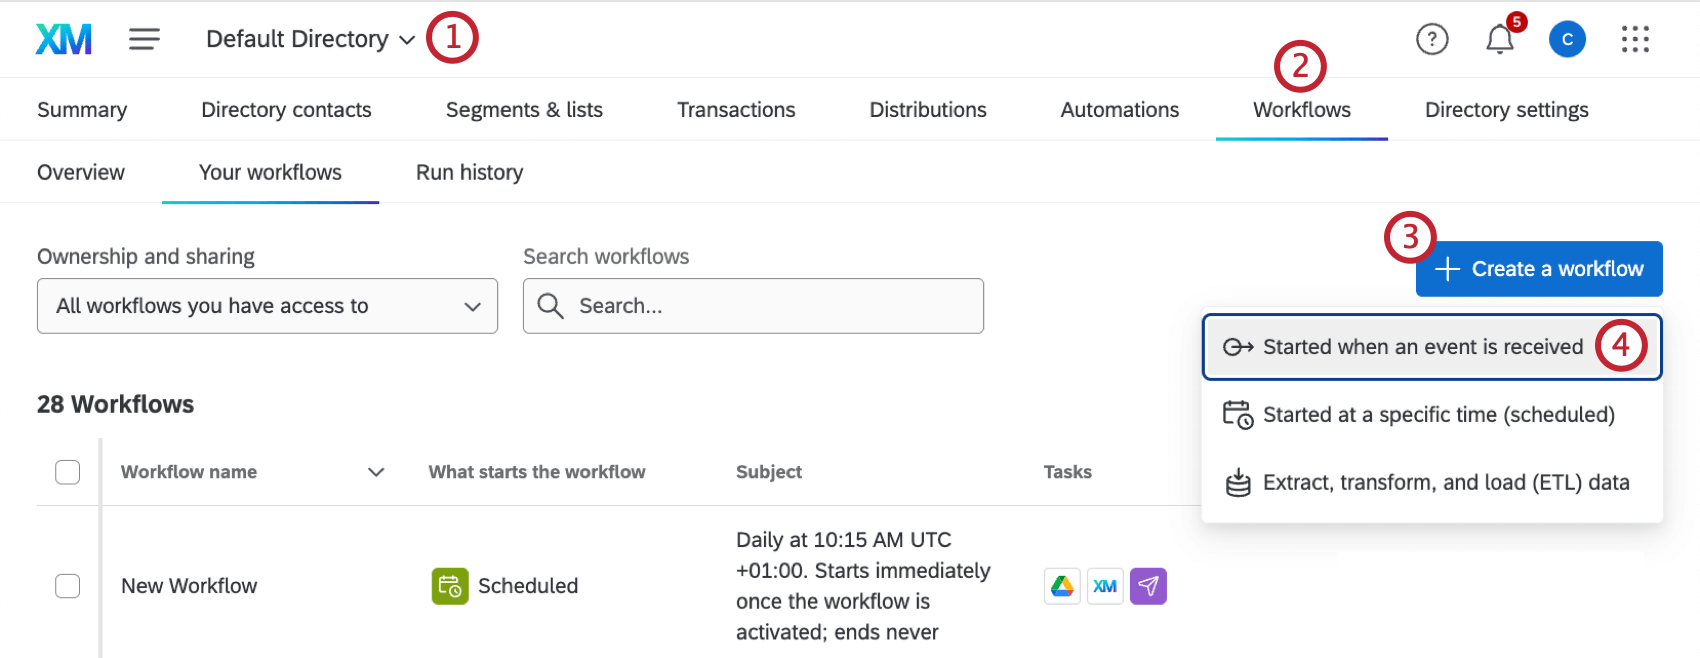
- Better organization: Find all of your workflows in one easy-to-reach page. See Workflows in XM Directory.
- Better troubleshooting: Track the workflow’s status and troubleshoot the origin of issues as they arise. See Workflows Run and Revision Histories.
Qtip: All legacy XM Directory triggers were migrated automatically to Workflows by Qualtrics.
Qtip: This page is unrelated to the XM Directory automation migration. If you’d like to learn how to move automations to workflows, see Migrating Automations to XM Directory Workflows instead.
Automatic List Enrollment in Workflows
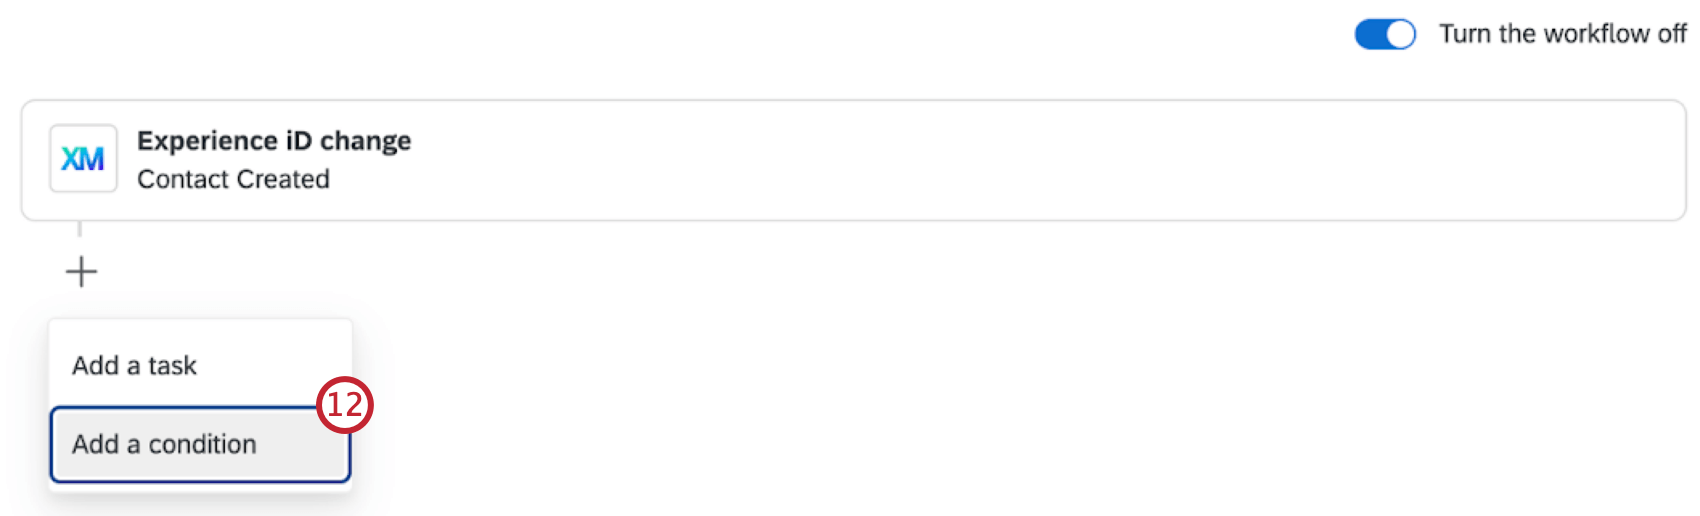
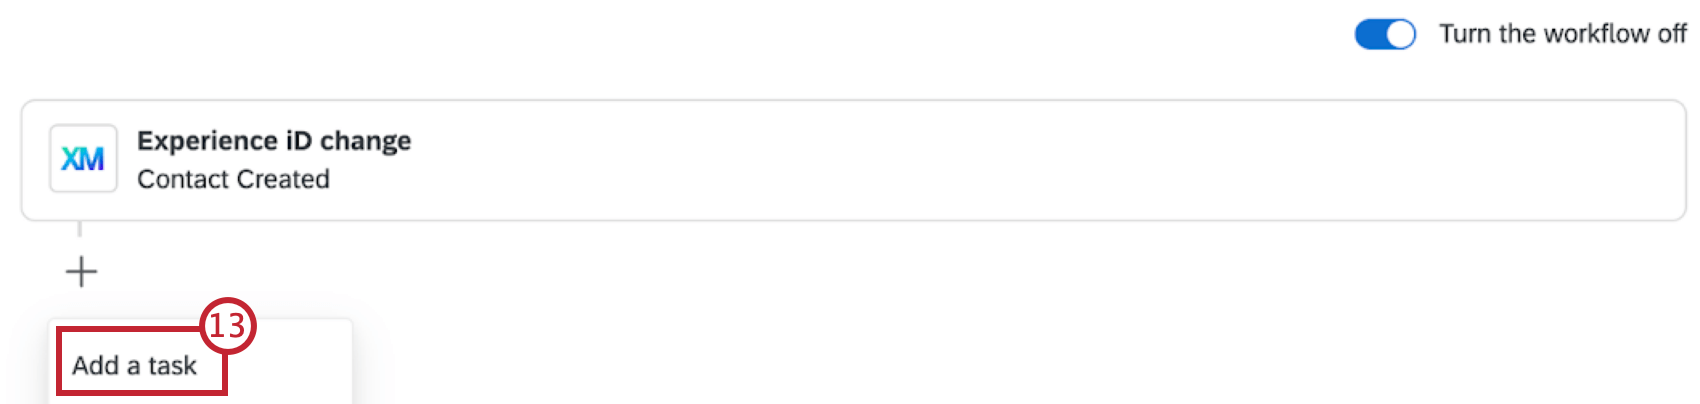
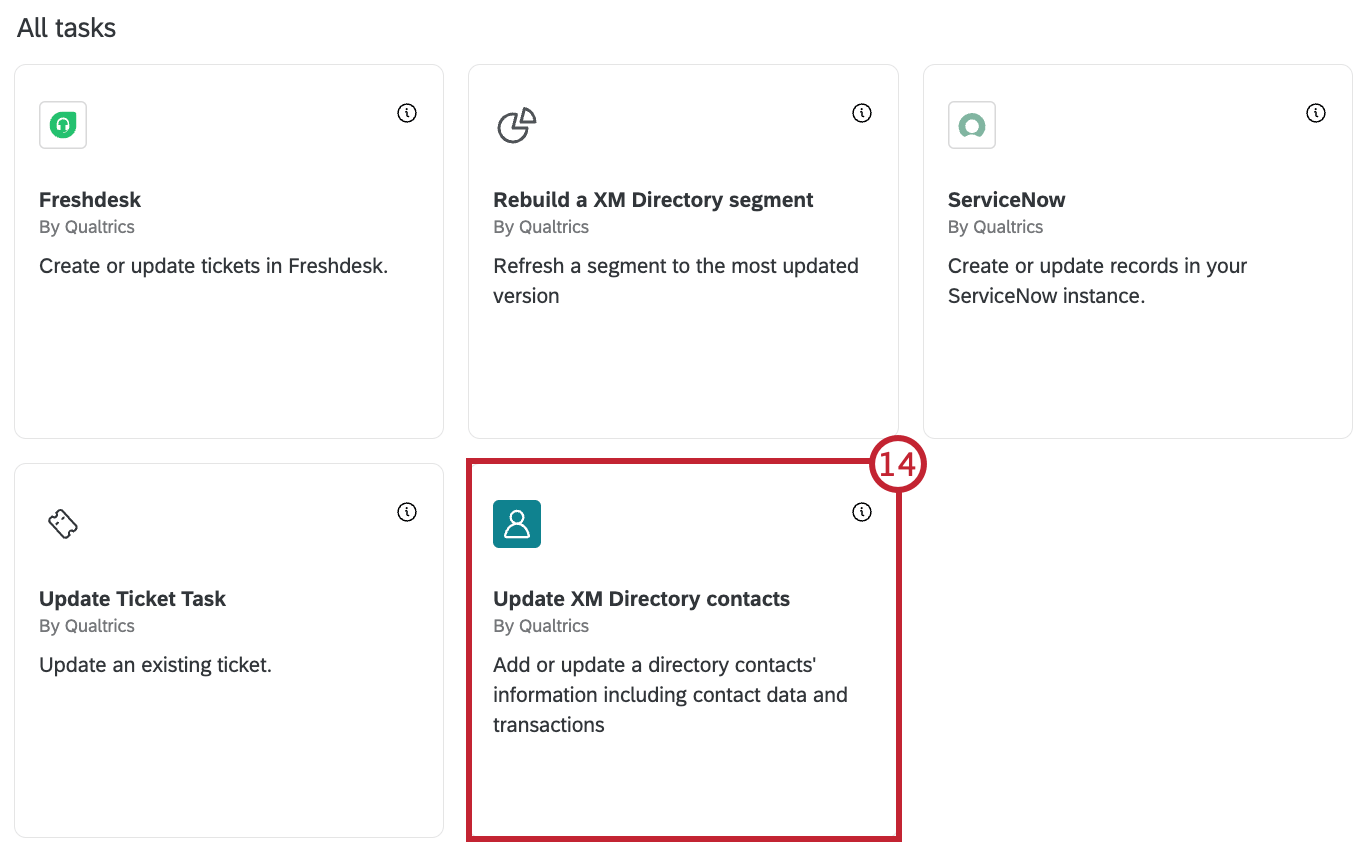
Automatic list enrollment allows you to automatically sort new contacts into certain lists based on various information about them. This feature affects new contacts.
After the workflow is set up, it will run when a contact is added to your directory. This contact will then be added to the specified list if conditions are met.
Example: You have ongoing surveys that you run for several different cities. You get a lot of people requesting to be added to these surveys, and wish you could have them automatically added to the relevant contact list as they are uploaded to the directory, instead of needing to manually add them to each list.
Attention: Filtering by “Any field” or “Email domain” is not possible in Workflows.
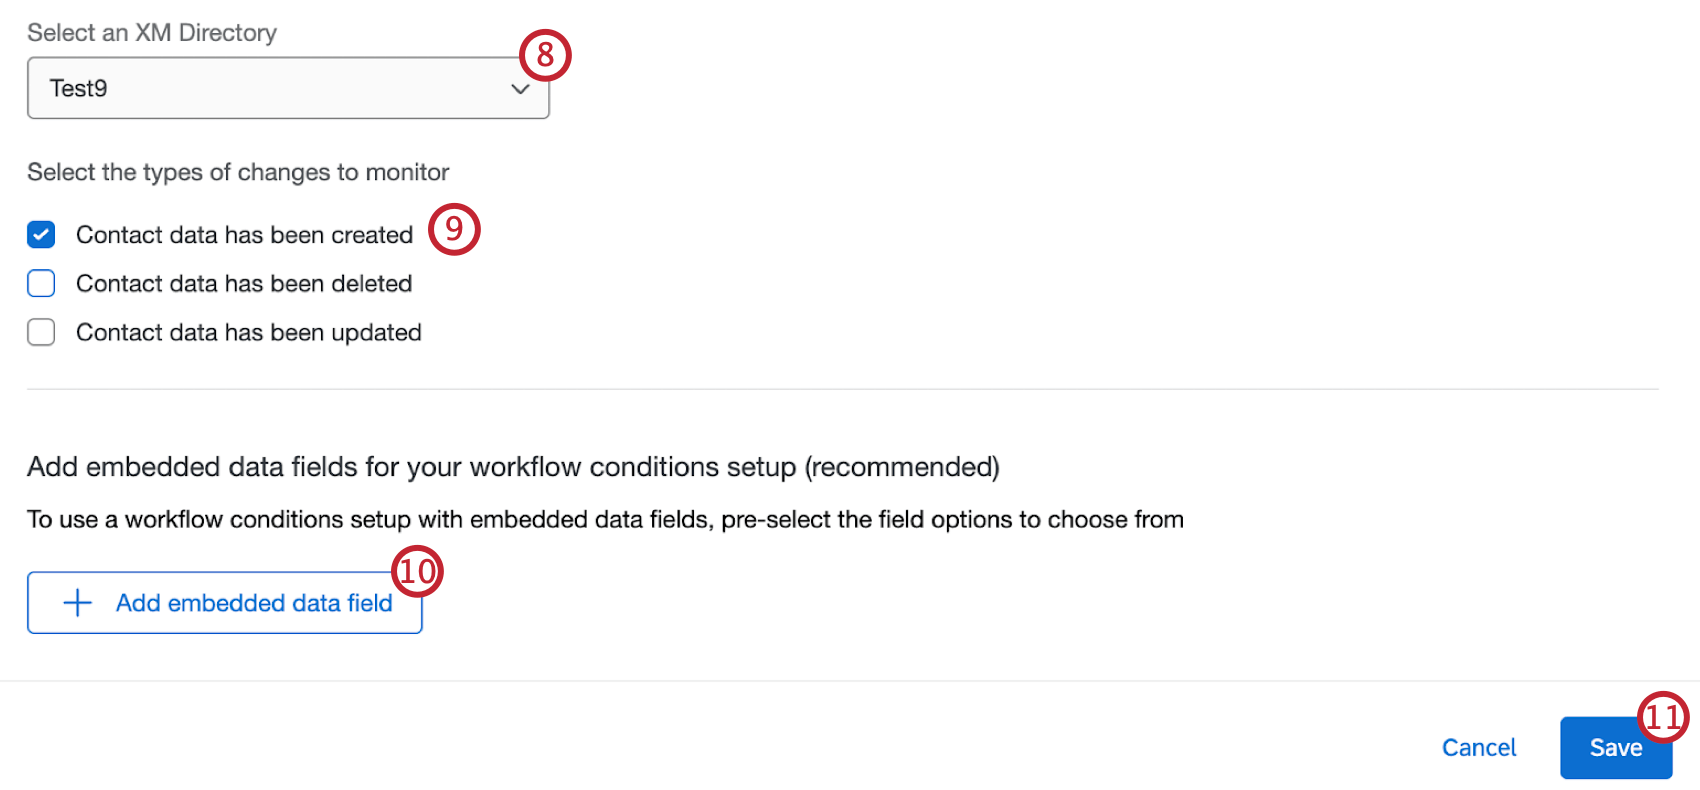
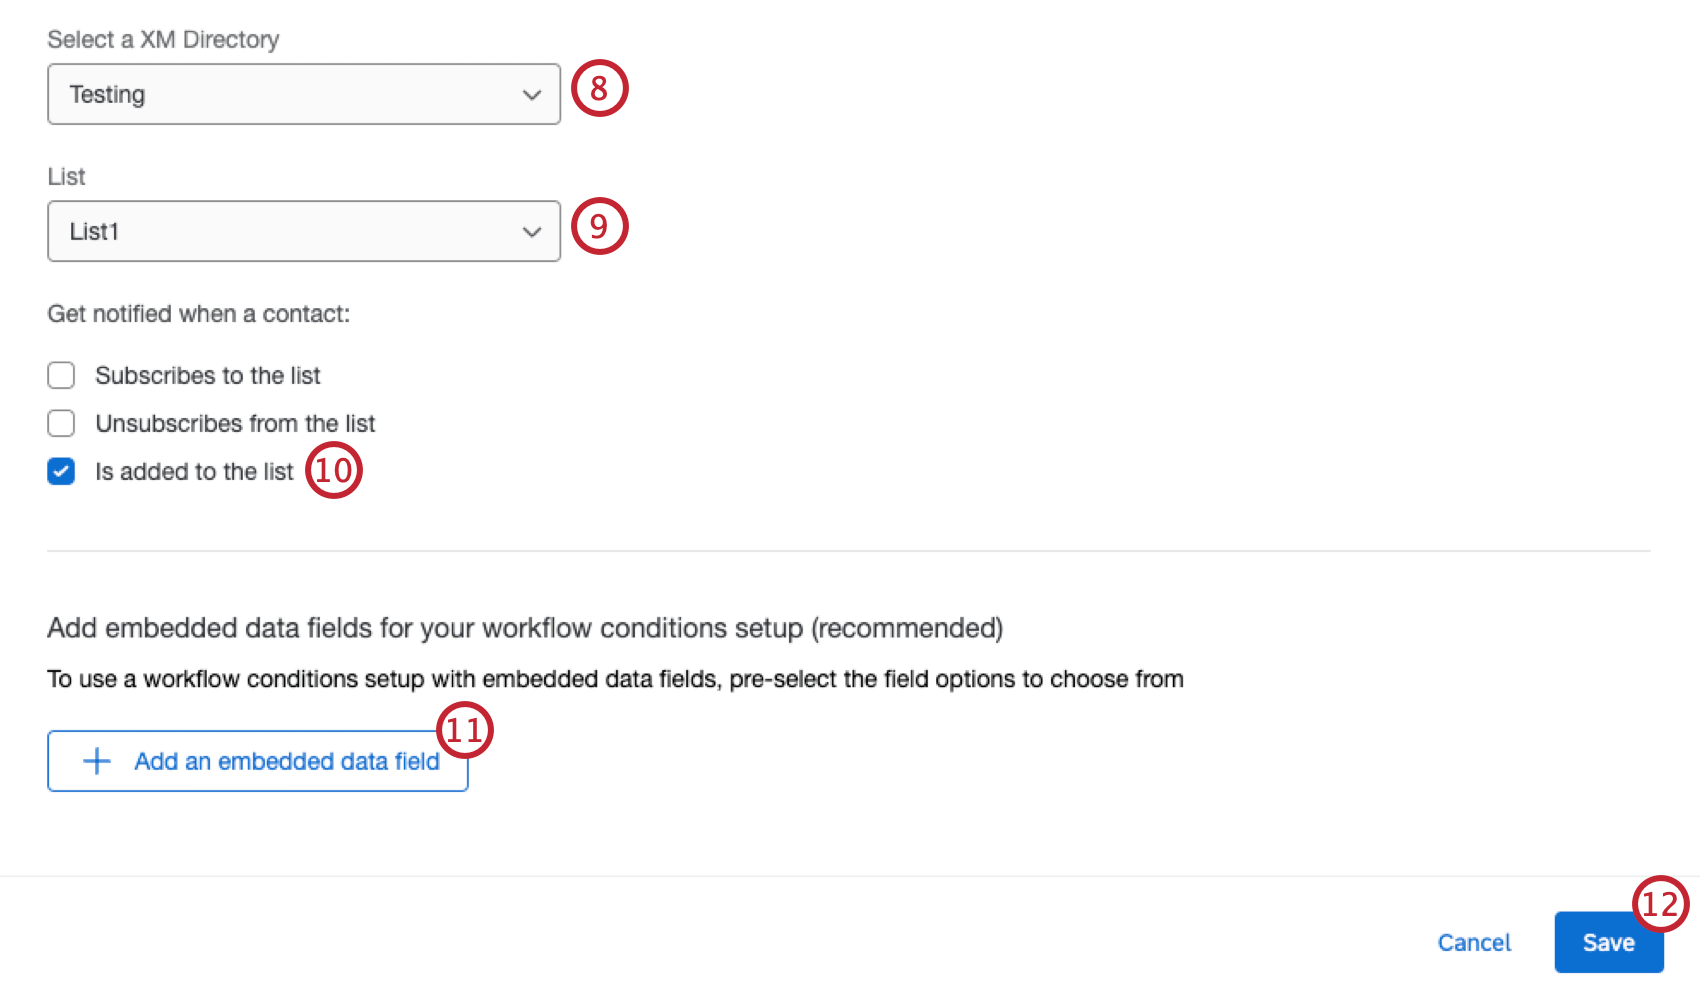
Qtip: This step is optional, but we recommend completing it if you plan to use certain contact data in conditions and later tasks in the workflow.
Qtip: Global demographics, which are set up in the profile demographics section of the directory settings, are not supported in Workflows.
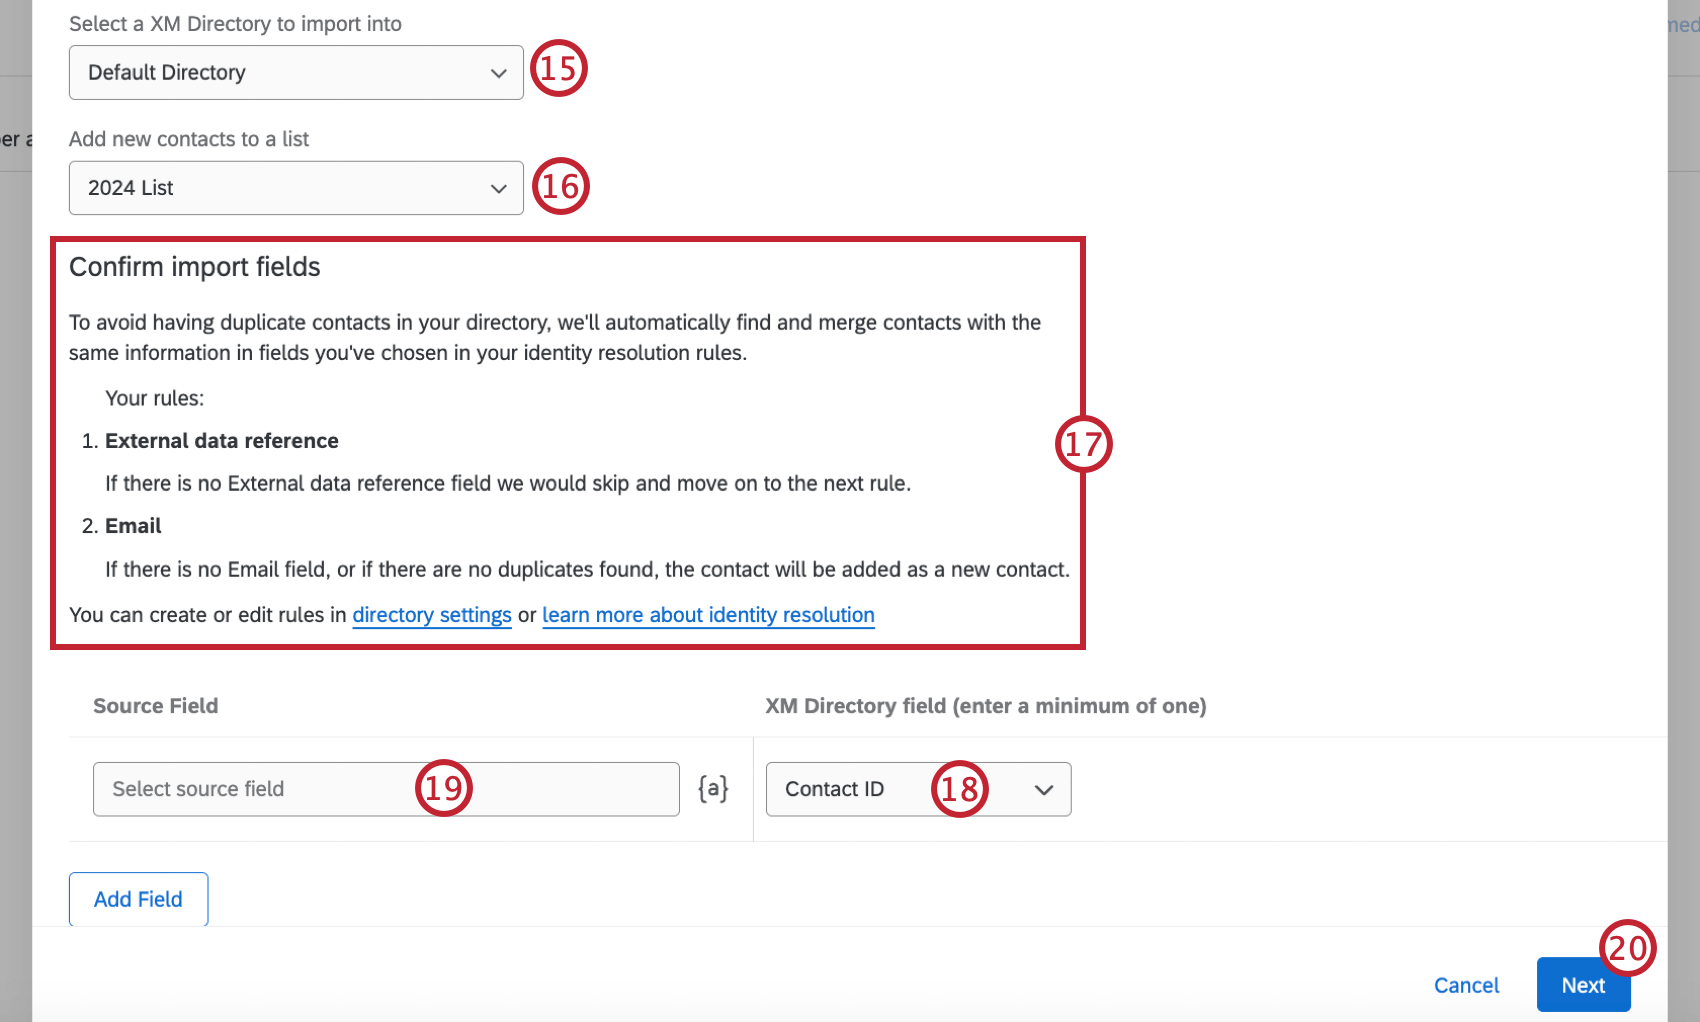
Attention: Make sure to select a source field for Contact ID so your contacts are added to the list correctly.
Message Triggers in Workflows
Message triggers allow you to send an email when a contact is added to a chosen mailing list. This email can go to any colleague you want, regardless of whether they have a Qualtrics account, or to the contact themselves.
After the workflow is set up, it will run when a contact is added to your mailing list. An email will then be sent if the specified conditions are met.
Attention: Filtering by the following fields is not possible in Workflows:
- Contact info: Any field
- Contact info: Email domain
- Mailing list membership
- Statistics
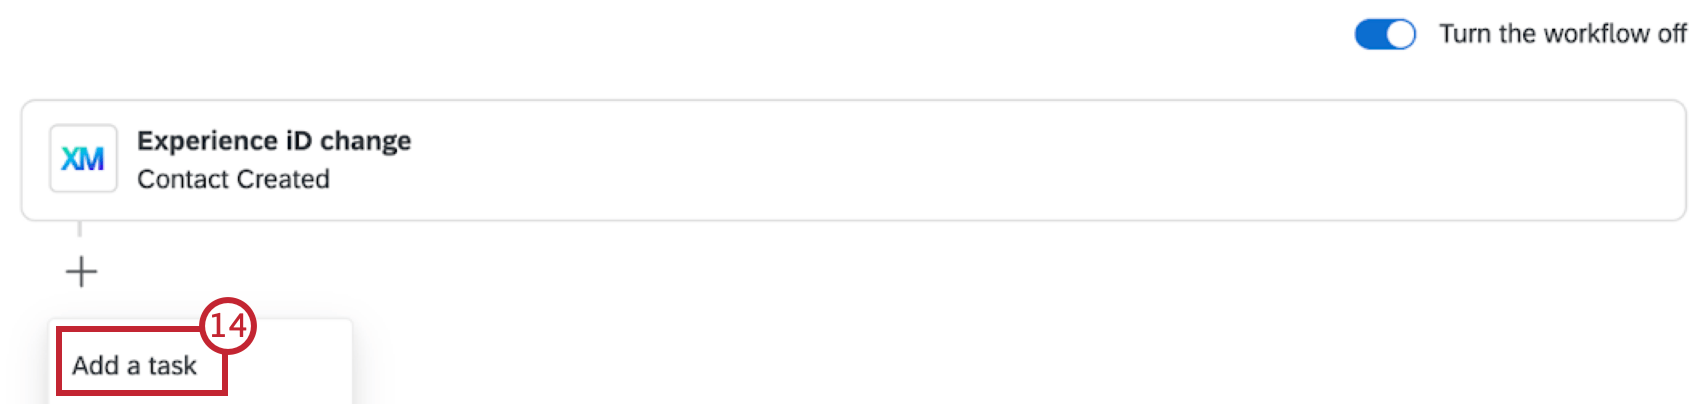
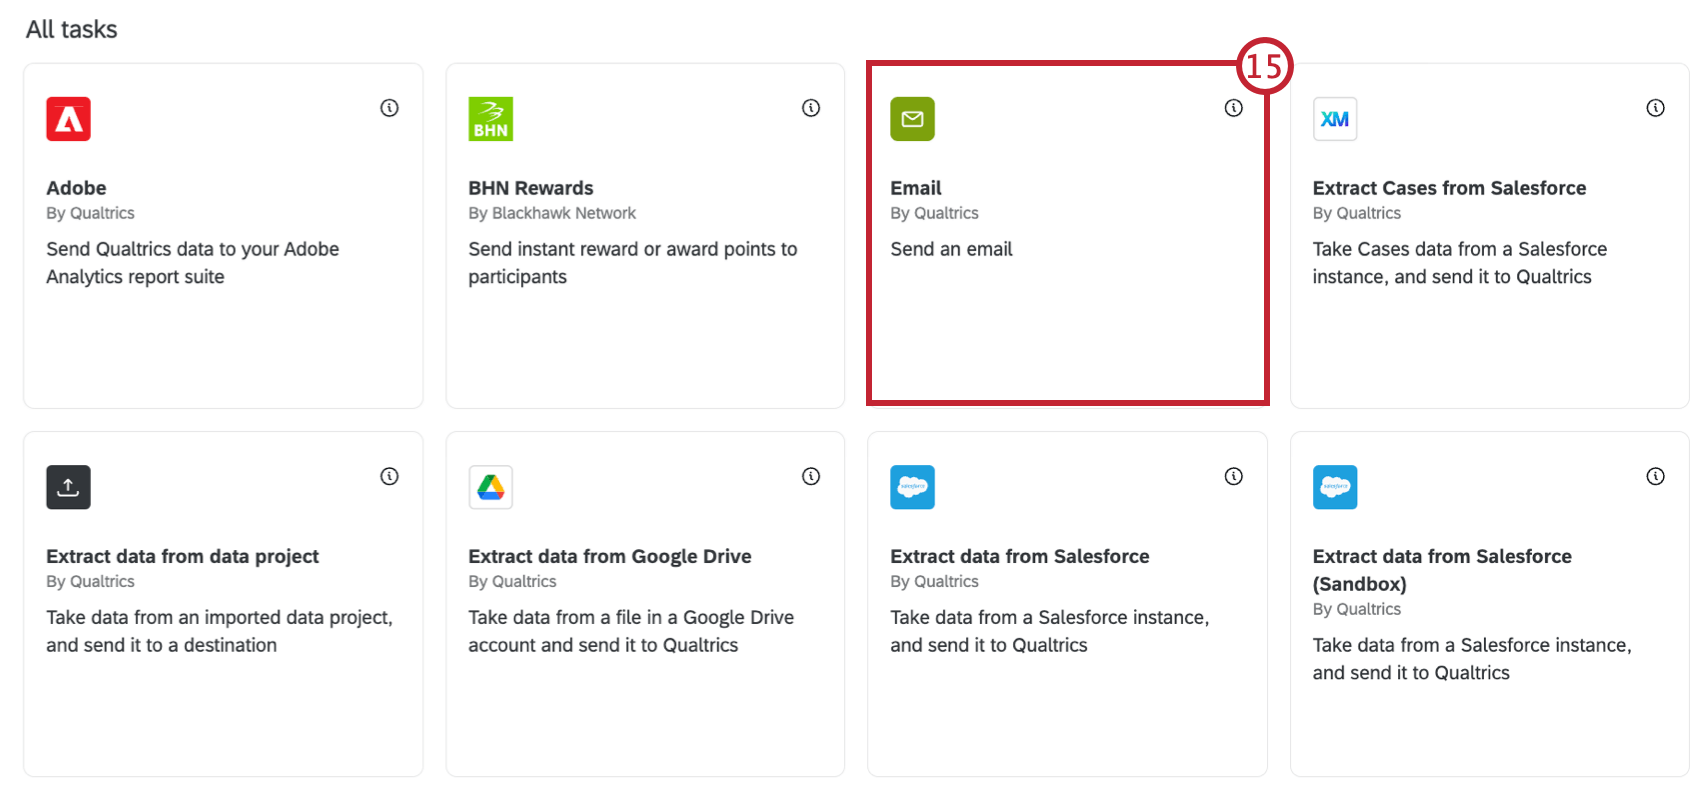
- Send a message:
- Email: Select Email task.
- Slack: Select Slack task.
- Microsoft Teams: Select Microsoft Teams task. Qtip: Your distribution channels may vary by license. Talk to your Account Executive if you’re interested in getting access to additional features.

- Send an invite to a survey:
- Email: Select Send Survey via Email task.
- Text message (SMS): Select Send Survey via Text Message (SMS) task.
That's great! Thank you for your feedback!
Thank you for your feedback!