
Creating Samples
What's on this page
Qtip: This page only refers to creating contact samples in XM Directory and XM Directory Lite.
About Creating Samples
Samples are groups of people from the same mailing list or segment. They can be useful in pilot testing by splitting contacts into sub-groups. Samples are not visible to the entire organization.
Qtip: You must make a mailing list or segment before you can make a sample.
Attention: Samples are automatically deleted after 1 year. Use segments instead for a permanent list.
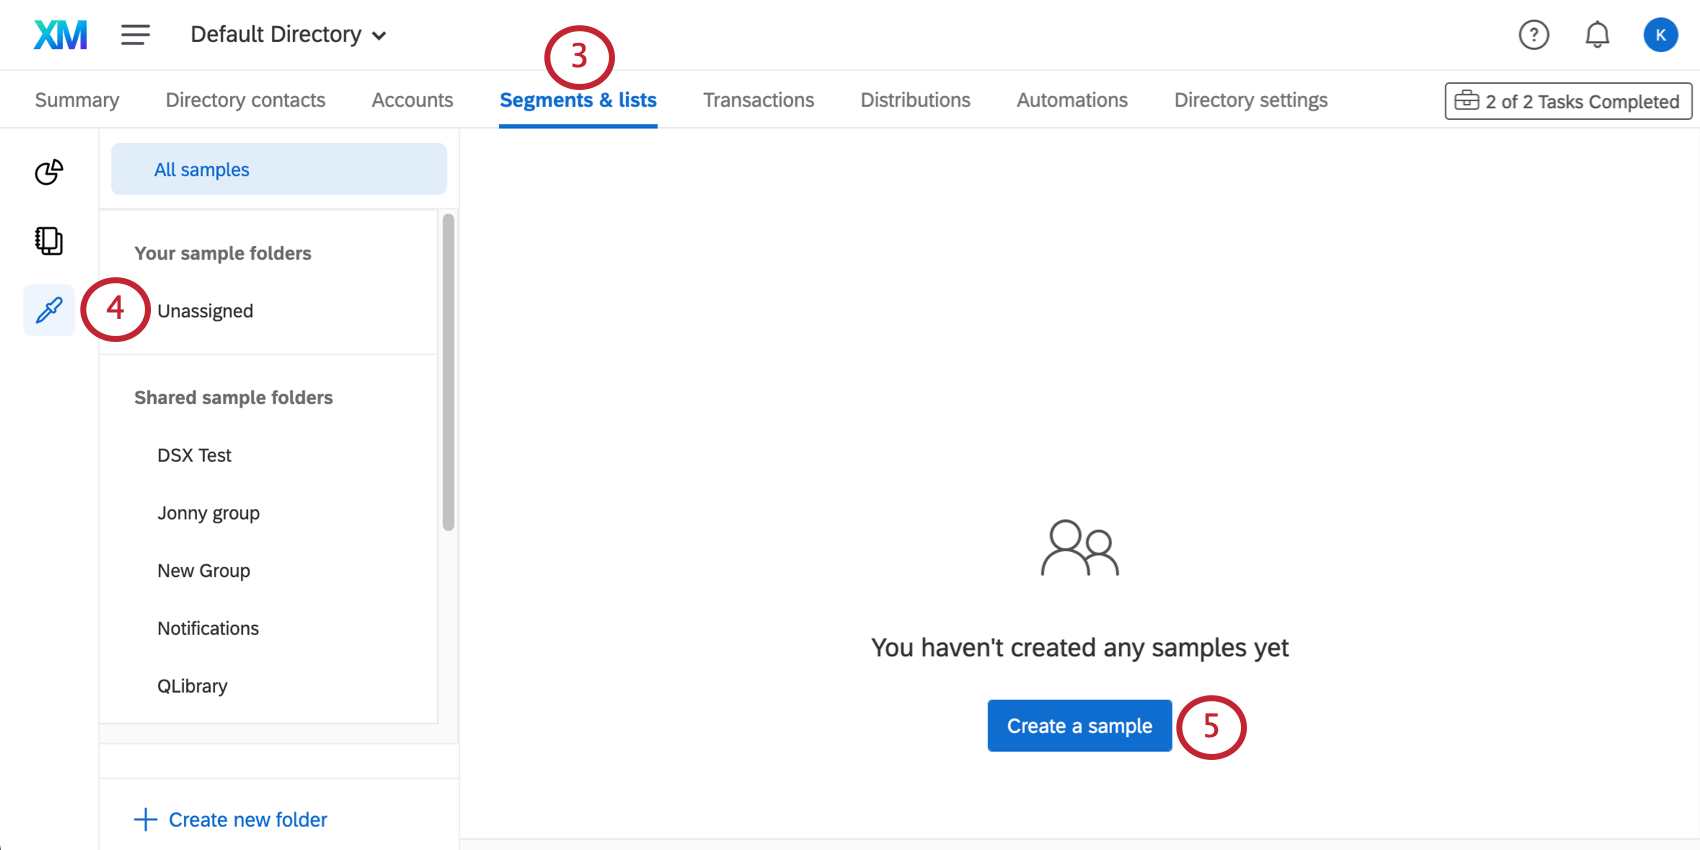
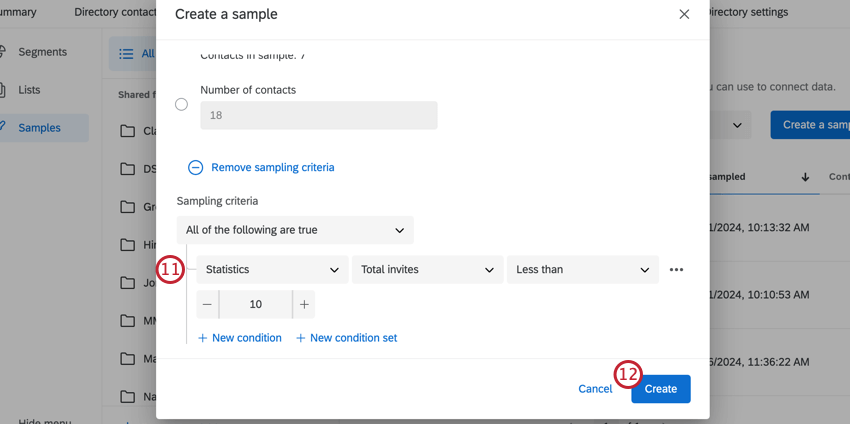
Creating a Sample
Qtip: You must have the Manage Directory permission to create segment samples.
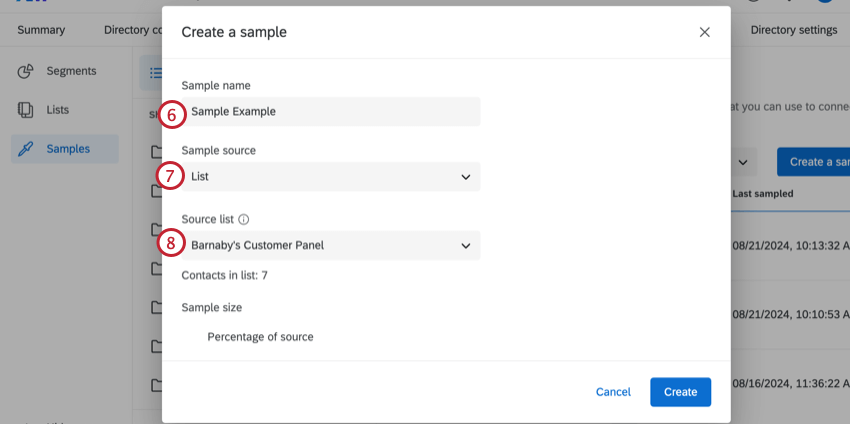

- Number of contacts: Enter the number of contacts you’d like to make up the sample. This number cannot exceed the number of contacts in your list.
- Percentage of source: Enter the percentage of contacts from your original list you’d like to make up the sample. Example: If you have a list of 1,000 contacts and enter 75%, the sampling criteria you have added will be applied to all 1,000 contacts. If more than 75% of contacts meet the criteria, the list will be cut down so that only 750 contacts will receive the survey.

Qtip: Samples must be less than 5,000,000 contacts to generate.
Qtip: Contacts that are opted-out of the directory are automatically excluded from the sample.
Sampling Criteria
Sampling criteria allow you to decide the conditions under which a contact is added to a sample. These conditions are set the same way as they are in directory filters.
You can only use up to 10 sampling criteria.
You can filter samples by almost every kind of field. See Fields you Can Filter By.
Qtip: If you are creating a sample from a list with private list data, you can use that private list data as sampling criteria.
Example: You want to split your mailing list into 2 samples. You have created Sample 1 which contains 50% of your mailing list. When creating Sample 2, you want to ensure that nobody from Sample 1 is included.
To achieve this, you can set the sampling criteria to be “Mailing list” > “Not in mailing list” > “The original mailing list” > “Sample 1.” The screenshot below shows this same logic.

Projects That Can Use Samples
Qtip: The features discussed in this section are not necessarily included with every license. If you’re interested in getting access, please reach out to your Account Executive.
You can use XM Directory to build mailing lists and send invitations for several types of Qualtrics projects. However, not every Qualtrics project type is compatible with XM Directory.
XM Directory can be used to send the following:
- Survey projects
- Conjoint / MaxDiff
- Certain non-EX XM Solutions
In contrast, XM Directory cannot be used to distribute any Employee Experience (EX) projects. That means that no EX projects can be used with XM Directory, including Engagement, Pulse, 360, and more.
XM Directory contact data is completely separate from the employee / participant information saved in the Employee Directory. That means that data edited in one directory will never affect the other.
FAQs
What’s XM Directory? / Where’s Target Audience?
What’s XM Directory? / Where’s Target Audience?
How can I tell if I have XM Directory or XM Directory Lite?
How can I tell if I have XM Directory or XM Directory Lite?
For admins, being able to tell whether or not you have XM Directory Full or XM Directory Lite on your license is easy. Admins of XM Directory have access to many more features than the average XM Directory Lite user, including the Summary tab, the Directory Contacts tab, and Directory Settings.
However, even if you’re not an admin, you can often tell whether you have XM Directory Full or XM Directory Lite in one of the following ways: If you’re still not sure which feature you have, reach out to a Brand Administrator. Brand Administrators who are unsure can reach out to their Account Executive or Account Services.
That's great! Thank you for your feedback!
Thank you for your feedback!