Any thoughts on how to best handle in the survey platform?
Best answer by TomG
View original
Best answer by TomG
View original
 +27
+27
+27
+27
") You should not have a problem with the div classes being set in JS, that is just to define the names that will go into your CSS file and how they would behave. Glad you got this resolved!
You should not have a problem with the div classes being set in JS, that is just to define the names that will go into your CSS file and how they would behave. Glad you got this resolved!
All roads about enlarging an image lead to this post, so I’ll add my question here. I don’t know JS so I’m piecing together how to do this as best as possible.
So far the steps as explained above are:
1. Go to Look & Feel > General > Edit Header > Source button to view header code
2. Paste in this:
https://cdnjs.cloudflare.com/ajax/libs/lightbox2/2.10.0/css/lightbox.min.css" rel="stylesheet" />
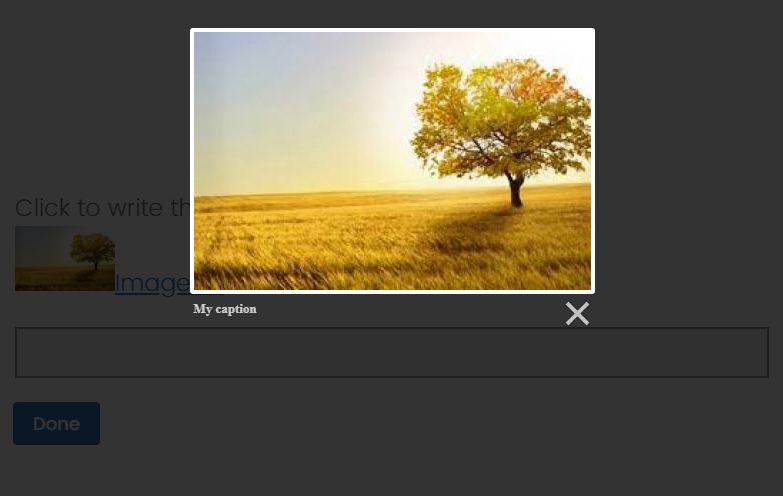
3. Then, go to the question where you have a graphic, click gear icon, and select Add JavaScript, where you will add this:Image #1
Additional questions from a non-coder:
1. In the Question’s JavaScript, are we adding it to the Onload section, the first of the three sections pre-filled in the script?
2. Do we also need to add the addOnClick script from the Qualtrics Java Script directory?
Finally, my specific question is:
1. The question type I am using is graphic. How must the addOnClick code be adapted for that? I believe it would involve changing the element.type to something other than radio, but I don’t know what it is.
2. How/where does the lightbox script get incorporated with the addOnClick script?
Thank you!
Hello!!!
I have the same question, when I click on the question's gear, I am not pasting the script correctly and it gives me an error. Could someone explain to me please or share a screenshot on how I need to do it correctly?
+27
Frank_Barbeite and DimMas ,
If you've added Lightbox to the header, you don't need to add any JavaScript to the question. Just add the html you question text (in HTML view):
Image #1
The script is triggered by adding the data-lightbox attribute to the link.
TomG I think I did what you mention but for some reason I only get a header with the script which looks very weird for the participant to see. Also I think what I did is managed to zoom all the window but not the image itself...
+27
https://www.qualtrics.com/community/discussion/comment/31836#Comment_31836You weren't in source mode <> when you pasted the script.
https://www.qualtrics.com/community/discussion/comment/31837#Comment_31837Thank you so much Tom! It all works fine now :)
Hello,
I have the lightbox working properly. However, they do not zoom in big enough. I need the zoom feature to be huge (exceeding the size of the computer screen). Does anyone know how to accomplish this?
Thank you!
Hi there,
Love this solution! One issue I do have
I am using this solution in a custom conjoint table that hides the radio buttons below the table so respondents can just click on the table itself. The only issue is that when I insert the code into the header the actual radio buttons re-appear and you can no longer click on the table. This would be fine if the rows lined up but they should be below columns 2-5 since column 1 is just a label
The table controls are in custom JS. Any idea why or how to fix it? Or is it possible to limit the script to only individual rows of the table?

Hi there,
I followed these steps to add a header in the look and feel and the HTML. I can see the image displayed at the bottom of the question in the builder mode, however, it won't display in the preview.
Is there a solution for this?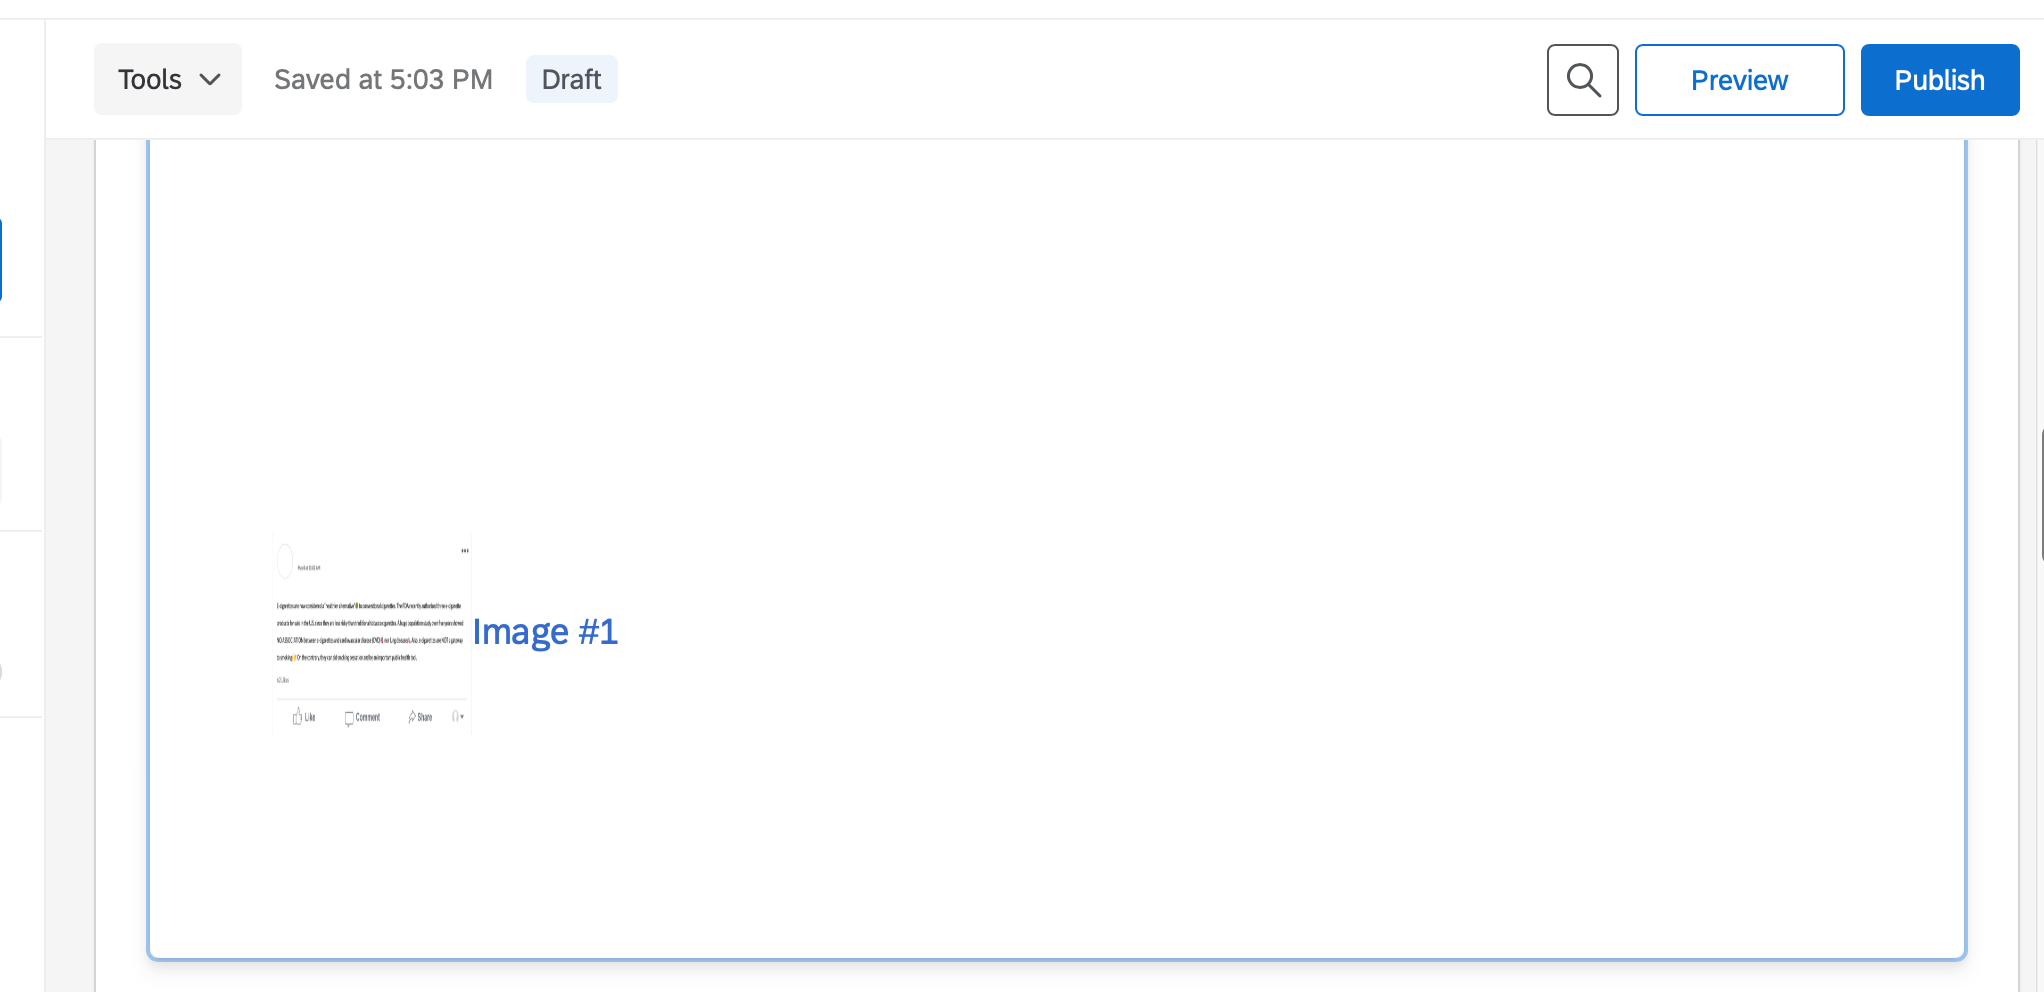
Hi everyone, I am following the exact steps listed above. However, I am getting the following error message "Invalid JavaScript! You cannot save until you fix all errors: Unexpected token <". I searched about this error message online and could not find a workable answer. Could you please help? Thank you!
 +1
+1
Hello all,
In my survey, I am interested to see how participants change the width and height of a given image intendent of each other (i.e., not in scale) by clicking on the image and dragging the mouse (something similar to PowerPoint). For this, I have the following code to be pasted in question’s HTML. This code works perfectly in OnlineGDB.com, but when I paste it in Qualtrics and preview the question, though it lets participants change the image size, it does not let them change width and height independent of each other. Would appreciate if you can help me fix the problem. The code is as follows:
-------------------------------------------------------------------------------------
<div id="instructions">
<p>Questiona instruction.</p>
<br><br>
</div>
<div id="image-container" style="position: relative;">
<img id="resizable-image" src="IMAGE LINK" alt="Your Image" />
</div>
<script>
const image = document.getElementById('resizable-image');
let isResizingWidth = false;
let isResizingHeight = false;
let initialWidth, initialHeight;
let startX, startY;
image.addEventListener('mousedown', (e) => {
if (e.target === image) {
isResizingWidth = e.clientX <= (image.getBoundingClientRect().left + image.offsetWidth);
isResizingHeight = e.clientY <= (image.getBoundingClientRect().top + image.offsetHeight);
initialWidth = image.offsetWidth;
initialHeight = image.offsetHeight;
startX = e.clientX;
startY = e.clientY;
document.addEventListener('mousemove', resizeImage);
document.addEventListener('mouseup', stopResize);
}
});
function resizeImage(e) {
if (isResizingWidth) {
const newWidth = initialWidth + (e.clientX - startX);
const minWidth = 20;
const maxWidth = 400;
image.style.width = Math.min(maxWidth, Math.max(minWidth, newWidth)) + 'px';
}
if (isResizingHeight) {
const newHeight = initialHeight + (e.clientY - startY);
const minHeight = 20;
const maxHeight = 400;
image.style.height = Math.min(maxHeight, Math.max(minHeight, newHeight)) + 'px';
}
}
function stopResize() {
isResizingWidth = false;
isResizingHeight = false;
document.removeEventListener('mousemove', resizeImage);
document.removeEventListener('mouseup', stopResize);
}
</script>
------------------------------------------------------------------------------------------------------
Thank you
Enter your username or e-mail address. We'll send you an e-mail with instructions to reset your password.
