
Security Tab
What's on this page
About the Security Tab
All Qualtrics data and brands are protected with the utmost care. However, sometimes you may want additional security settings, such as the ability to track which users are logged in, add more requirements to passwords, modify how many failed logins lead to an account lockout, and so much more.
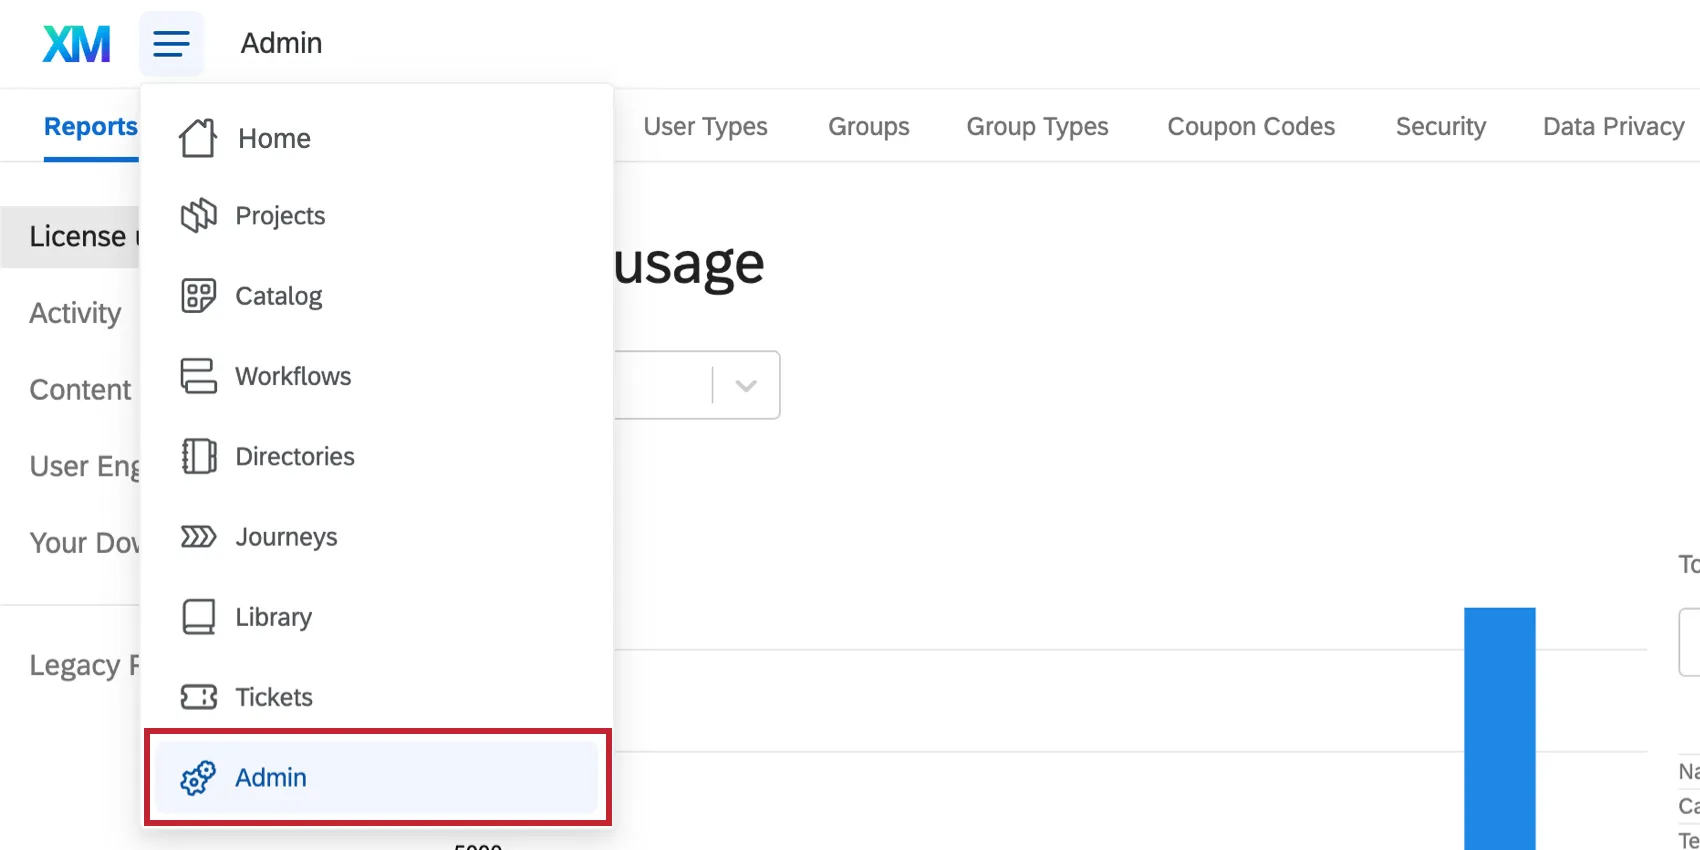
Brand Administrators can access all these settings and more by going to the Admin page and selecting Security.
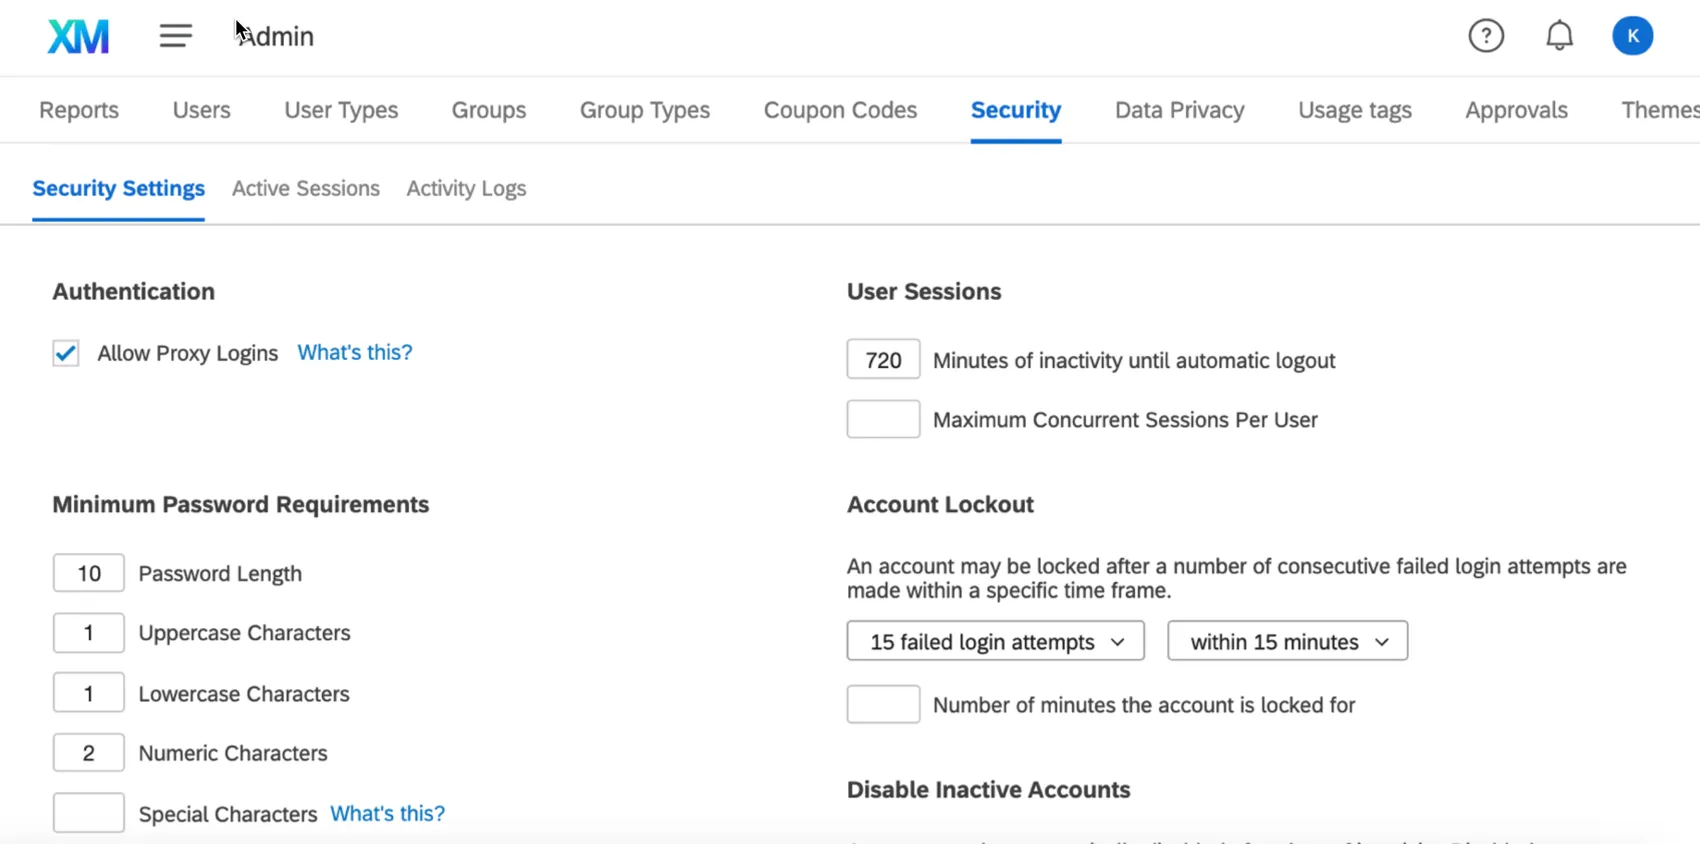
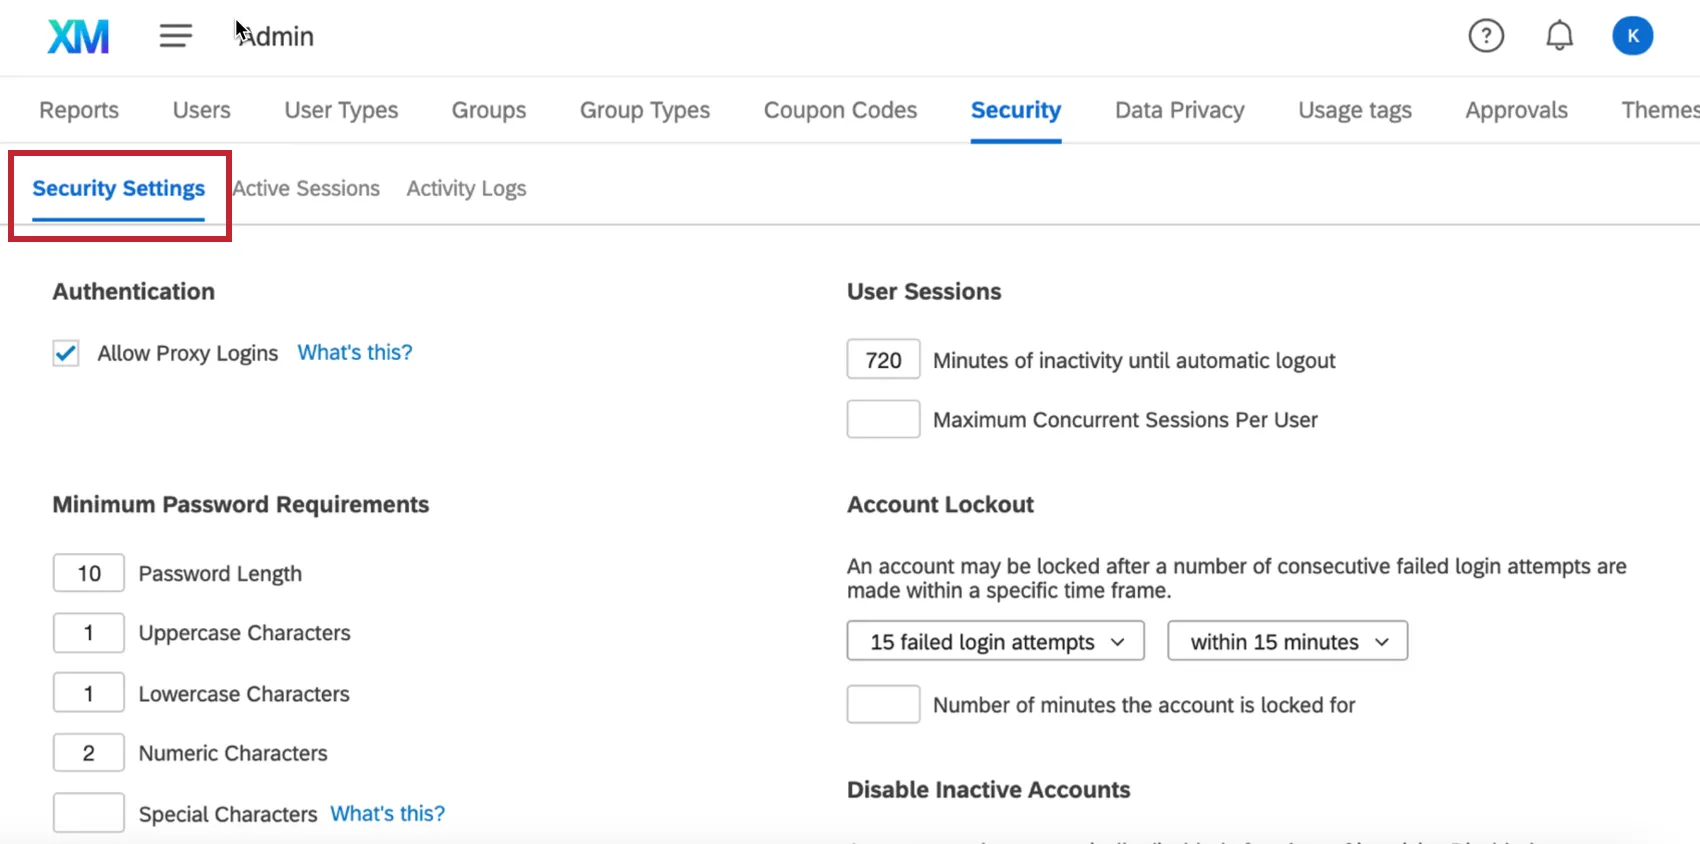
Security Settings
Security Settings is the first section under the Security tab.
Qtip: Two factor authentication settings have moved location. See Authentication for more information.
Allow Proxy Logins
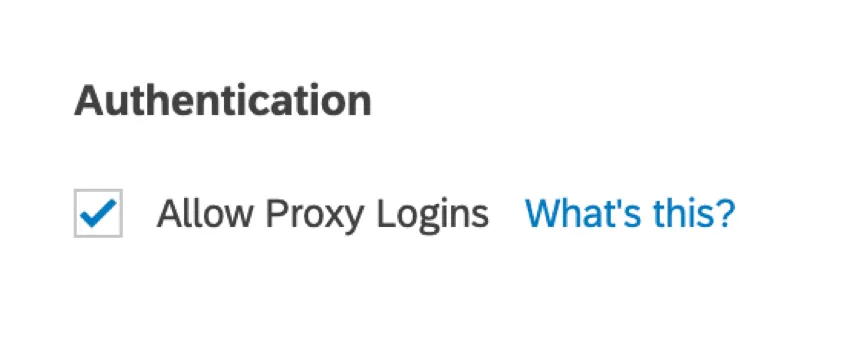
Proxy logins allow Brand Admins or higher privileged accounts to log into different user accounts on this brand through the Users tab. By deselecting Allow Proxy Logins, you are making it so no Brand Admin can directly log into a user’s account.
By allowing proxy logins on an Employee Experience license, you also allow EX project builders to proxy log into participants’ dashboards. This can be useful for role and dashboard permission testing.
Attention: Brand Admins can access content in the entire brand, but disabling the Allow Proxy Logins permission will prevent Brand Administrators from acting on behalf of another user.
Minimum Password Requirements

You can customize the requirements of passwords created in your brand. When you leave a field blank, that means that feature is not required in the password. The above example shows the default password requirements.
Attention: Changes made here will apply to all users in your brand. If a user’s password does not fulfill the new requirements, they will be prompted to change their password the next time they try to log in.
Qtip: There are settings for password expiration under the Organization Settings tab.
User Sessions
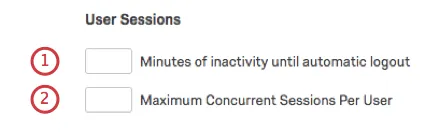
Qtip: The default session timeout is 60 minutes without user activity.
Qtip: The default maximum number of concurrent sessions for all brands is 500.
Account Lockout
When a user repeatedly gets the username or password to an account wrong, the system will lock them out. This is a feature available on all Qualtrics brands, which ensures that strangers cannot get access to accounts that don’t belong to them.
However, with the Security tab, you can specify more about how this Account Lockout system works.
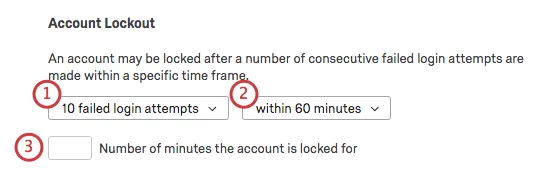
Qtip: If a brand does not have the Security tab feature or the Account Lockout settings have not been modified, by default an account will lock a user out for 60 minutes after 10 failed attempts to login.
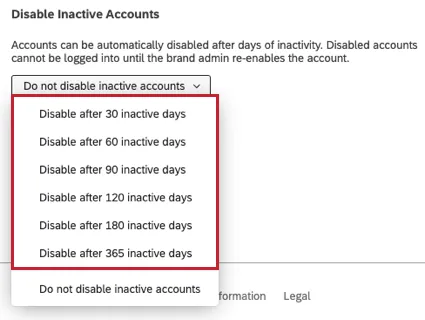
Disable Inactive Accounts
Sometimes accounts will sit around in a brand for a long time without any use. It can be tedious to keep track of these accounts individually, and you may not necessarily want to set an account expiration date.
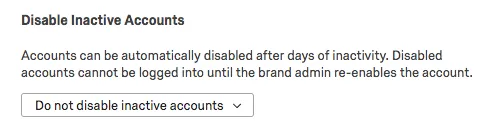
You can choose to disable accounts after a number of predetermined days. Note that disabling an account will not delete it – you, as the brand administrator, can always re-enable the account.
Attention: If you choose to disable inactive accounts, please note that Qualtrics will consistently assess all inactive accounts and automatically disable any account that meets the condition you selected.
Active Sessions
The Active Sessions section will show you all the users currently logged in on your brand, plus identifying information.
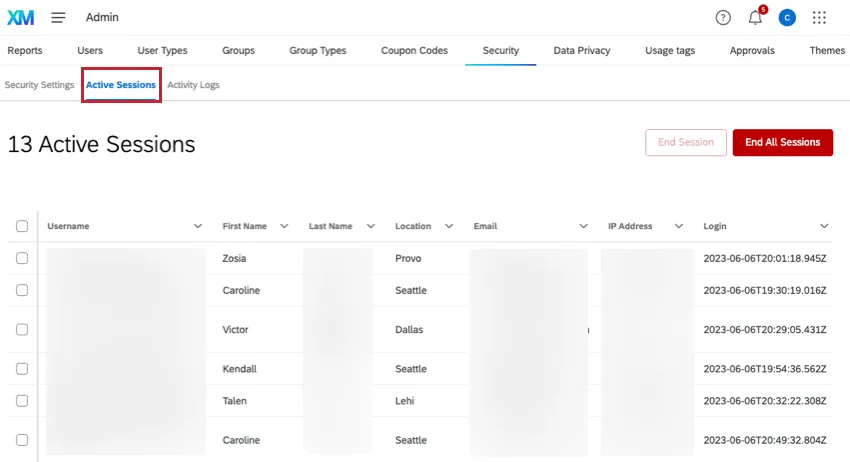
If you see suspicious account activity or you would like to force a user to log out for any reason, select the user(s) and click End Session. Click End All Sessions to end all active sessions.
To adjust the table format, click the down arrow next to a column and select an action.

The available actions are:
- Pin Column: Pin the column so it cannot be moved. This will also make the column visible while you scroll horizontally.
- Unpin Column: Unpin a pinned column.
- Move Column Left: Move the column 1 place to the left.
- Move Column Right: Move the column 1 place to the right.
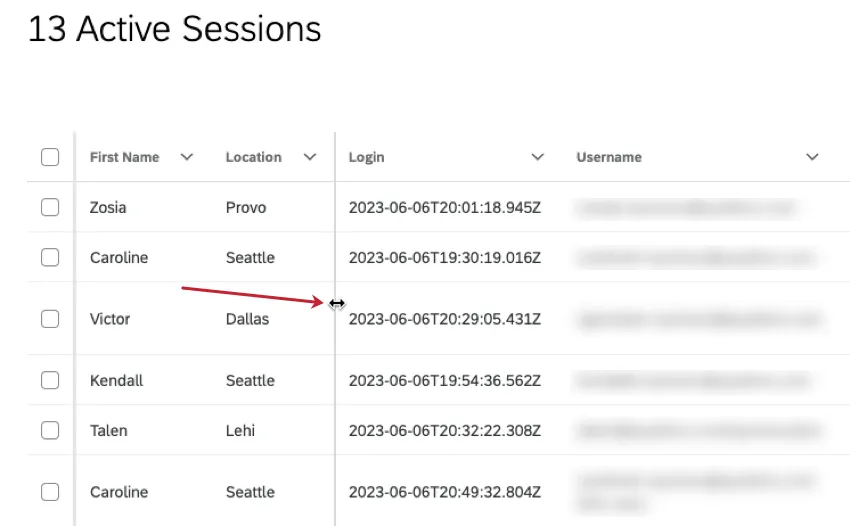
You can also hover between columns and drag the column divider to change the width of a column.
Activity Logs
In the Activity Logs section, you can see actions users have taken across your Qualtrics organization.
For each entry, you may see a date, the username or user ID of the account the event happened to, and an event category and name.
In this section, we’ll explain how to use the Activity Log to find information on events. If you want a full list of possible events and what they mean, see Events Tracked in the Activity Log.
Event Details
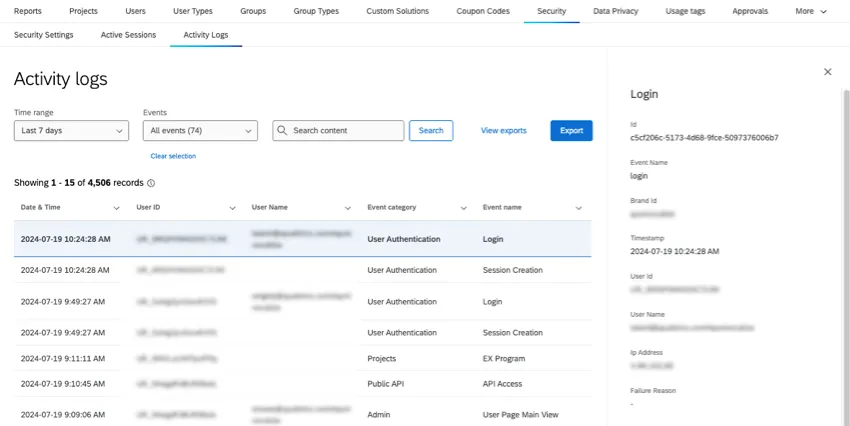
To view more information about an event, click on it. This panel includes a lot of the same information in the columns, plus:
- Id: An internally generated session ID.
- Brand Id: Your organization ID.
- Ip Address: The IP Address where this activity took place.
- Timestamp: When the event started. Times are always given in the user account’s time zone.
Depending on the event type, there can be other information included about what happened.
Example: If an Admin removes a permission from a role, you’ll see the ID for the role and the name of the permission removed.
Example: If viewing a user’s login session, you’ll also see a termination timestamp, to indicate when the session ended.
Filtering Logs
You can filter your logs by time range, specific events, or search terms. The search supports user IDs, partial and whole usernames, and event types and categories.
To deselect events, click Clear selection.

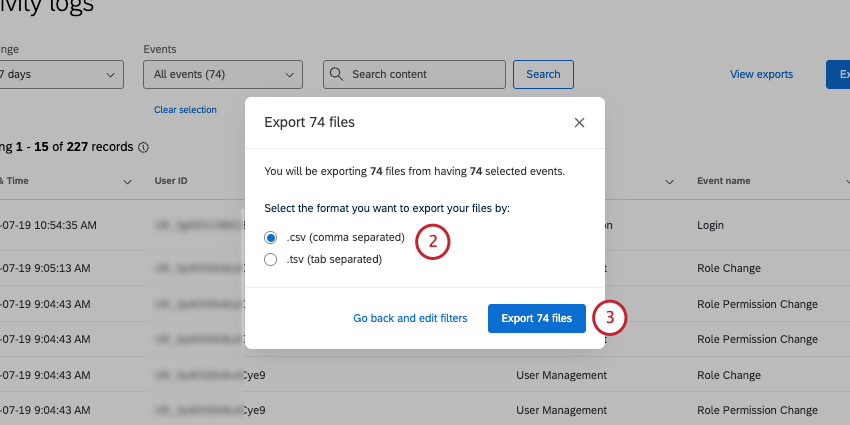
Exporting Logs
Qtip: Any filters you use will apply to your exports.

Customizing and Sorting Columns
You can sort by any of the columns available. Click the arrow next to a column to move it left or right, or to pin it to the left.

Events Tracked in the Activity Log
The following is a list of event categories and event types tracked in the activity log.
Qtip: The types of events you can audit may change over time.
Qtip: Each event type may take some time before it appears in the audit log.
Admin
- Account settings proxy login access: A user has given Qualtrics Support permission to proxy log into their account.
- Admin reports export: A user exported Admin Reports.
- Brand anonymity setting change: A user edited organization-wide anonymity settings.
- EX pseudonymization: A user edited the organization-wide pseudonymization policy.
- EX projects triggered for pseudonymization: EX projects that were impacted by the pseudonymization policy.
- Help modal settings change: A user edited the organization-wide settings for the help window.
- Organization settings change: A user has edited organization settings.
- Survey approval: A user has requested approval, dismissed a request, approved a request, denied a request, or commented on a request. See more on Project Approval.
- User page individual view: A Brand or Division Admin viewed a user on the Users tab.
- User page main view: A user viewed the Users tab.
Brand change
- Brand change: The organization has just been created or updated with new permissions. This includes changes to the brand type, base URL, expiration date, and brand description. Each change is indicated by the original value and the new value.
Dashboard settings
- Update anonymity decorator: Anonymity settings have been updated in a dashboard.
- Update scales decorator: The Scales settings have been updated for a dashboard.
Datasets
- Data tab export data: A user has exported recorded responses in any format in Data & Analysis.
- Data tab export responses to PDF: An individual response has been exported to PDF.
- Data tab export responses in progress: A user has exported responses in progress.
- Data tab manage downloads: A user tab has downloaded a file from the Manage Downloads
- Data tab single response view: A user has viewed an individual response.
- Data tab view: A user has viewed the Data section of Data & Analysis.
Directories
Qtip: These events are not available to all customers. To have this enabled, reach out to Account Services.
- Bulk contact change: A user has uploaded many contacts or changes to existing contacts in XM Directory.
- Contact export: A user has exported contacts from XM Directory.
- Contact list operation: A user has viewed, made changes to, or used mailing list options on a contact list in XM Directory.
- Contact operation: A user has viewed or made changes to a contact in XM Directory.
- Directory operation: A user has viewed or made changes to a directory in XM Directory.
- Directory settings operation: A user has updated XM Directory settings, such as contact frequency, duplicate merging, directory messages, and more.
Distribution
- Distribution: A user has created a distribution in their project.
Libraries
- Library files graphics: A user has viewed or taken action in the library.
Organization
- Brand settings: A user has edited organization settings, particular related to login or SSO.
Projects
- Add program project: A project was added to a program.
- Create project: A user created a new project.
- Create project role: A role was created for a project.
- EX program: A Pulse program has been created, edited, or deleted. This event includes changes to the other projects and settings in the larger program.
- Project clone: A project was copied.
- Hard delete project: A project was permanently deleted.
- Remove program project: A project was removed from a program.
- Soft delete project: A project was soft-deleted (moved to a deleted state but still recoverable).
- Undelete project: A previously deleted project was restored.
- Update project: A project’s details (such as name or status) were updated.
Public API
- API access: A user in your organization has performed API calls.
Reports
- Export printed report: A user has exported an Advanced-Report. This includes PDF, DOCX, PPTX, and JPG export types. Does not include EX or 360 reports.
- Export view results report: A user has exported Results. This includes PDF, DOCX, PPTX, and CSV export types.
Survey Projects
- Accept collaboration token: A user accepted an invitation to collaborate on a survey project.
- Copy survey project: A user copied an existing survey project into a new project.
- Create survey project: A user created a new survey project.
- Delete collaborator: A collaborator was removed from a survey project.
- Delete survey project: A user deleted a survey project.
- Import survey project: A user imported a survey project from another source or survey.
- Put user collaborator: A user shared a survey project with another user or group of users.
- Remove shared survey project: A collaborator removed themself from a shared survey project.
- Save share data: A user shared a survey project with other a user in another brand.
- Save share email: A collaboration invitation email for a survey project was sent to the user.
- Set survey project owner: Ownership of a survey project was transferred to a new owner.
- Share roles: A user granted role to recipient user.
- Undelete survey project: A user restored a previously deleted survey project.
Tickets
- Ticket customer activity: A user has viewed the customer activity of a ticket.
- Ticket exports: A user has exported tickets.
- Ticket follow-up details survey: A user created or edited a follow-up details survey. This event can also trigger when a follow-up details survey receives a response. See more on Ticket Feedback Surveys.
- Ticket survey response: A user viewed the embedded data or full survey response in a ticket.
User Access Control
- Employee record access control modified: Employee Record Access Control has been enabled or disabled.
- Modify columns metadata tag: A data access tag has been applied to columns metadata or removed from them.
- Modify data access tag: A data access tag has been created, updated, or deleted.
- Remove project role: A project role was removed from a project.
- Update project roles: One or more roles on a project were updated.
User Authentication
- API Token Change: A user generated an API token.
- Login: View regular, proxy, SSO, and Failed logins. To learn more about a login, click on a user and view the information to the right.
- Proxy Login will be true if it was a proxy login. You’ll also see additional information under “proxy details,” including the ID of the user who proxied into the account.
- Is Successful will be false for failed logins.
- You’ll also see information such as URL the user logged in from, location, how they authenticated (e.g., SAML for SSO organizations), and the platform of login (browser and operating system).
- Password change: Any time a user changes their own password in the Account Settings
- Password reset: Whenever a password reset is completed. This includes users choosing Forgot Your Password? on the login page, Brand Admins sending password resets, or the user having to change their password because the password expired or you set new minimum requirements.
- Session creation: Any time an account is logged into, thus creating a new session. This is different from Logins because it doesn’t count failures or allow you to check for proxies. If you click a user, it will show when the session ended.
- Session termination: Every time a session terminates, either because a user logged out or an administrator forced them to. To see which, click the termination and look at the Reason
- User change: Any time a user is created or deleted. Click a user for more information. Action will show whether the user was edited, created, or deleted. You’ll also be able to see what details were edited.
User Management
- Assignment definition change: A CX role was created, edited, or removed.
- Assignment rule change: The rules for a CX role were edited.
- Load participants page: A user opened the Participants page in an EX project or the User Admin of a CX Dashboard. Click the event to see the product line (e.g., CX or EX).
- Modify participant metadata: A participant’s metadata has been updated right on the Participants page in an EX project or the User Admin of a CX Dashboard. Click the event to see the product line.
- Org hierarchy export participants: Hierarchy participants have been exported.
- Org hierarchy export units: Hierarchy units have been exported.
- Org hierarchy import units: Hierarchy units have been imported.
- Participants management confirm person import: A user has imported a participant file with no errors.
- Participants management create person import: A user started a participant import.
- Participants management export persons: A user exported participants.
- Participants management get existing persons: When adding participants, the system has to identify which participants already exist in the directory so they aren’t added to the directory again as duplicates.
- Participants management get jobs: A user opened Manage Imports/Updates/Exports on the Participants page.
- Participants management get metadata: When adding participants, the system identifies which participants already exist in the directory, and pulls their metadata.
- Participants management get metadata mapping: A user managed metadata.
- Participants management get person information: A user searched for a participant.
- Participants management import from global directory: A user imported participants via the employee directory.
- Participants management mark confirm import: A step that takes place on the back-end once a participant import has been started with no error.
- Participants management preview person import: Once a participant import has been started, but hasn’t been completed yet, there’s usually a step where you see a summary of the changes.
- Participants management remove persons: Participants were removed.
- Participants management update unique identifiers: Participant unique identifiers were updated.
- Participants management validate person import: A step that takes place on the back-end when importing participants, evaluating the quality of the file. This event is only for Engagement projects.
- Privilege change: Permissions were edited for a user, user type, division, or AI related permissions in organization settings.
- Role change: A role was created, edited, or removed. Click the event to see the product line. Appears for both EX roles and CX roles.
- Role membership change: A user was added to or removed from a role.
- Role permission change: Permissions were added to, updated in, or removed from a role.
- Subject privilege change: A participant’s subject status was changed. No new events will be triggered after April 30, 2026. Please refer to the 'Privilege change' event for information about user privilege updates.
- User permission change: Permissions have been created, edited, or removed for a user.
Qtip: A few of these events will happen surrounding the same action, especially if it’s related to participant import. For example, if you import participants onto an engagement project, you usually see the following events, in order:
That's great! Thank you for your feedback!
Thank you for your feedback!