
Add JavaScript
Suite
Customer Experience
Employee Experience
Strategy & Research
Product
Qualtrics
What's on this page
Warning: Custom coding features are provided as-is and may require programming knowledge to implement. Our support team does not offer assistance or consultation on custom coding. You can always try asking our community of dedicated users instead. If you’d like to know more about our custom coding services, please contact your Qualtrics Account Executive.
About Adding JavaScript
JavaScript is a programming language that enables you to accomplish more advanced functionality in your survey than would otherwise be available. For example, you can change the size of a question text box, create a custom question type, and much more.
Qtip: More information on JavaScript can be found in the Qualtrics API documentation. You can learn the basics of JavaScript through a series of simple and free tutorials at codecademy.com.
Qtip: Javascript is not included in all Qualtrics licenses. Please reach out to your Qualtrics Account Executive if you’re interested in getting access.
Accessing the JavaScript Editor
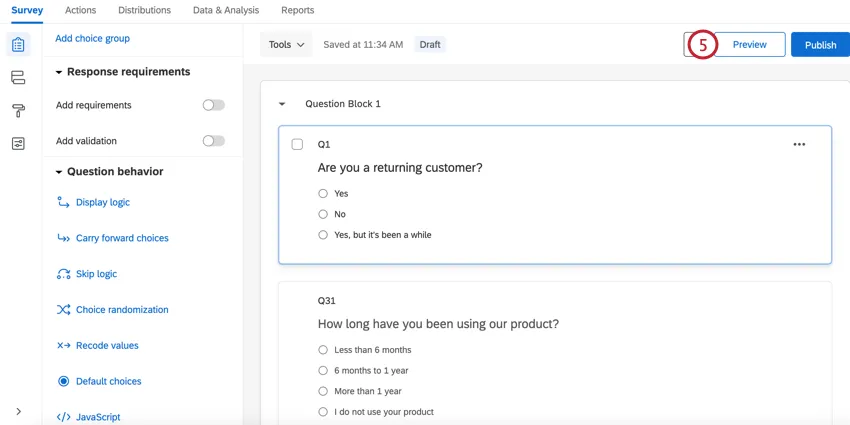
Click the question you’d like to add JavaScript to.
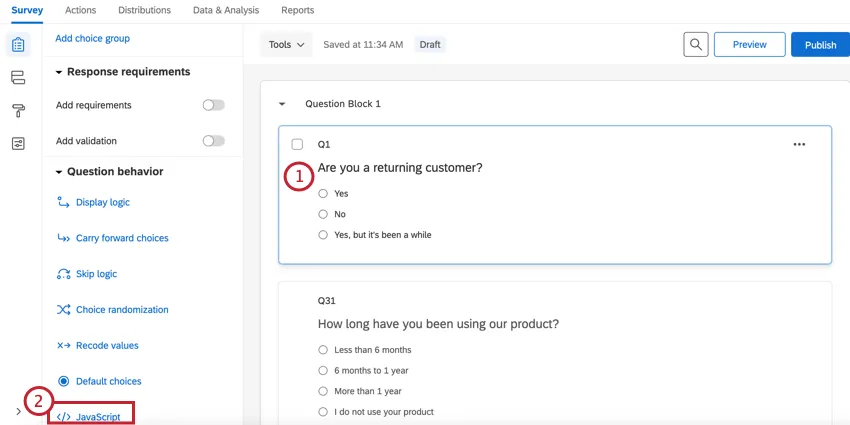
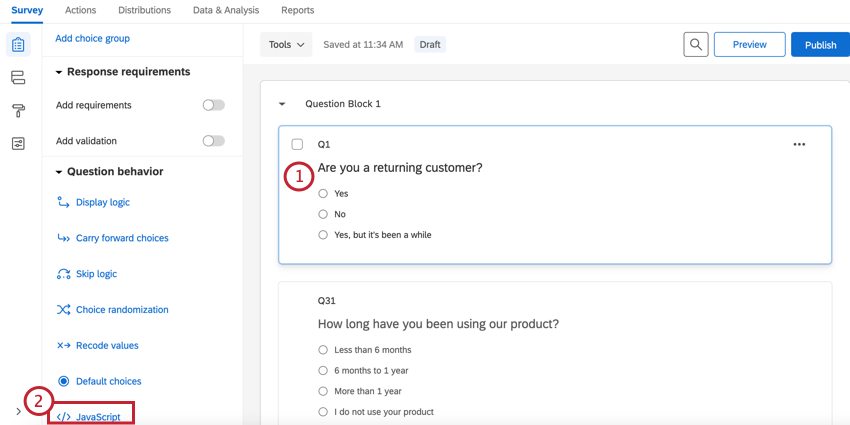
In the Question behavior section, select JavaScript.
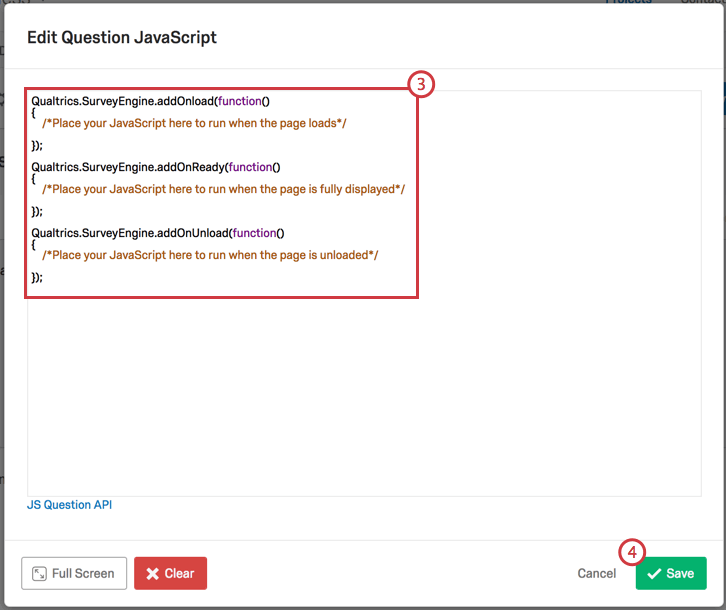
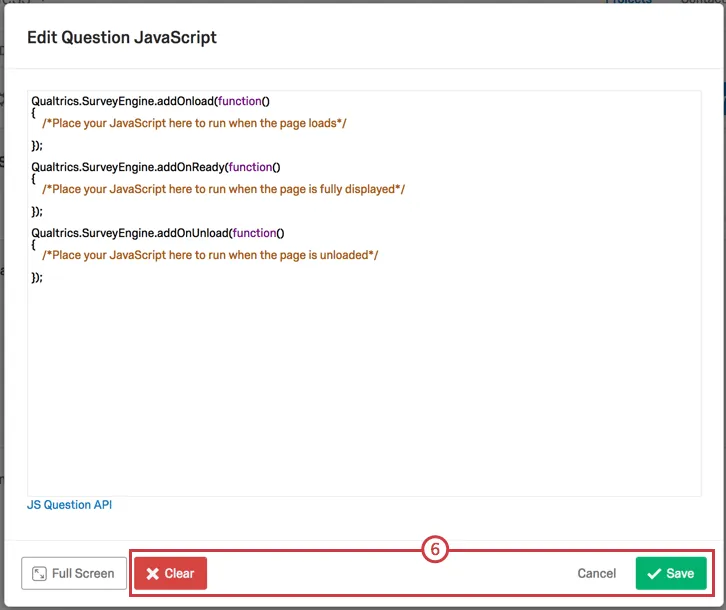
Place your JavaScript in the box, below one of the pieces of /*Place Your JavaScript Here…*/ text. The opening and closing tags are already provided (do not delete them).
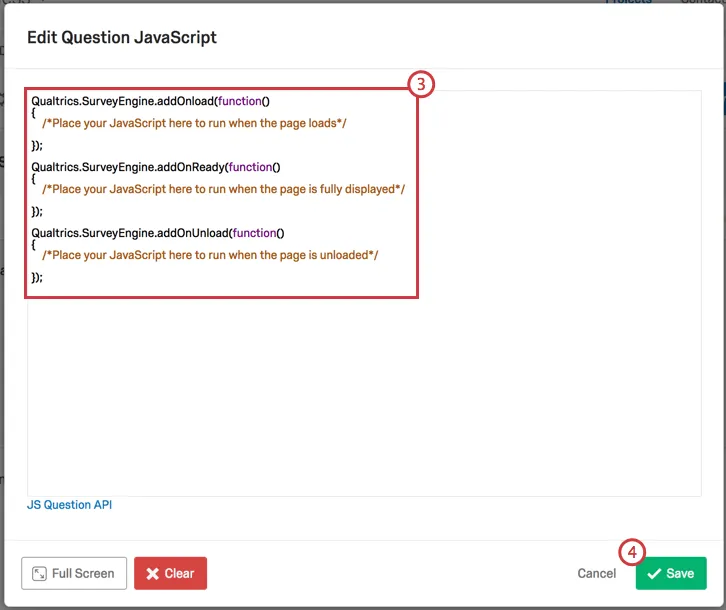
Qtip: You can place your code in one of three places: OnLoad, OnReady, and OnUnload. Choose the one that most fits your needs.
Click Save.
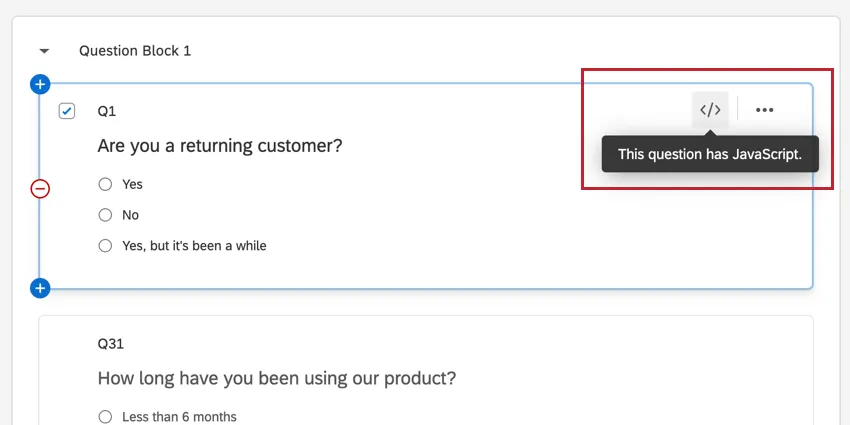
Note the </> symbol next to the question; this icon indicates that the question has custom JavaScript on it.
To preview the changes you have made, click Preview.

To preview the changes you have made, click Preview.

To remove your JavaScript, open the editor, click Clear, and then click Save.

Qtip: There are several special functions from the Qualtrics code library that can be used in your custom JavaScript. Documentation on these functions is found on our JavaScript API.
Tips & Guidelines for Using JavaScript in Qualtrics
Qualtrics surveys are hosted on a survey engine called JavaScript Form Engine (JFE). While JFE is a single page application, it reloads the header, footer, and theme on each page of your survey.
While loading a survey page, JFE calls three functions that accept callbacks. The callbacks will be executed at the following times:
- addOnload() – Executed when the page is loaded.
- addOnReady() – Executed when the page is fully displayed.
- addOnUnload() – Executed when a page is unloaded (when the page is left).

Qtip: Qualtrics does not allow the document.write() functionality.
If you change functionality outside of a specific question (such as hijacking the keyboard for answering questions), you will need to remove that function on page submit by using the callback passed to the addOnUnload() function.
As with any implementation of JavaScript, we recommend abstaining from global variable creation as it can collide with existing functionality on the page.
- If you want to import JavaScript libraries, you can include a reference to them in the survey header within <script> tags. Remember that even once you have referenced the library in your header, you must apply Javascript directly to applicable questions for that code to be pulled into the survey.
To ensure compatibility and maintainability, all JavaScript should be placed within the JavaScript Editor rather than directly within the question HTML, as referenced in the Accessing the JavaScript Editor section above.
Page Transitions can cause issues when selecting elements on load since they are also affecting page elements. If you run into difficulties, you can disable page transitions in the Look & Feel section of the Survey tab.
Adding Javascript in Different Project Types
You can add javascript to eligible questions in pretty much every type of project. The options described on this page are available in:
FAQs
Why is my HTML, CSS, and JavaScript not working in my free / trial account?
Why is my HTML, CSS, and JavaScript not working in my free / trial account?
As a free / trial account, custom code is not enabled and so you won’t see it in preview and active versions of the survey. To use custom code, your account will need to be upgraded.
Why doesn’t my custom Javascript work on simple layout?
Why doesn’t my custom Javascript work on simple layout?
The Simple Layout is designed to offer a better mobile experience and support for accessibility tools, so the structure of the survey page differs from that of other layouts. For more information, see our Javascript API Documentation.
That's great! Thank you for your feedback!
Thank you for your feedback!