
User Preferences (Studio)
Suite
Customer Experience
Product
Qualtrics
What's on this page
About Studio User Preferences
You can adjust a range of settings, including password, language, and date format settings, in the User Preferences window in Studio.
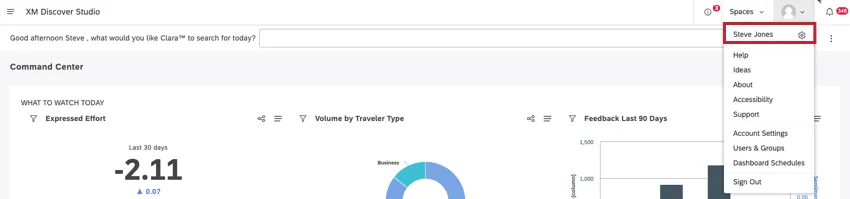
Accessing the User Preferences Window
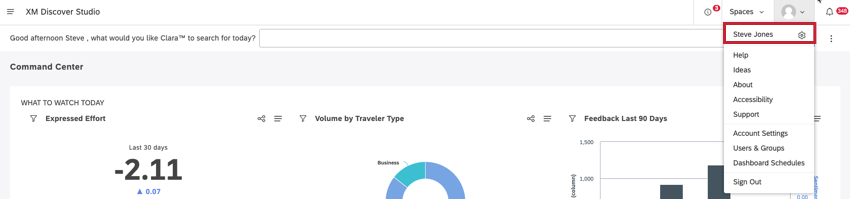
Adjusting Settings in the Preferences Tab
In the Preferences tab, you can adjust the following settings:

Change Password: Change your current password. To change your password, fill out the following fields:
- Old Password: Enter your current password.
- New Password: Enter the news password you’d like to use. Make sure your new password fulfills the password requirements listed at the top of the page.
- Confirm Password: Enter the new password again.
Email address for notifications: This field is only available for internal users. If you’d like to receive notifications, enter your email address here.
Language: Select a language for the Studio interface from the following options:
- Bahasa Indonesian
- Deutsch
- English
- English (UK)
- Español (América latina)
- Español (Europa)
- Français
- Italiano
- Nederlands
- Português
- Português Brasileiro
- Suomalainen
- Svenska
- 繁體中文
Date Format: Select your preferred date format to be used across the application:
- US (MM/DD/YYYY): Hours 1-12, minutes 0-59, AM/PM toggle
- UK (DD/MM/YYYY): Hours 0-23, minutes 0-59, no AM/PM toggle
Translate Language: Select the target language for quick translation of the Studio interface.
Color Theme: Select your preferred Studio color theme:
- Automatic: Based on your computer settings, Studio will automatically be in light mode or dark mode.
- Default: Standard color theme with a light background.
- Dark: Color theme with a dark background to use in low light situations and lessen eye strain if you have a sensitivity to light. Qtip: The color theme primarily controls the interface colors (menus, buttons, backgrounds and so on), but does not affect other users.
 Qtip: You can apply a different color theme when previewing dashboards and books, without affecting other sections of Studio.
Favorite Studio Home Page: You can select a favorite home page to open every time you sign in to Studio. Alternatively, select Automatic to always show the highest ranked home page available to you.
Qtip: This option will not appear unless you have access to more than one home page.
You may also see:
- Favorite Master Account: You can select a favorite master account to open every time you sign in to Studio. Alternatively, select None to always access the last account you had opened. Qtip: This option will not appear unless you have access to more than one master account.
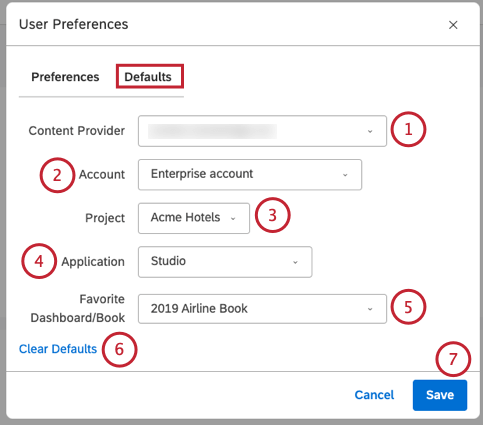
Adjusting Settings in the Defaults Tab
Attention: The available options depend on your data access and permissions.
In the Defaults tab, you can adjust the following settings:
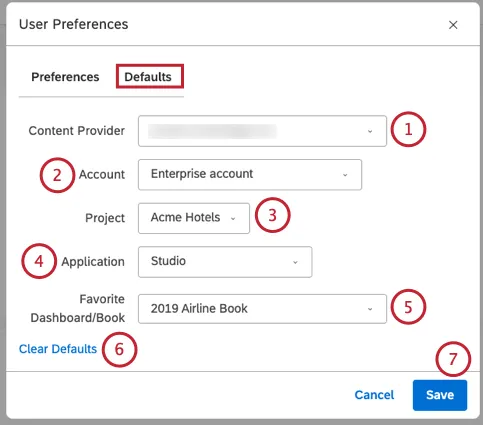
Content Provider: You can select a Content Provider to use by default when working with objects in Studio.
Qtip: This option requires data access.
Account: You can select an account to use by default when working with objects in Studio.
Qtip: This option requires data access.
Project: You can select a project to use by default when working with objects in Studio.
Qtip: This option requires data access.
Application: You can choose the XM Discover application to open when you sign in to Studio by selecting one of the following options:
- None: Open the last application you were working with during the previous session.
- Studio: Open Dashboard Explorer in Studio. Selecting this option enables you to additionally select a favorite dashboard or book to open instead of Dashboard Explorer. Qtip: Dashboard Explorer is also the default home page if the other options become unavailable (for example, during Designer maintenance).
- Designer: Open Designer to display your favorite project. This option is only available after you select a favorite Content Provider, account, and project in User Preferences.
- Connectors: Open Connectors. This option is only available after you select a favorite Content Provider, account, and project in User Preferences. Qtip: The available options depend on your data access and permissions.
Favorite Dashboard/Book: If the Application setting is set to Studio, you can select a Studio dashboard or book to be your homepage in Studio. This dashboard or book will open when you sign in to Studio. Alternatively, you can set this field to blank if you want Dashboard Explorer to open by default.
Click Clear Defaults to clear your settings at any time.
Click Save to save your preferences.
Adding a User Profile Picture
You can add a photo or image to set as your user profile picture. To add or change a user profile picture, go to en.gravatar.com and link a picture or image of your choice to the email used as your Studio user name. For more information, please see Uploading Your Profile Image.
Viewing Login History
Studio keeps track of your login history, so you can make sure your account is protected from unauthorized access.
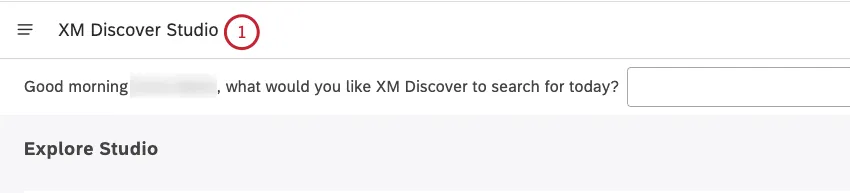
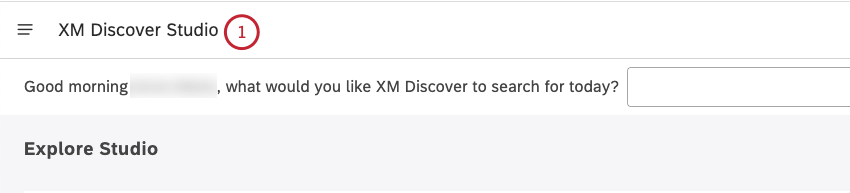
To open dashboard explorer, click the logo in the upper-left corner. If there is no logo, click the XM Discover Studio title in the upper-left corner.
Scroll to the bottom of the Explore Studio page. The last date and time you accessed Studio through a regular browser or a mobile device before the current login session is displayed at the bottom-right of the Explore Dashboards & Books section. Your time zone is also shown.
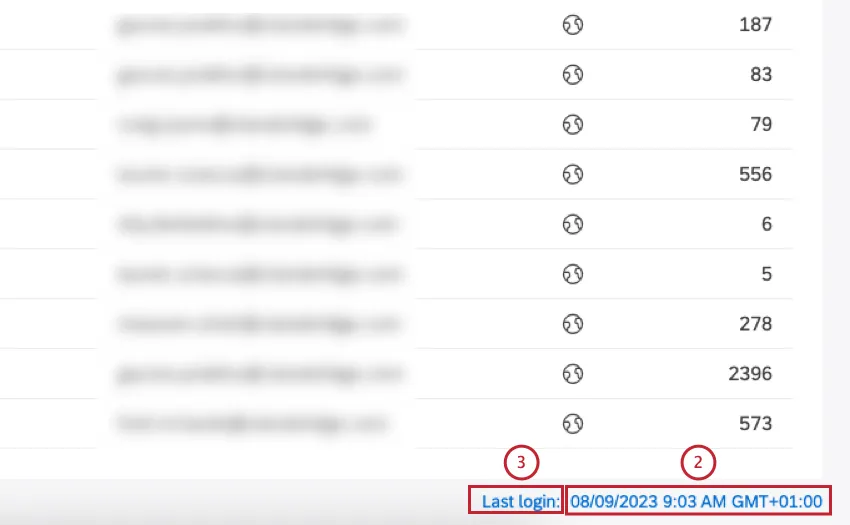

Click the Last login link.
You can view the history of the last 20 login events for your user account, including the date/time, IP addresses and associated locations.
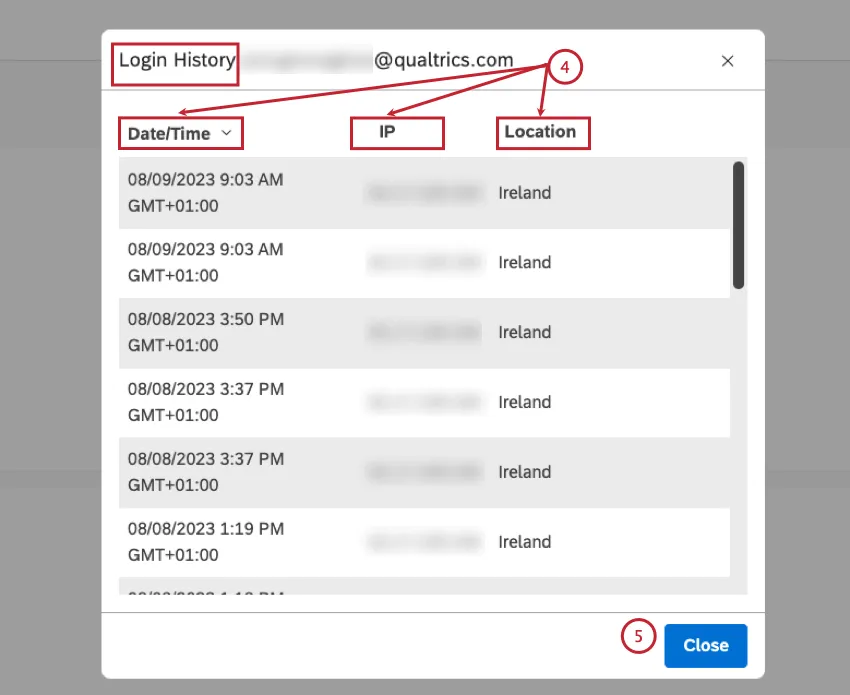

Qtip: The login history includes your current login session, as well as Designer sessions via single sign-on.
Click Close.
That's great! Thank you for your feedback!
Thank you for your feedback!