
Filters in Studio
What's on this page
About Filters
Filters allow you to view subsets of your data in your reports. Studio supports 2 types of filters:
- Designer Filters: You can apply shared filters that you create in Designer to corresponding Studio widgets. Designer filters are used as is and cannot be modified in Studio.
- Studio Filters: You can define custom filters inside Studio based on dates, reportable attributes and topics from content providers. Studio filters can be applied to widgets, shared, modified, and deleted in Studio, but not in Designer.
For more information on editing, sharing, duplicating filters and more, see Managing Filters in Studio.
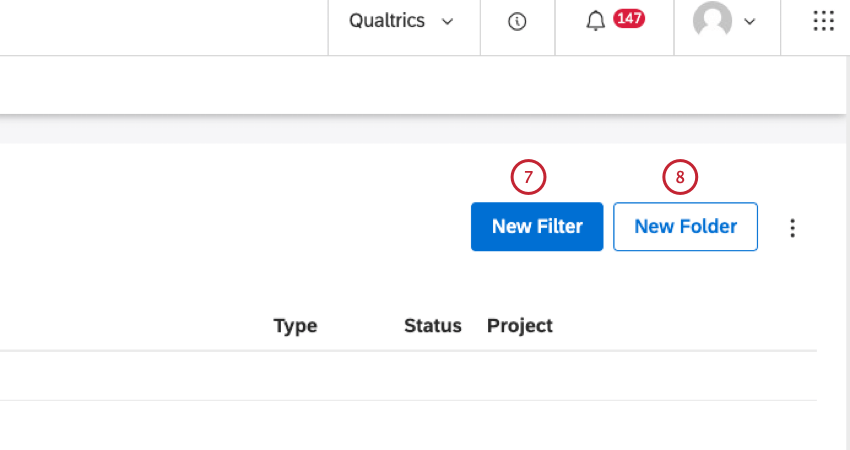
Accessing the Filters Page
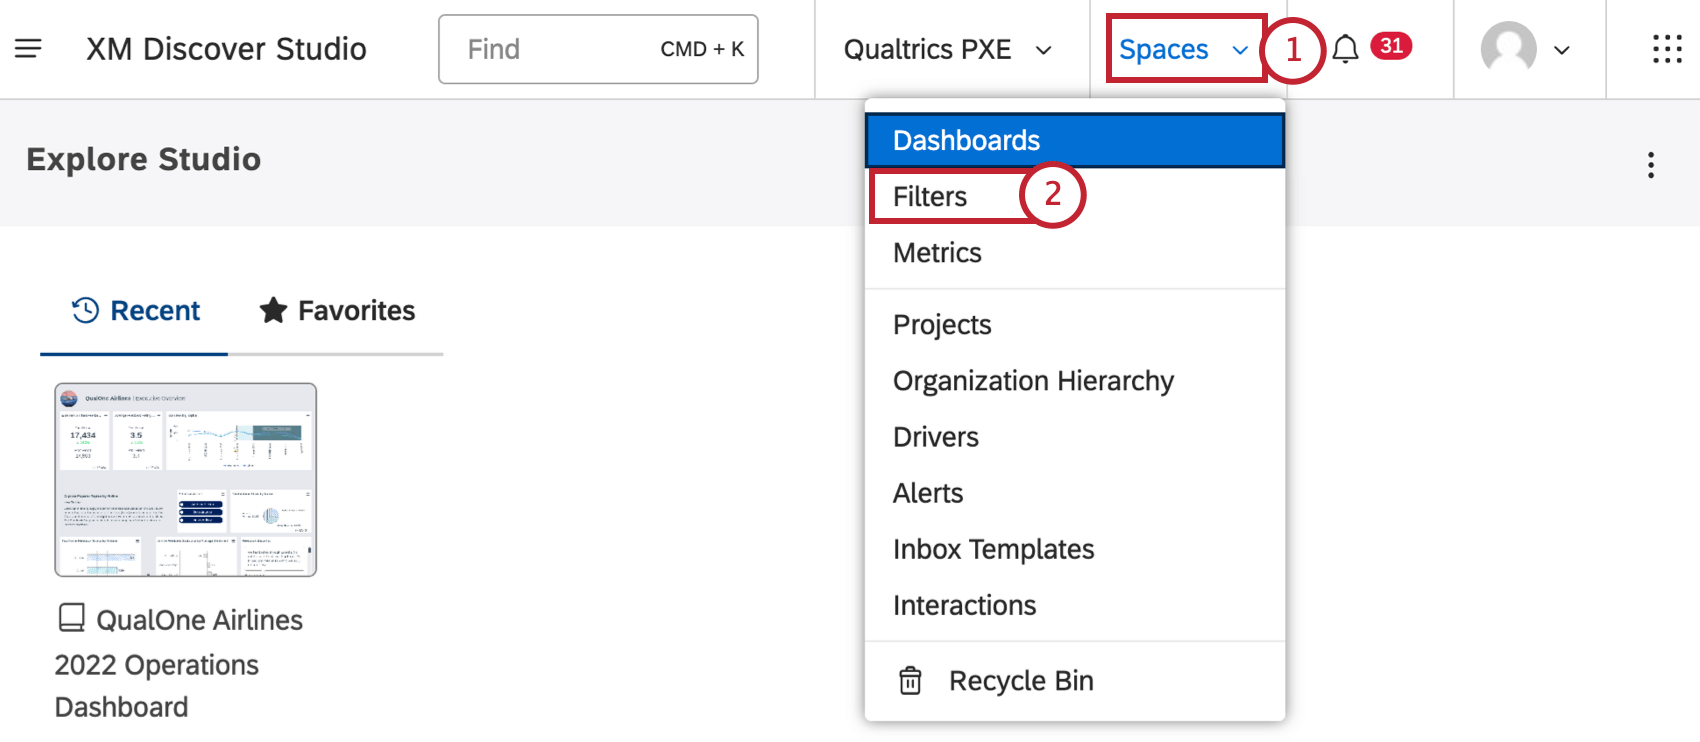
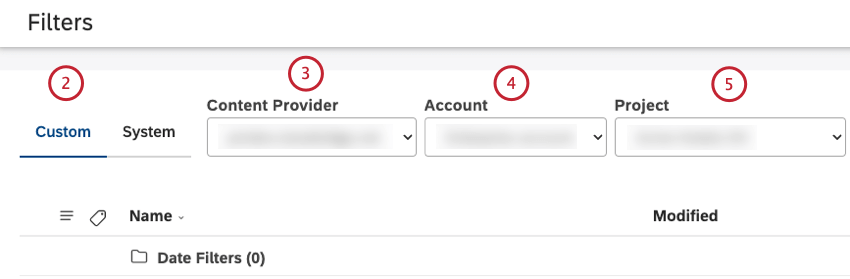
Filters Page Overview
Qtip: Only users linked to a content provider can manage filters created in Studio and Designer on the Filters page.
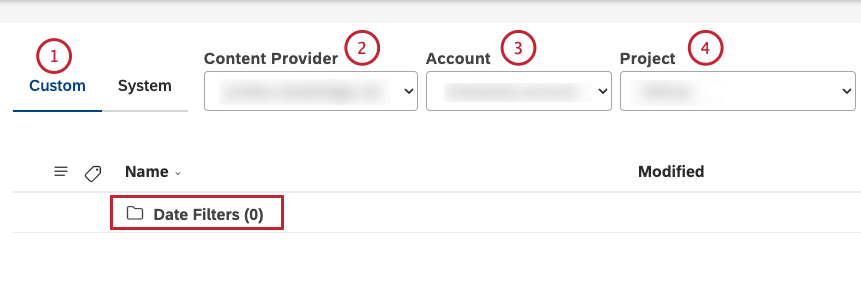
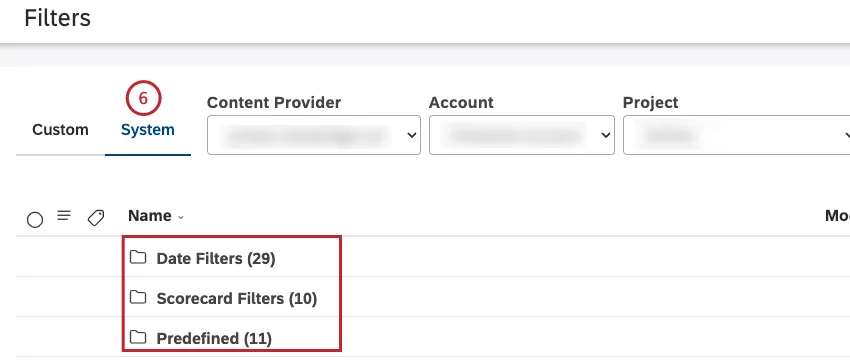
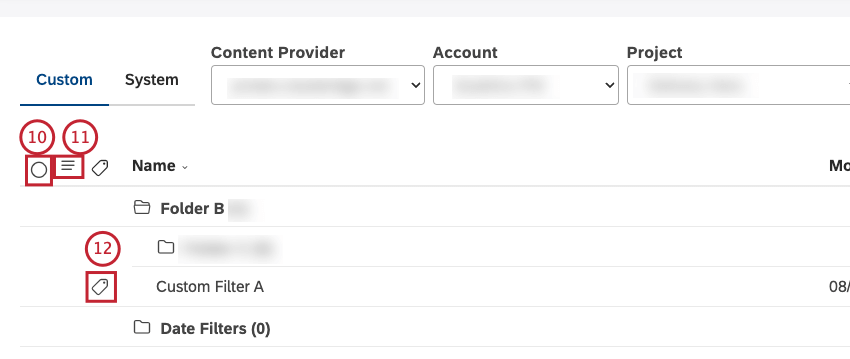
On the Filters page you can do the following:
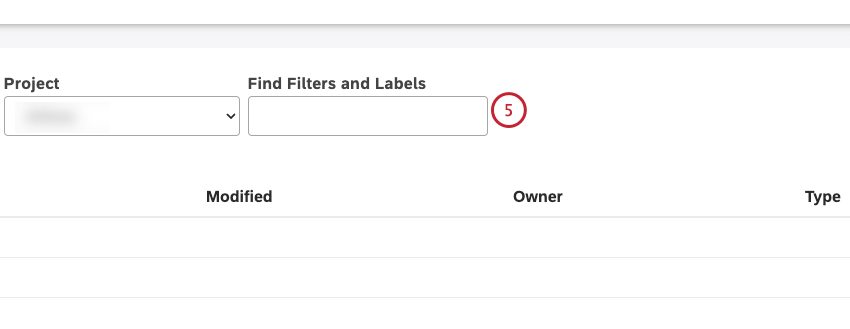
Qtip: Type “labels” into the Find Filters and Labels box to only see filters that have labels.
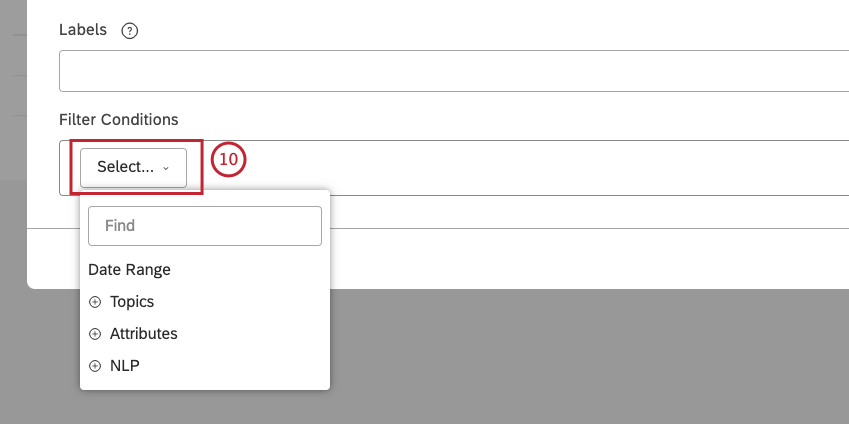
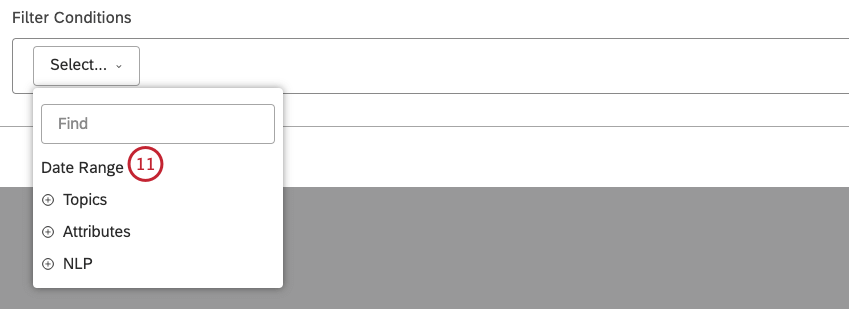
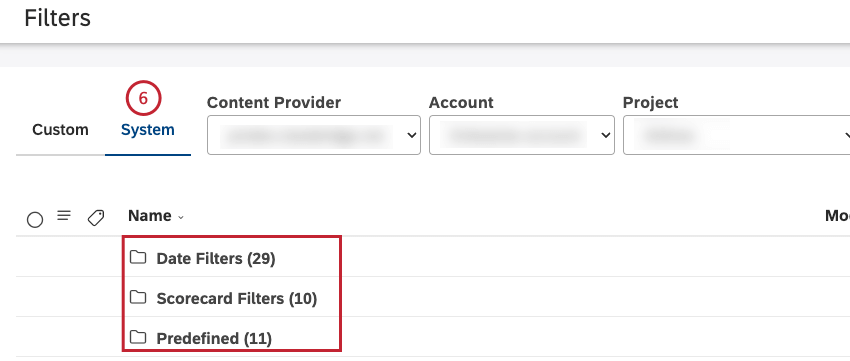
- Date filters
- Predefined, for example, Effort Detected (Predefined)
- Scorecard Filters
- Designer filters

Selections do not apply to items that are hidden and invisible or filtered out by a search query.
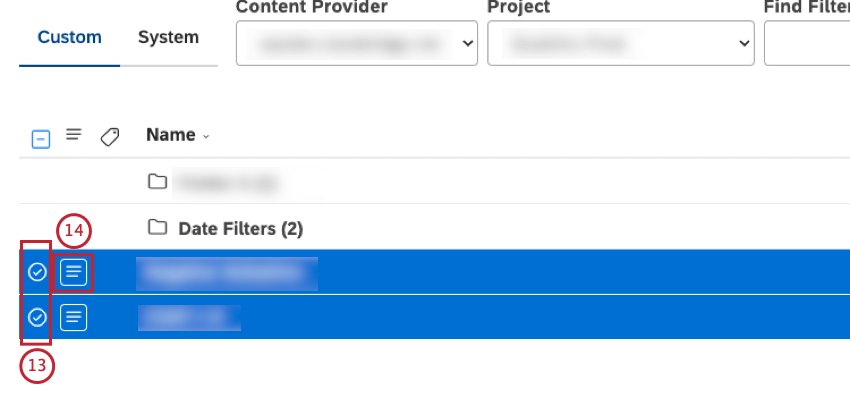
Qtip: Use shift-click to select multiple items at once.
Viewing Filter Information
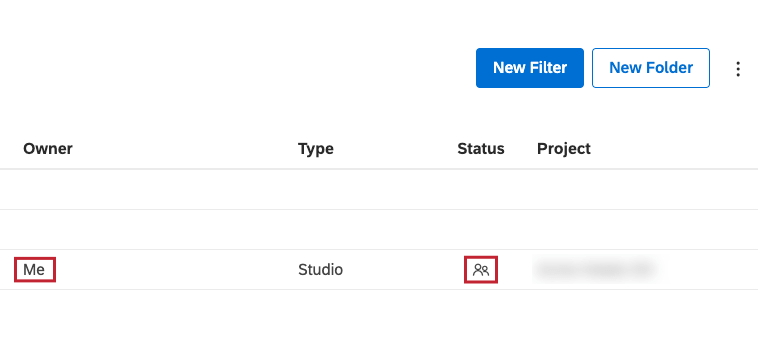
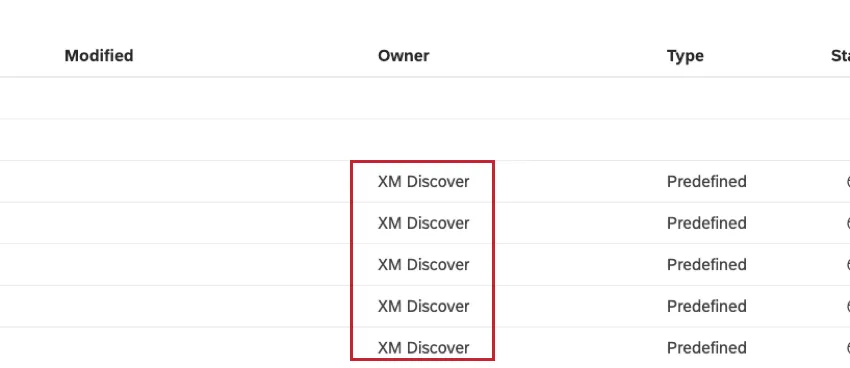
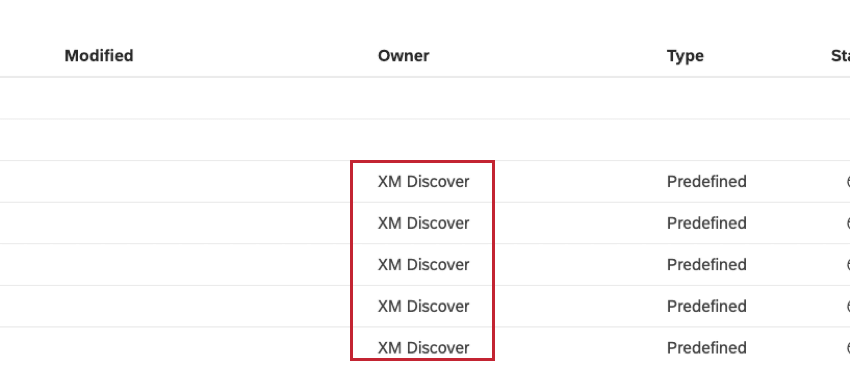
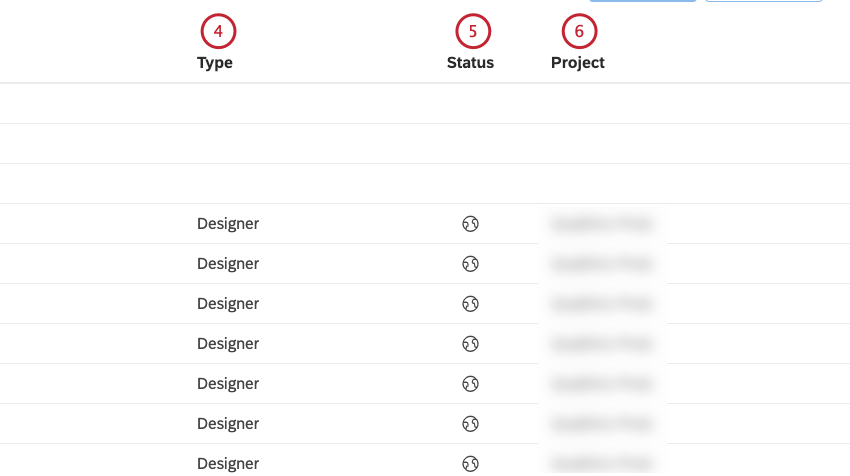
The table on the Filters page provides the following information:
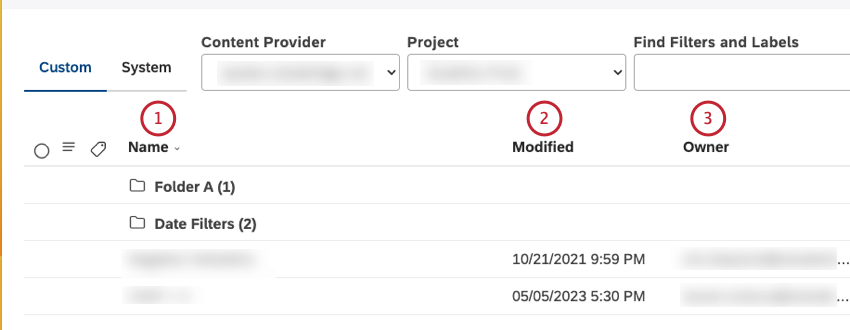
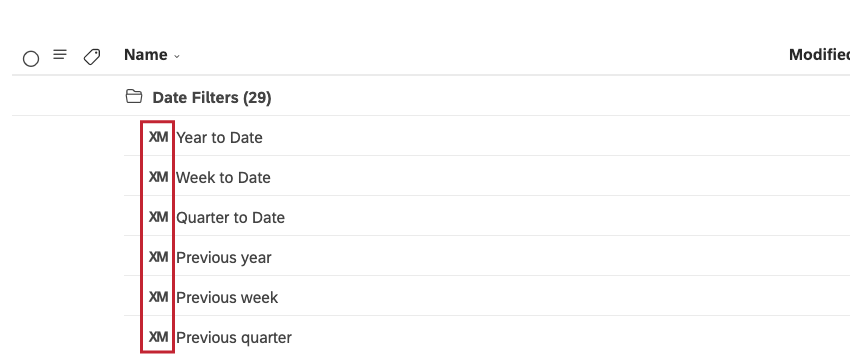
Qtip: The XM icon stands for all system objects across Studio pages.
- Me: For filters owned by the current user.

- XM Discover: For system filters.
- Studio for filters created by Studio users.
- Preset Date Filter for out-of-the-box date ranges.
- Predefined for sentiment, Effort, and Emotional Intensity bands.
- Scorecard for automatic filters based on rubric criteria.
- Designer for filters created in Designer.

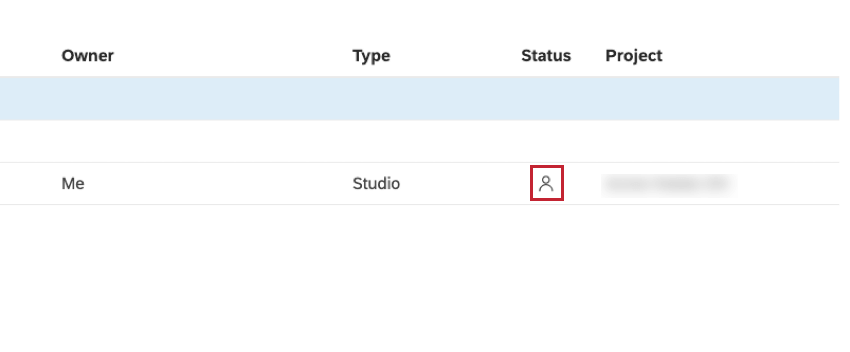
- Private: A private filter can only be used by the user who created it. When you create a filter in Studio, it is private by default.

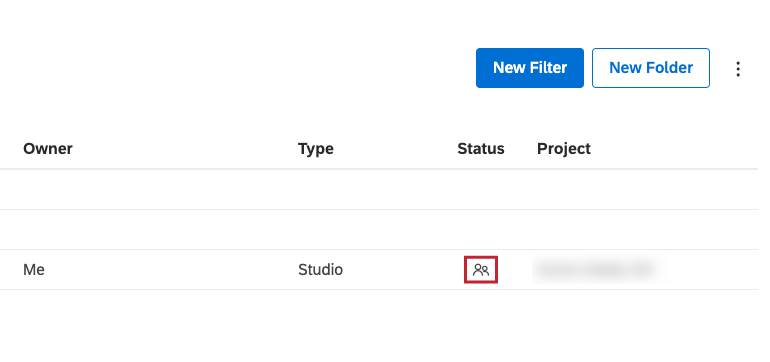
- Shared: A shared filter can be used by the users with whom it is shared.

- Public: A public filter can be used by all users of your Master Account. All Designer shared filters have public status and are available to all Studio users who have access to a corresponding content provider.
Creating a Filter
A Create Filter permission is required to perform this action. You can create filters that you can later apply to reporting widgets.
Qtip: You can also define filters directly in widget properties or use filters created in Designer.
Qtip: The content provider and account can be preselected as your favorites in User Preferences.

Qtip: Alternatively, to create a filter inside a specific folder, expand the actions menu next to that folder and select Create New Filter.

Qtip: To keep the filter in the root folder, don’t select a folder from the Folder menu.
Qtip: Date filters are automatically placed into the Date Filters folder.
Qtip: This condition uses Document Date, the primary date field used in reports, trends, alerts, and so on.

Qtip: Operators depend on the type of the condition (text, number, or date). For information about operators, see the Operatorssection below.
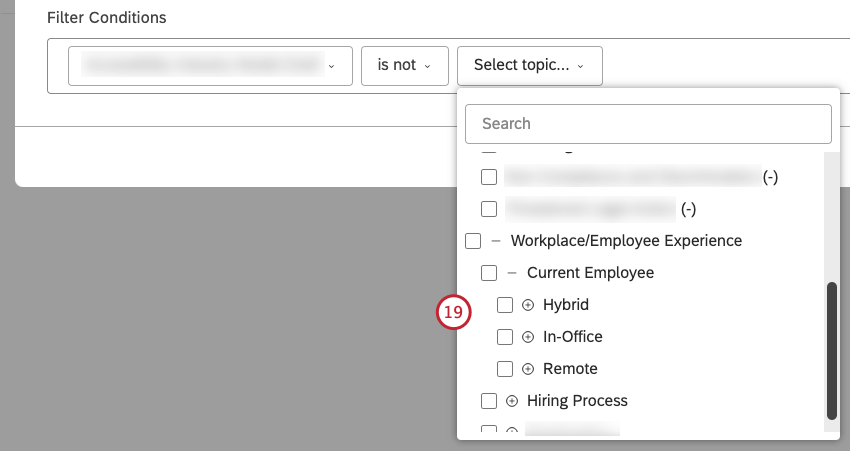
Qtip: For long lists, start typing the first letters of what you’re looking for to see matching values. As attributes and NLP entities can have a significant number of values, you may need to type enough characters to get a refined list of results.
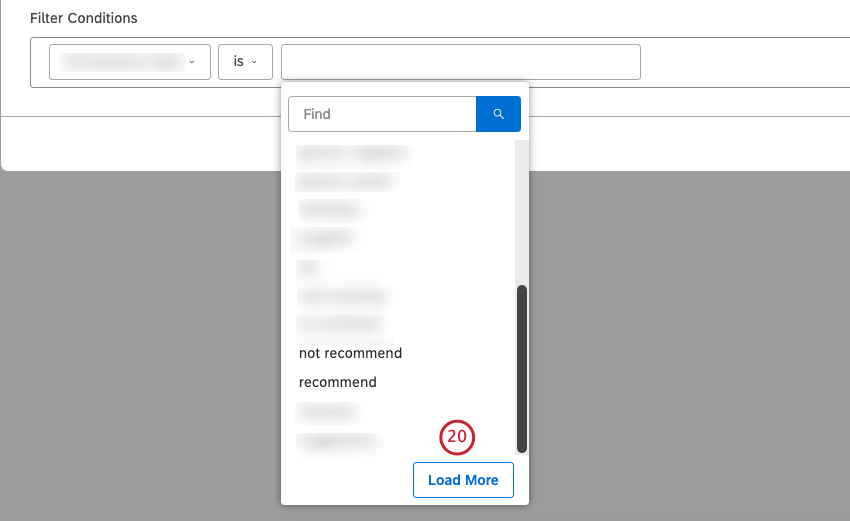
Qtip: Use the Load More button to bypass the cached results and get the latest values from the content provider.
Qtip: If there are no more results that match your entry, the No Updates message appears.
Qtip: Filter conditions have an AND Filter values in the same condition have an OR relationship. Date ranges cannot be combined with other conditions during filter creation.
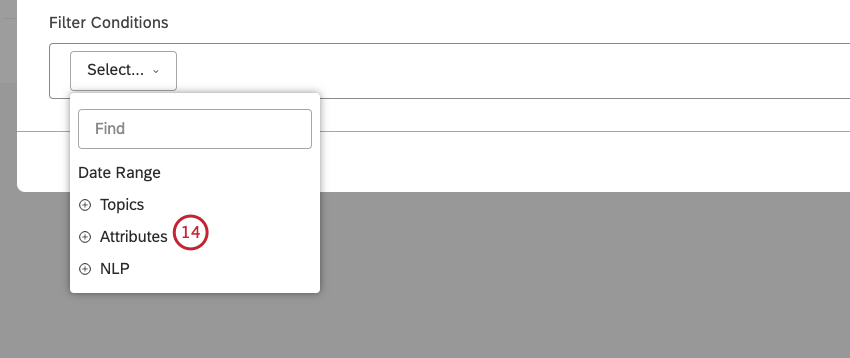
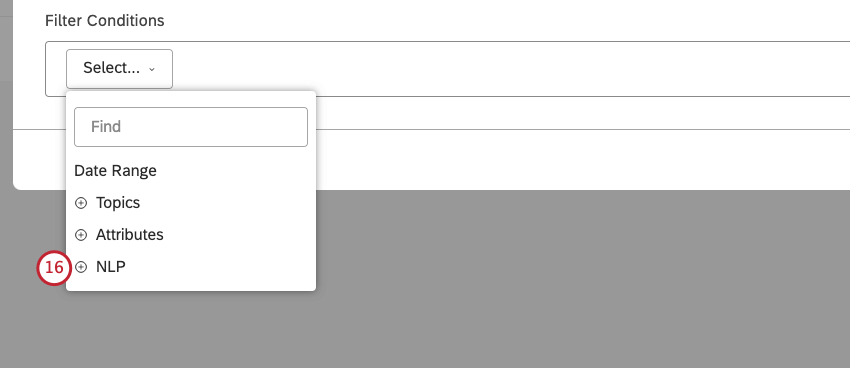
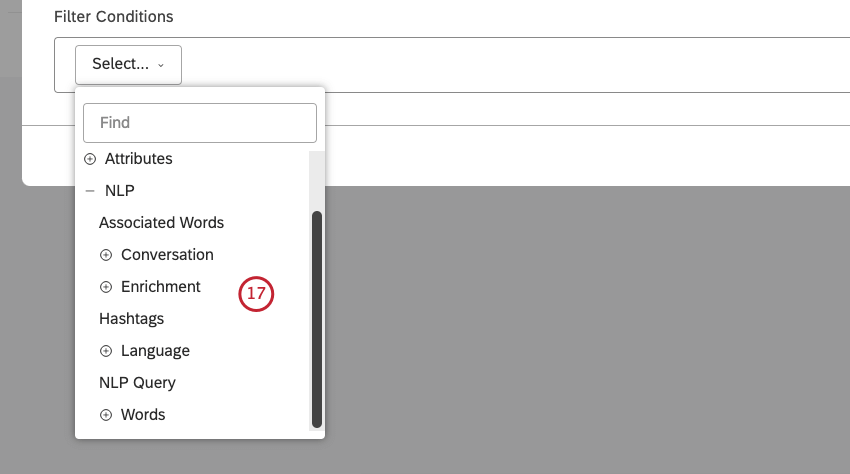
NLP Conditions
When creating a filter, the following options are available for NLP conditions:
- Words
- Associated Words
- Hashtags
- Enrichment
- Language
- NLP Query
Words
Filter data by words:
- All Words: Filter data by regular words.
- CB Brand: Filter data by brand mentions.
- CB Company: Filter data by company mentions.
- CB Currency: Filter data by monetary quantities, for example, varying currency names, symbols, and abbreviations.
- CB Email Address: Filter data by email addresses mentioned in feedback.
- CB Emoticon: Filter data by emojis and emoticons used in it.
- CB Event: Filter data by holidays and events mentioned in feedback.
- CB Industry: Filter data by industry relevance.
- CB Person: Filter data by names of people mentioned in feedback.
- CB Phone Number: Filter data by phone numbers mentioned in feedback.
- CB Product: Filter data by product mentions.
- CB Profanity: Filter data by profanity words.
Associated Words
Filter data by pairs of Associated Words.
Hashtags
Filter data by hashtags—words or unspaced phrases prefixed with a hashtag symbol ( # ).
Enrichment
Filter by 1 of the following enrichment options:
- CB Chapters: Filter data by Conversational Chapters that represent semantically related segments of the conversation (such as Opening, Need, Verification, Solution Step, and Closing).
- CB Detected Features: Filter data by types of NLP features detected. For example, data containing industry or brand mentions.
- CB Emotion: Filter data by emotion types detected by the NLP engine (such as Anger, Confusion, Disappointment, Embarrassment, Fear, Frustration, Jealousy, Joy, Love, Sadness, Surprise, Thankfulness, Trust, or Other).
- CB Sentence Type: Filter data by the type of sentence.
- Content Type: Filter data by it being contentful or noncontentful.
- Content Subtype: Further filter noncontentful data by its subtypes (such as ads, coupons, article links, or “undefined” type). For contentful records, the subtype is always contentful as well. Qtip: Depending on what’s available in the data, there can be more enrichments.

Language
Filter data by language:
- Auto-detected Language: Filter data by automatically detected languages (if language auto-detection is enabled for a project).
- Processed Language: Filter data by the languages in which feedback was processed. Languages not supported by XM Discover are marked as OTHER. For a list of supported languages, refer to Supported Languages.
NLP Query
Define a complex search query using four rule lanes, from top to bottom: OR, AND, AND, NOT.
- OR: Provide 1 or more keywords to find in customer feedback. If you only use the OR lane, your query will return feedback that contains any of the keywords specified here.
- AND 1: If desired, you can provide 1 or more additional keywords to find in customer feedback together with any keyword from the OR lane (optional). Your query will return feedback that contains any of the keywords from the OR lane plus any of the keywords from the AND
- AND 2 : If you wish, you can provide 1 or more additional keywords to find in customer feedback together with any keyword from the OR lane plus any keyword from the AND 1 lane (optional).
- NOT: If desired, you can provide 1 or more keywords to exclude from query results (optional). Your query will only return feedback that does not contain the keywords specified here. Qtip: Each rule lane can contain a query of up to 1,000 characters.
Operators
The following operators are available for a filter condition:
- is: Specify an exact match. For example, CITY is boston will return all data from Boston. You can specify several exact matches, in which case the filter will return data that satisfies any of the values (using the OR relationship). For example, CITY is boston, new york city will return all data from Boston or New York.
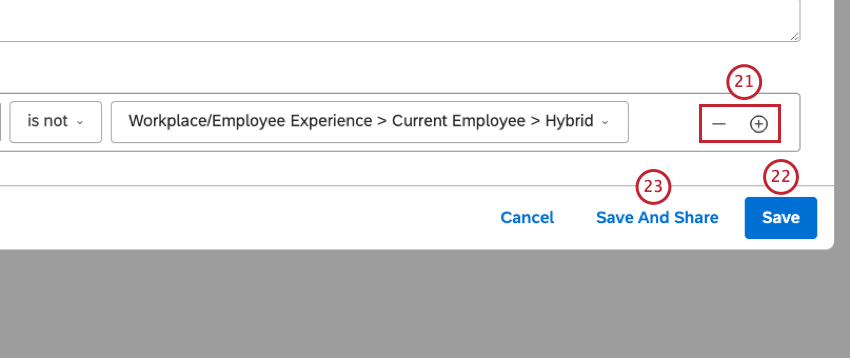
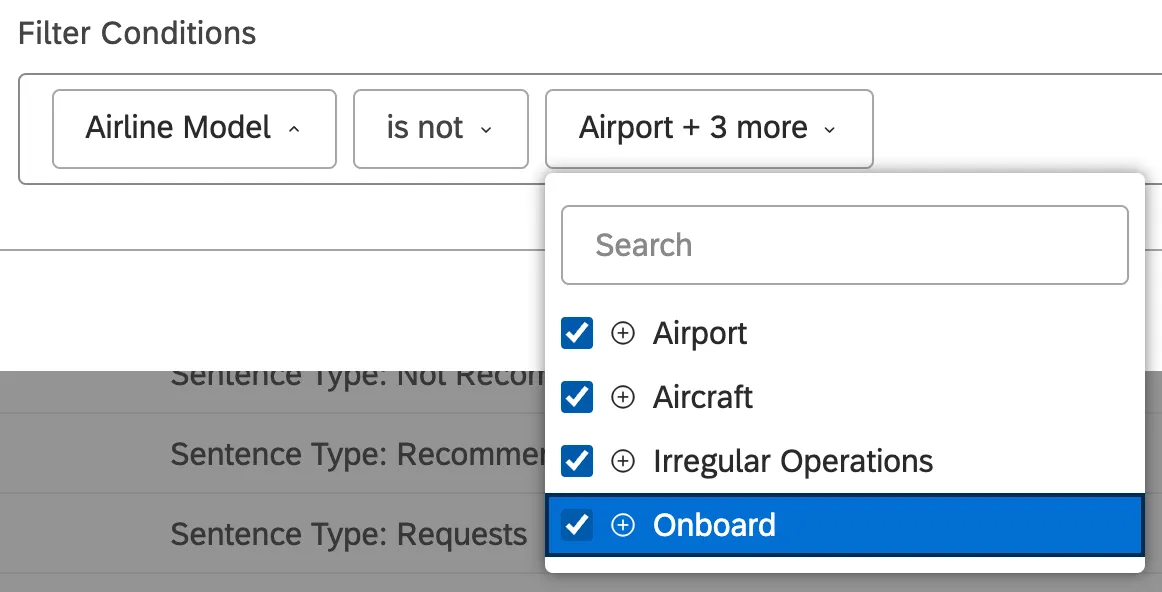
- is not: Exclude the value you select. Qtip: Dashboard filters work best at a sentence level. If you’re looking at document level data (for example, in a document view feedback widget), you may still see sentences tagged to a model you’re excluding, since there are many sentences per document, and some will match the filters even if others do not. Therefore, exclusion filters work best with aggregate widgets, like bars, lines, and pies.Example: Let’s say you have a category model for an airline. This model has four Level 1 nodes just beneath the root: Airport, Aircraft, Irregular Operations, and Onboard. In the example below, by saying you do not want to include these 4 nodes in your filter, you’re only looking for sentences matching the criteria of the root node (Airline, and any queries it has applied) and nothing else. This is especially useful for sentence-level analysis. For example, you could look for common themes, and use this to add more Level 1 nodes.

 Qtip: Although “is not” filters can be useful, if you’d like to exclude an entire category model, we recommend you use the “Global Other” bucket instead. As we’ve described in the example above, “is not” filters do not always behave as you might expect in a dashboard, so it’s better to look at uncategorized data using the steps on this support page.

- is between: Define a range of numeric attribute values to filter by.
- is not between: Define a range of numeric attribute values to exclude from the results.
- is greater than or equal to: Return all data where the selected numeric attribute’s value is equal to or greater than the selected threshold.
- is less than or equal to: Return all data where the selected numeric attribute’s value is equal to or less than the selected threshold.
- categorized: Return all data categorized into any of the selected category model’s topics.
- has any value: Return all data where the selected attribute has any value.
- has no value: Return all data where the selected attribute does not have a value.
That's great! Thank you for your feedback!
Thank you for your feedback!