
Managing Dataflows (Designer)
What's on this page
About Managing Dataflows
After you’ve created a dataflow, you can manage it in the Dataflows tab. This includes scheduling a dataflow for later, removing a queued dataflow, and stopping a dataflow.
Scheduling a Dataflow
You can schedule a dataflow to run on a recurring basis.
Supported Dataflows
Not all dataflows support scheduling. You can schedule the following dataflows:
- Classification: This dataflow runs classifications for selected models. If theme detection for incremental data loads is enabled for these models, it will also run on schedule.
- Continuous Process Monitor (pre-scheduled): This dataflow is required to finalize processing of data uploaded using the data loader.
- Custom dataflows: You can schedule any dataflows that your Administrators or Services Team have created.
- Custom Export: This dataflow exports your data to a CSV file.
- Data Loader Archive (pre-scheduled): This dataflow archives the records processed by the data loader.
- Gather Statistics (pre-scheduled): This dataflow refreshes your project statistics. We recommend running this dataflow once a week. The following statistics are affected by this dataflow:
- The total number of documents, verbatims, and sentences displayed in the Dataflows tab.
- The number of word occurrences in the Sentiment tab. Qtip: This dataflow does not affect your reports.

- Purge DB Report Results Store (pre-scheduled): This dataflow deletes all report results older than the defined time period.
- Notifications Expiration (pre-scheduled): This dataflow removes expired notifications from your account. The expiration date for notifications is defined in account settings.
- Sentiment recalculation: This dataflow allows you to recalculate your sentiment data.
Qtip: Pre-scheduled dataflows appear in the “Scheduled” tab by default and cannot be removed from there, but can be disabled.
Scheduling a Dataflow
You can set up a dataflow to run on a recurring schedule. To schedule a dataflow, you must first create the dataflow and run it once.
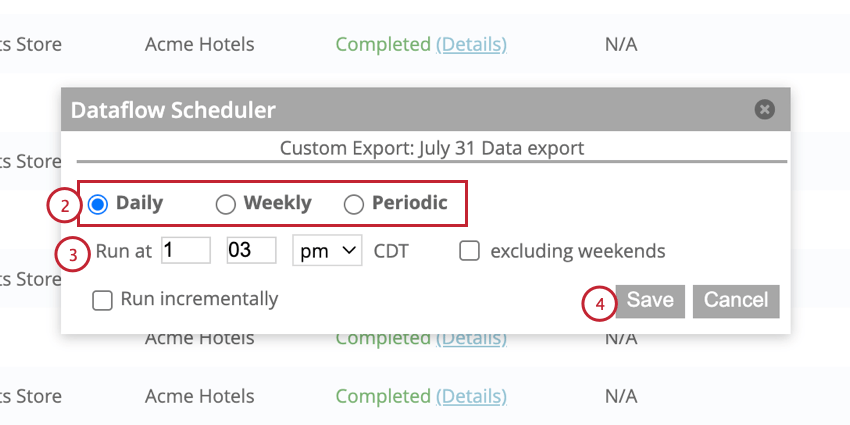
- Daily: Run the dataflow once a day.
- Weekly: Run the dataflow once a week.
- Periodic: Run the dataflow on a recurring schedule. The dataflow will run after a certain number of minutes or hours.
Qtip: Dataflows schedules are in the CDT time zone. Keep this in mind when choosing a dataflow schedule.
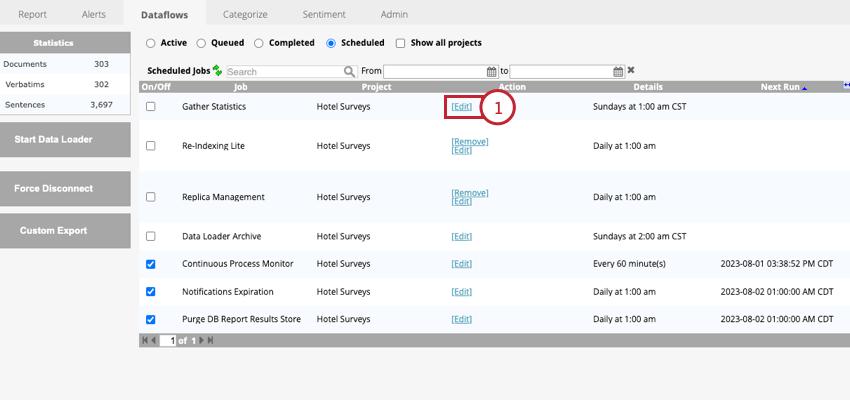
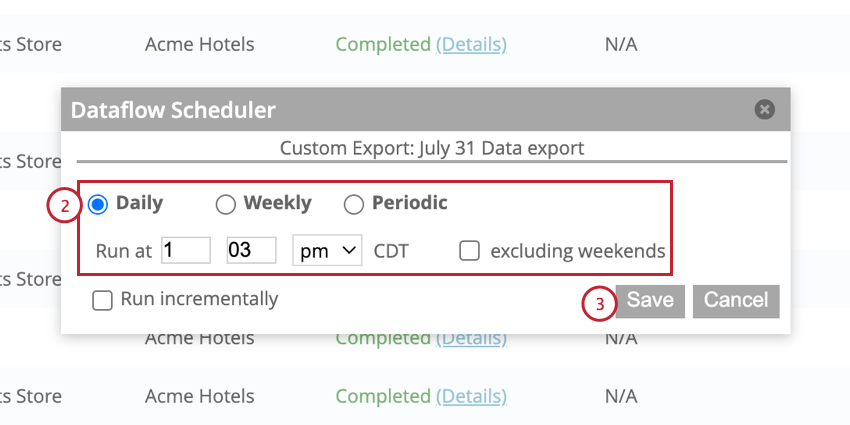
Changing a Dataflow’s Schedule
You can change a scheduled dataflow’s frequency at any time.
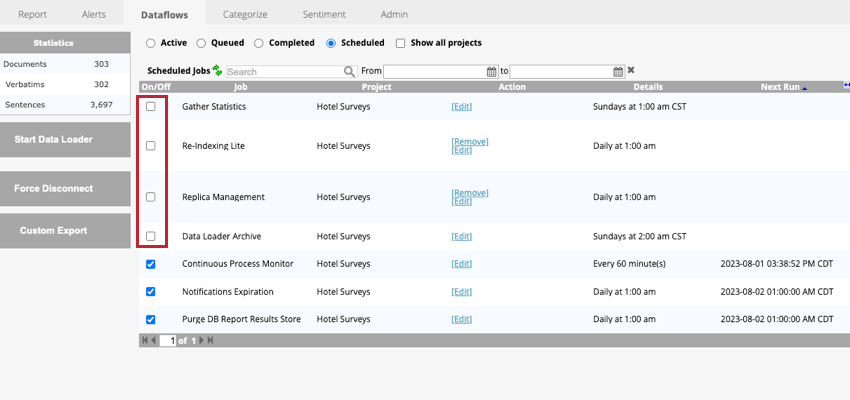
Pausing a Scheduled Dataflow
You can pause a scheduled dataflow to temporarily prevent it from running. To pause a scheduled dataflow, uncheck the box next to the dataflow in the Scheduled tab.
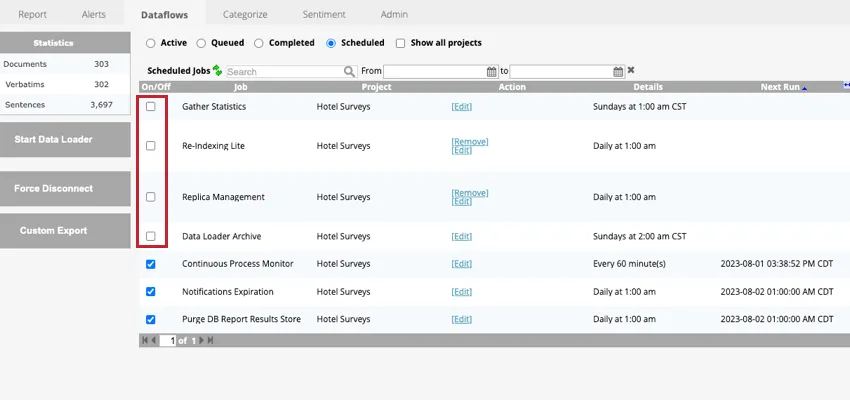
When a dataflow is paused, the Next Run column will be empty because there is currently no scheduled next run.
You can resume a scheduled dataflow by checking the box next to the dataflow name. If any dataflow runs were skipped while the dataflow was paused, the runs will process immediately after unpausing and then the dataflow will continue running as scheduled.
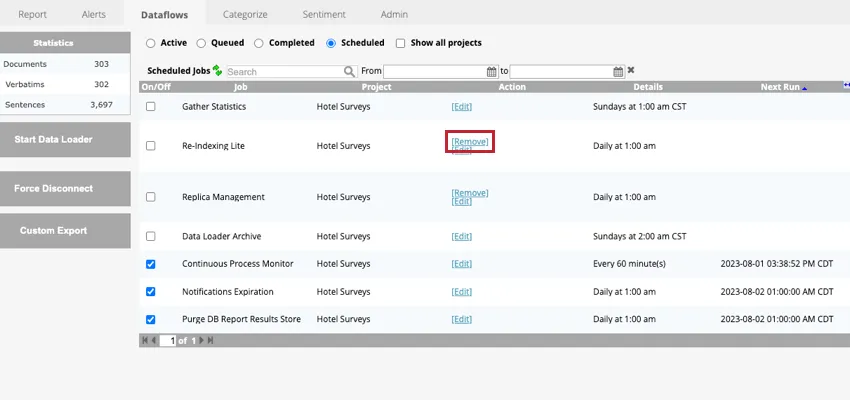
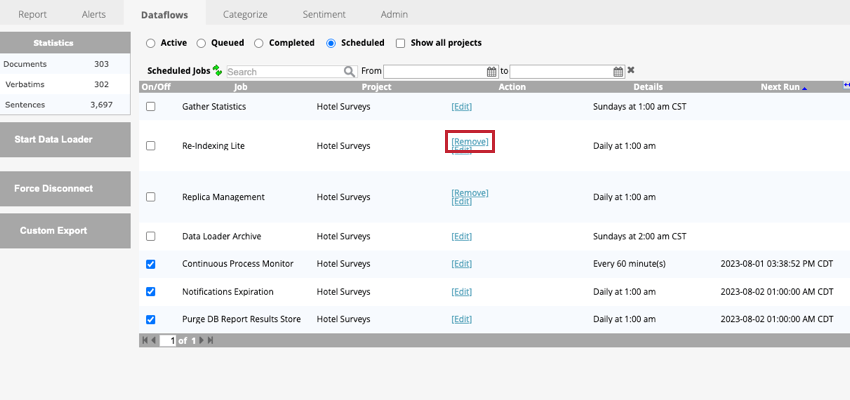
Deleting a Scheduled Dataflow
You can permanently delete a scheduled dataflow so it no longer runs by clicking the Remove option when viewing the dataflow in the Scheduled tab.
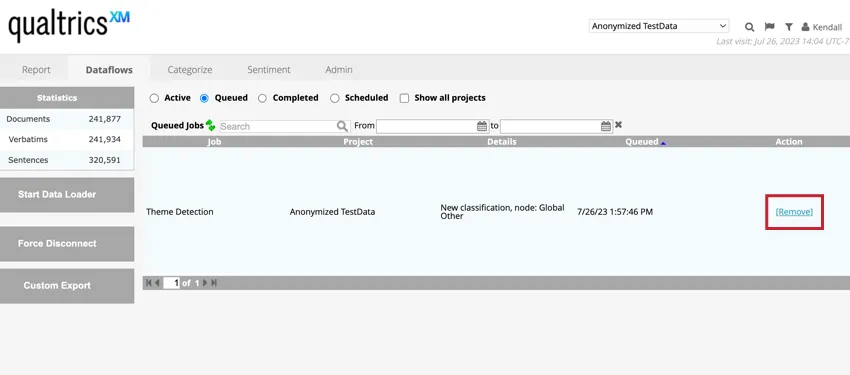
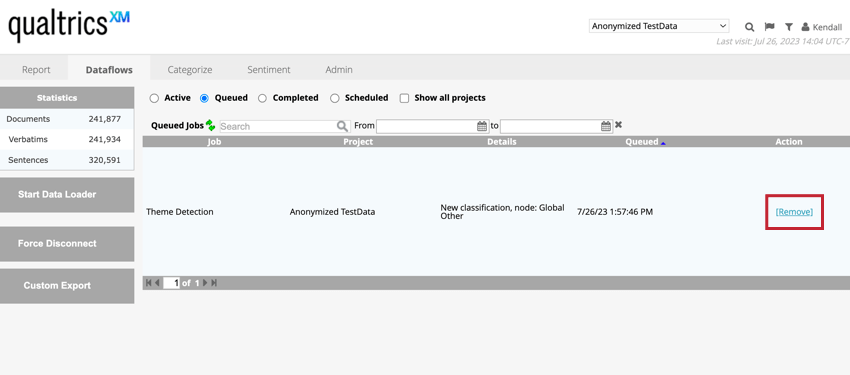
Removing a Queued Dataflow
If a dataflow is queued to process, you can remove it from the queue by clicking Remove next to the dataflow name while viewing the dataflows in the Queued tab.
Stopping a Dataflow
You can stop or cancel a dataflow that is in the process of running. There are 2 different ways to stop a dataflow:
- Stop: This option pauses the dataflow in a non-urgent manner and allows the dataflow’s current step to finish processing before the dataflow is stopped. This is useful if you need to pause your dataflow to allow a different one to process, or if you need to pause a dataflow in order to perform some additional tasks before resuming the dataflow.
- Force Disconnect: This option stops the dataflow in an urgent manner, interrupting the dataflow’s current step. This option stops all activity related to the project, disconnects all active users, and cancels all queued jobs.
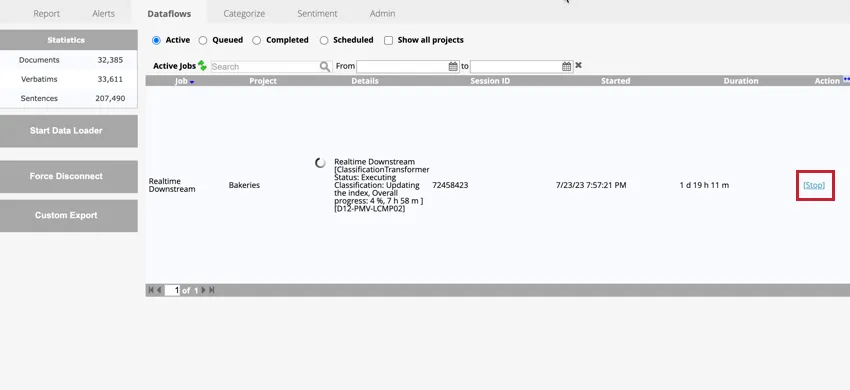
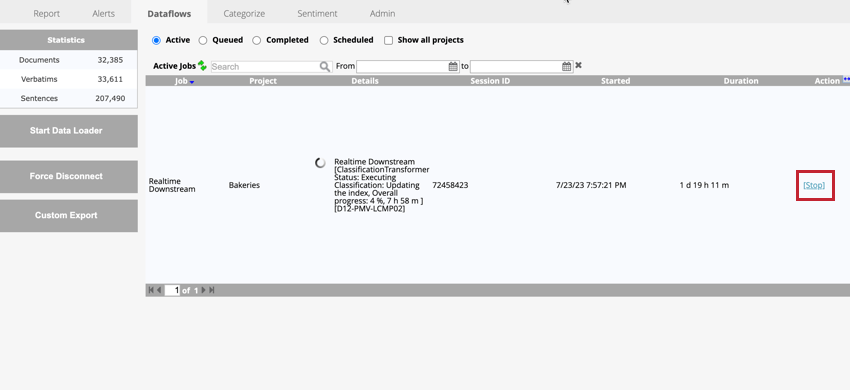
Stop
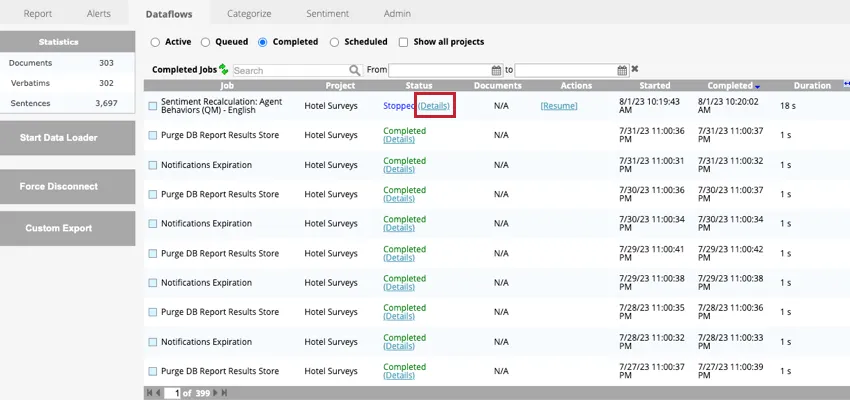
To stop a dataflow using the non-urgent option, click Stop next to the dataflow name while viewing the dataflows in the Active tab. This will move the dataflow to the Completed tab with a status of Stopped.
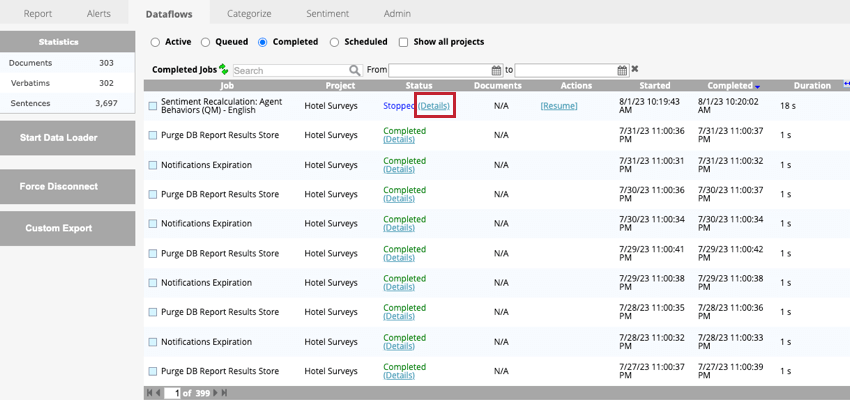
You can then view which components of the dataflow were completed by clicking going to the Completed tab and clicking Details next to your dataflow.
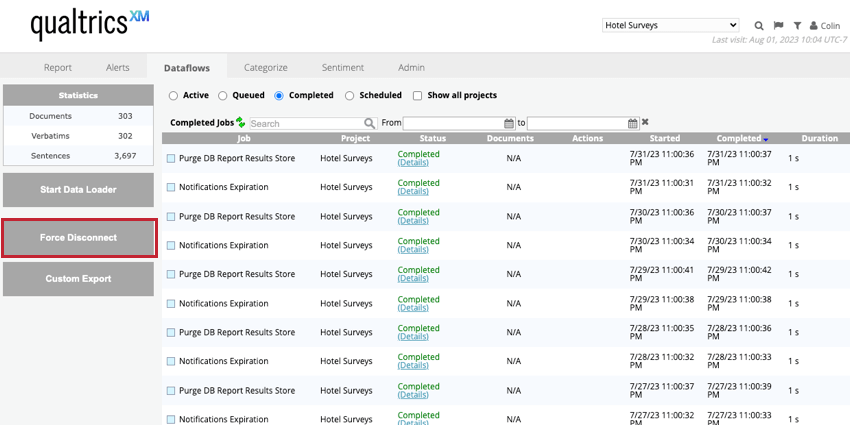
Force Disconnect
Attention: This option stops all project activities by restarting all database connections.
To stop a dataflow using the urgent option, click the Force Disconnect button found in the Dataflows tab. This will move all dataflows to the Completed tab with a status of Failed.
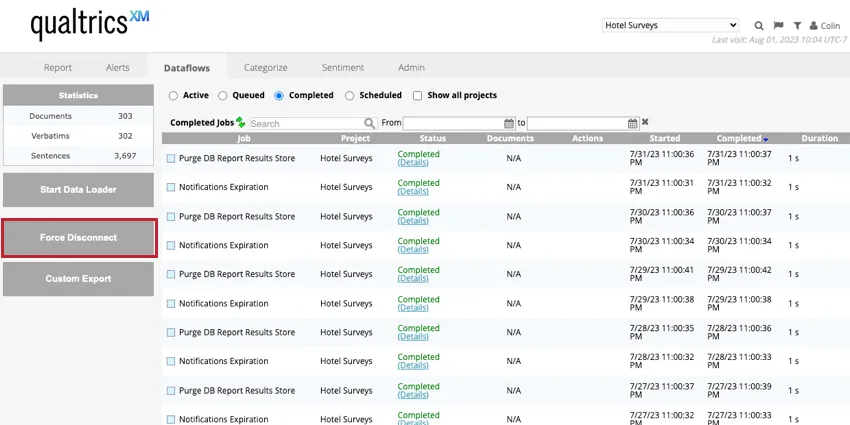
Qtip: The Force Disconnect button is hidden if the “Show all projects” option is enabled.
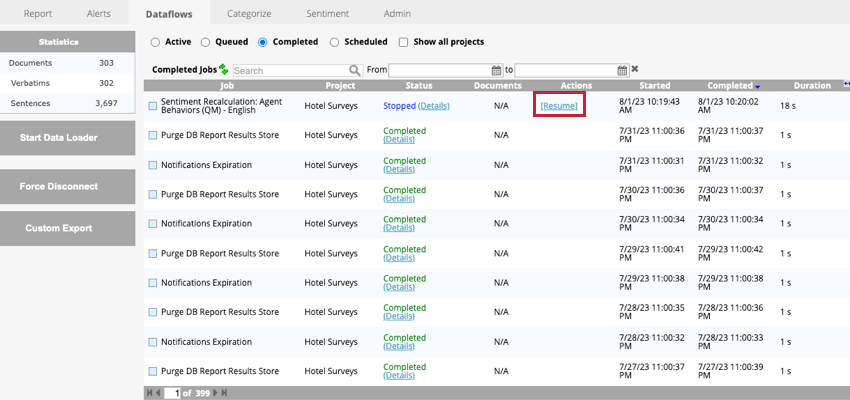
Resuming a Stopped Dataflow
To resume your stopped dataflow, go to the Completed tab and click Resume next to your dataflow. Your dataflow will pick up where it left off.
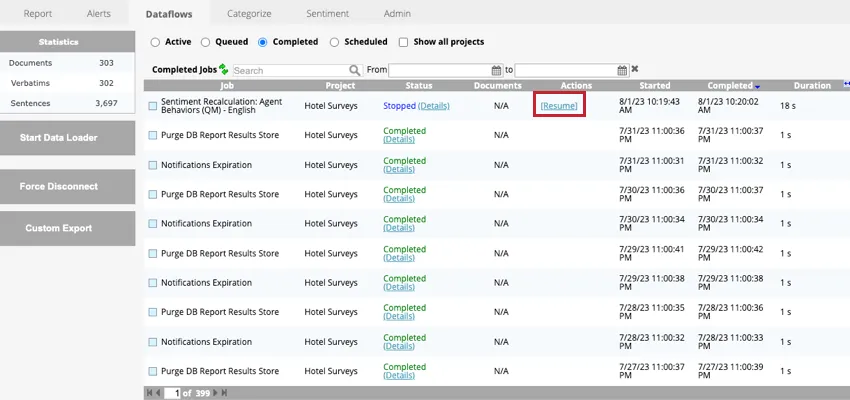
Qtip: While you can click Resume to restart a failed dataflow, we recommend rerunning the dataflow normally to avoid any potential issues.
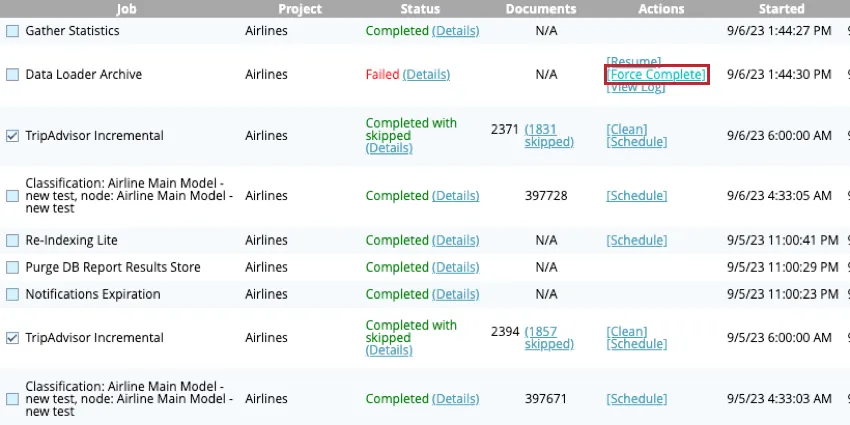
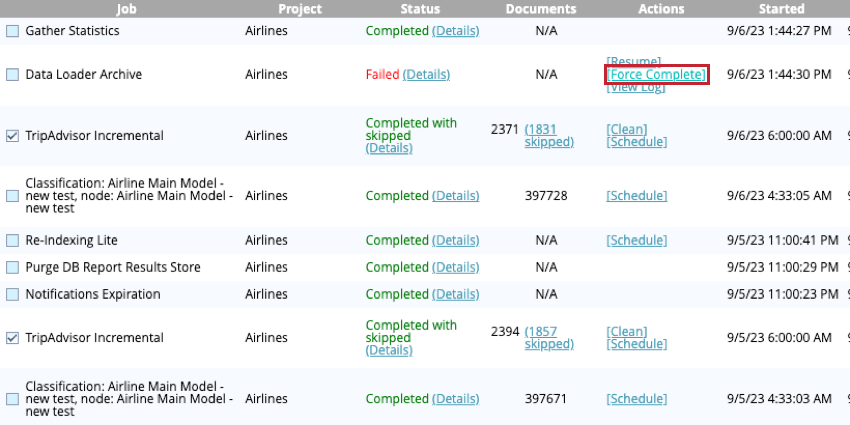
Force Completing a Dataflow
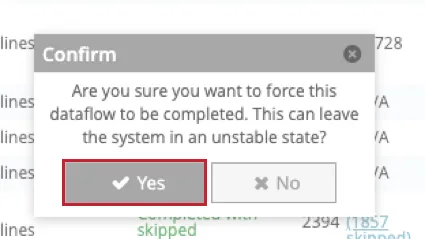
You can force complete a dataflow that’s been stopped or failed. To force complete your dataflow, go to the Completed tab and click Force Complete next to the dataflow.
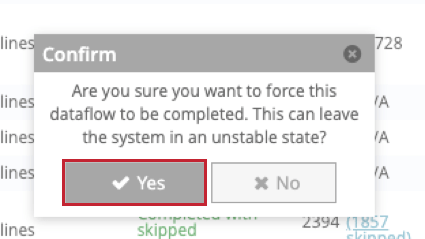
In the popup window that appears, click Yes to confirm your decision.
Incremental Data Upload
After you have completed the initial data upload into a project, all further data loads into that project will be considered “incremental” additions. This means that:
- Initial feedback data and structured attributes are added to the project.
- An incremental upload is treated by the system as a separate upload session. You can:
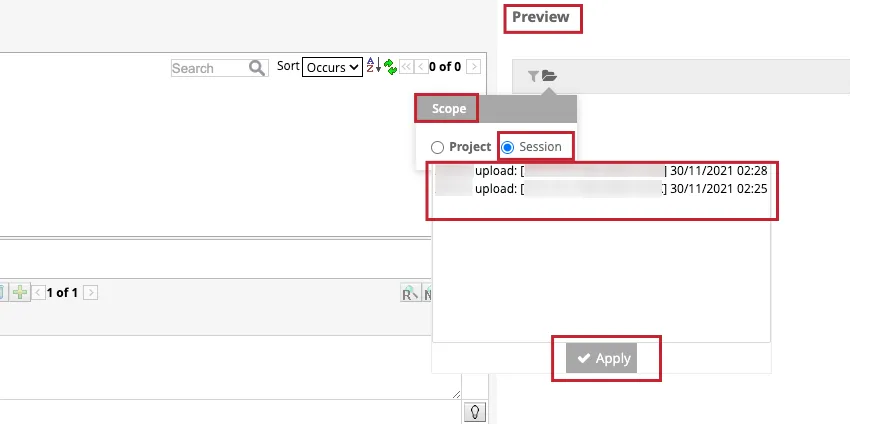
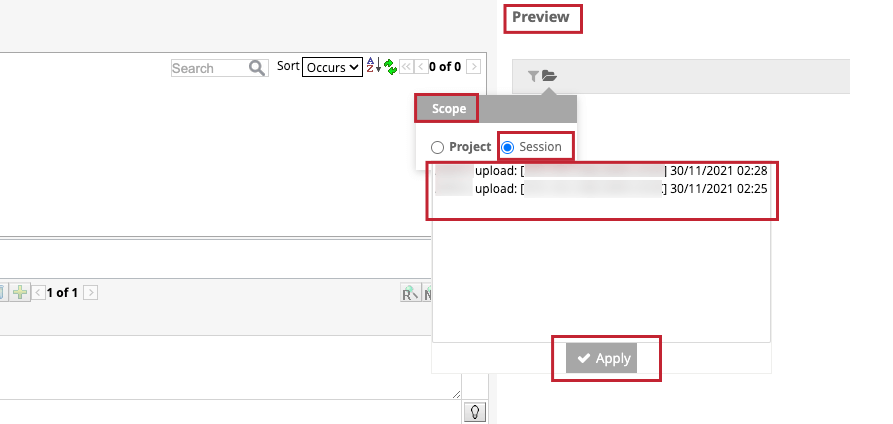
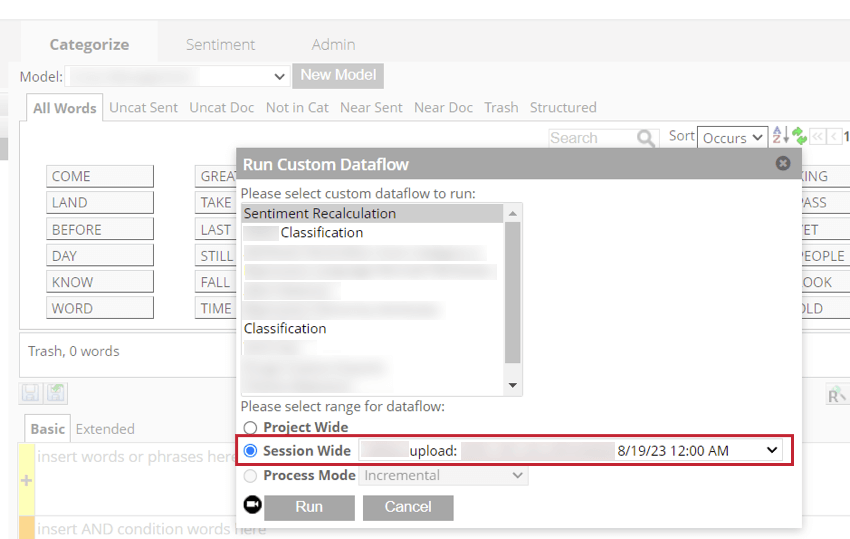
- Preview sentences from a particular session on a category level in the Categorize tab: click the folder icon in the Preview section, select the Session checkbox, click the specific upload session, and click Apply.
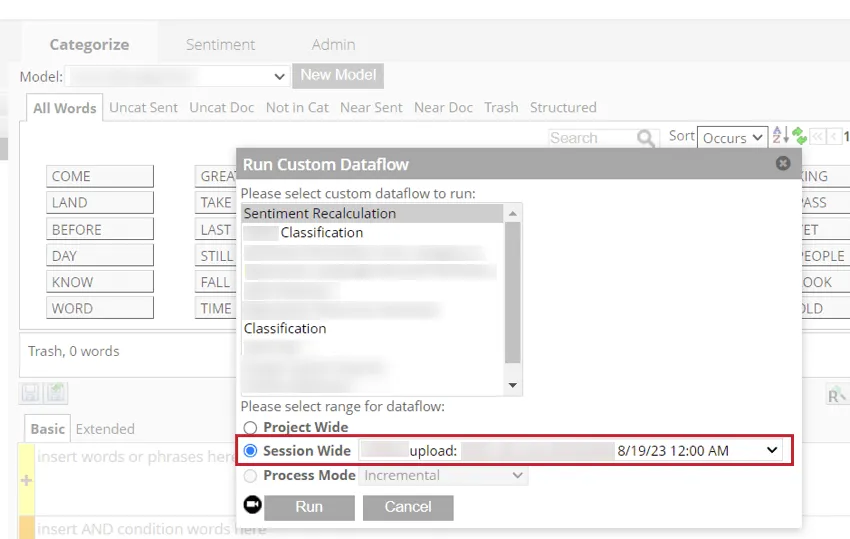
- Run session-wide dataflows.
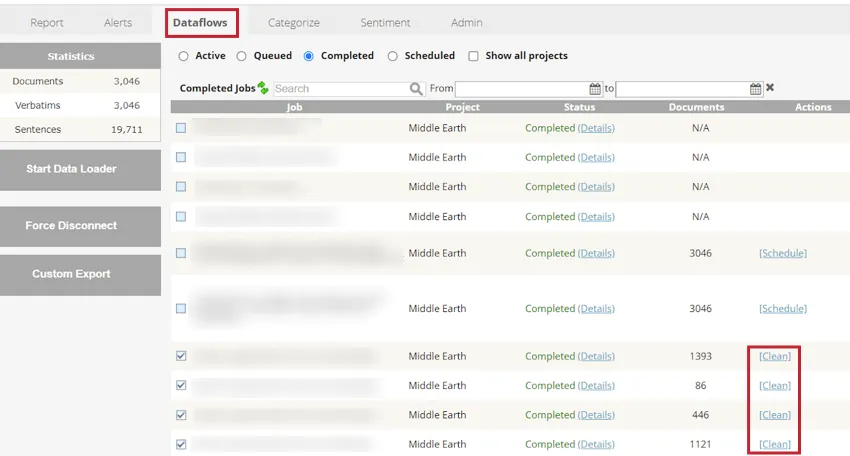
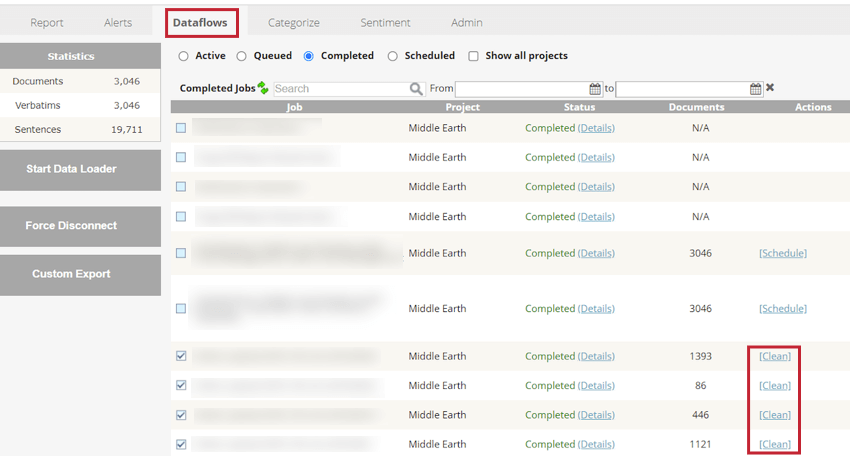
- Clean data, together with structured attributes, which has been uploaded during a particular upload session in the Dataflows tab.
- Preview sentences from a particular session on a category level in the Categorize tab: click the folder icon in the Preview section, select the Session checkbox, click the specific upload session, and click Apply.
- Incremental data should be categorized to the project’s category models.
For more information about classifying incremental uploads, see Classifying Incremental Uploads.
That's great! Thank you for your feedback!
Thank you for your feedback!