
Creating Action Plans (CX)
What's on this page
About Creating and Managing Action Plans
Action plans are a great way of tracking company goals. There are a few ways to create action plans, from both the action planning page itself and in focus area widgets.
Qtip: This page is referring to action planning in CX Dashboard projects only. See our Action Planning (CX) page for a comprehensive guide to action planning, reporting, and permissions.
Qtip: Please do not use emojis in your action plans. This includes names, comments, and custom fields.
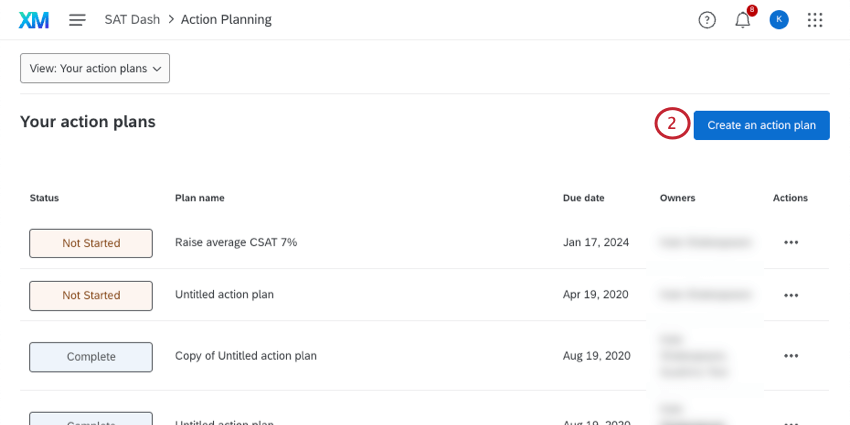
Creating Action Plans in the Action Planning Page
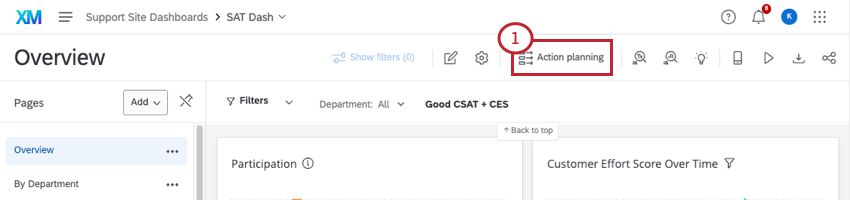
Qtip: No action planning link? You may not have access to action planning, or you may be on a dashboard that’s using an older version of action planning. Talk to your Brand Administrator about your permissions.
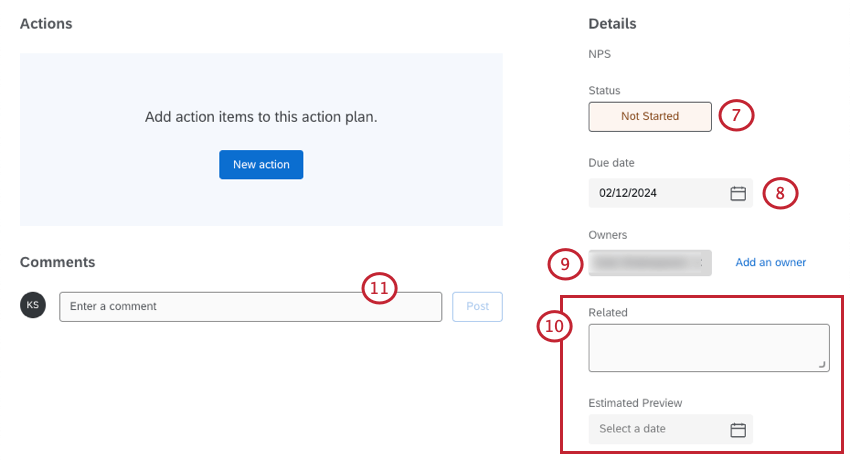
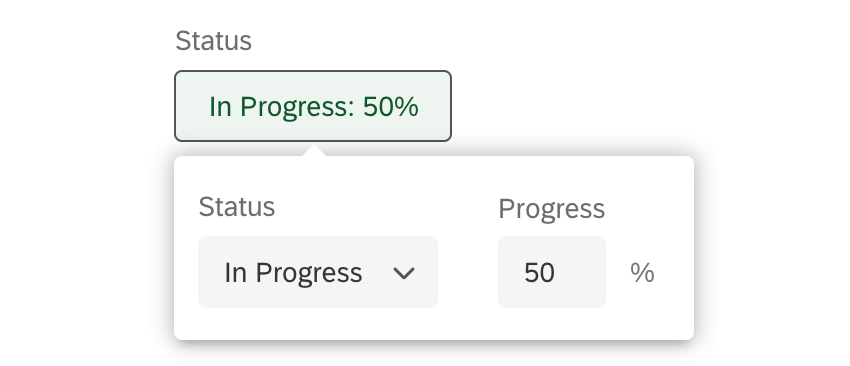
Example: We marked an action plan’s status as “in progress” and set its progress to 50%.

Qtip: If you want to assign an action plan to someone, make sure they have access to the dashboard! They will need to have action planning editing permissions.
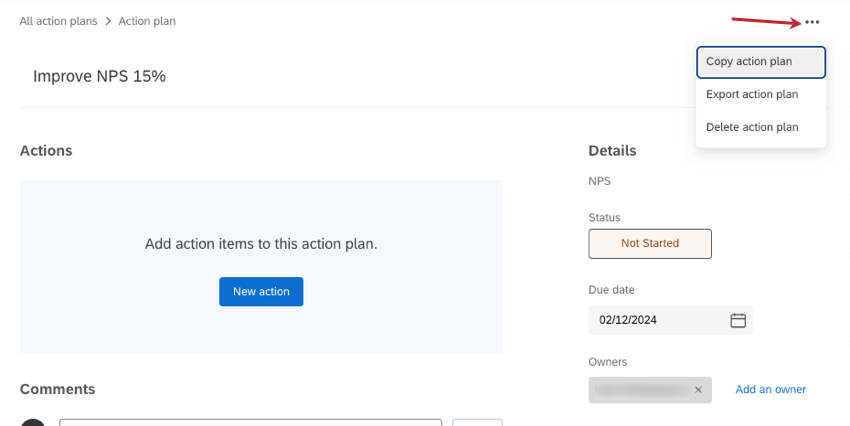
Qtip: If you click the dots in the upper-right of the action plan, you can copy it, export it, or delete it. Please wait a little while after first creating an action plan before you try to delete it.

Creating Action Plans in a Focus Area Widget
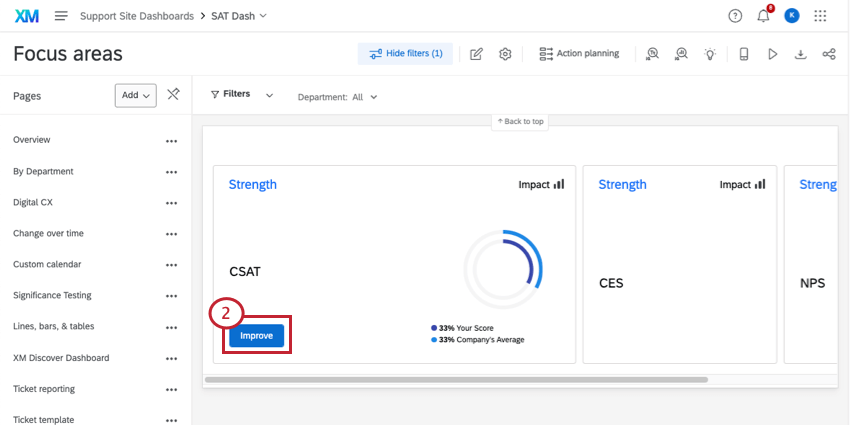
You can also create action plans in focus area widgets. For step-by-step instructions, see the Focus Areas Widget page.
Measurable Action Plans
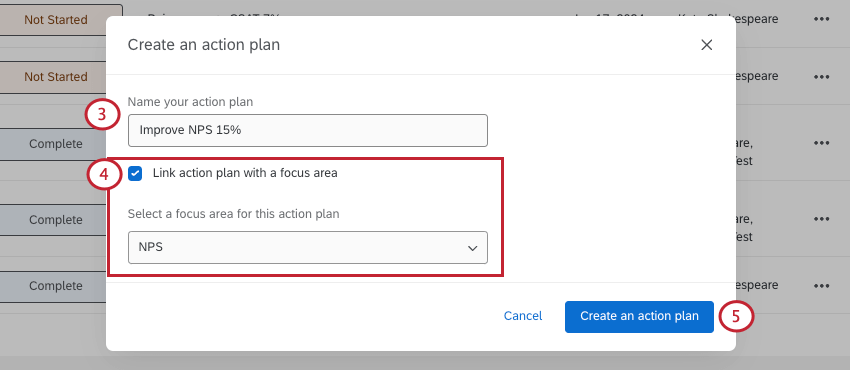
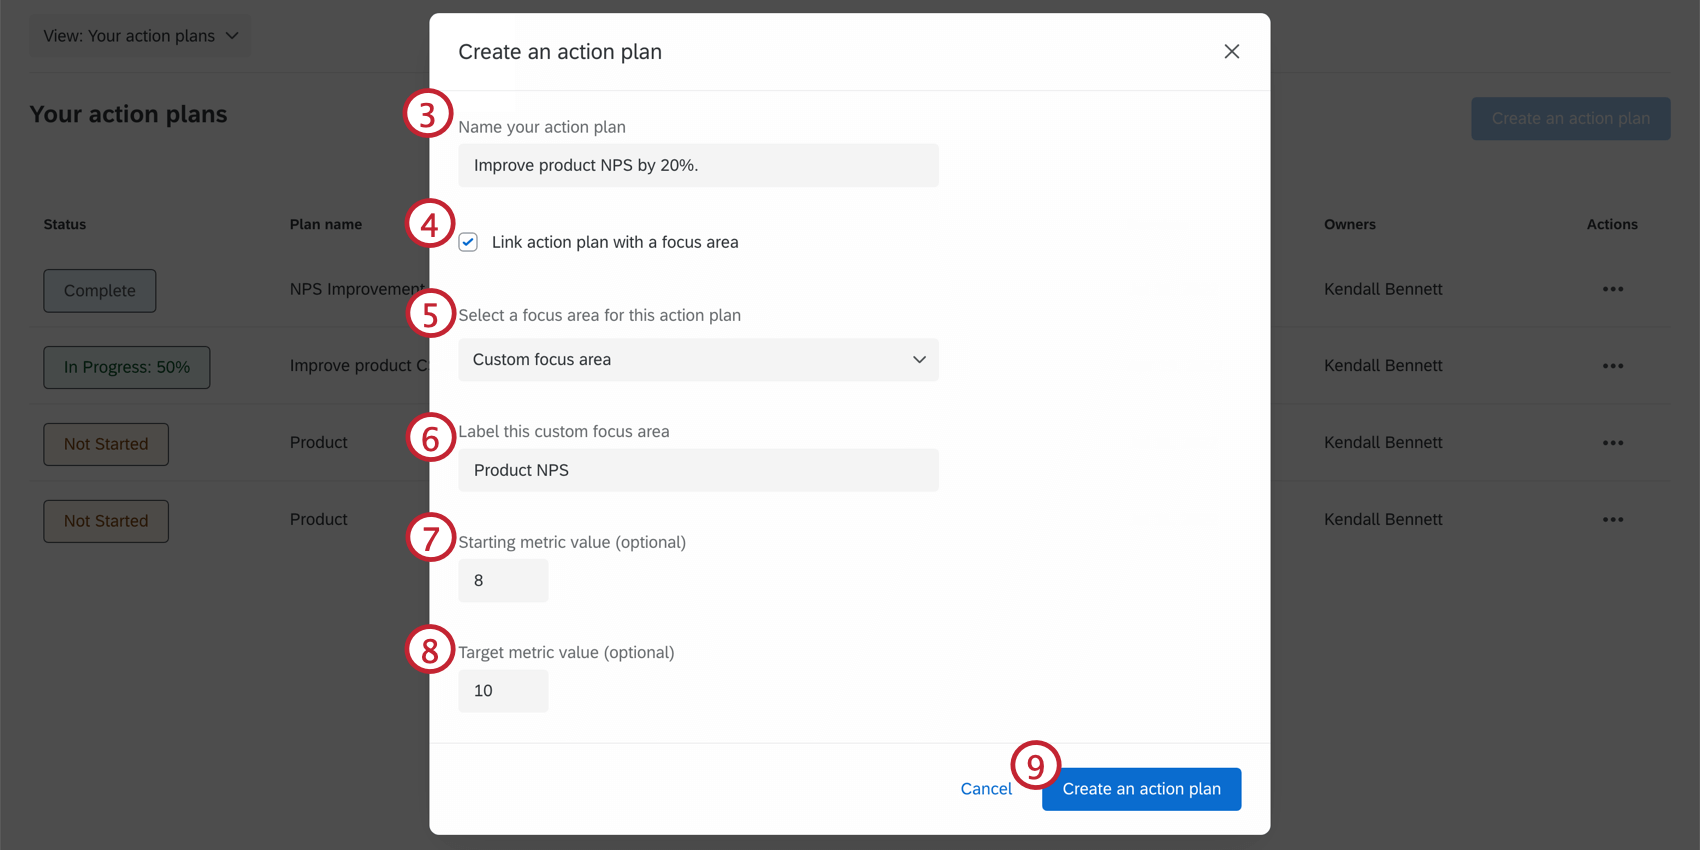
Measurable action planning allows you to measure the impact of your action plans with metrics from your customer feedback dashboards. When you tie an action plan to a focus area widget, you can determine the metric you want to use to measure its success, that metric’s current value, and your ultimate goal.
ENABLING METRIC TRACKING
See Metric Tracking on the Action Plan Settings page.
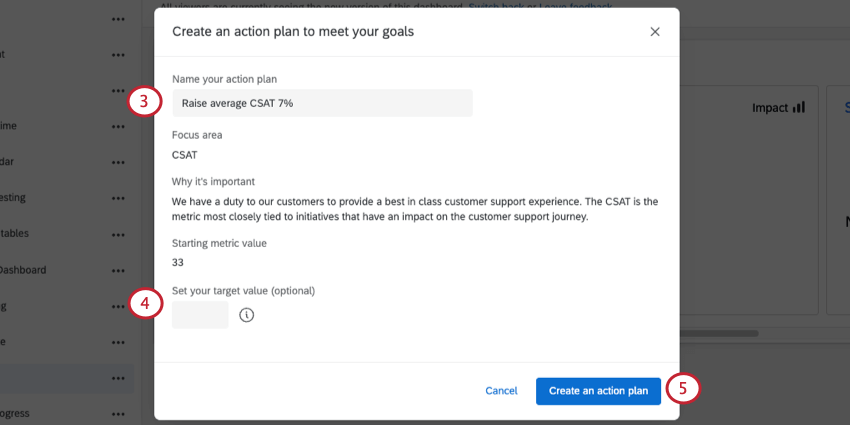
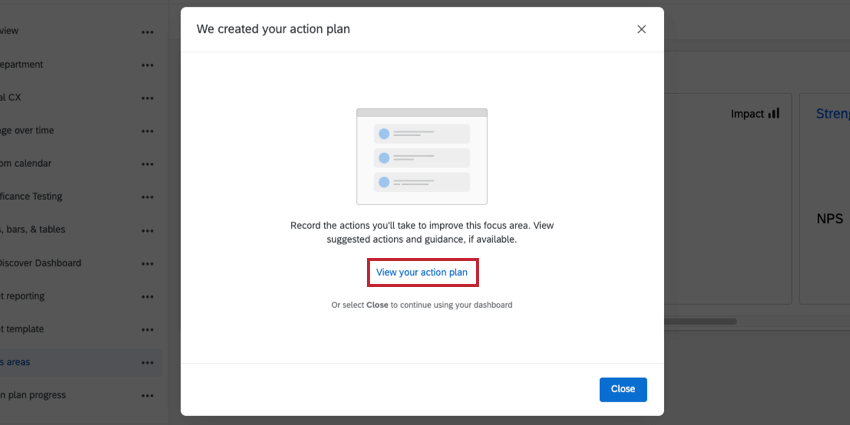
CREATING A MEASURABLE ACTION PLAN FROM THE ACTION PLANNING PAGE
CREATING A MEASURABLE ACTION PLAN FROM A FOCUS AREA WIDGET
Qtip: The focus area and starting metric value are automatically populated from the data in the focus area widget. If you would like to manually set the focus area or metric value, follow the steps above to create a measurable action plan from the action planning page.
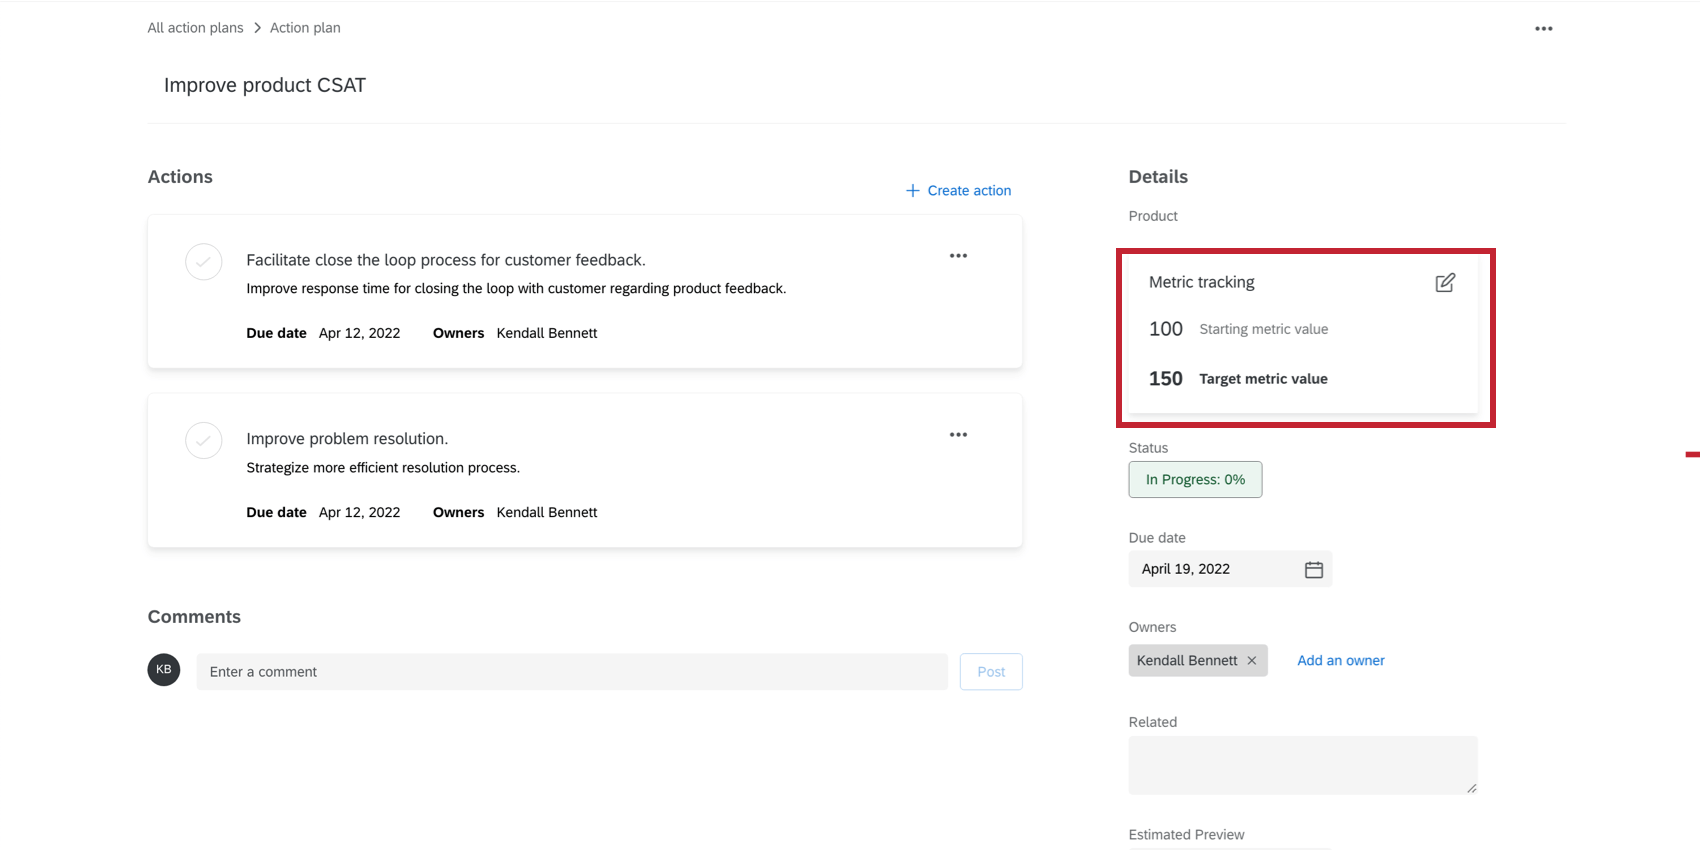
NAVIGATING MEASURABLE ACTION PLANS
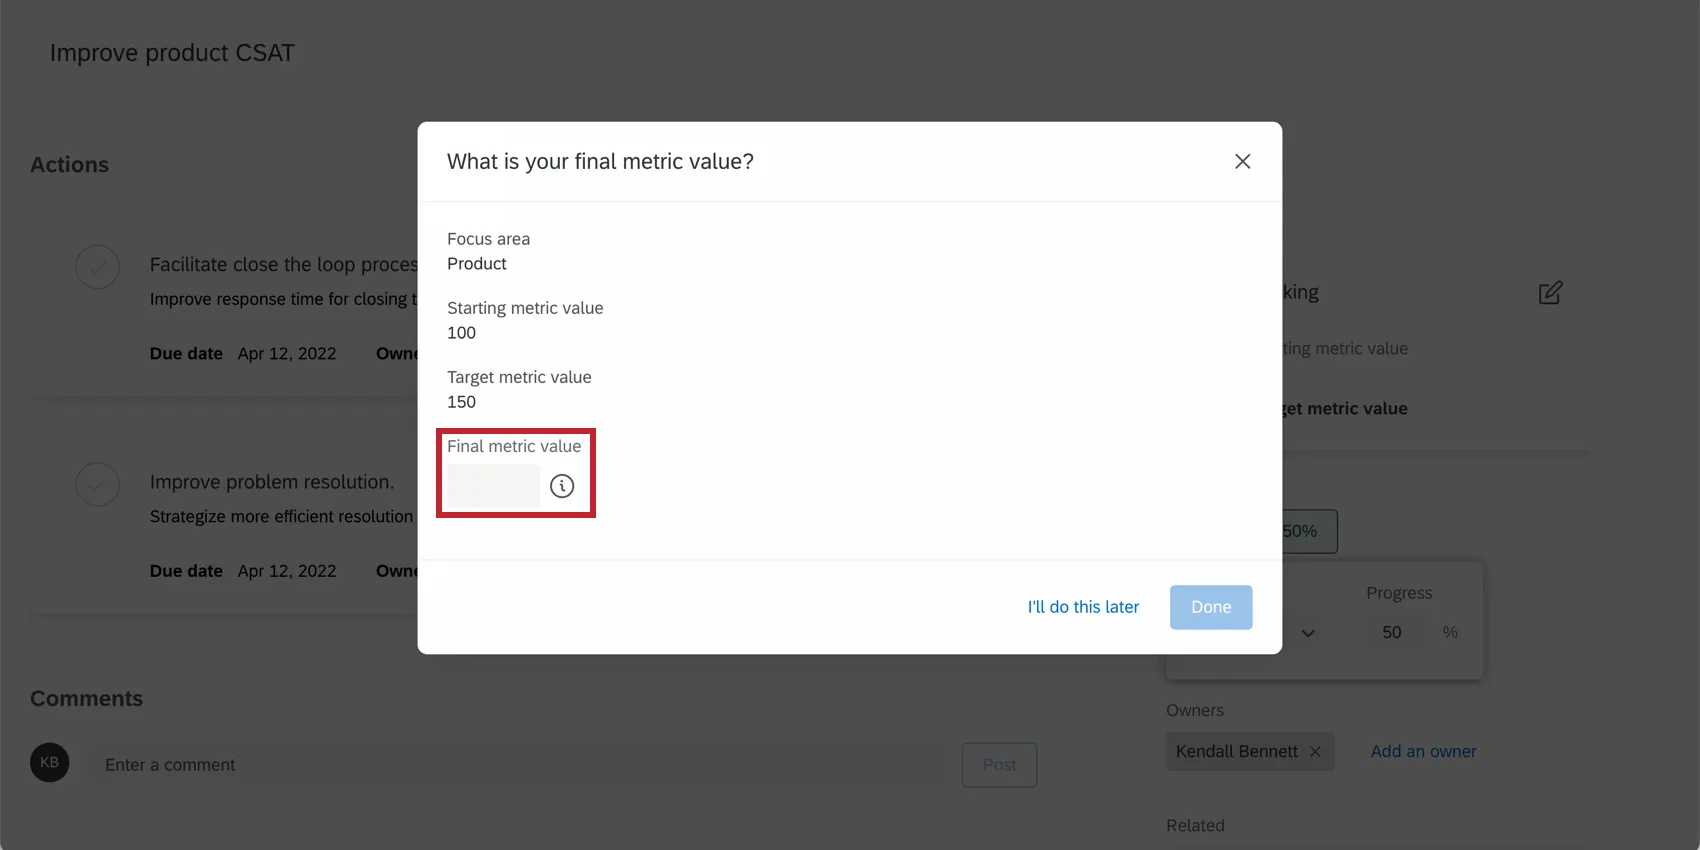
Measurable action plans allow you to view the baseline and target metrics from focus area widgets directly within the action plan. These values can be used to track the action plan’s improvement overtime for key CX metrics like customer satisfaction or net promoter score.
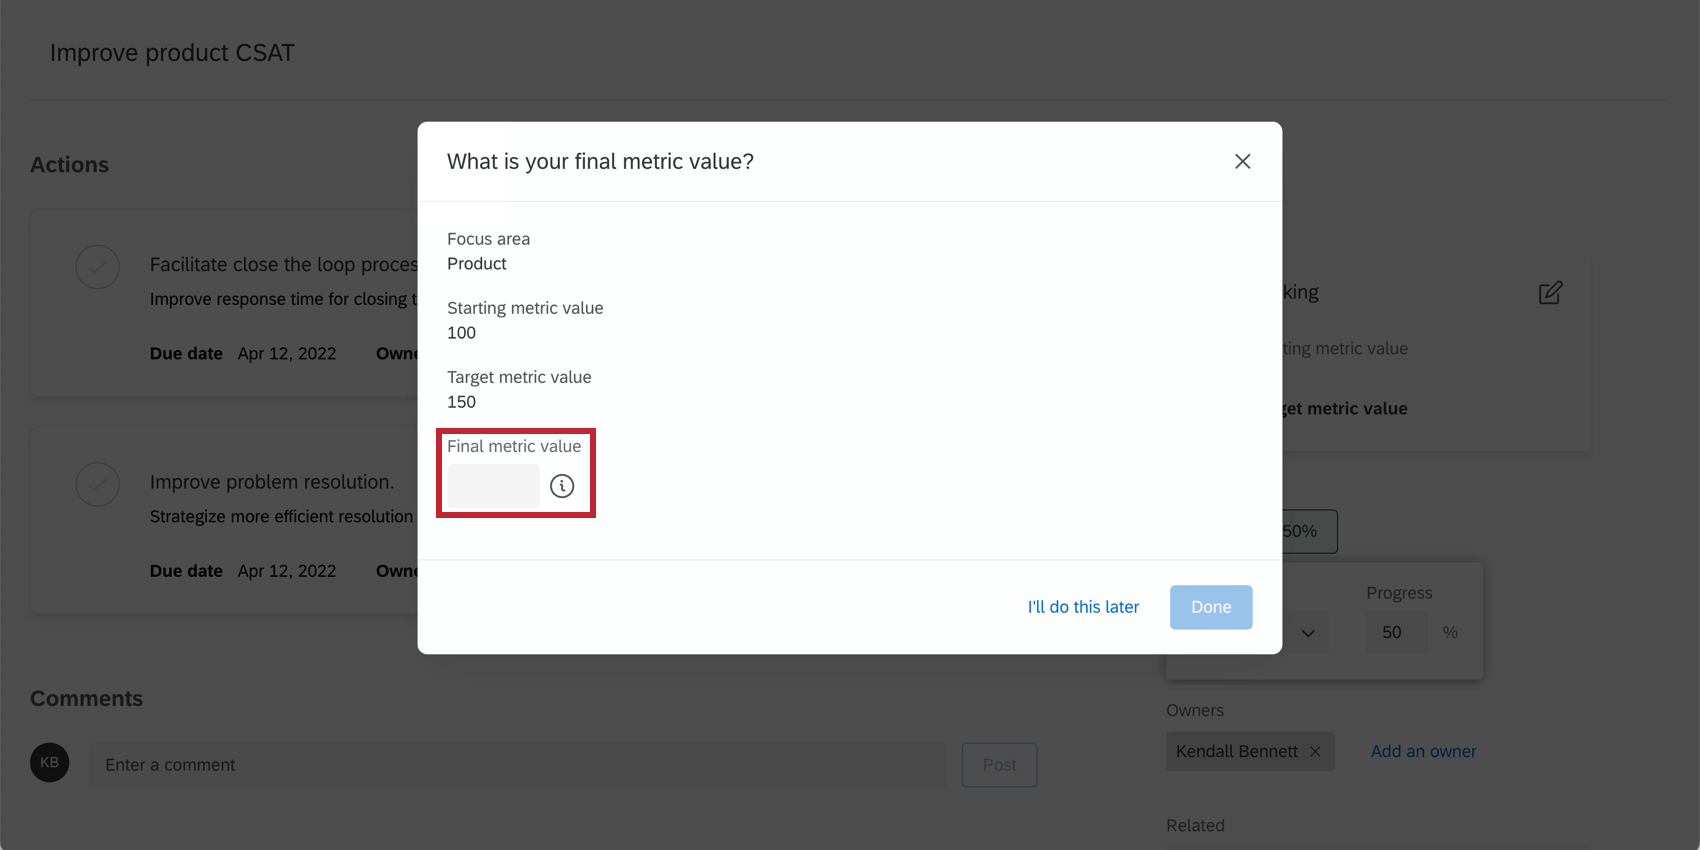
Once the action plan’s status is set to Complete, you can record the Final metric value in order to capture the effectiveness in improving the focus area.
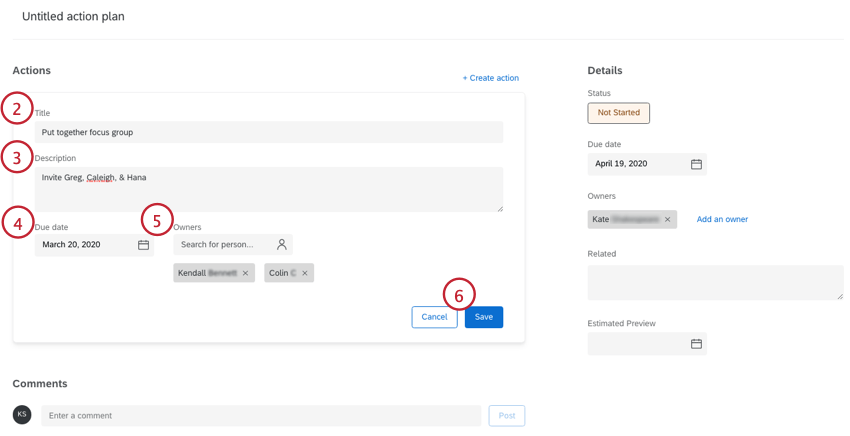
Actions within a Plan
Actions are the individual tasks that need to be completed within a larger action plan.
Example: If your action plan is centered around improving your support team’s overall CSAT, the actions within that plan would be more specific goals that could help you achieve your goal. For example, introducing better customer interaction training, deep analysis of customer tickets to identify what’s going wrong in interactions, the establishment of a CX program, and so on.

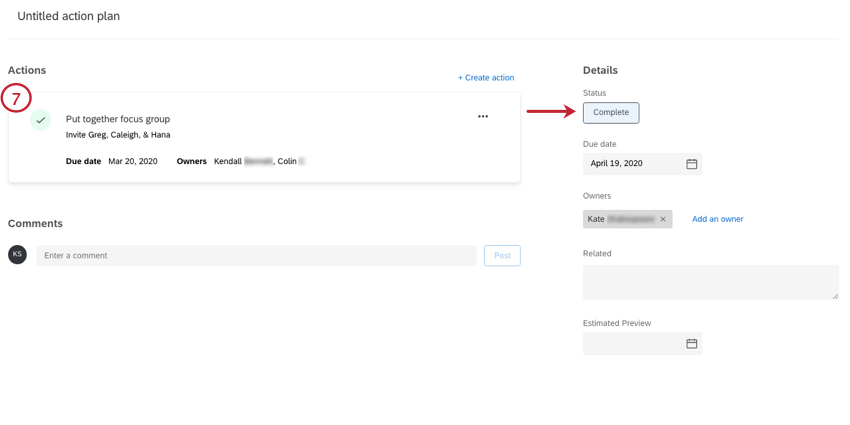
Qtip: As you mark off actions in a larger plan, the status will automatically update to reflect how much progress you’ve made. Adding new actions will not change the status / progress, so make sure you’ve made all the actions before you start marking others off, or you’ll need to change the status / progress manually.
To make additional actions, use the Create action button that appears above your action. Actions within a plan cannot be re-ordered.
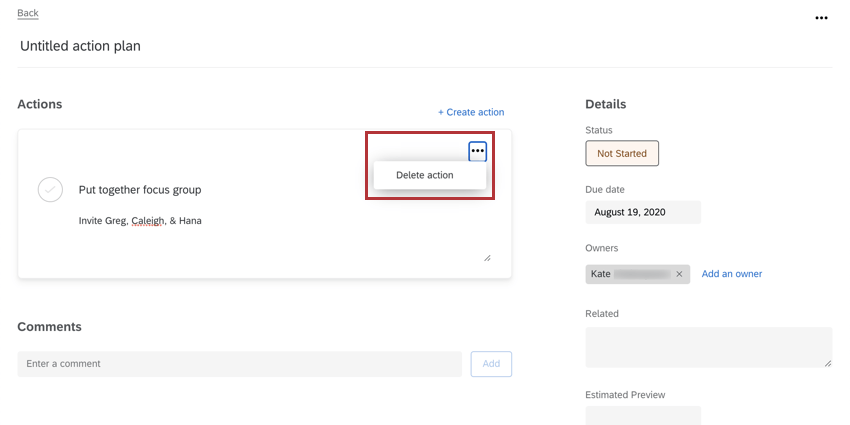
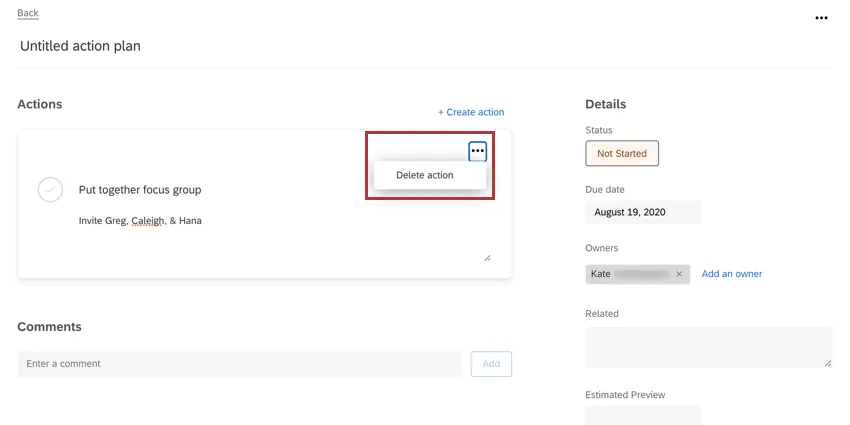
Deleting Actions within a Plan
If you decide you don’t want an action, use the dots in the upper-right to Delete action.
Qtip: When you copy an entire action plan, actions are not duplicated.
That's great! Thank you for your feedback!
Thank you for your feedback!