
Creating Rubrics
Suite
Customer Experience
Product
Qualtrics
What's on this page
About Creating a Rubric
After you’ve selected a model for scoring, you can create a rubric. Rubrics define the scoring criteria for documents. You can set content that should be present or absent in order to pass, the relative weight, and automatic failures for each scoring criteria.
Qtip: If you’d like to show stakeholders how your rubrics are defined, you can use the object viewer widget to display a rubric in your dashboard.
Creating a Rubric
Qtip: To create a rubric, you must have the Manage Rubrics permission, Administrator-level data access to a project, and be a member of the Intelligent Scoring UI group.
Log into Studio.
Open the global navigation menu.

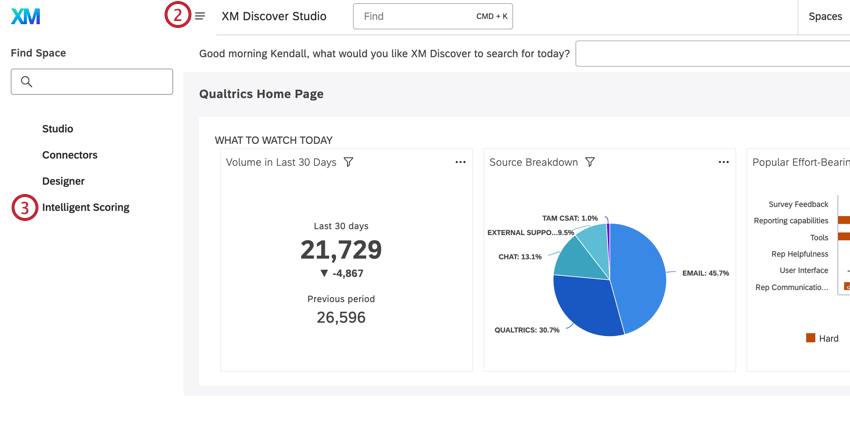
Select Intelligent Scoring.
Select a project from the dropdown menu.

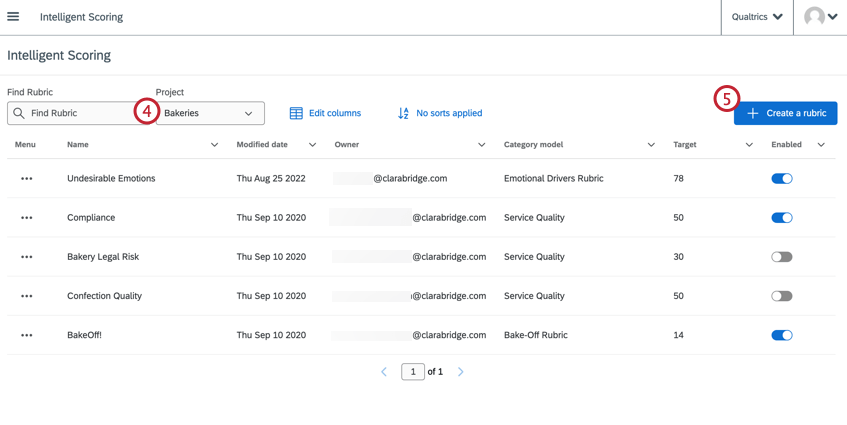
Click Create New Rubric.
Name your rubric.
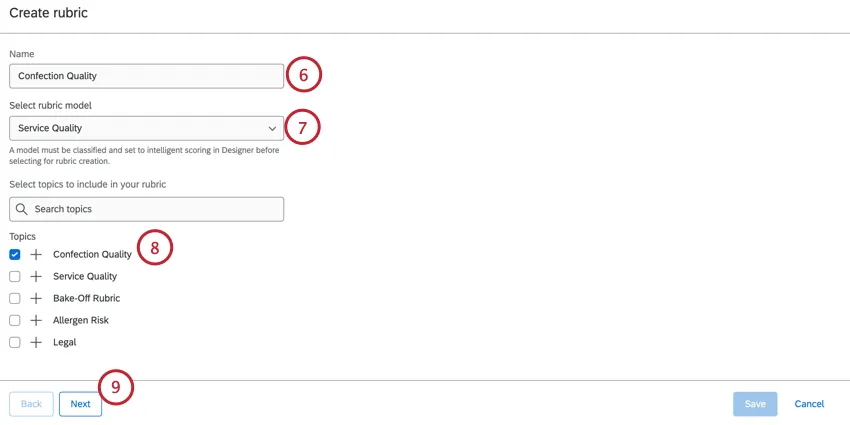
Qtip: Every rubric in the project needs to have a unique name.
Qtip: The word “Score” will be added to the intelligent score automatically, so you don’t need to use it in the rubric’s name.
Select the rubric model. For more information, see Selecting a Scoring Model.
Select the topics you want to include in the rubric. You can search for topics using the search bar. To expand a topic, click the plus sign ( + ).
Qtip: You can create multiple rubrics per model, but any given topic (including its siblings and children) can only be used in 1 rubric. If you notice that certain topics appear unavailable, it’s most likely because they are already used in another rubric.
Click Next.
Optionally, select a driver to view the suggested ranks for your topics. For more information, see Using Drivers for Outcome-Oriented Scoring.
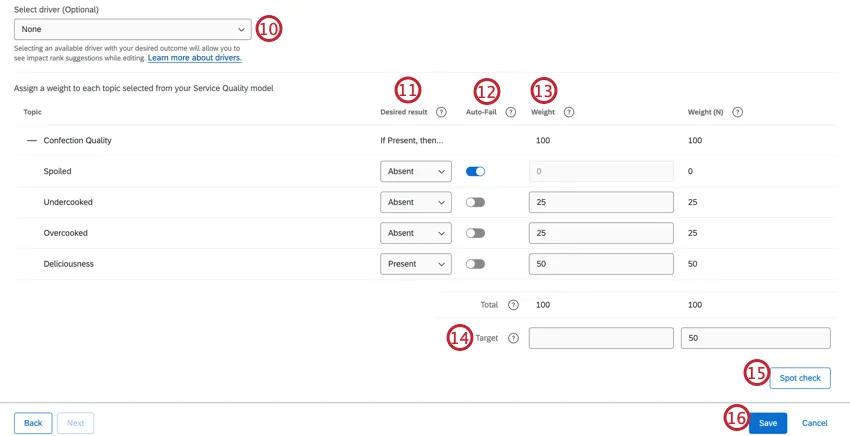
For Desired Result, decide when each topic’s weight will either be added to the document’s final score or auto-fail the document:
- Present (No Auto-Fail): If this topic is present in the document, increase the score by the topic’s assigned weight. Example: A polite greeting in a support interaction.

- Absent (No Auto-Fail): If this topic is absent in the document, increase the score by the topic’s assigned weight. Example: The expression of uncertainty in a product review or representative call.
- Present (Auto-Fail): The whole document will receive a score of 0 if the topic is absent from the document. Example: You have a mandatory script, verification statement, or consent question the representative must ask every time.
- Absent (Auto-Fail): The whole document will receive a score of 0 if the topic is present in the document. Example: Unprofessional conduct.
Auto-Fail will set the document’s final score to 0 if the Desired Result is not met for the topic.
Qtip: You will still be able to see whether the document passed or failed each additional topic, although you will not be able to see how many points would have been earned.
Set the numeric Weight for the topic. The more weight a topic has, the more it affects the document’s score.
Qtip: The Weight (N) column shows the weight of each topic normalized to add up to 100%. These values are calculated automatically.
Define the target score in order to pass this rubric. There are 2 ways to define the target.
- Target: Set an exact passing score. Documents that score greater than or equal to the target will be considered “passing.” Documents that score less than the target will be considered “failing.”
- Target (N): Set a passing score as a percentage of the total 100%. Qtip: You can add up to 3 decimal places to the Target (N).

Use the Spot Check button to test your rubric before you officially use it.
Qtip: See Using Spot Check.
Click Save.
You’re now ready to enable your rubric.
Using Spot Check
The Spot Check button lets you test how your documents will perform on your rubric before you officially use it. Spot check calculates the scores for up to 10,000 randomly chosen documents at once.
Qtip: Any edits you make to the rubric will be tested on the same 10,000 documents until you clear the cache.
- Outcome: How many of the documents tested fell below the Target Score.
- Target (N): The current target score’s percentage of the total.
- Minimum/Maximum: The lowest and highest score found within the tested documents.
- Average: The average score of the documents tested.
- Quartiles: Lower quartile, median, and upper quartile scores. This can help you determine how accurate the sample pulled by the test will be.
- Potential Coverage: How much of your project’s data is likely to be scored with the model selected in the rubric. You can use this to adjust your topic exclusions.
- Clear Cache: Click this button to test a different set of 10,000 documents.
Qtip: Spot check samples up to 10,000 documents regardless of any date range filters included on the project. If the date range does not have 10,000 documents, the sample is run on the full dataset.
That's great! Thank you for your feedback!
Thank you for your feedback!