
Setting up a Sample Project & Pulse Dashboard
Suite
Employee Experience
Product
Qualtrics
What's on this page
About Setting up a Sample Project and a Pulse Dashboard
When you’re first setting up your pulse, before you’ve even scheduled your first survey, you can setup a sample project and your pulse dashboard. This can be helpful for a few reasons:
- See an example pulse project before starting your program.
- Access the dashboard project, which will allow you to upload dashboard participants, create dashboard roles, and create a dashboard before starting your pulse surveys.
- Upload test data to your sample project to configure your pulse dashboard before starting your pulse surveys. By doing so, you will not need to configure your dashboard when pulse surveys are actually running, allowing users to have access to real-time data from the very first pulse.
Creating a Sample Pulse Project and your Pulse Program Dashboard
Qtip: The example survey project will contain the core questions you set. Make sure you’ve created at least 1 question before you make a test survey.
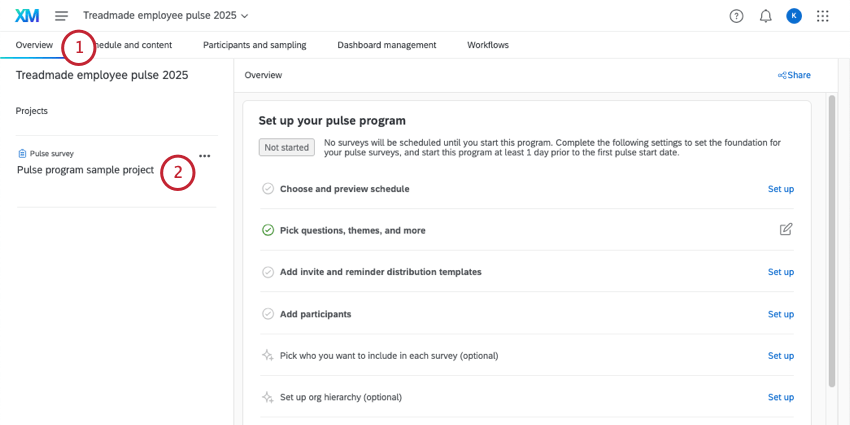
Go to the Overview tab.

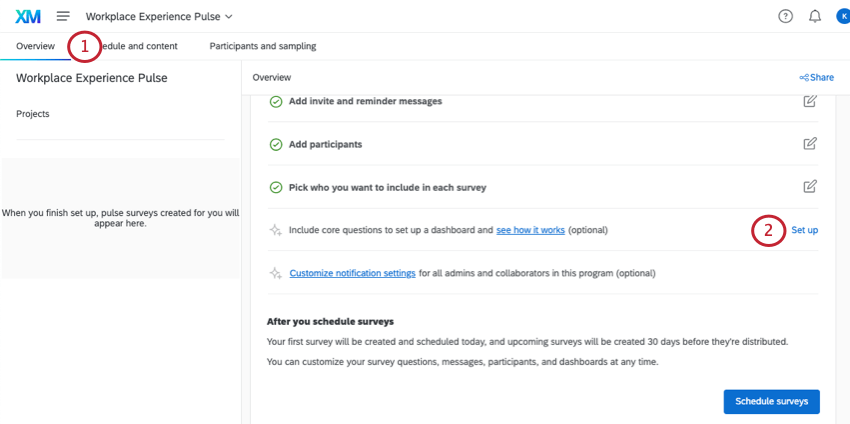
Click Set up.
Click Continue.
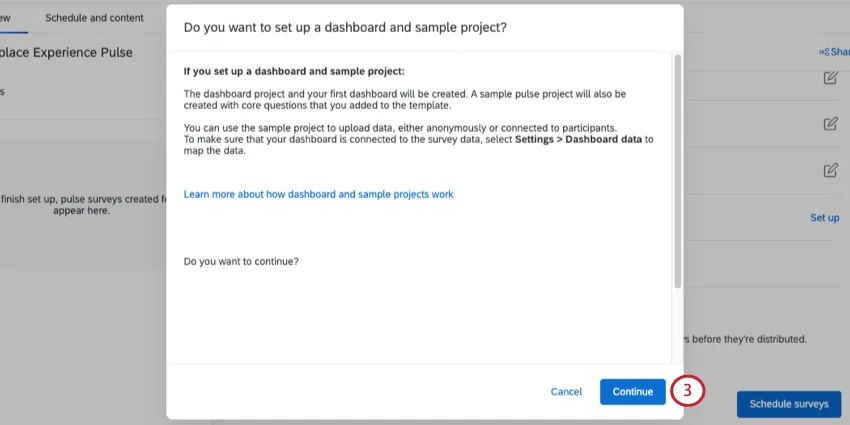
It may take a while to generate the dashboard and sample project.
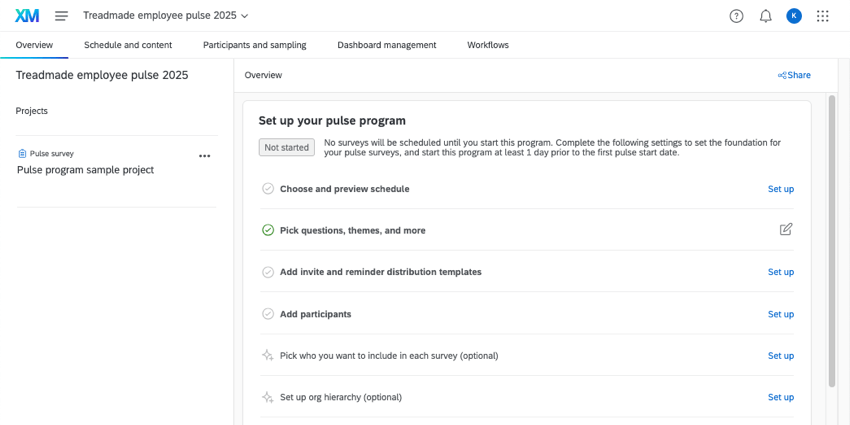
When you’re finished, the sample survey will appear in the Projects list.

Qtip: Take note of the survey’s name – you’ll need it for the next step.
Adding Test Data to the Sample Project
If you’d like to configure your dashboard before starting your pulse program, we recommend uploading either anonymous data or data associated with participants.
To upload anonymous data, follow these steps, but keep the Participant’s Unique Identifier field blank.
To import data associated with participants:
Go to the Overview tab.

Click the survey.
Go to the Participants tab.
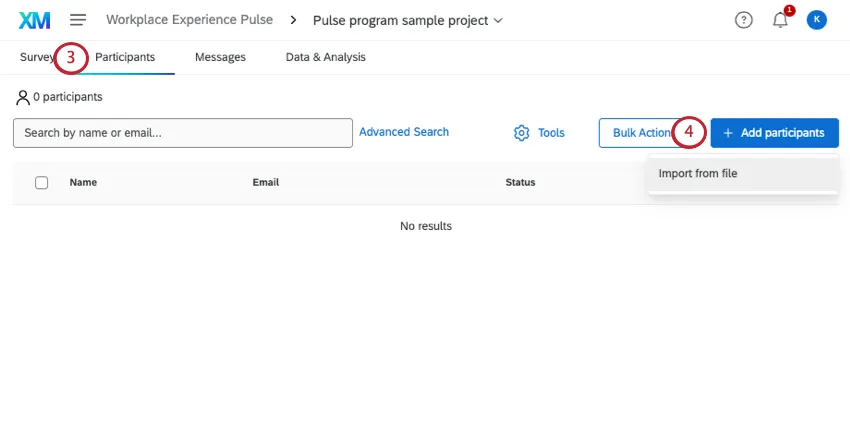
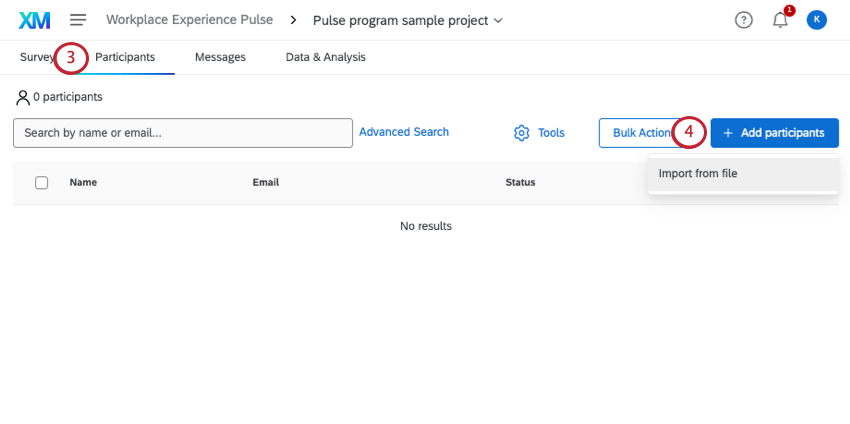
Qtip: If you’d like to test what the survey looks like to participants, try previewing the survey.
Mapping the Sample Project to the Test Dashboard
Go to Dashboard management.
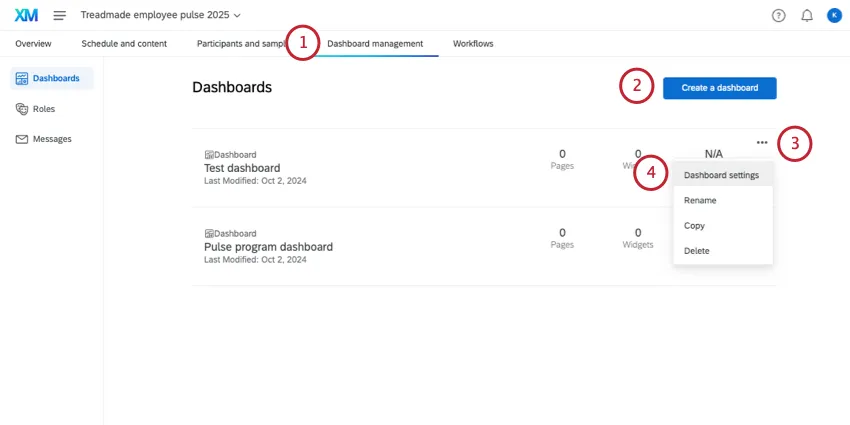
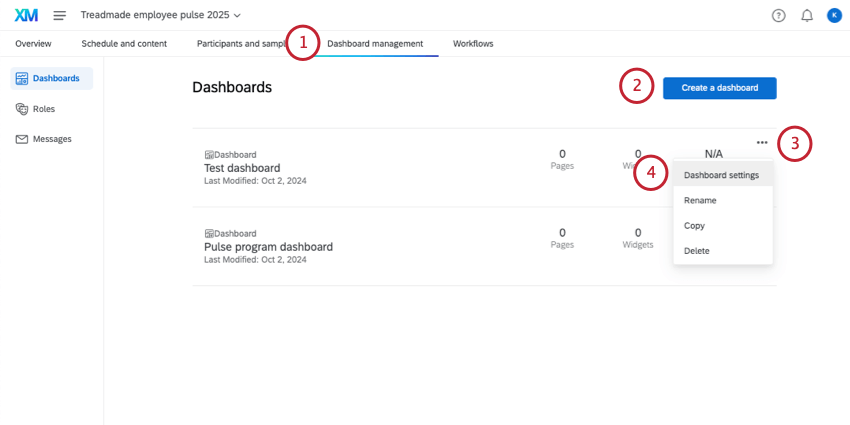
Create a dashboard for your tests, or use the existing one.
Click the dropdown.
Select Dashboard settings.
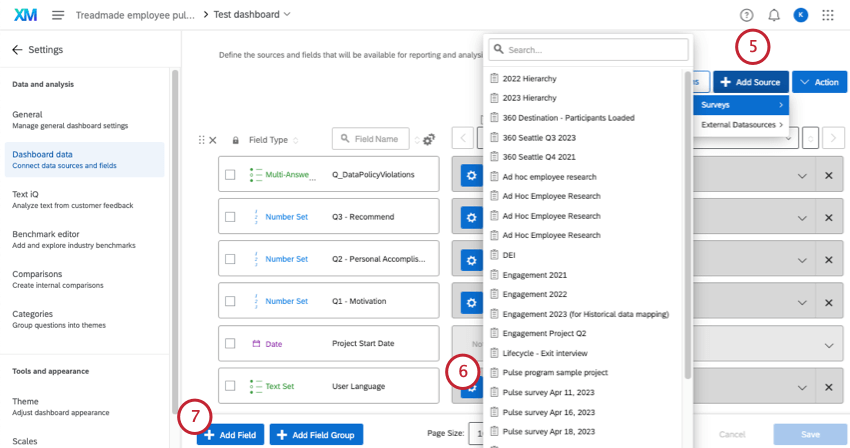
Select the sample project you created.
Make sure the sample project fields are mapped.
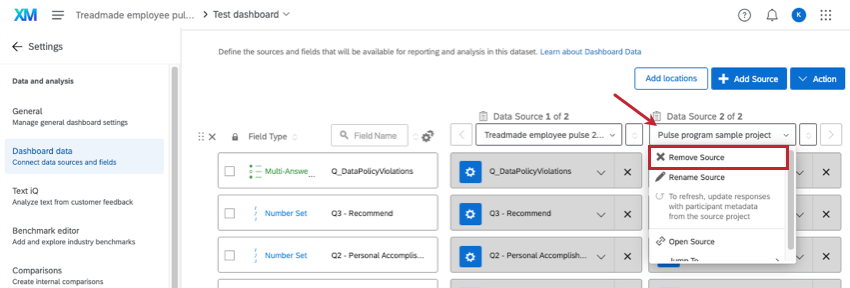
Qtip: When you’re done testing your dashboard, you can delete the data from the sample project, or you can unmap the sample project from the dashboard.

That's great! Thank you for your feedback!
Thank you for your feedback!