
Web & App Intercept Distributions in XM Directory
What's on this page
About Web and App Intercept Distributions in XM Directory
With the combination of the XM Directory and Website Feedback, you can automatically link site survey responses to contacts, use contact frequency rules to moderate what intercepts visitors see, and target specific high-value customer segments with the intercepts on your site. This page will go over how to implement Website / App Feedback projects from right inside XM Directory.
Qtip: This feature is only available for brands with XM Directory where segments and Website / App Feedback are enabled. If you have questions about the eligibility of your brand, reach out to Account Services.
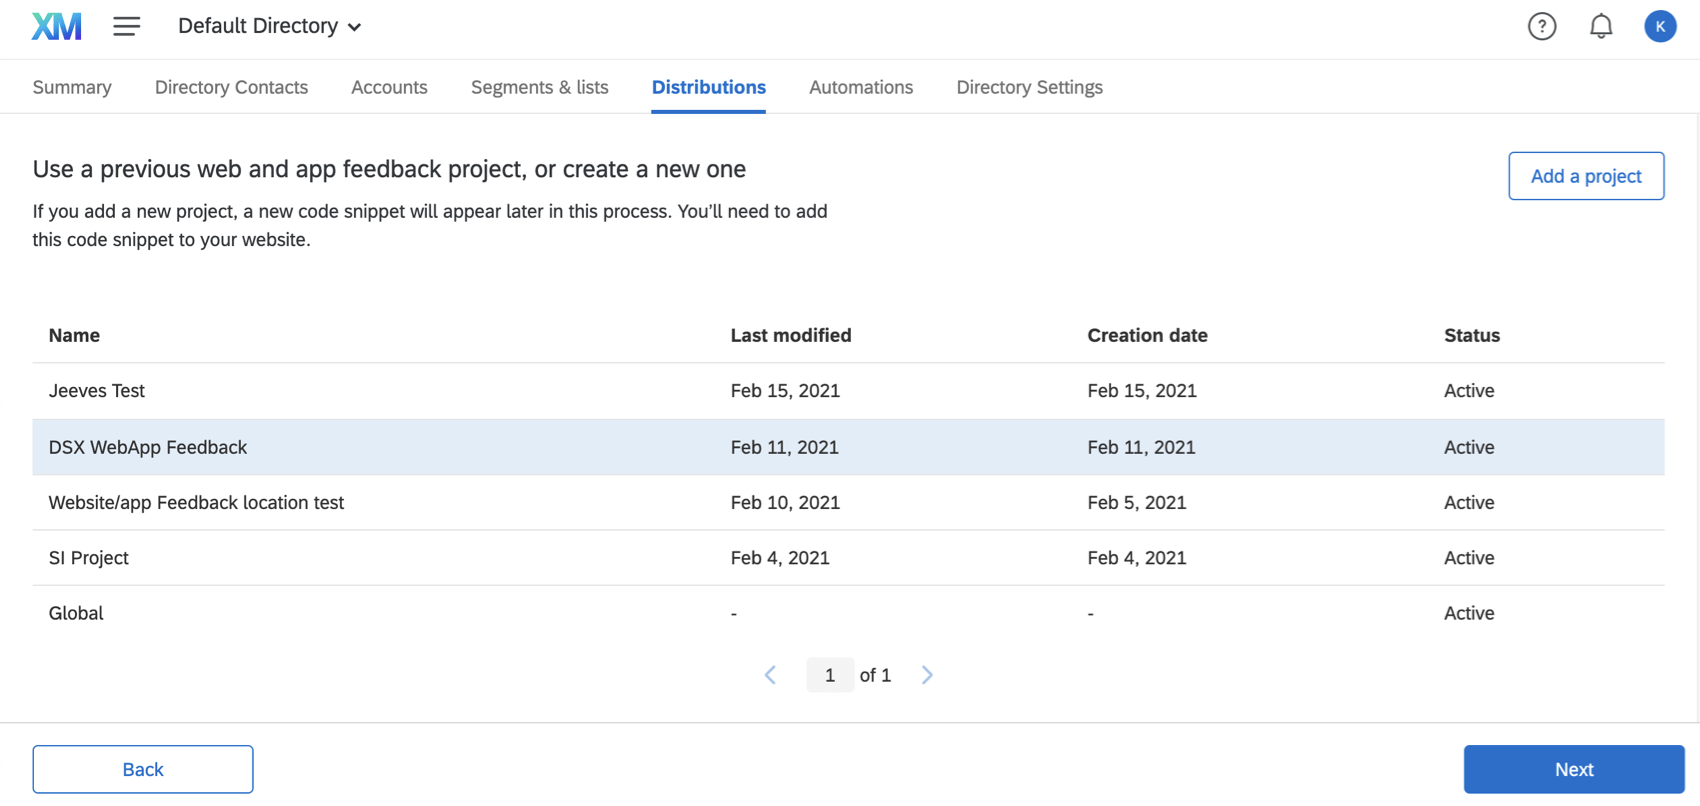
Creating Website and App Feedback Distributions in XM Directory

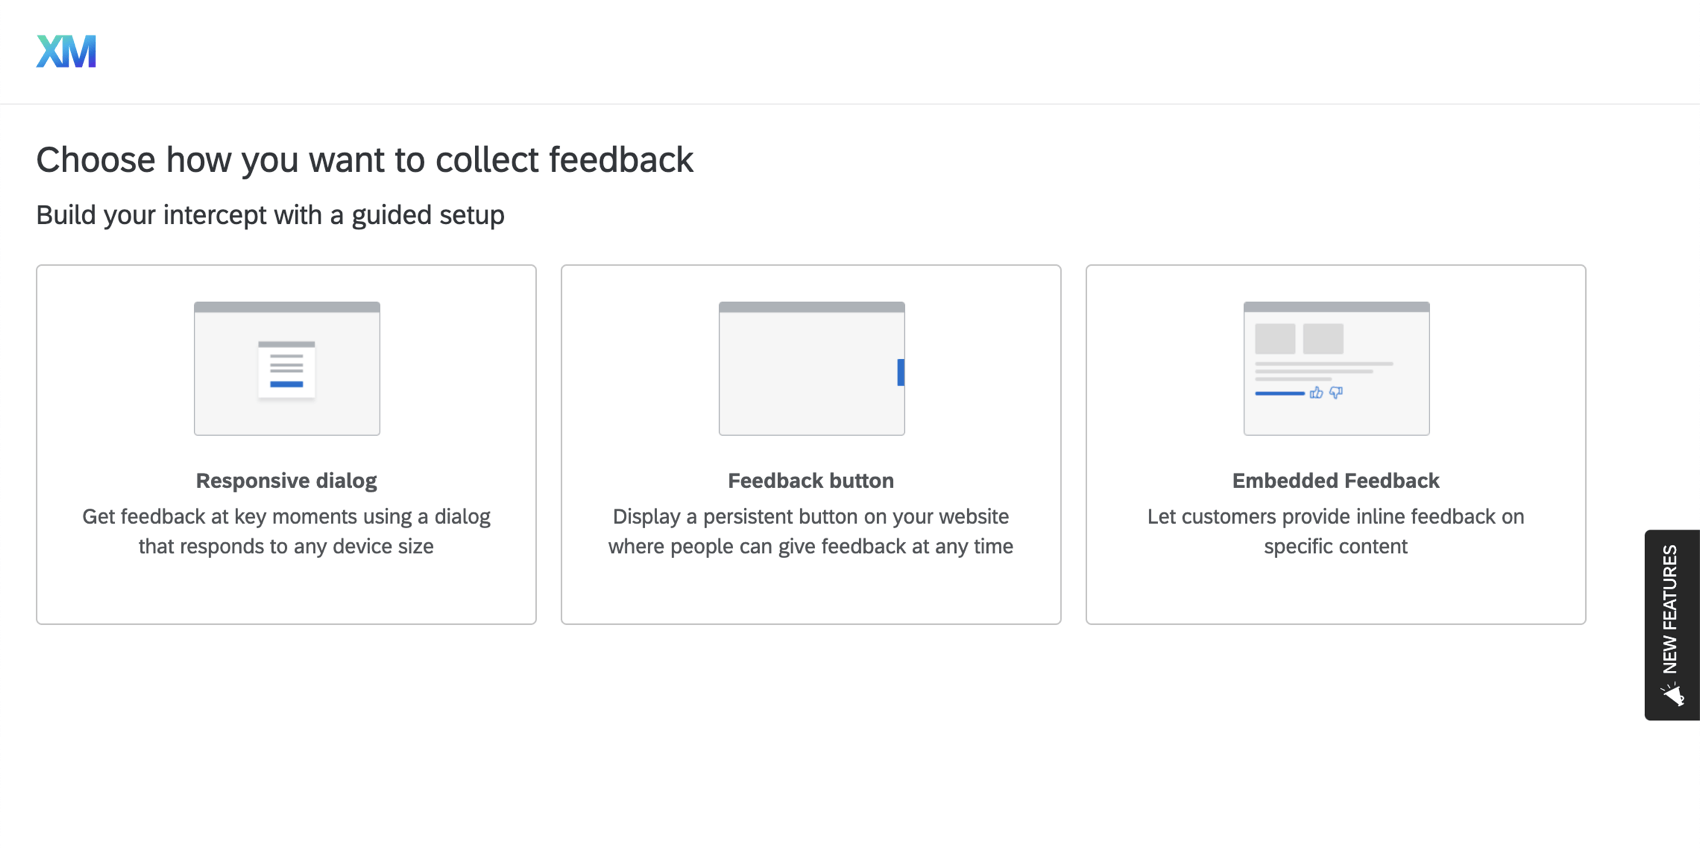
- Responsive Dialog: Get feedback at key moments using a dialog that responds to any device size.
- Feedback Button: A feedback button (much like on the left of this support page) that slides out when visitors click it, so they can fill out a feedback survey right on the page.
- Templated Embedded Feedback: Inline buttons that allow visitors to indicate whether content was helpful (much like the Yes / No buttons after each section of this page).
- Embedded App Feedback: Collect feedback on your mobile app experience. Qtip: If you would like access to additional creatives, you can still create intercepts and creatives standalone through the projects page, and then target XM Directory segments or connect them to contact frequency rules.

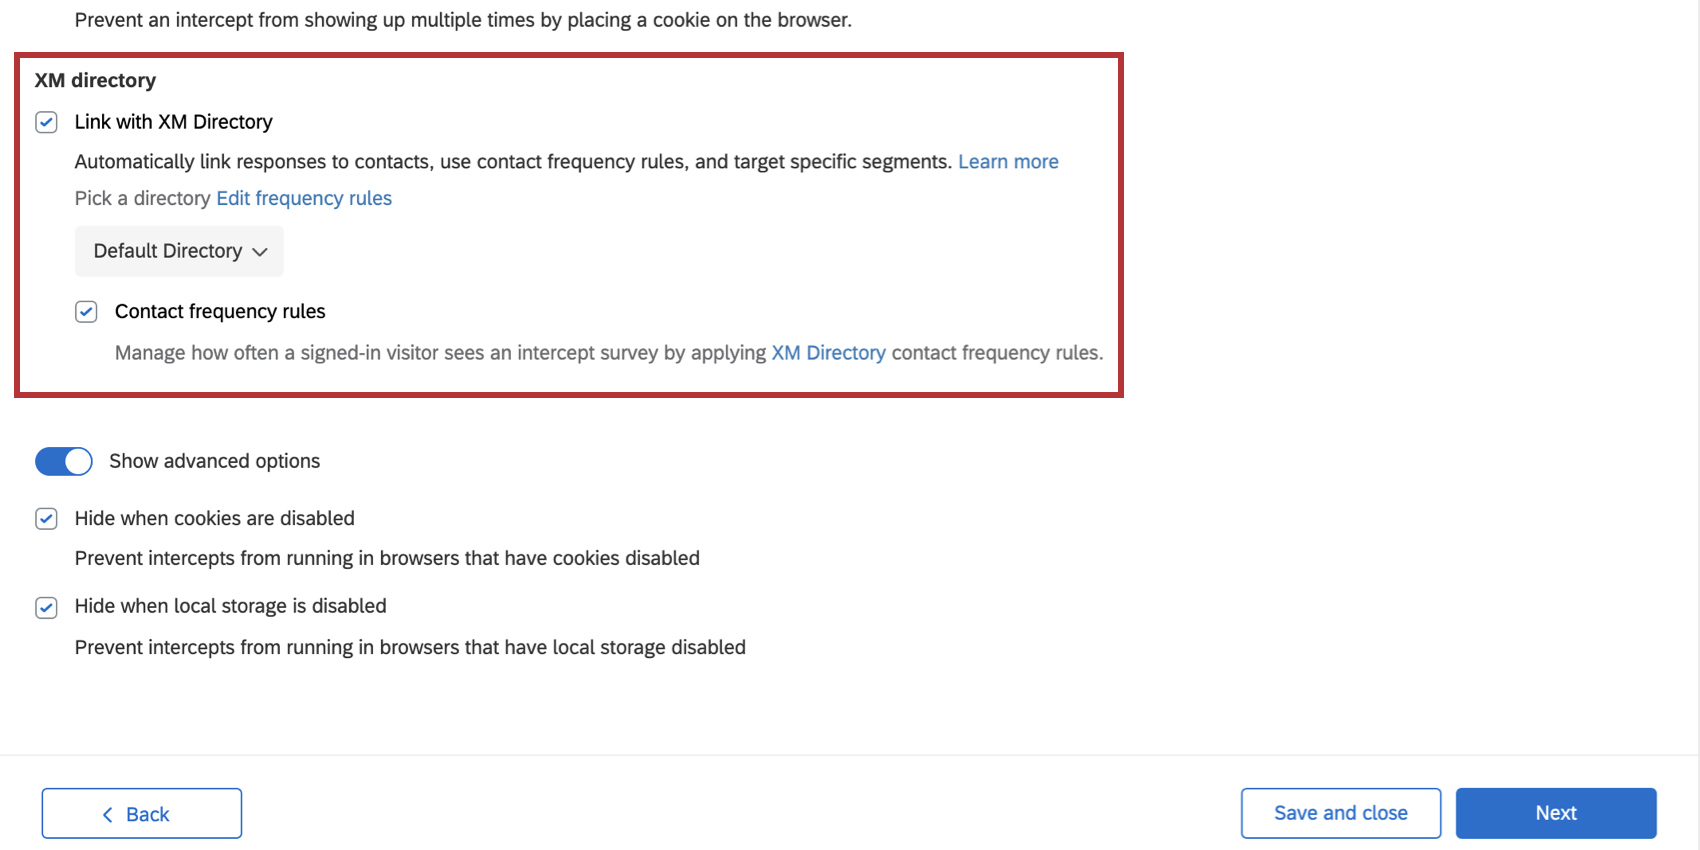
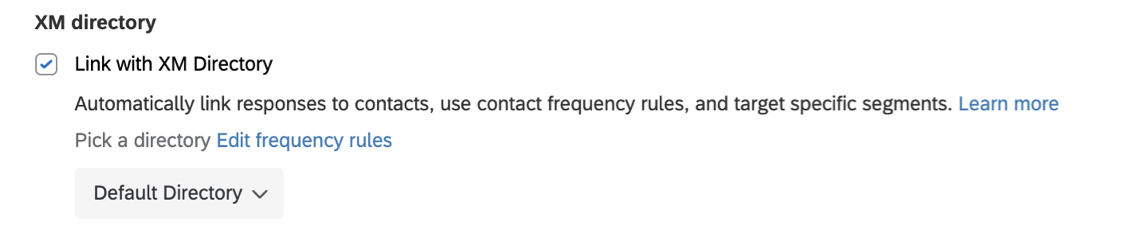
- If you have multiple directories, select which directory you want to connect this intercept to.
- Determine whether you want to manage how often a signed-in visitor sees an intercept survey by using the directory’s Contact frequency rules.
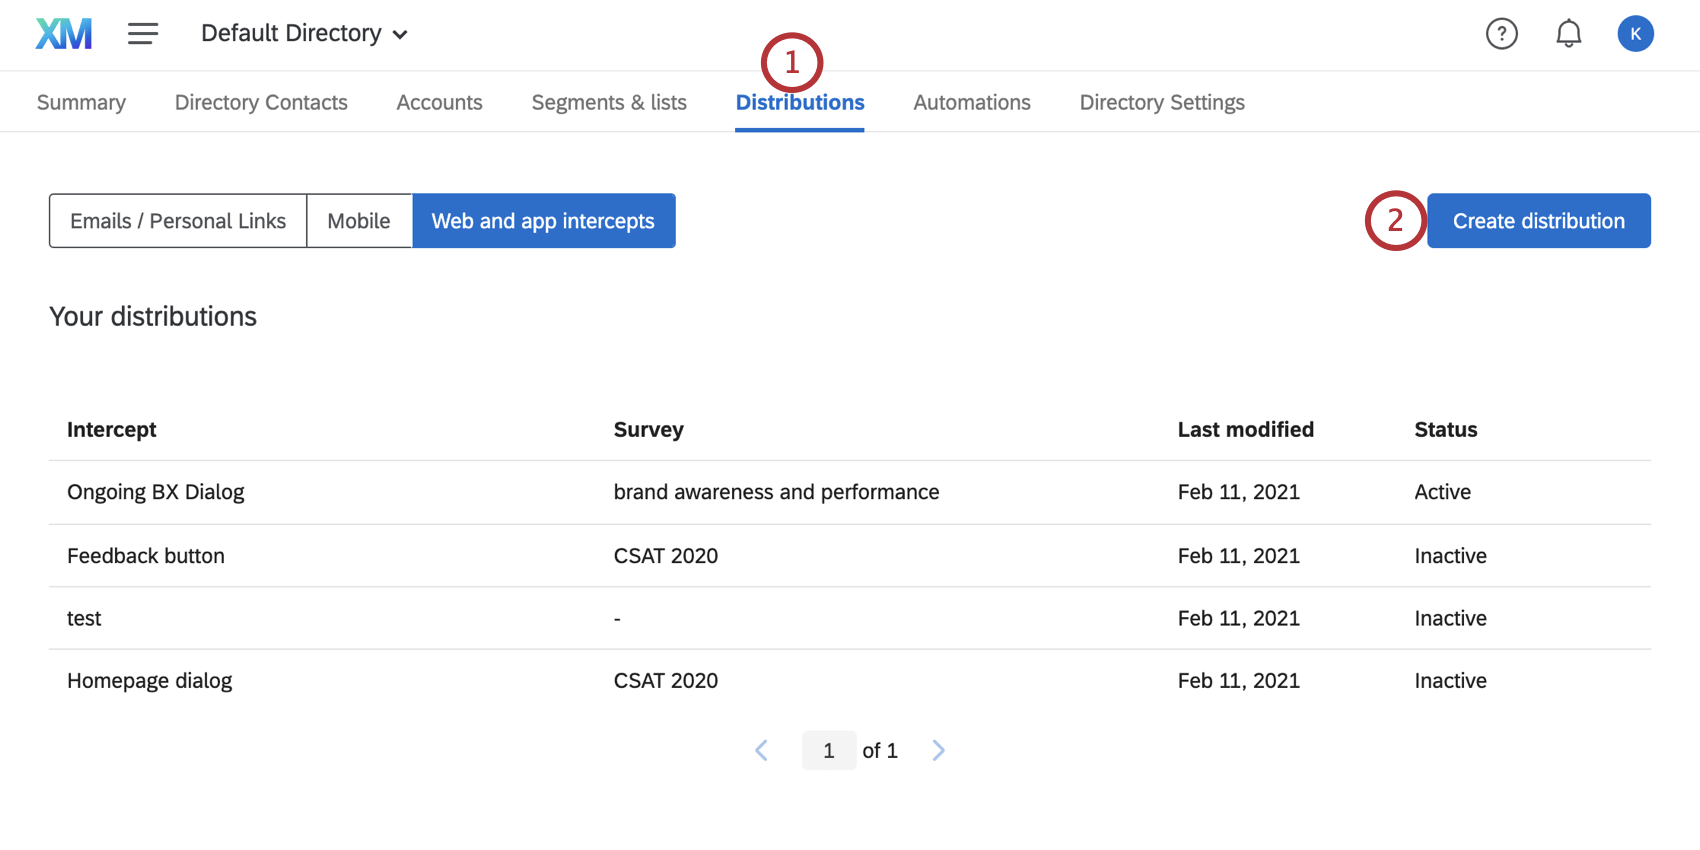
Managing Website and App Intercept Distributions in XM Directory
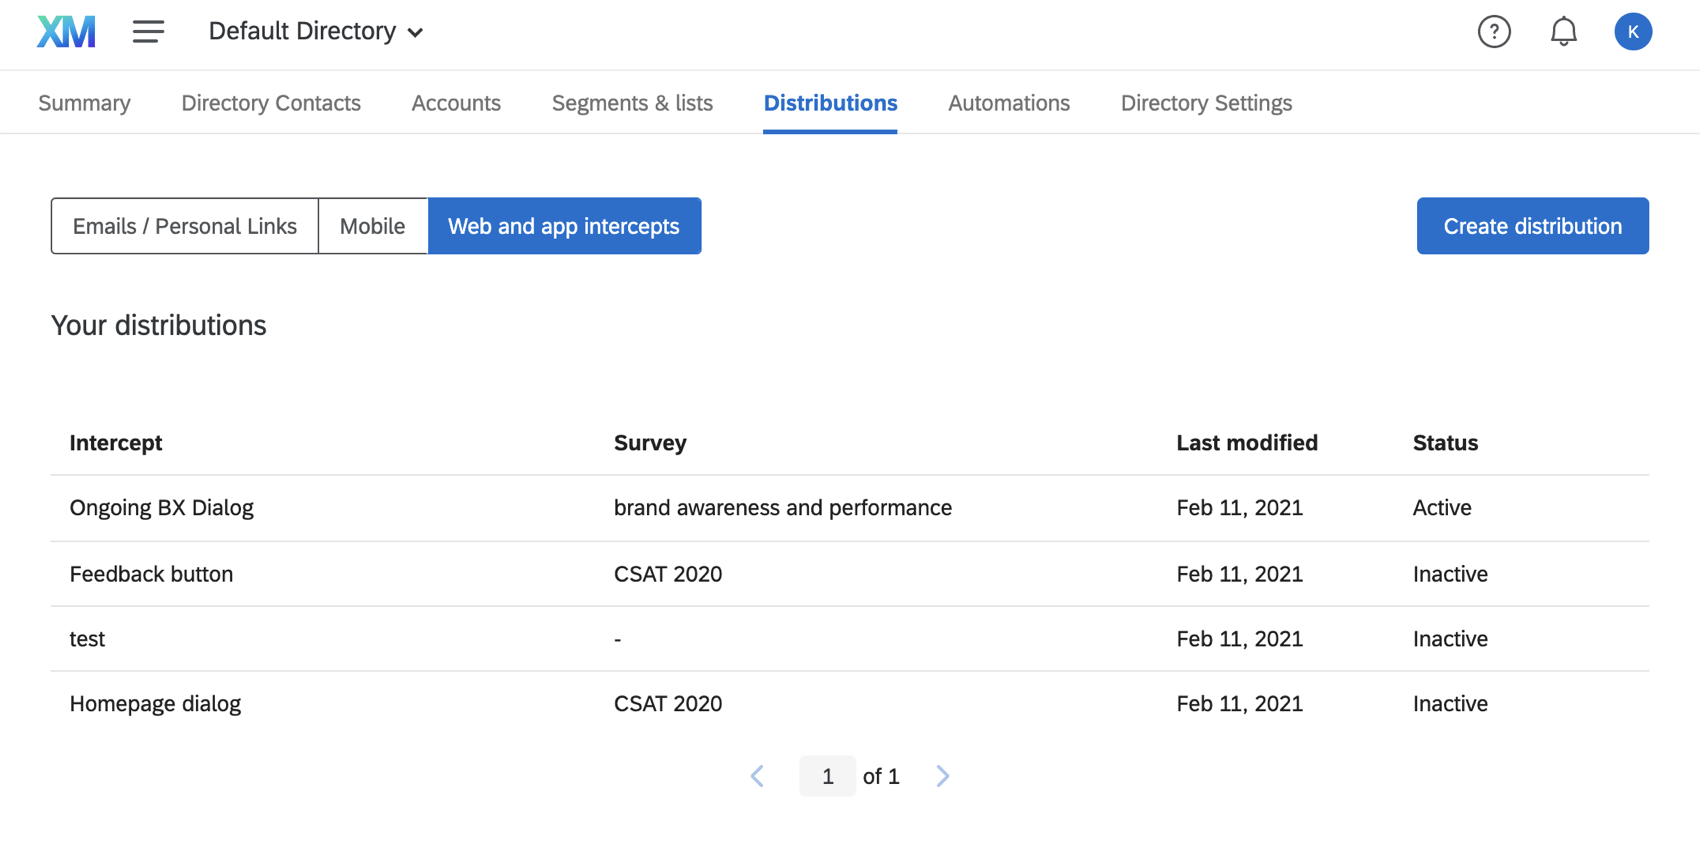
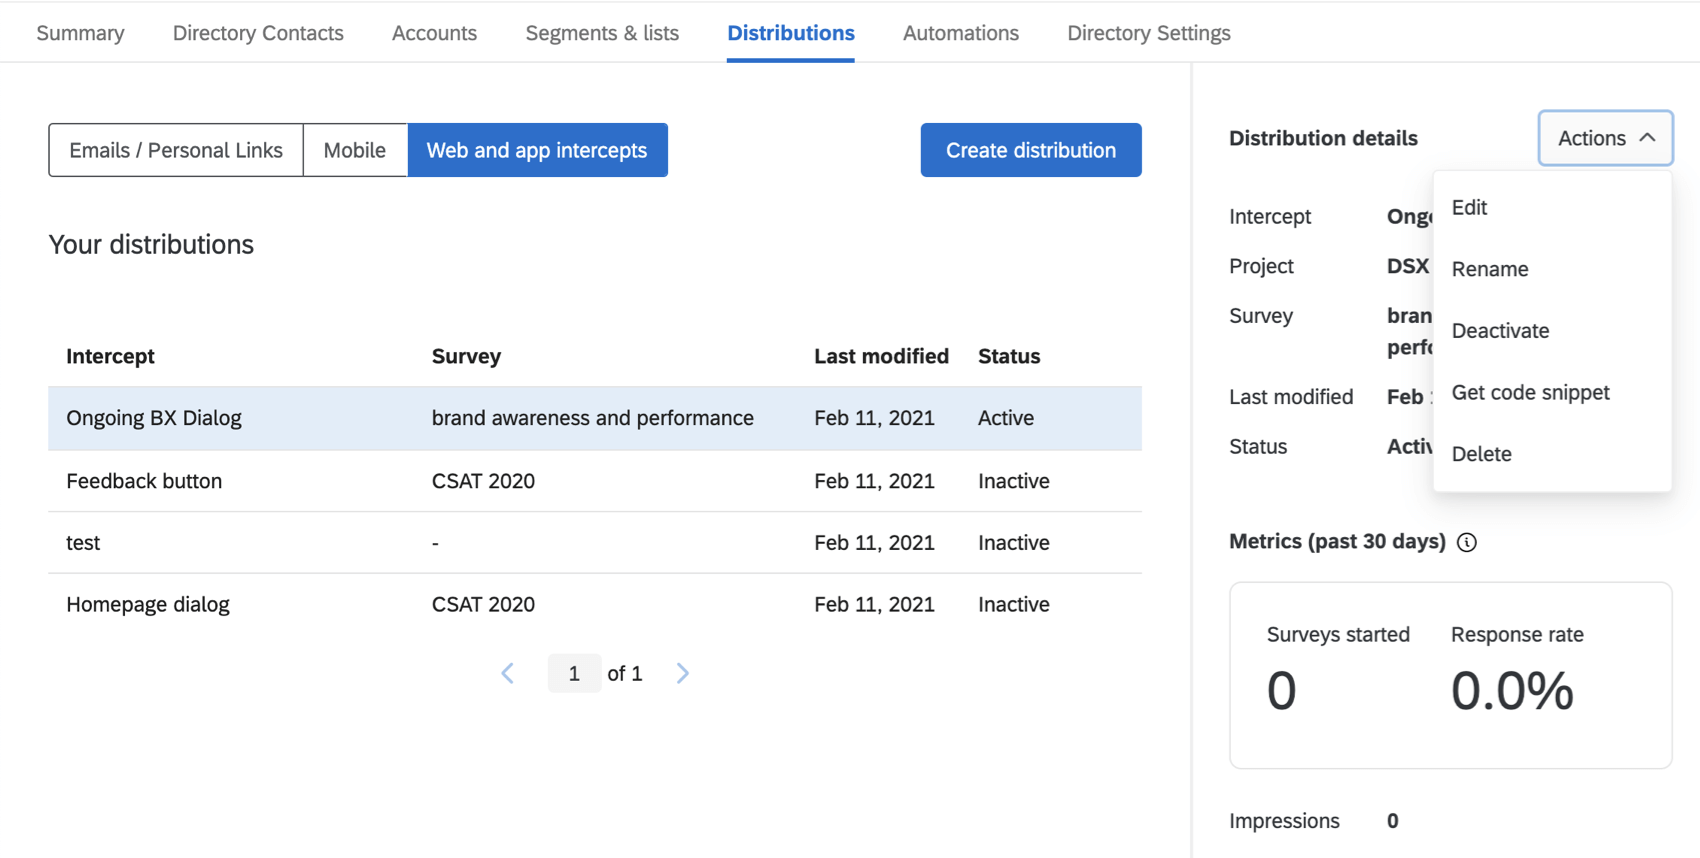
In the Distributions tab of your directory, you can go to Web and app intercepts to see all intercepts that have been connected to your directory.
Qtip: Any intercept created through guided setup will appear here, regardless of whether you made it through XM Directory or project creation, and regardless of whether it’s activated or not. What matters is whether the intercept was connected to XM Directory, as shown below:

When you select an intercept, you will see the following information:
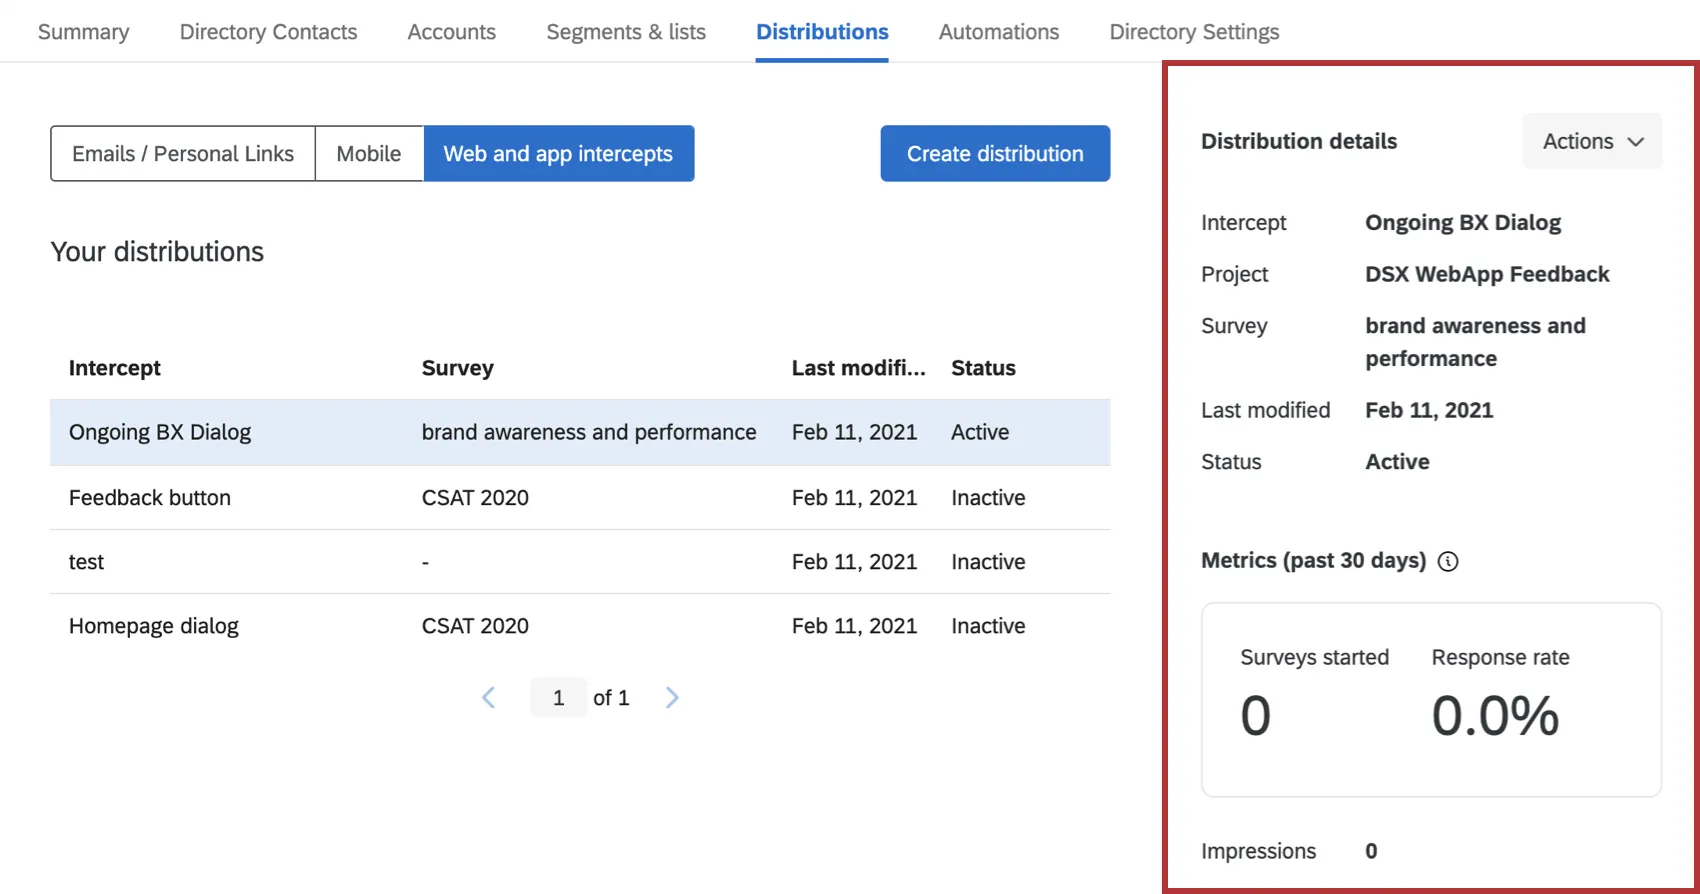
- Intercept: The name of the intercept.
- Project: The name of the Website / App Feedback project it is part of.
- Survey: The survey connected to the intercept.
- Last Modified: The date it was last modified.
- Status: The status of the intercept, i.e., whether it is activated or not.
- Surveys started: The number of surveys started in the last 30 days. Only surveys where the recipient has at least clicked on the link but hasn’t submitted the survey will be counted.
- Response rate: The number of surveys started in the last 30 days divided by the number of impressions in the last 30 days, represented as a percentage.
- Impressions: The number of impressions the intercept has gotten.
Qtip: Click the “i” tooltip next to the Metrics title in the user interface to learn more about how the metrics are calculated.
Actions
Once you’ve selected an intercept, you can perform the following actions.

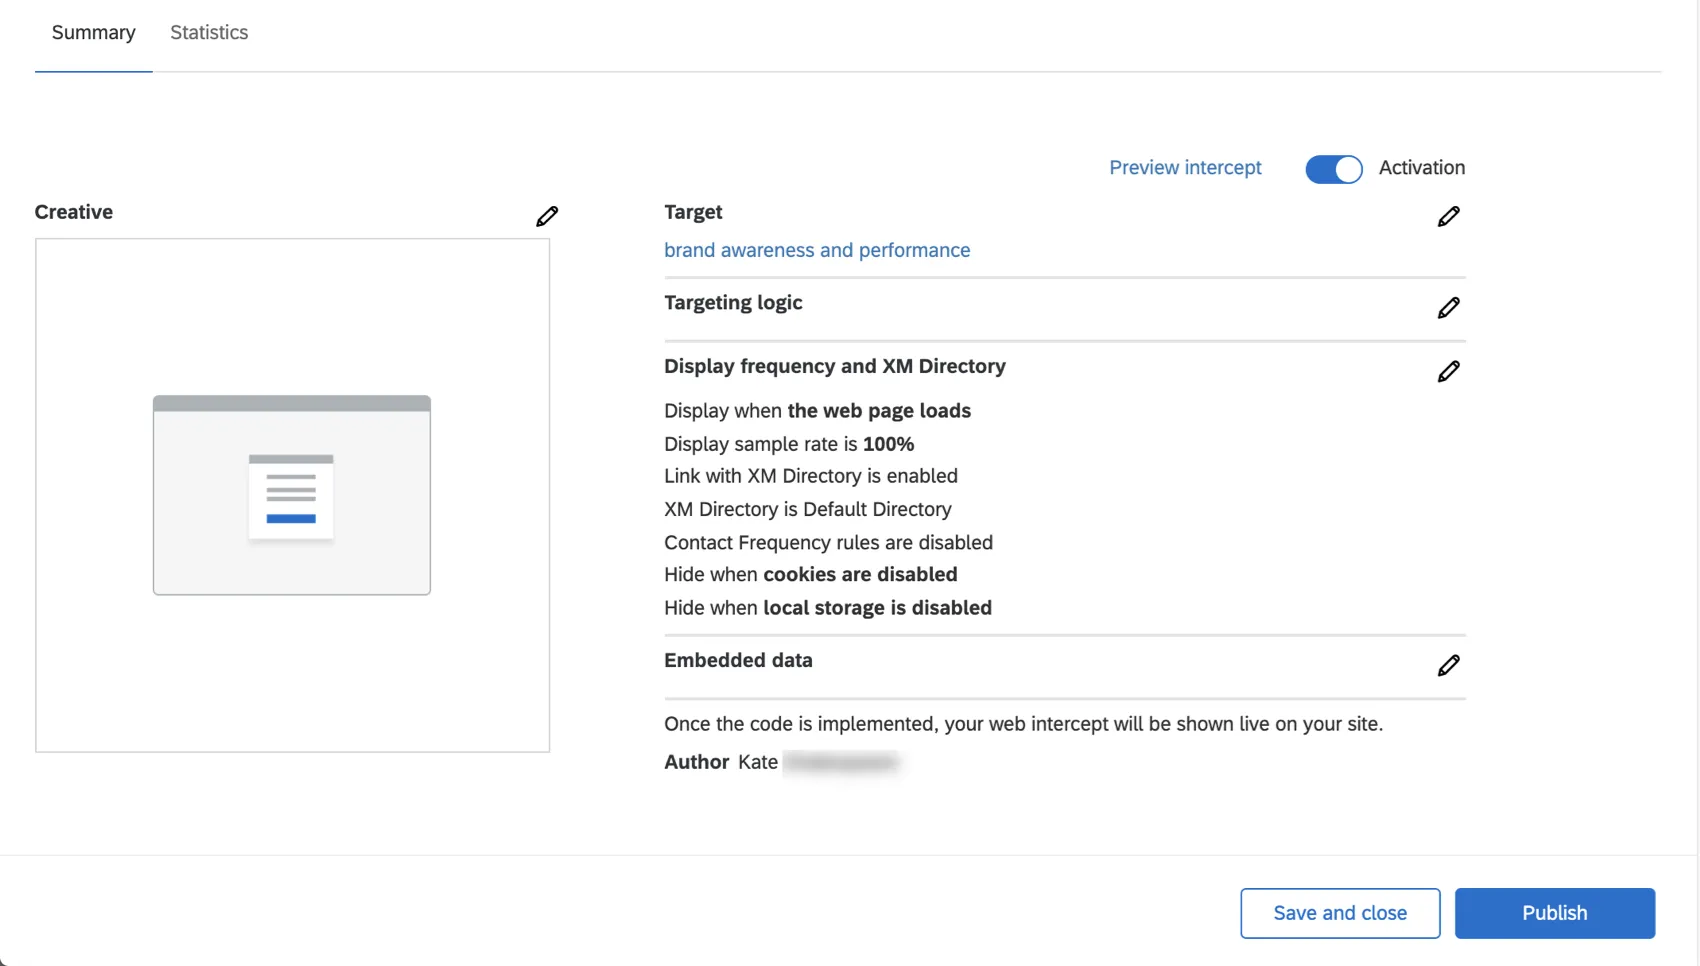
- Edit: This will take you to the page shown in the screenshot below, where you’ll be able to edit any details of the intercept you’d like to. “Preview intercept” in the upper-right will take you back to the options for testing your intercept. The Statistics tab will show you intercept statistics. To deactivate the intercept, use the Activation toggle in the upper-right; this will keep your saved changes, but ensure they’re not active on your website.
- Rename: Rename the intercept.
- Deactivate: Deactivate the intercept so it’s no longer displayed on any website where the project’s code snippet has been implemented.
- Get code snippet: Get the code snippet for the intercept, so your web development team can implement it on your website.
- Delete: Delete the intercept. You will not be able to undo this action.

Getting to Know Website / App Feedback
To fully understand the value of Website / App Feedback projects, the material listed below can help you get started.
Website Feedback
- Getting Started with Website Feedback
- Step 1: Preparing Your Targeted Survey
- Step 2: Creating a Website Feedback Project
- Step 3: Building Your Creative
- Step 4: Setting Up Your Intercept
- Step 5: Testing & Activating Your Website Feedback Project
App Feedback
Website Feedback & XM Directory
That's great! Thank you for your feedback!
Thank you for your feedback!