
Importing Data as a CX Dashboard Source
What's on this page
About Importing Data as a CX Dashboard Source
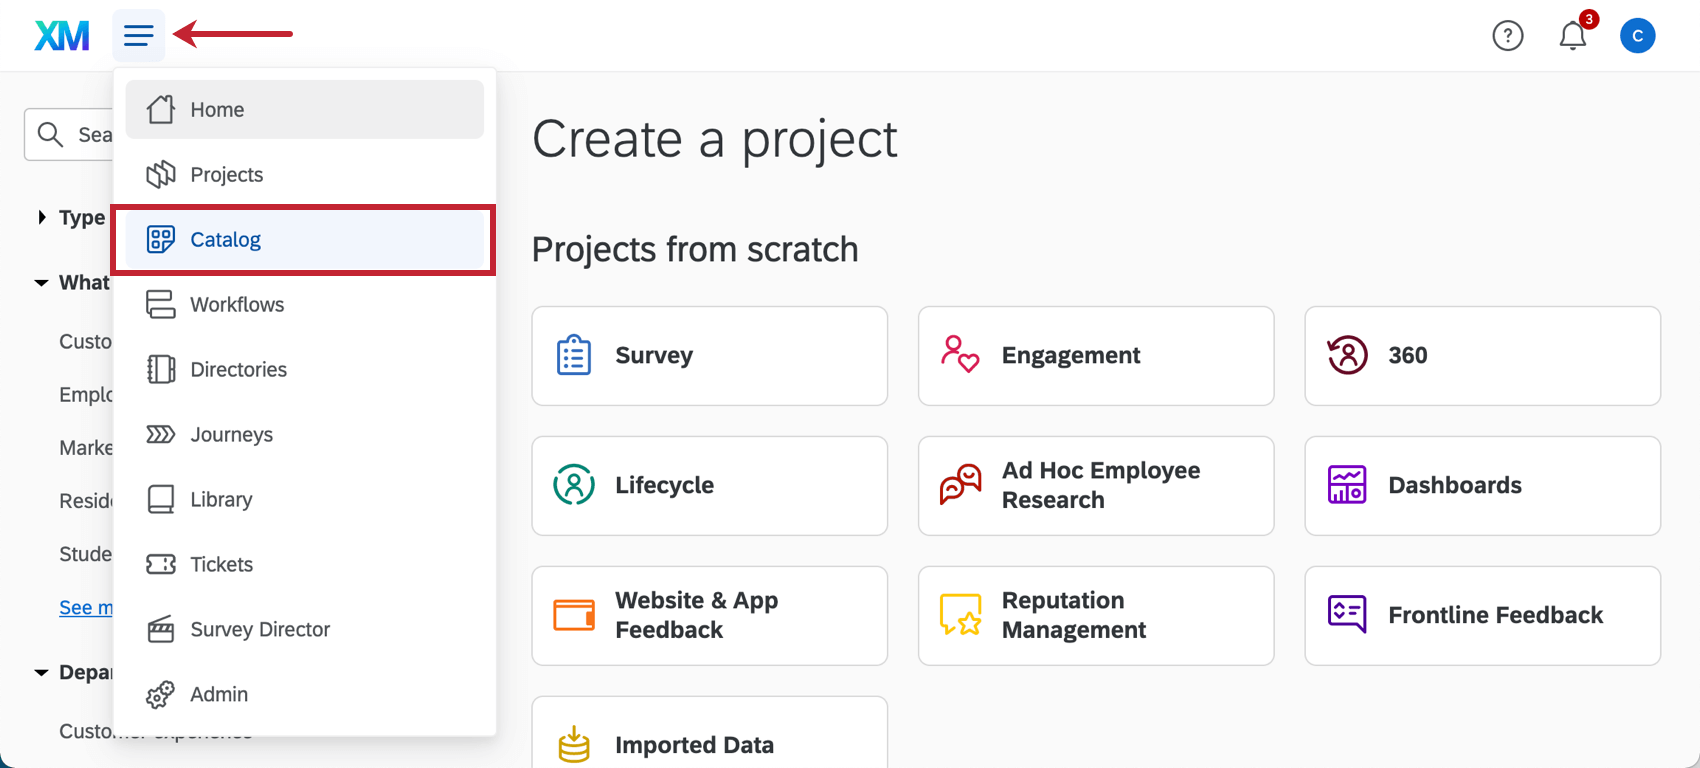
Sometimes, you may want to create dashboards for datasets you built in Excel, or pull data from another software for reporting in Qualtrics. You can do this using an imported data project.
There are several benefits to using an imported data project as a source for your dashboard:
- You don’t have to recreate a survey before you upload data into Qualtrics. Qtip: In fact, imported data projects are great for helping visualize operational data from outside Qualtrics in your dashboards.

- Once you have an imported data project created, you can use it as a source in any of your dashboards.
- Lots of files types are supported, including .xlsx, .csv, .tsv, .sav (SPSS), and .xls.
- Unlike dashboards backed by a CSV file, the data can be periodically updated.
Uploading Data to a Dashboard
Qtip: Be thoughtful about the data you add to your dashboard. If there are sensitive fields you don’t want shown to users, consider excluding them completely from the dashboard data or adding them to a separate dashboard with limited access.
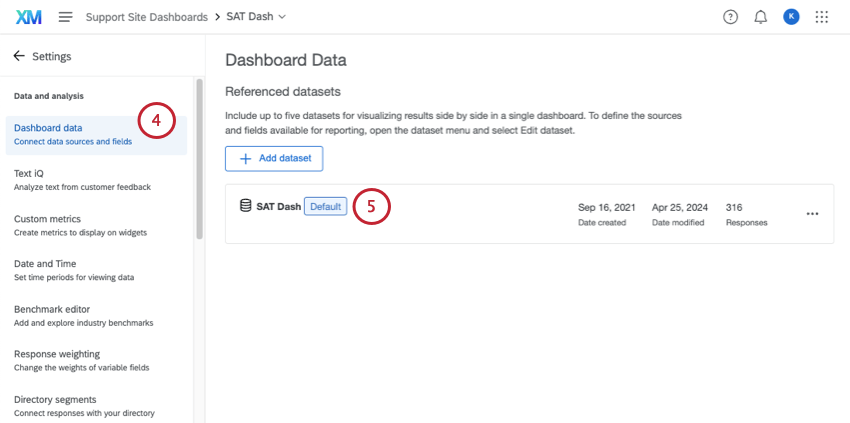
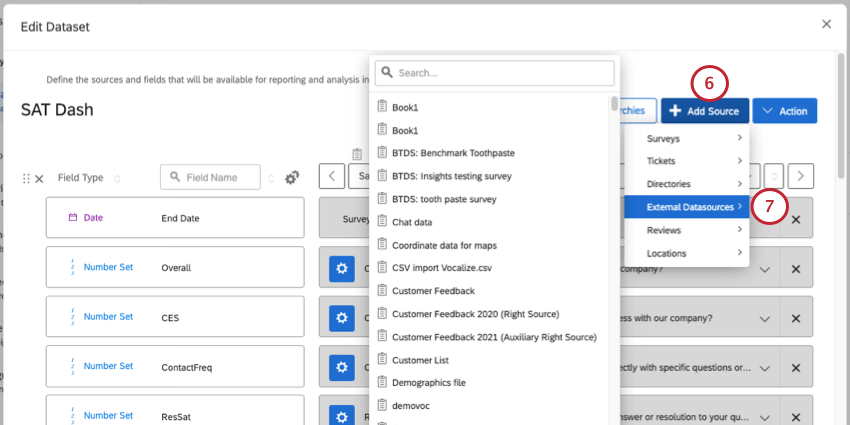
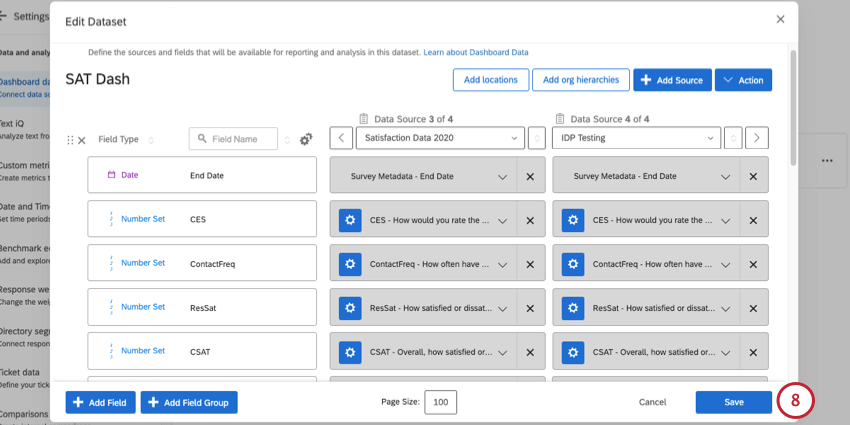
Once the imported data project is added as a source, the field types can be adjusted and its data can be added to widgets just like any other data source in your dashboard.
Converting Dashboard CSV Sources to Imported Data Project Sources
The ability to directly upload CSV files inside the Dashboard Settings will be removed on May 3, 2023. This feature is not currently available in new Qualtrics data centers launched after March 30, 2022. If you used to have a CSV uploaded to your dashboard as a source, this source will not be removed. You can still edit your data mappings and field types as needed, but cannot re-import the CSV file.
After May 3, 2023, you cannot update the CSV or import a new CSV source directly to the dashboard. We encourage you to use imported data projects (as described in the section above) instead. In the steps below, we’ll cover how to switch from a CSV source to an imported data project.
Warning: If you remove a legacy CSV source from your dashboard, this source will be permanently deleted. Once deleted, this data is irretrievable, so be sure to follow carefully the instructions below to ensure you do not lose access to your file.
Retrieving the Legacy CSV Data
Qtip: If you already have a copy of this data saved somewhere easily accessible, such as a drive or your computer, you can skip these instructions.
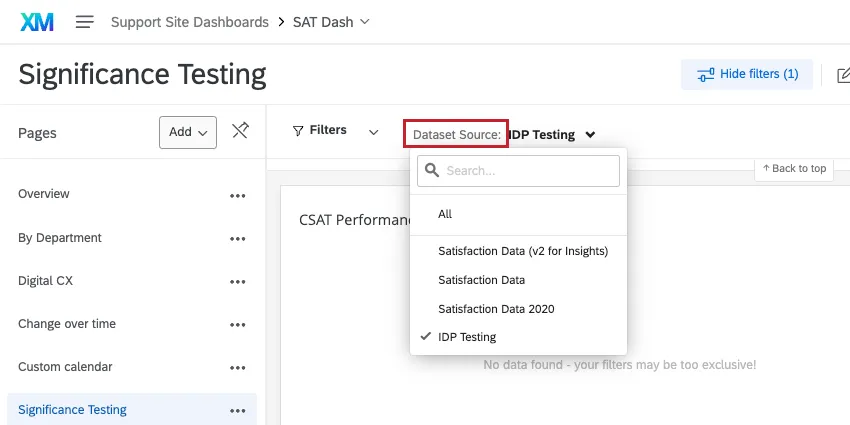
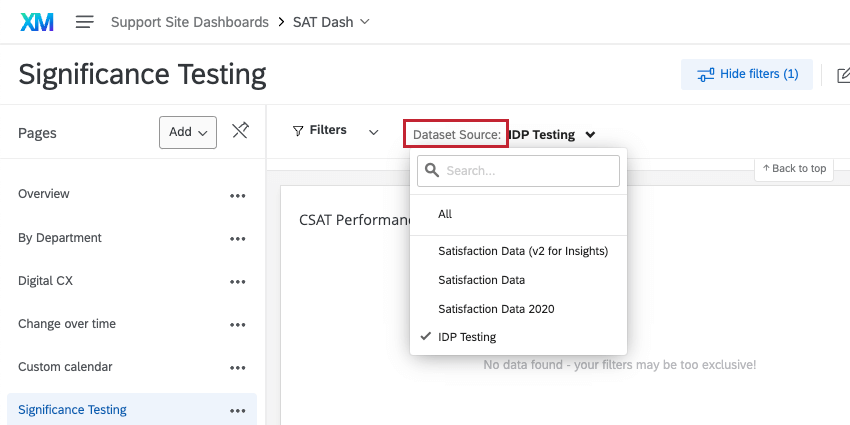
Qtip: If you have multiple sources mapped, add a filter that sets the Data Source to the CSV. Make sure no other filters are applied.
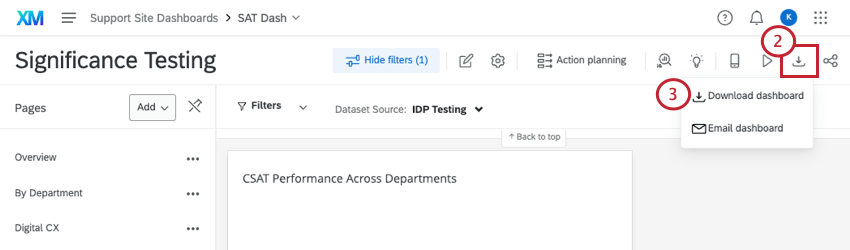
Qtip: If you don’t see this option, make sure you have Can Export Dashboard enabled as a user permission or role.
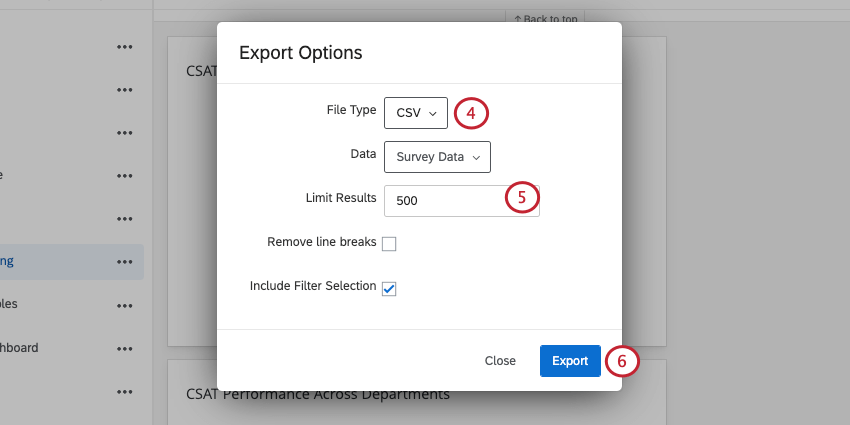
Qtip: If you needed to add a Data Source filter, make sure to select Include Filter Selection.
Uploading the CSV to a Dashboard
That's great! Thank you for your feedback!
Thank you for your feedback!