
Data Loader (Designer)
What's on this page
About Data Loader
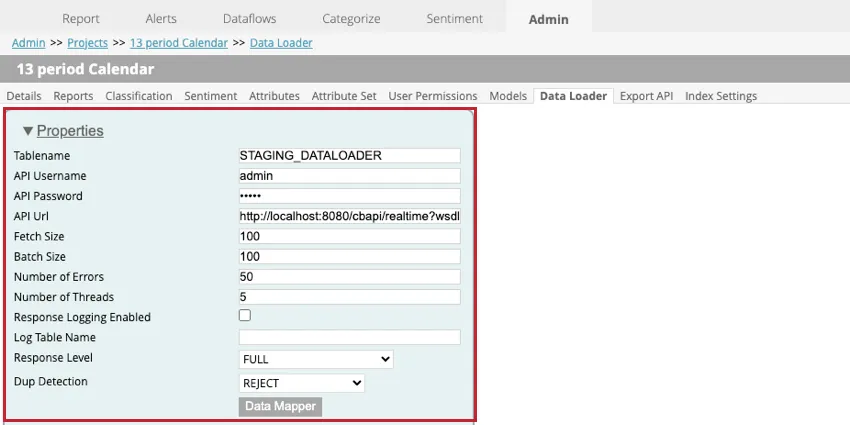
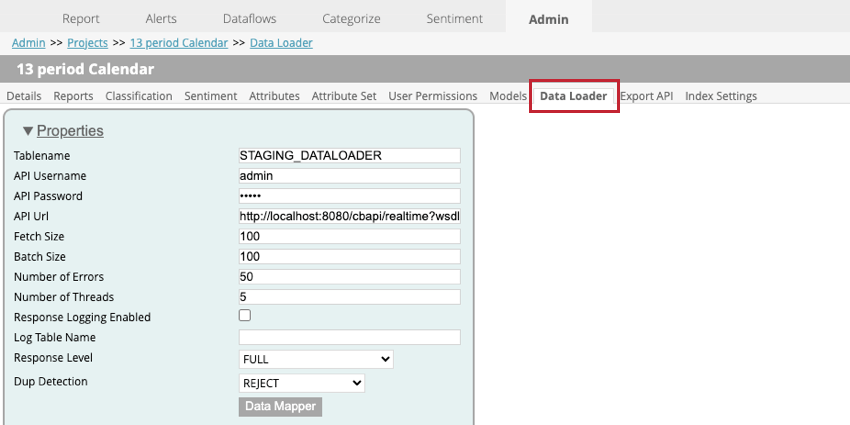
The data loader is used to import data into your projects in XM Discover via a real-time API service. To access the data loader, go to the Admin page, select your project, and then go to the Data Loader tab.
Attention: Your Qualtrics Technical Consultant will set up the data loader to import data into your project. Do not adjust your data loader’s settings without first talking to your Technical Consultant. Incorrect data loader settings may cause your data to fail to import into XM Discover.
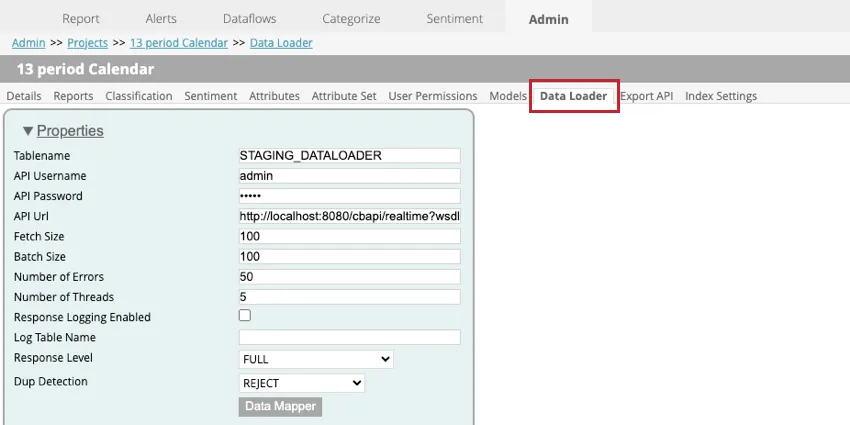
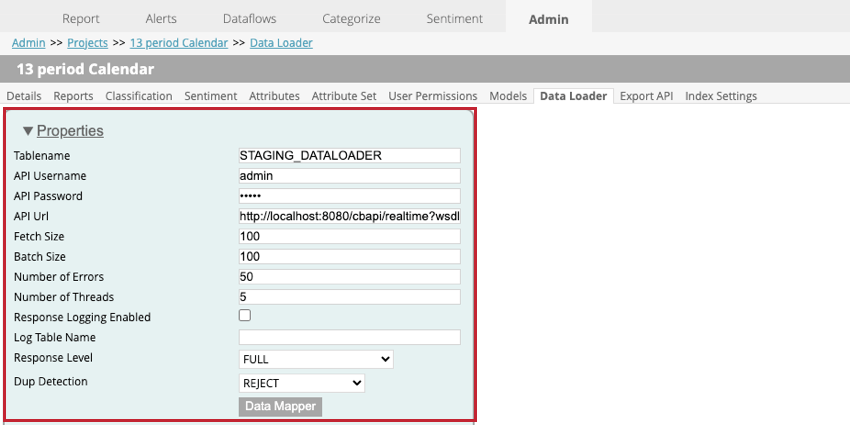
Data Loader Settings
The following settings are available when setting up the data loader within a project:
- Tablename: Enter the name of the staging table that contains the data to import to XM Discover.
- API Username: Enter the username for the API user who can run the API call.
- API Password. Enter the username for the API user.
- API Url: Enter the URL for the API service used to fetch the data.
- Fetch Size: Specify the number of rows that should be imported.
- Batch Size: Specify the number of rows that should be imported in one batch. If your batch size is larger than your fetch size, then multiple calls will be performed until all the data is imported.
- Number of Errors: If your import fails due to errors, you can specify how many times the call is retried.
- Number of Threads: Enter the maximum number of threads that should execute on a single transformer instance.
- Response Logging Enabled: When enabled, this option allows you to create a log of document processing results.
- Log Table Name: If logging your results, a new table will be created for you. Enter a name for the table in this field. Qtip: You only need to specify something for this field if Response Logging Enabled is selected.

- Response Level: This option should be set to SAVE ONLY.
- Dup Detection: Choose how duplicates are handled. Your options include:
- NONE: Duplicates are imported.
- REJECT: Duplicates are rejected.
- UPDATE ATTRIBUTES: Only structured attributes are updated for duplicates.
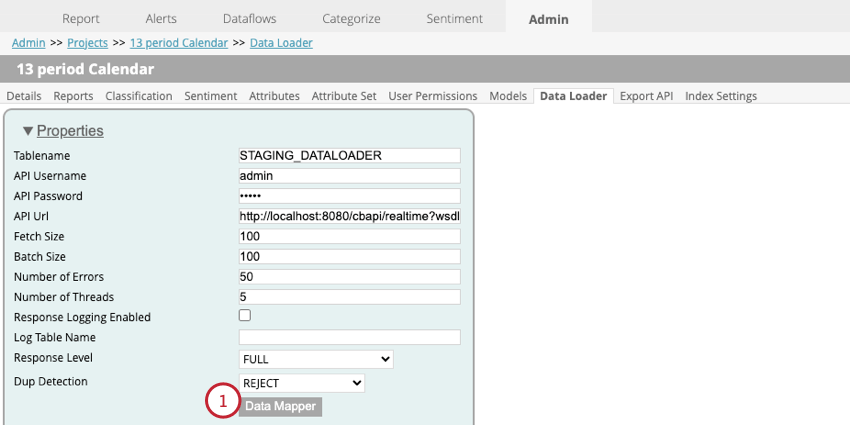
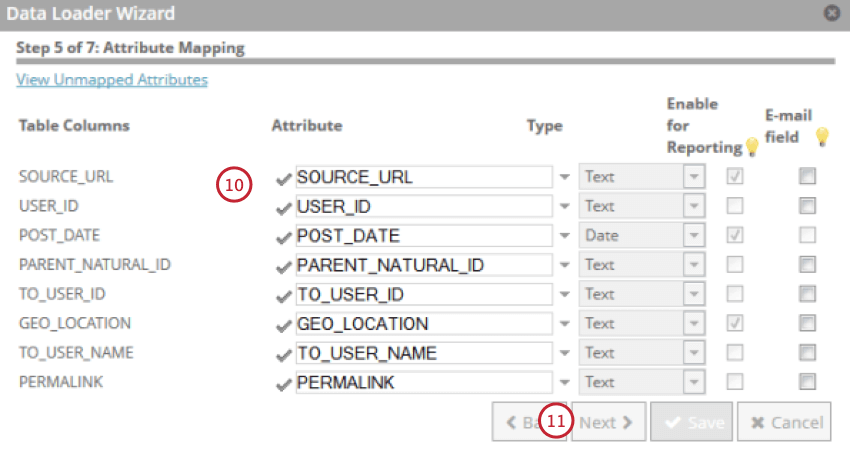
- Data Mapper: The data mapper is used to choose what fields are extracted from the staging table to be used in XM Discover. See the Data Mapper subsection below for more information.
Data Mapper
The data mapper is used to extract data from your staging table to use in XM Discover. The data mapper will only include fields that are in your staging table.
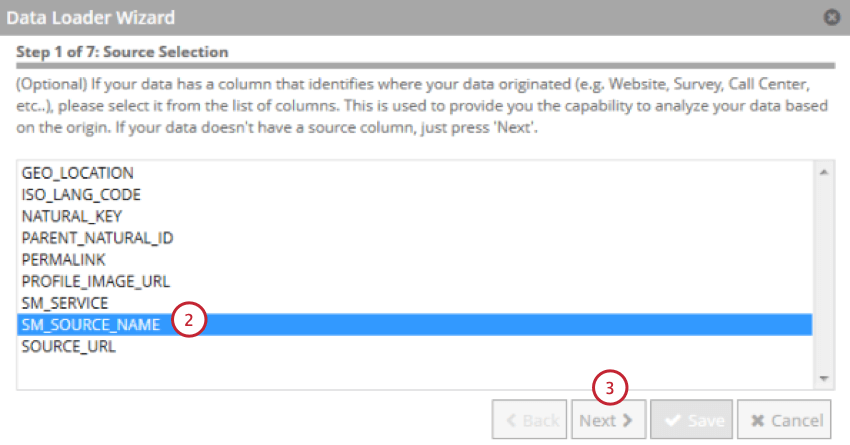
Qtip: Fields longer than 256 characters are excluded. Natural keys are truncated to 256 characters.
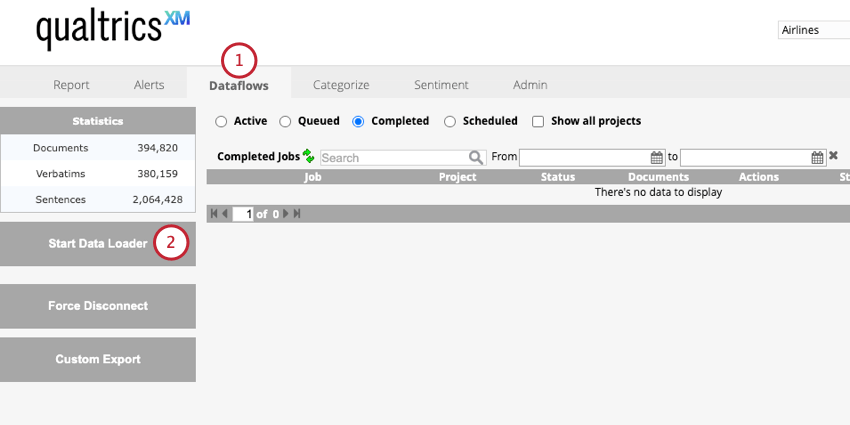
Importing Data with the Data Loader
After data has been loaded to a staging table via the data loader, you can then process that data to use in XM Discover. This section covers how to set up an automated data loading process so your data is kept up to date.
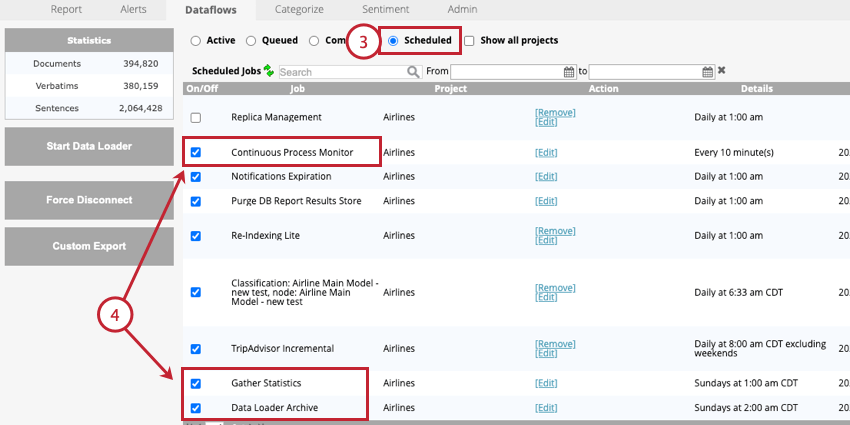
- Continuous Process Monitor: This job is required. This dataflow periodically runs the realtime downstream to finalize data processing.
- Data Loader Archive: This job is optional, but strongly recommended. This dataflow archives records that are processed by the data loader. You should update the frequency of this job to match your data loader frequency.
- Gather Statistics: This job is optional. We recommend running this job once a week. This dataflow refreshes the following project statistics:
- The total number of documents, verbatims, and sentences displayed in the Dataflows tab.
- The total number of word occurrences displayed in the Sentiment tab.
Data Loader Options
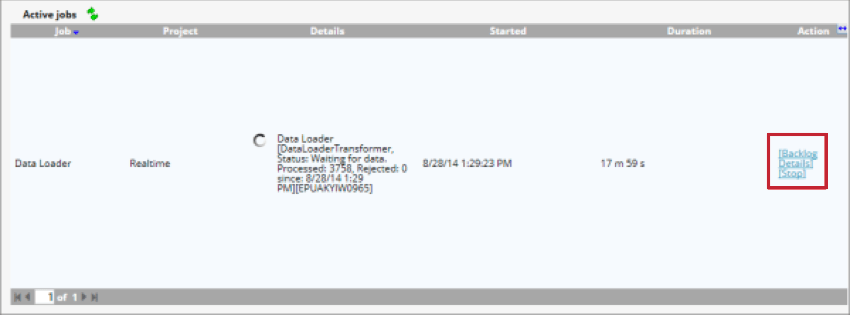
Once the data loader has started, you can manage the job with the following options:
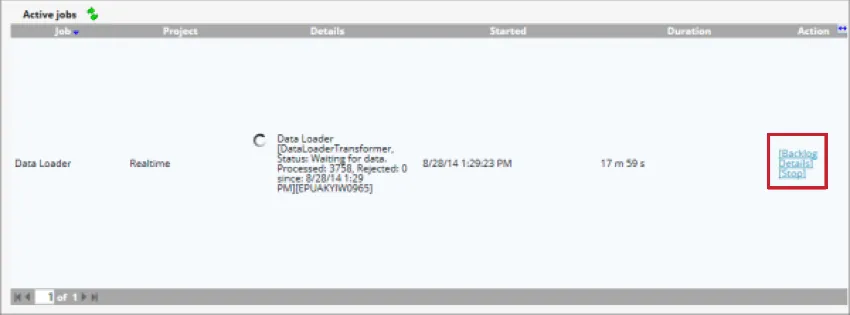
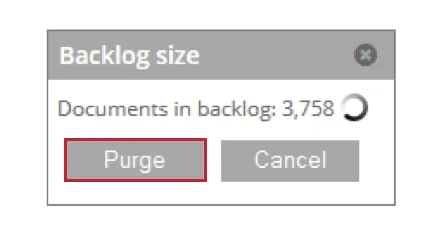
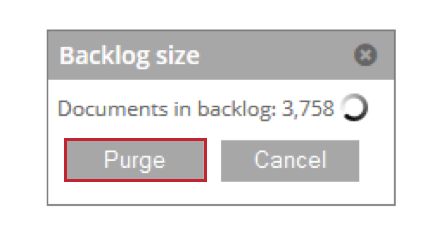
- Backlog: Shows the number of documents that are waiting to be processed. You can click Purge to remove these documents from the staging table.
- Details: View details about documents that were skipped due to duplication settings.
- Stop: Stop processing data with the data loader.
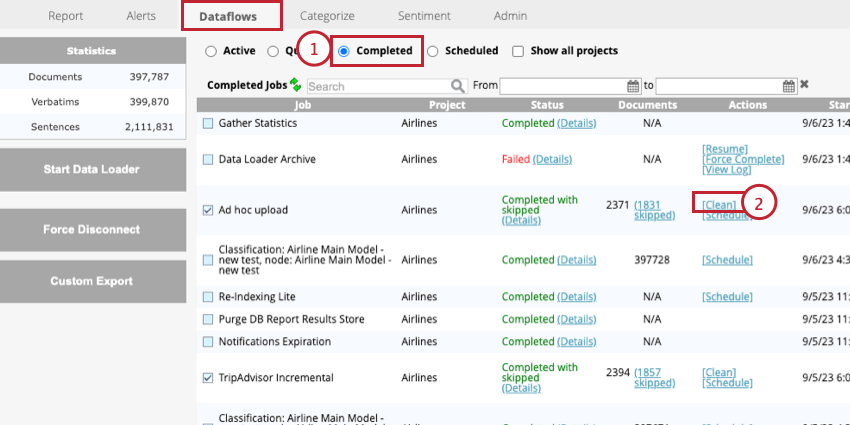
Deleting Project Data
You can delete the data in your project. This includes verbatims and structured attribute values. When deleting project data, you can delete all data uploaded during a particular session, or delete all data in the project.
Qtip: Deleting data is also called cleaning data.

This will delete all data added during your selected upload.
That's great! Thank you for your feedback!
Thank you for your feedback!