
Load Responses to Survey Task
Suite
Customer Experience
Strategy & Research
Product
Qualtrics
What's on this page
About the Load Responses to Survey Task
The Load Responses to Survey task allows you to load data from other data sources into a Qualtrics survey. To use this task, you must first load data into Qualtrics using a data extractor task.
Qtip: For information on general limits that apply to ETL workflows, see Workflow Limits. For any task-specific limits, refer to the information on this page.
Creating a Load Responses to Survey Task
To use this feature, you’ll first create a new scheduled workflow with a data extractor task. Then you’ll add the Load Responses to Survey task and configure it. Finally, you’ll complete your workflow by mapping each field in your data source.
Select Data source (ETL extractor). In this step, you’ll extract data that you can load to another destination. See using Building ETL Workflows for more information.

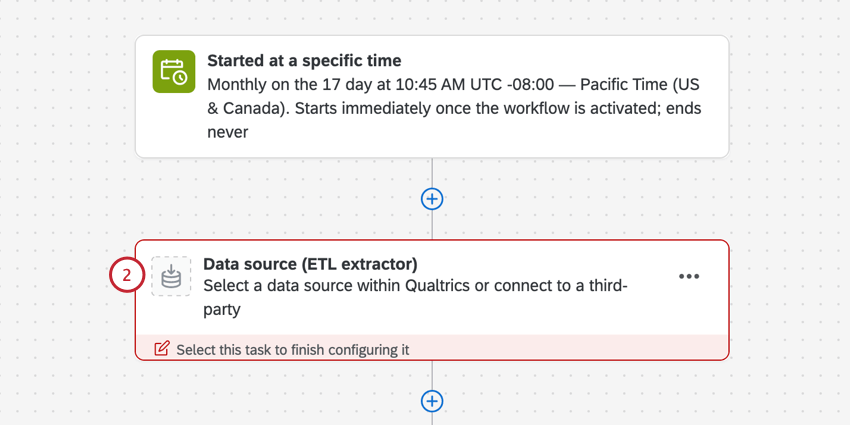
Attention: You must set up an extractor task that produces a CSV or TSV file to use the Load responses to survey task.
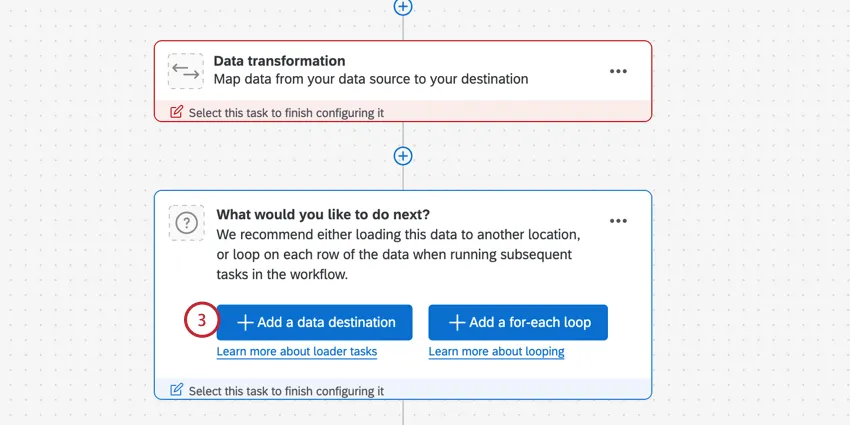
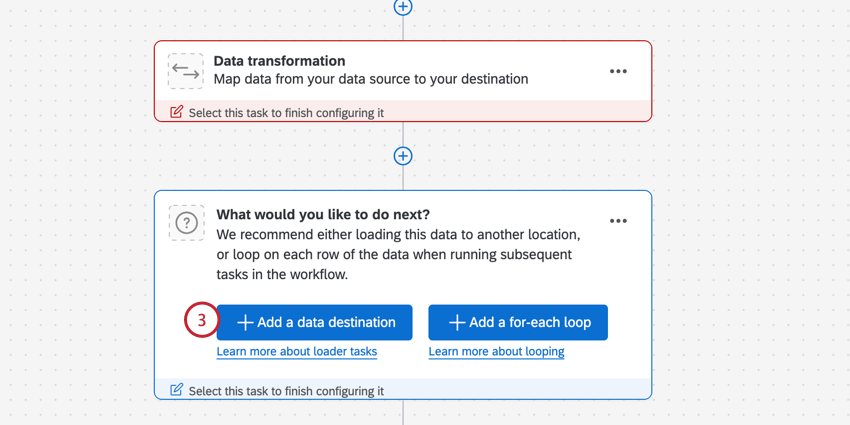
Click Add a data destination.
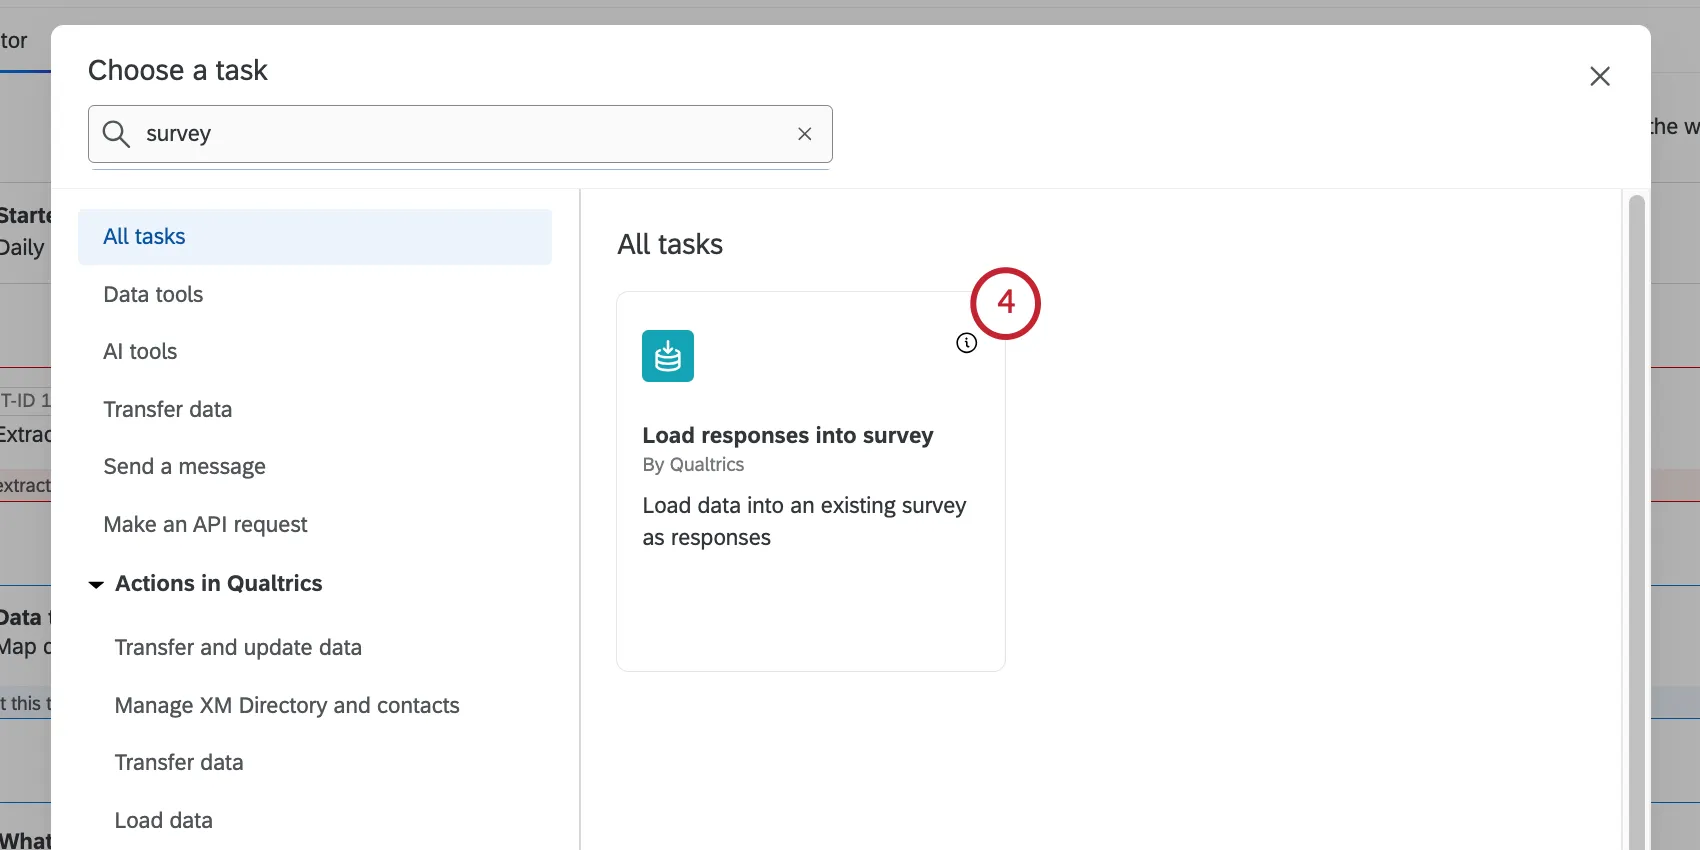
Select the Load responses into survey task.

Click the dropdown to choose a data source to import to the survey. This will be the data source you configured in your extractor task.
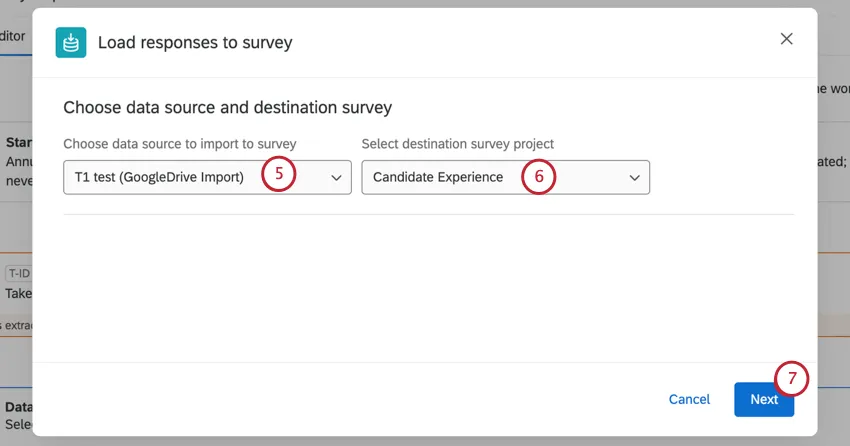
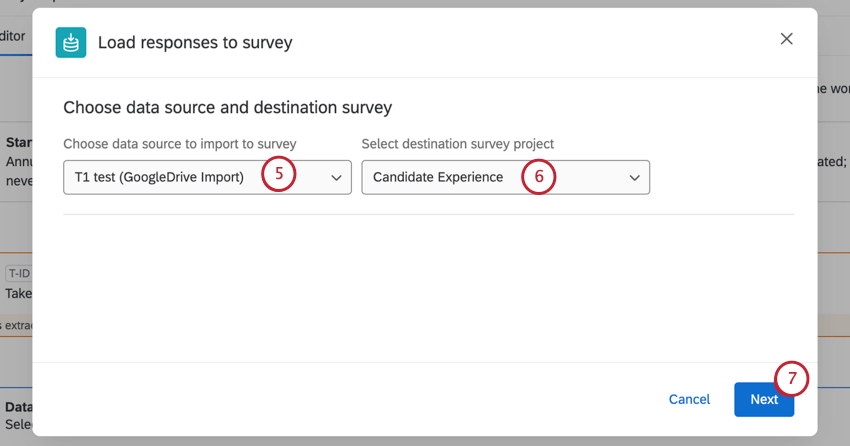
Select a destination survey project. This is the survey your data will be loaded into.
Attention: We advise using a standard survey project as your destination. We do not recommend using other project types, such as Employee Experience projects. If you’d like to load data to an imported data project, see the Load into a Data Project task.
Click Next.
Select the default time zone.

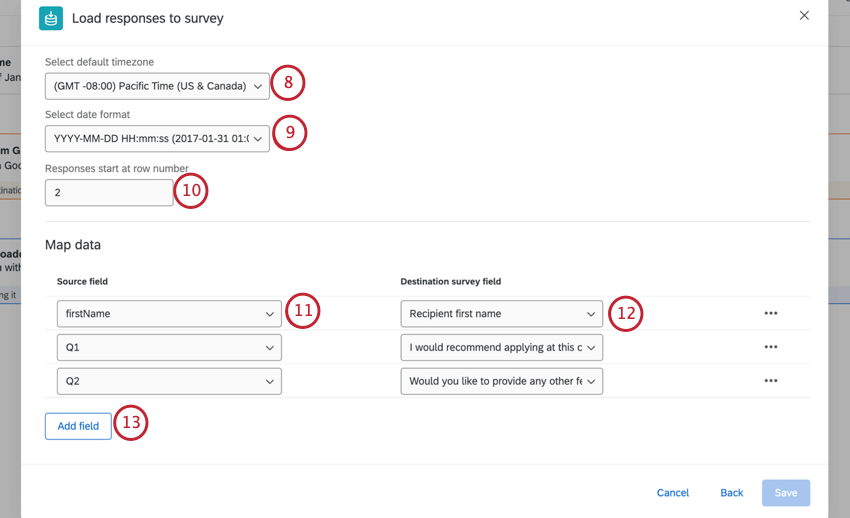
Select a date format.
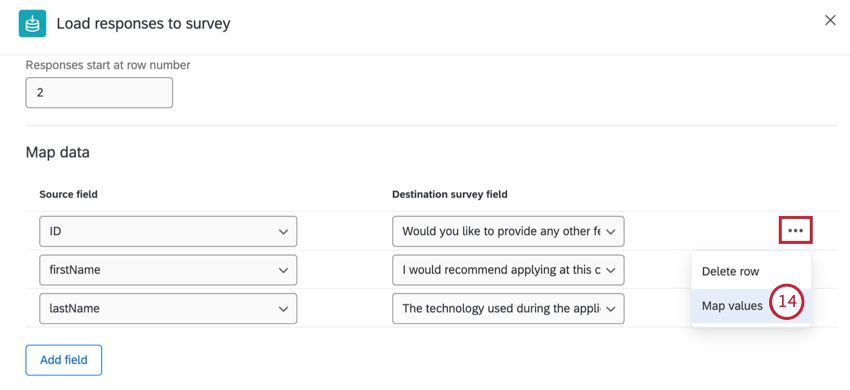
If you have header rows in your data source, enter the row your data starts at.
Example: If you are using an Extract Responses From a Survey task, your data will start at row 4.
Map your source data to your survey fields. Click the Source field dropdown to select a field from your source dataset.
Attention: The JAWS screen reader may produce incorrect text while navigating this table due to an issue with JAWS.
Click the Destination survey field dropdown to select the corresponding field in your survey dataset.
Qtip: Fields will be mapped automatically if there is a name match in your source data and destination data.
Click Add Field to add additional fields.
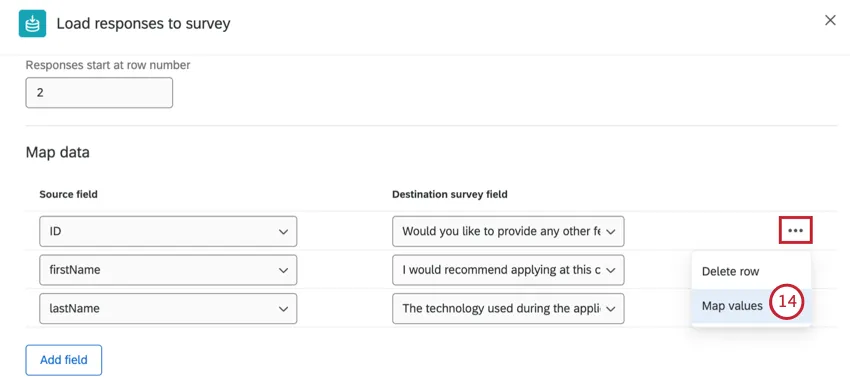
Qtip: If you want to delete a field, select the 3 horizontal dots and click Delete row.
To map values for an individual field, select the 3 horizontal dots to the right of the field and select Map values.
Enter your source field name in the left text box, and your data project field value in the right text box. The data project field value is the value that will be present in your destination survey data.

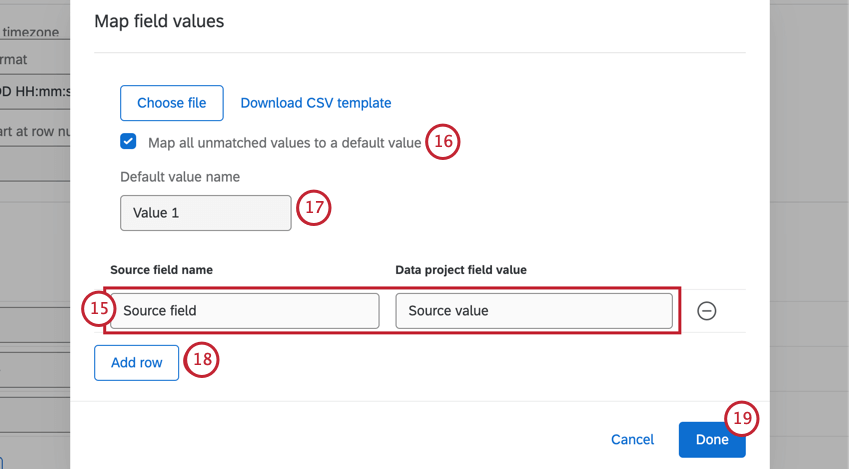
Qtip: You can also upload field mappings. For more details, see Mapping Field Values.
Check Map all unmatched values to a default value if you want any unmapped values to be mapped to the same default value.
If you selected Map all unmatched values to a default value, type a name for your default value in the text box.
Select Add Row to map additional values.
When your values are mapped, click Done.
Once all your values are mapped for each field, click Save.
Qtip: All required fields must have a source field mapped to them before you can click Save.
Make sure your workflow is toggled On.
That's great! Thank you for your feedback!
Thank you for your feedback!