
Text Block Widget (Studio)
What's on this page
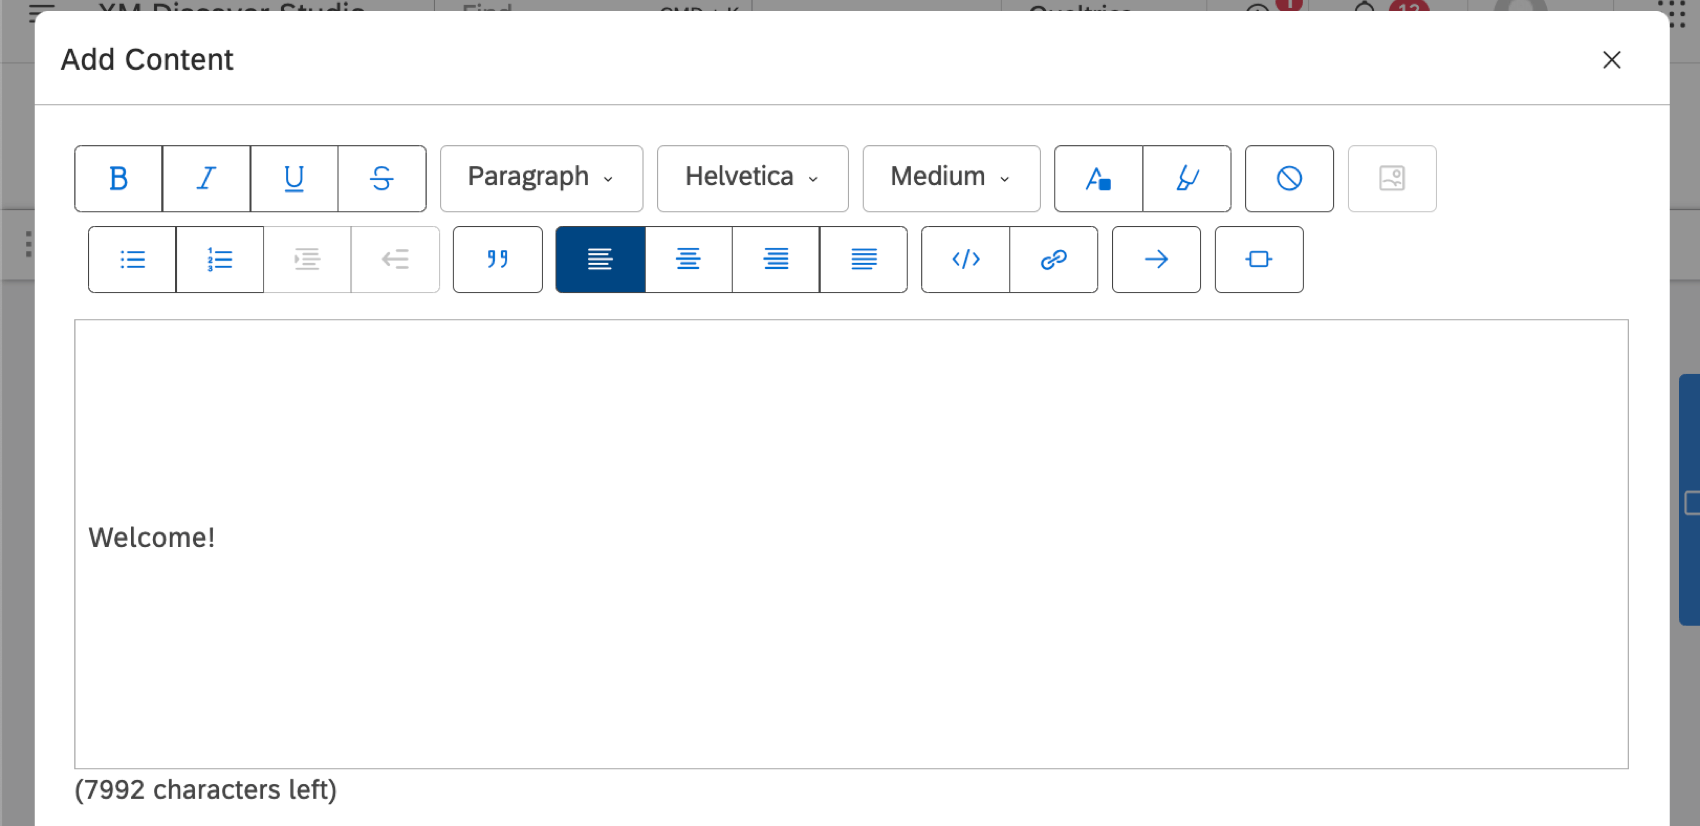
About Text Block Widgets
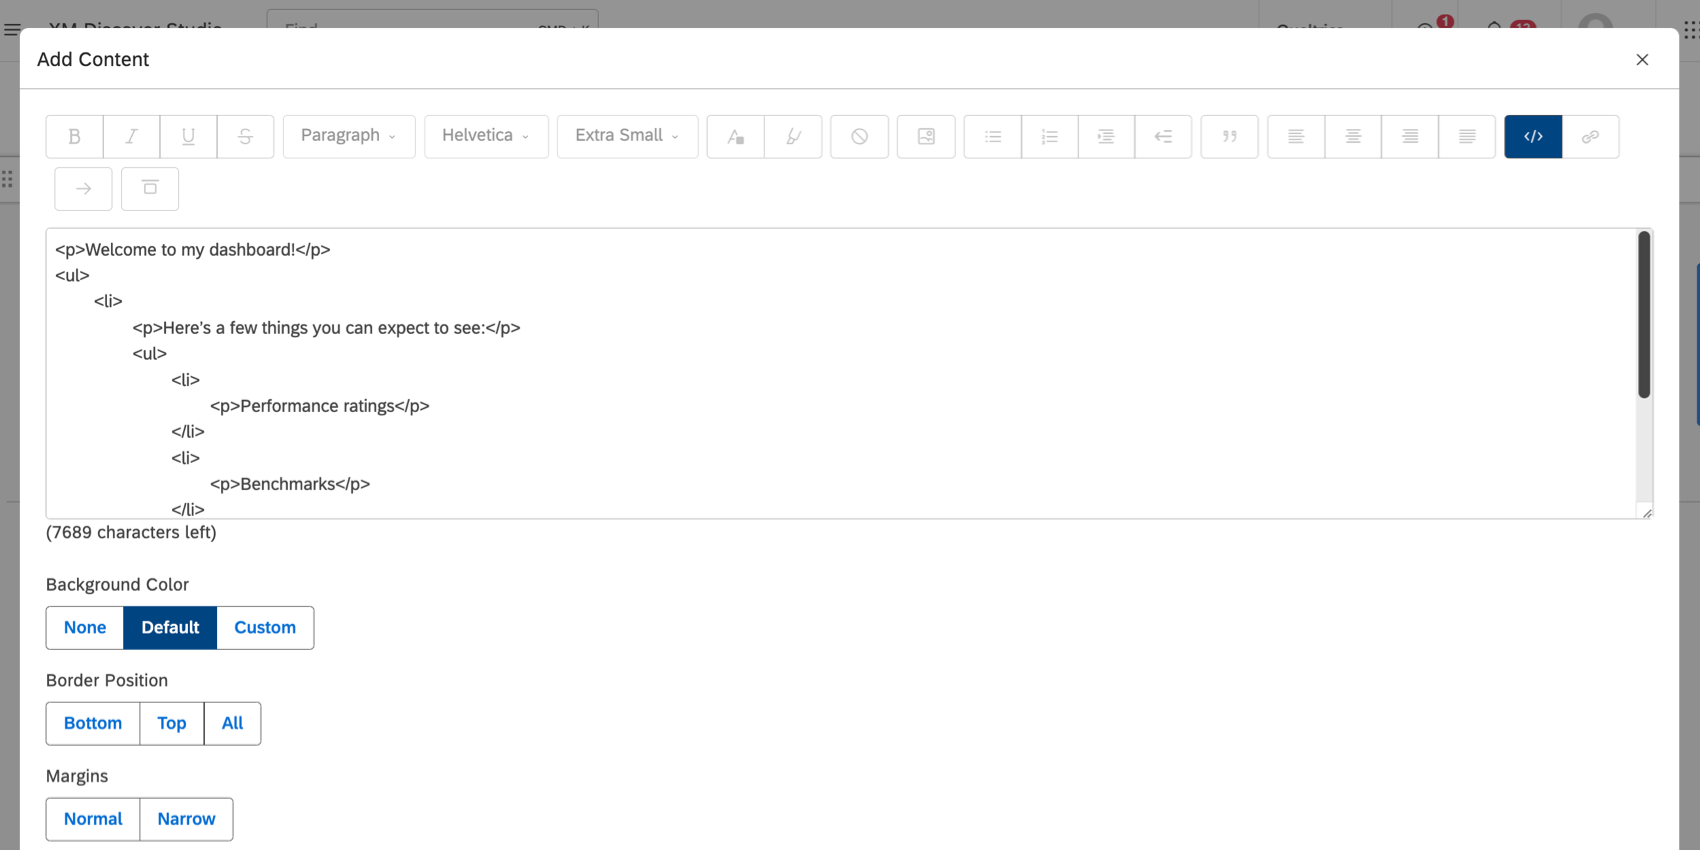
You can add text to your dashboard using text block widgets. Text blocks can be useful for introductions, explanations of analyses, titles, and more.
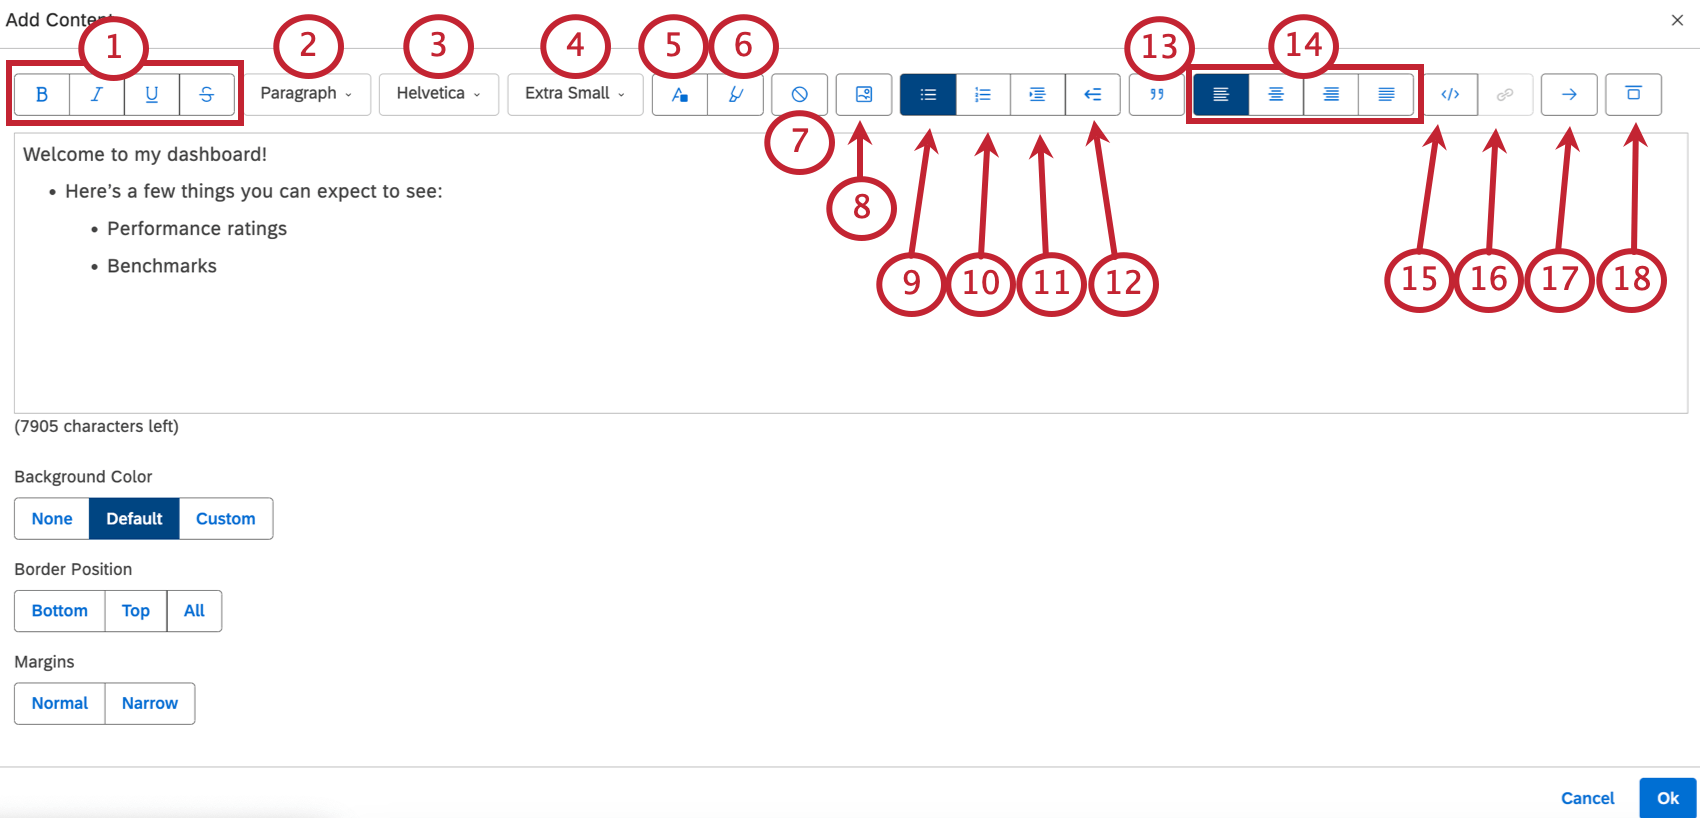
Text Editing Options

Qtip: Create smaller line breaks by pressing Shift + Enter instead of Enter.
- Heading 2-6: Headers that decrease in size, with 2 being the biggest, and 6 being the smallest. Qtip: Heading 1 is reserved for the dashboard title, so dashboard widgets begin with Heading 2 or lower.

- Preformatted Text: Insert code snippets or similar content.

- Paragraph: Make a regular paragraph.

Qtip: The limits of images in the text block are similar to those for the image widget.

Qtip: In HTML mode, each heading element is separated with a line break for improved readability.
Qtip: Qualtrics Support does not offer assistance or consultation on custom coding. If you’d like to know more about our custom coding services, please contact your Discover account team. If you don’t have your representative’s contact information, you can contact the Discover Support Team instead.
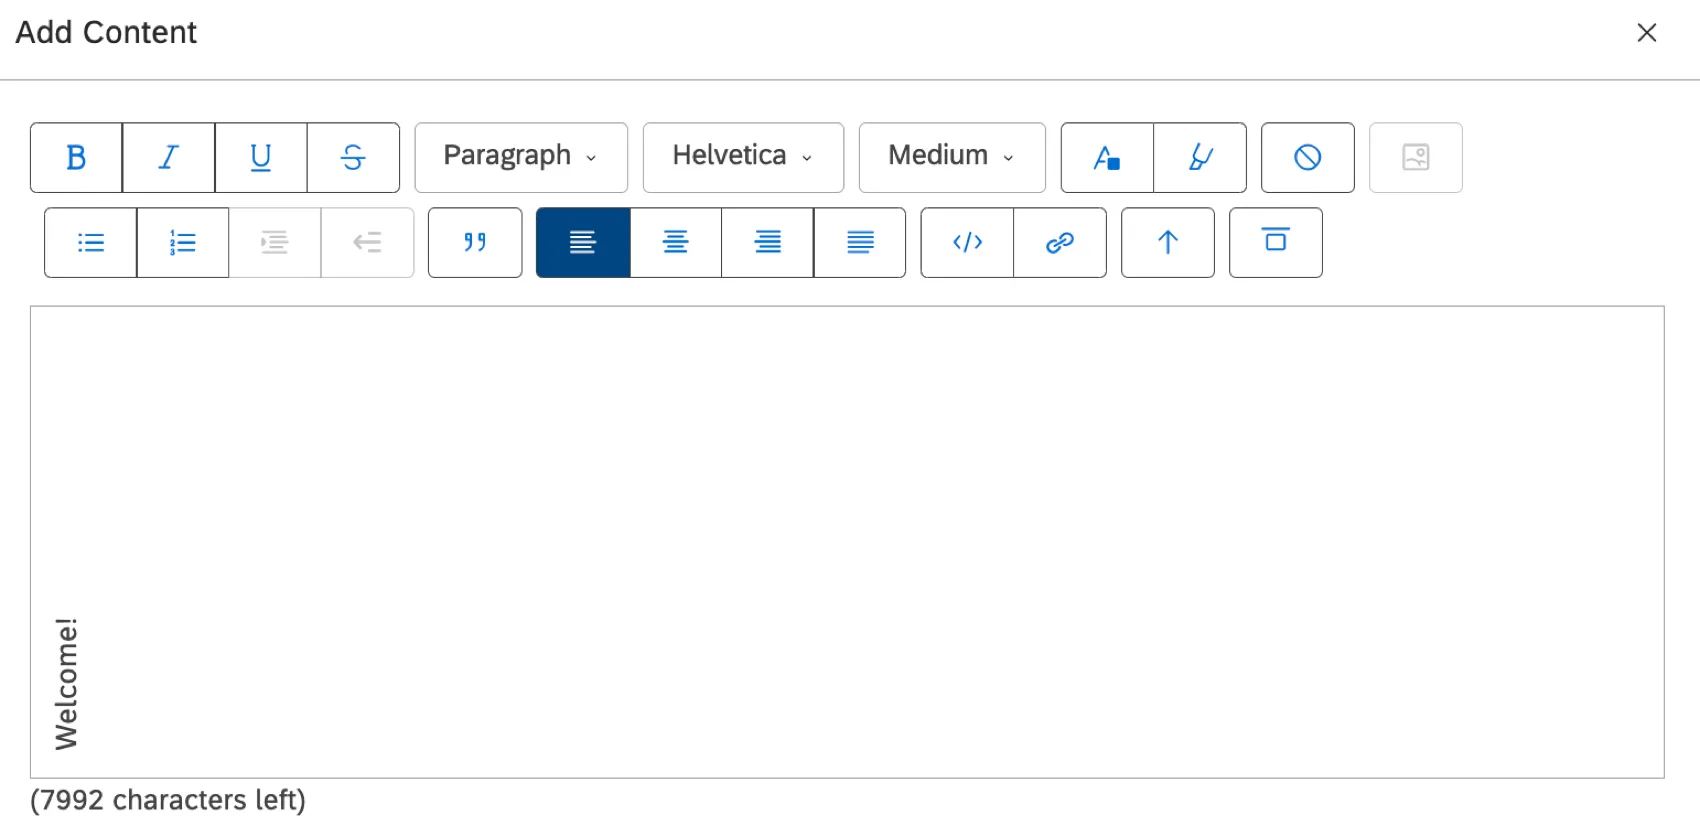
- None: Text will be written left to right, as normal.
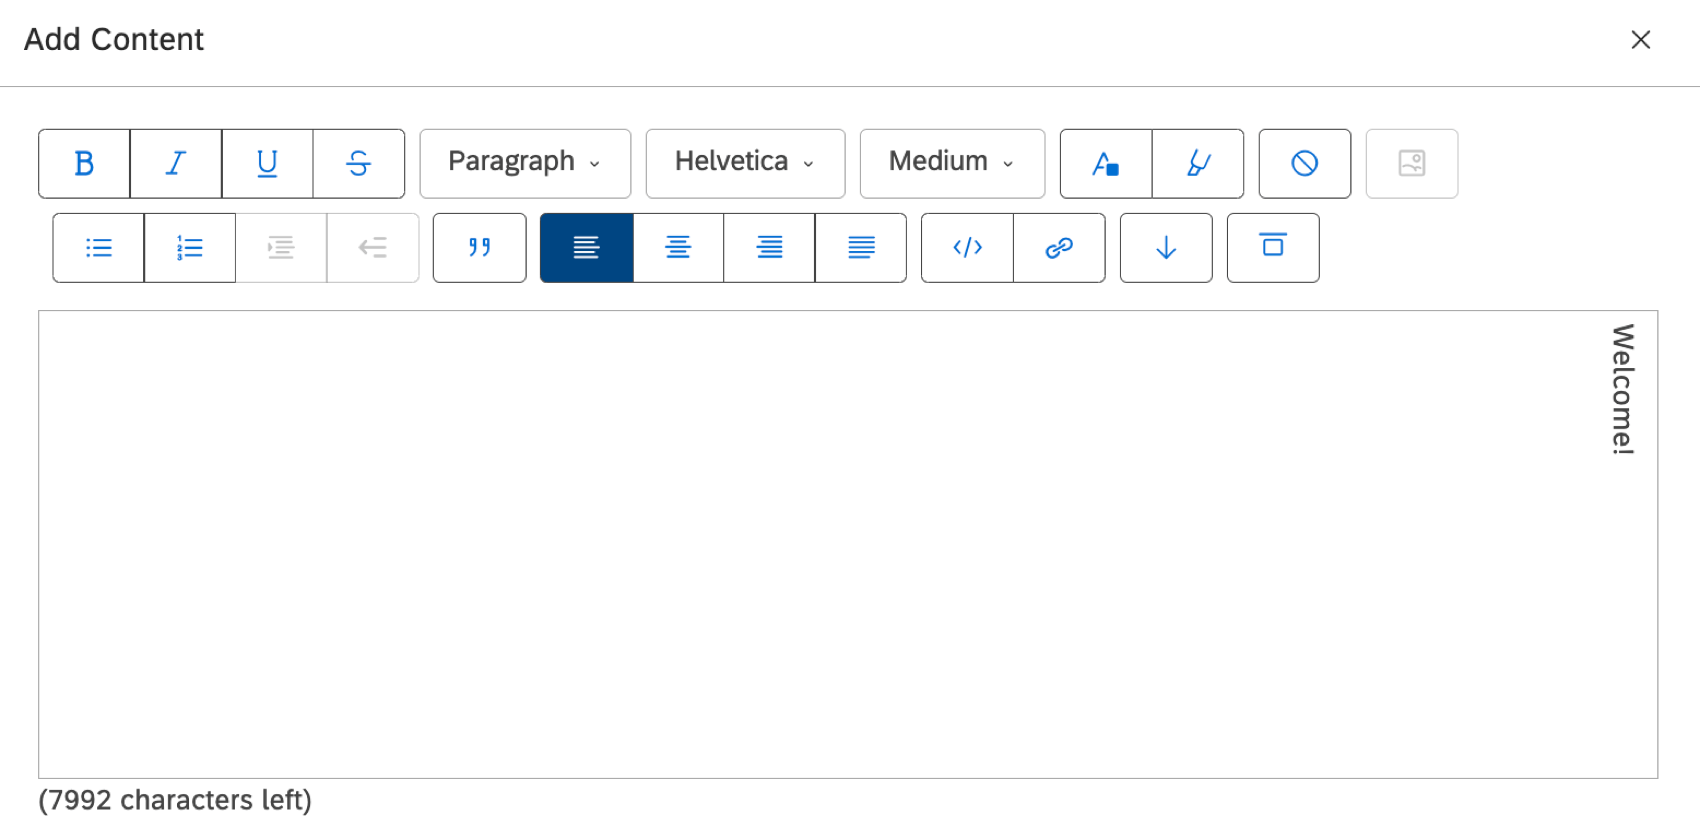
- Rotate Down: Text will be written vertically, starting at the top, and ending at the bottom.

- Rotate Up: Text will be written vertically, starting at the bottom, and ending at the top.

- Align Top (default)
- Align Middle

- Align Bottom


Organization Hierarchy
For personalized dashboards, you can insert placeholders for an organization hierarchy’s enrichment parameters by selecting them from the Hierarchy Enrichments dropdown.
You can also type the name of a parameter inside curly brackets. For example, if you have an enrichment parameter called Target Sentiment, insert it like this:
{Target Sentiment}
Background Color

- None: Make the background transparent. This means it will match the dashboard background color.
- Default: Use the standard white widget background.
- Custom: Enter a hex code of any color you want.
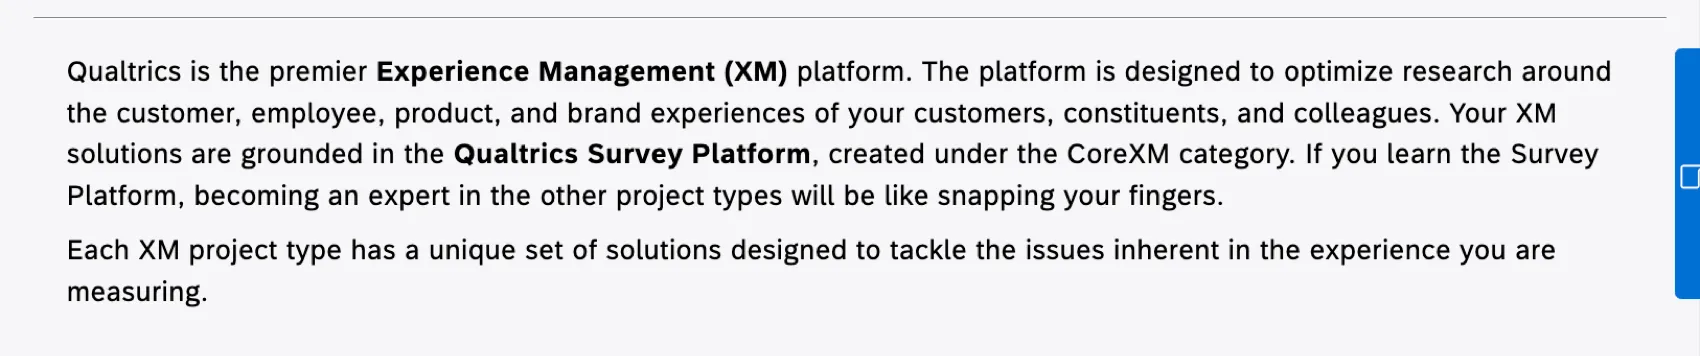
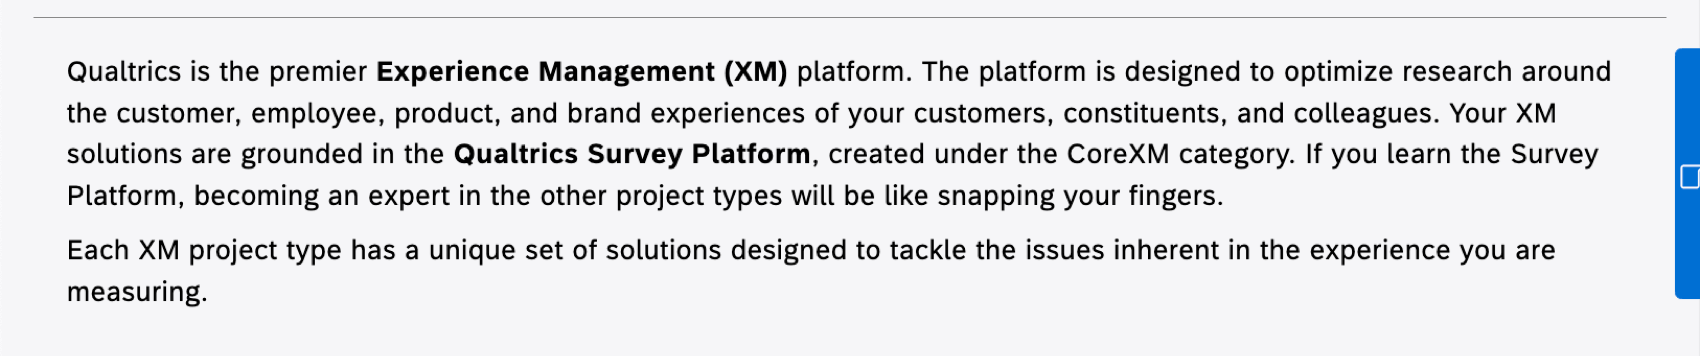
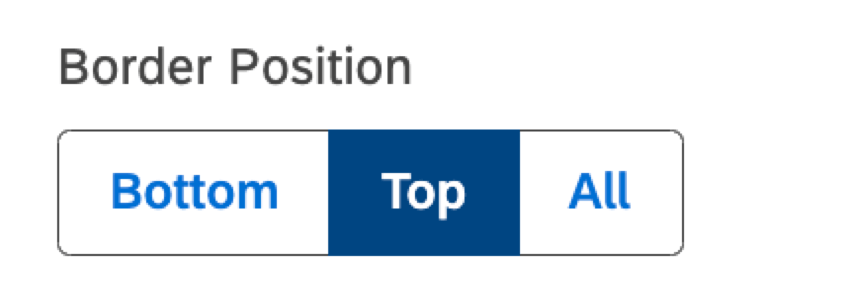
Border Position

Choose whether you want a border to appear along the top, bottom, or around all sides of a text block. Click a selection twice to remove it.
Example: Here is a text block with a top border.
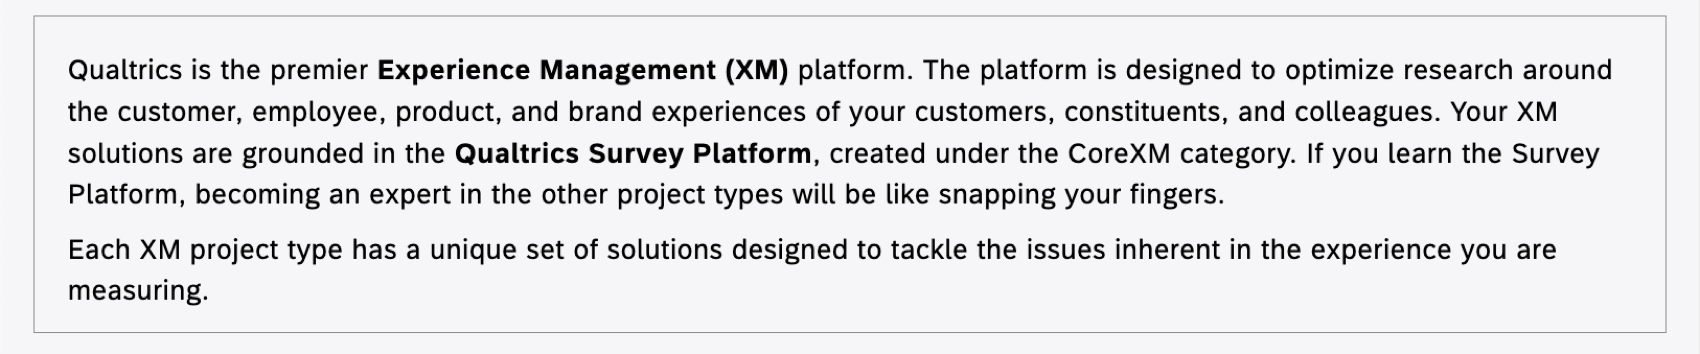
Example: Here is a text block with a border all around.

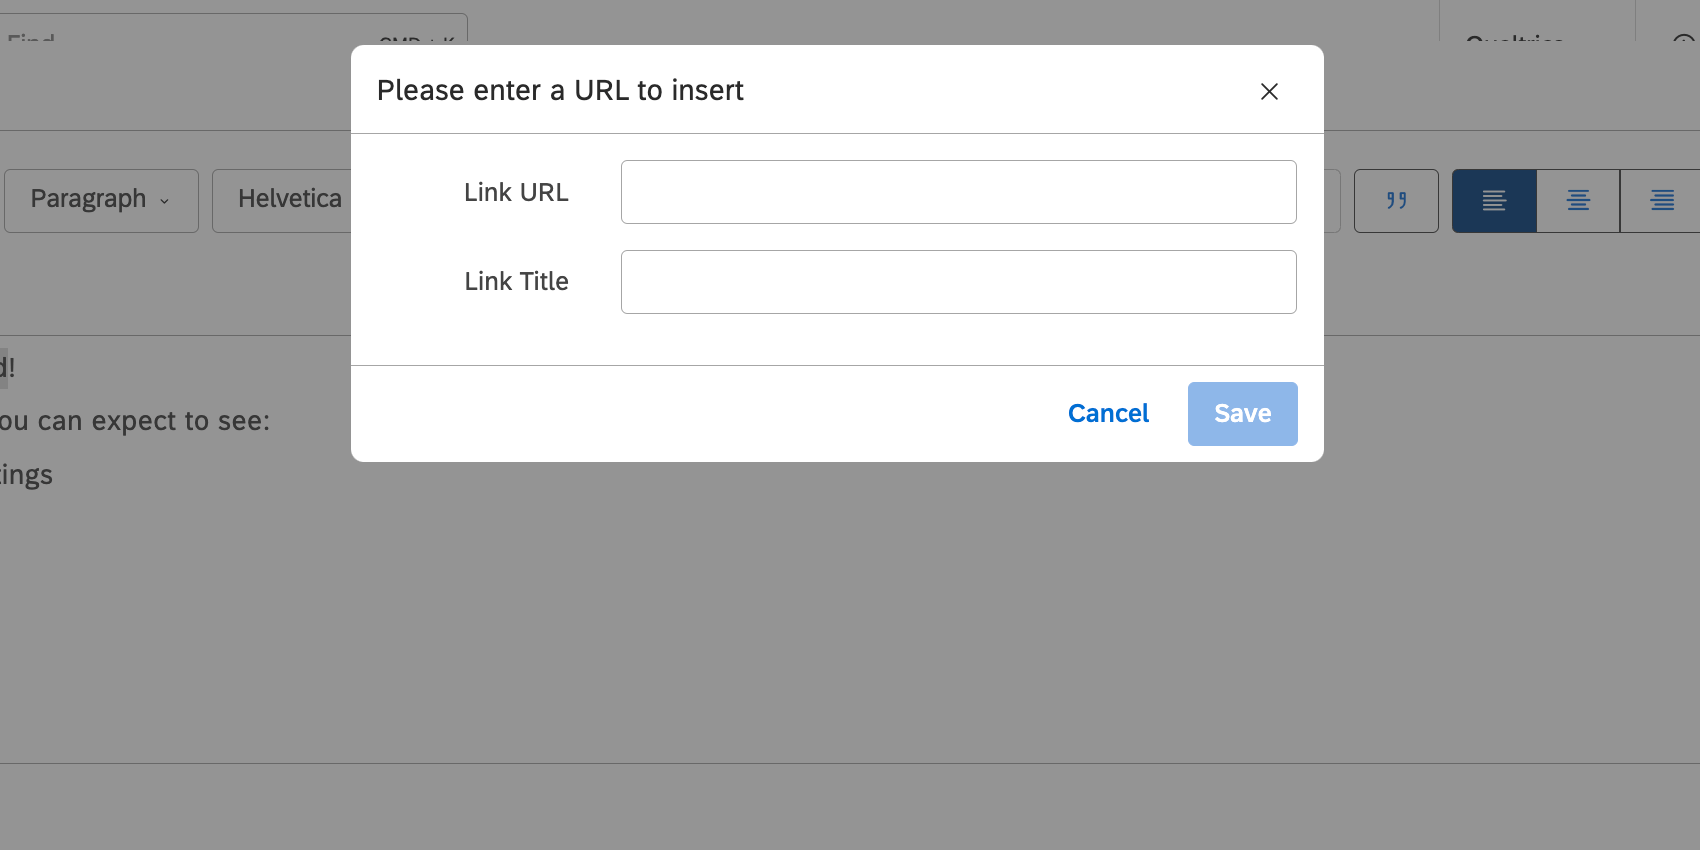
Margins
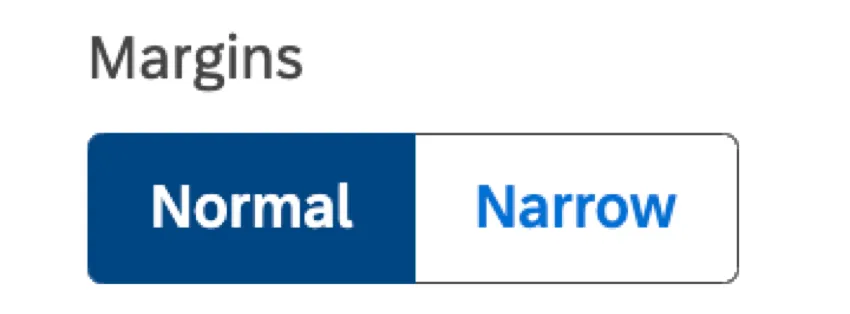
Use margins to control the distance between the text block widget’s contents and its outer edges, which acts as padding.
Normal margins are larger than narrow margins.
FAQs
Can I add a table to my text block?
Can I add a table to my text block?
That's great! Thank you for your feedback!
Thank you for your feedback!