
Managing Organization Hierarchies (Studio)
What's on this page
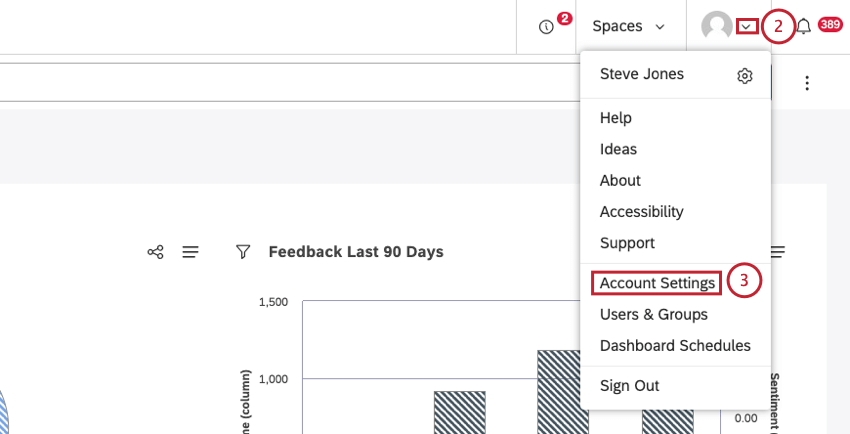
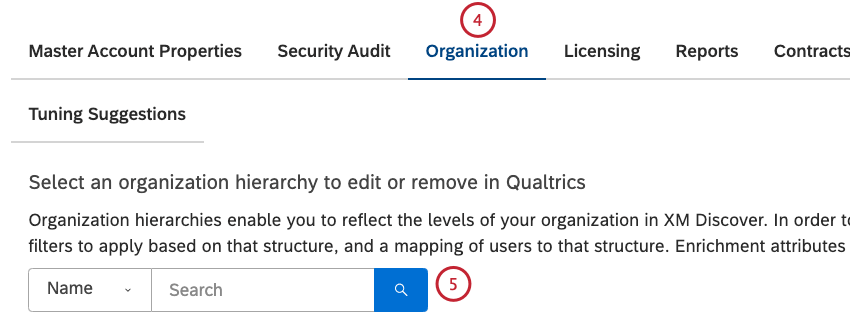
About Managing Organization Hierarchies
After you have defined an organization hierarchy, you can rename, edit, preview and delete it. You can also use organization hierarchy versioning and enable dashboard personalization.
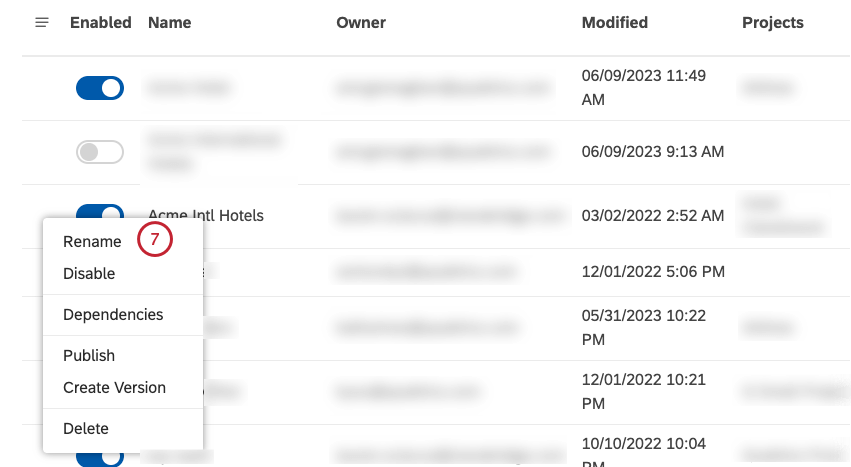
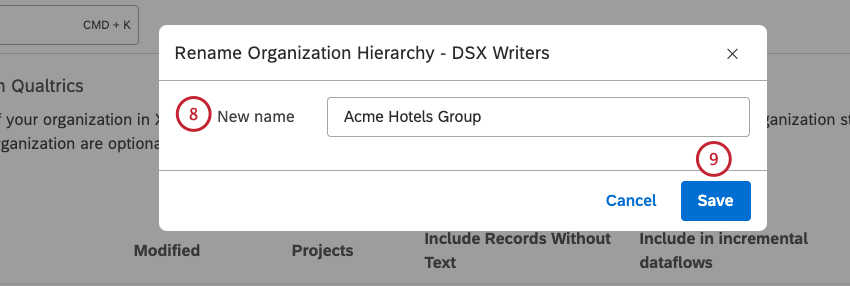
Renaming an Organization Hierarchy
Qtip: This action requires a Manage Settings permission.
Qtip: Before you rename an organization hierarchy, make sure it is unpublished. For more information, see Publishing and Unpublishing an Organization Hierarchy.


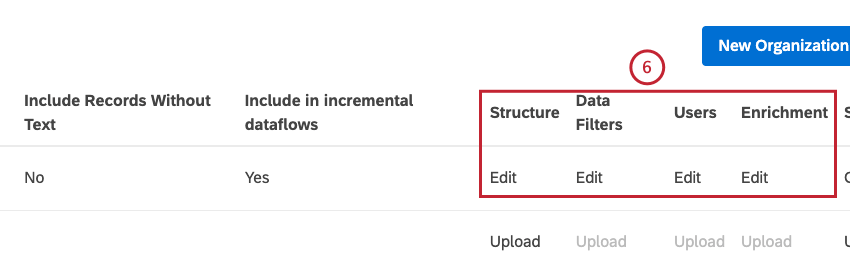
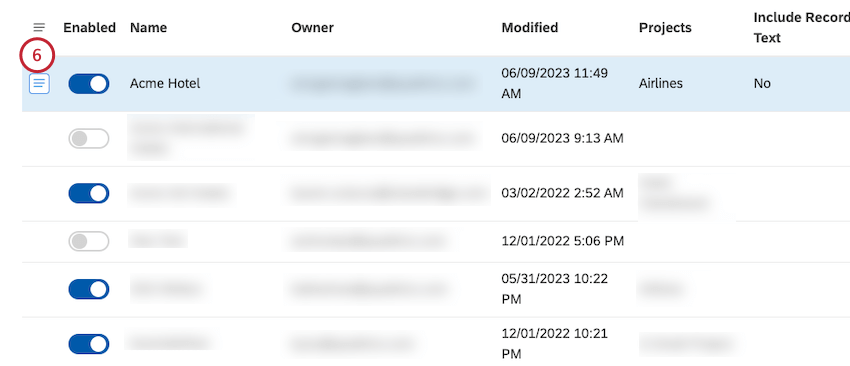
Editing an Organization Hierarchy
Once you have an active organization hierarchy, you can edit its structure, as well as mapped filters, users, and enrichment parameters.
Qtip: When you change any component (structure, filters, users, or enrichment parameters) of an active organization hierarchy, you need to upload an Excel file with the new values, which completely replace the previous values. For this reason we recommend downloading the existing mapping and saving a separate copy for backup.
Before You Begin
Before you edit an organization hierarchy:
- We recommend using versions to make changes to organization hierarchies that are currently in use.
- To disable hierarchy-based groupings while keeping dashboard personalization, unpublish an organization hierarchy while keeping it active.
- To completely disable an organization hierarchy while you modify it, deactivate it.
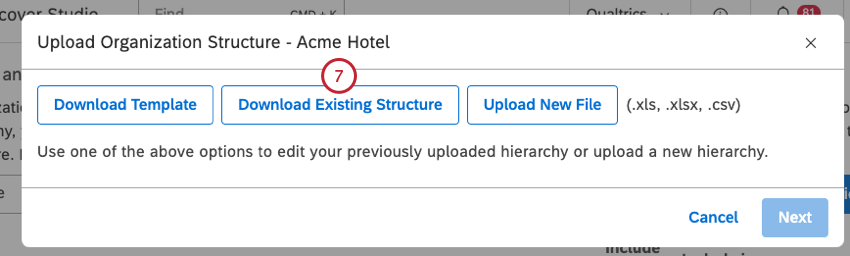
Download Existing Structure
Qtip: This action requires a Manage Settings permission.


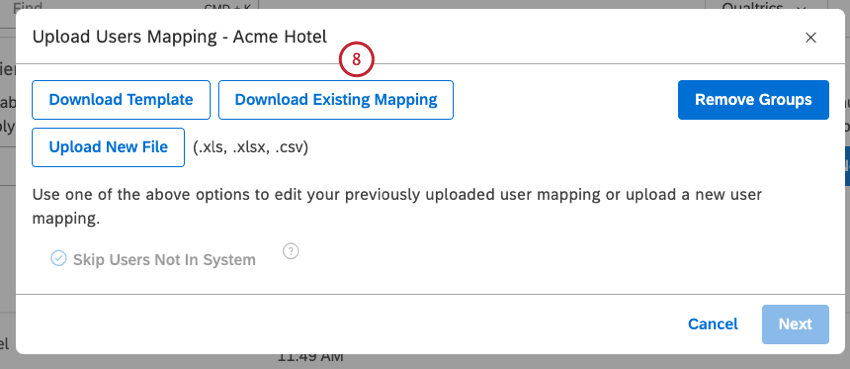
Upload Updated Structure/Mapping
The steps that you follow when uploading the new structure or mappings are very similar to the steps that you follow when uploading the initial values:
- Defining the Organization Structure
- Mapping Data Filters
- Mapping Users
- Mapping Enrichment Parameters
Because an organization hierarchy’s components are connected, updating 1 of them sometimes requires you to make corresponding changes to other connected components:
- Whenever you change the structure, you need to update filters, users, enrichments, and then republish the hierarchy.
- Whenever you update filters, you need to republish the hierarchy.
You don’t need to make further changes when updating only user mappings or enrichment parameters.
Using Organization Hierarchy Versions
Attention: Only organization hierarchy owners can create versions of their hierarchies.
Organization hierarchy versioning gives you the ability to update an entire organization hierarchy in 1 action, ensuring that your organization hierarchy users never see partial changes, only finished versions. To update a hierarchy using a version, you need to do the following:
Creating an Editable Version of an Organization Hierarchy
Qtip: You can create versions of both published and unpublished organization hierarchies that are active.


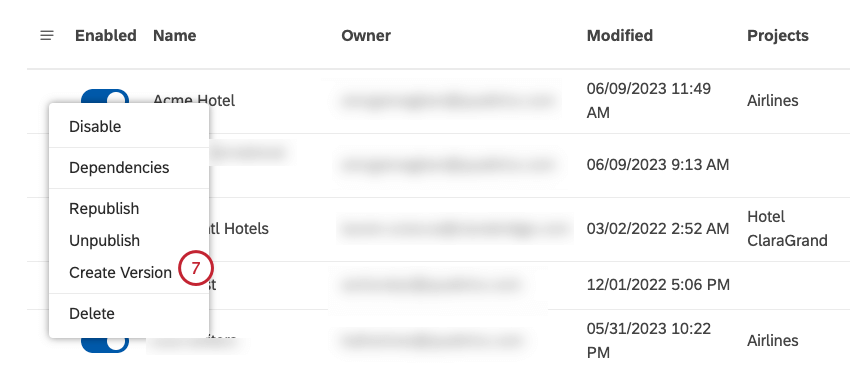
Qtip: If you don’t see this option, it means a version of this hierarchy already exists.
Editing an Organization Hierarchy Version
You can edit all aspects of the hierarchy’s version without affecting the original by doing the following:
- Defining the Organization Structure
- Mapping Data Filters
- Mapping Users
- Mapping Enrichment Parameters
- Publishing an Organization Hierarchy
- Publishing and Unpublishing an Organization Hierarchy
Replacing an Original Organization Hierarchy
Once your version is ready to be made live, you can replace all references to the original hierarchy with the version.


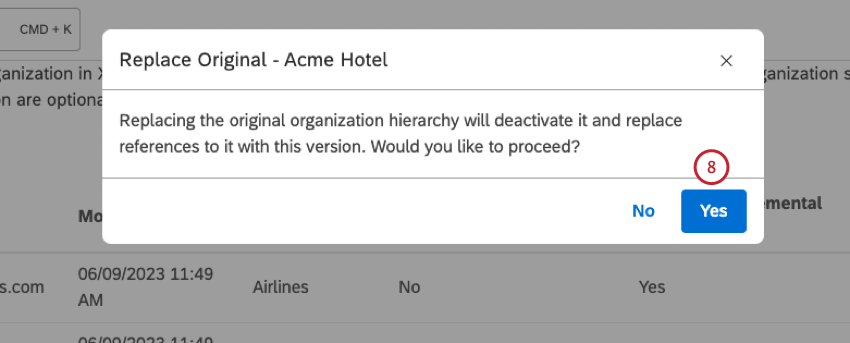
Qtip: The original version remains in the list, allowing you to make further changes to it. Alternatively, you can delete it.
Deleting an Original Organization Hierarchy Version
You can delete original organization hierarchy versions you no longer need.
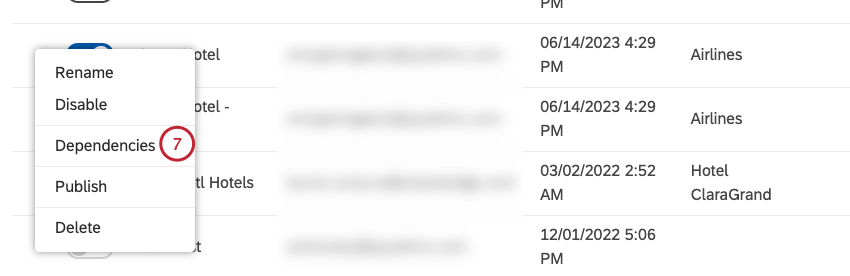
Viewing Organization Hierarchy’s DependenciesQtip: This action requires a Manage Settings permission.
You can view which dashboards and metrics use your organization hierarchies. This is useful to consider when editing or deleting hierarchies.
Qtip: You can only view dependencies of the hierarchies you own.


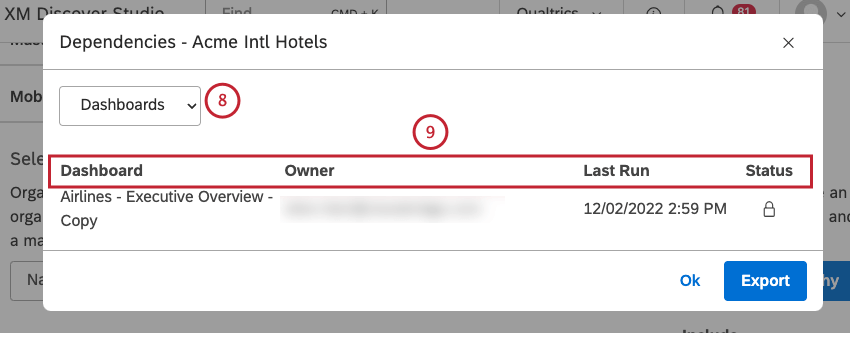
- Dashboard: The name of the dashboard.
- Owner: The user who owns the dashboard.
- Last Run: The last time the dashboard was viewed in Studio, emailed as a PDF, or refreshed.
- Status: The status of the dashboard (Private, Shared, or Public).
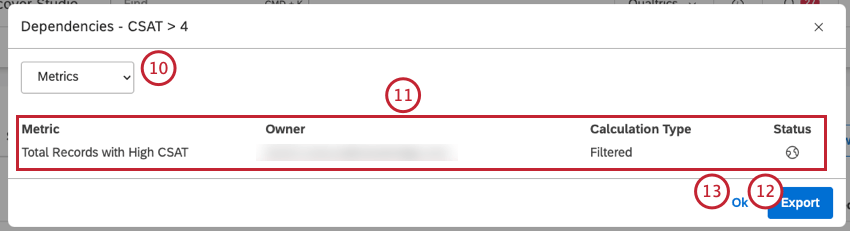
- Metric: The name of the metric.
- Owner: The user who owns the metric.
- Calculation Type: The metric type.
- Status: The status of the metric (Private, Shared, or Public).
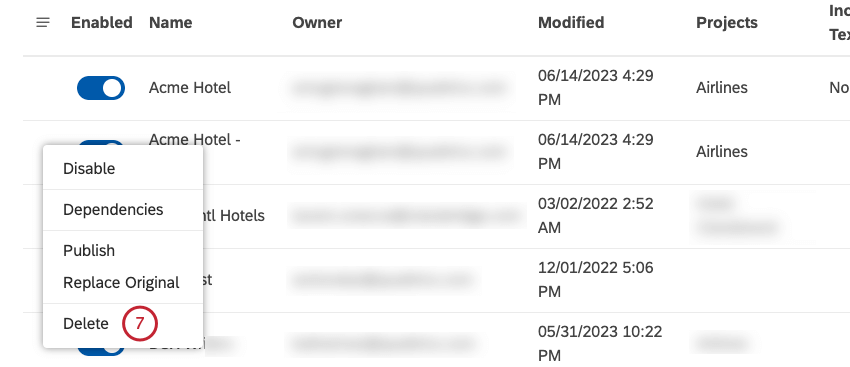
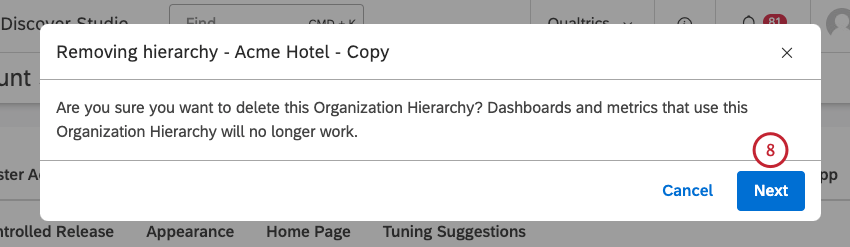
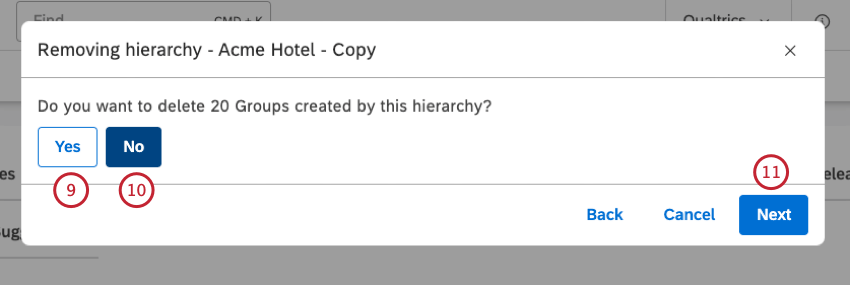
Deleting an Organization Hierarchy
Qtip: This action requires a Manage Settings permission.
Attention: This action cannot be undone.
You can remove the organization hierarchies you no longer need.


Dashboard Personalization
Dashboard personalization enables you to tie widgets to the structure of your organization or market segmentation. In a personalized dashboard, widgets are automatically filtered according to the selected organization hierarchy and the currently logged-in user’s highest position in that hierarchy.
Here is how dashboard personalization works:
- Different users see different report results on the same dashboard if they are in different parts of the organization hierarchy.
- A corresponding business segment is shown in the dashboard header.
- If a user is assigned to a hierarchy level that is not the lowest, that user can toggle between children levels of the hierarchy. A user with access to the highest level of a hierarchy can select all subsequent business segments.
- If a user is not identified in the hierarchy, that user will not see any data and will encounter an error message.
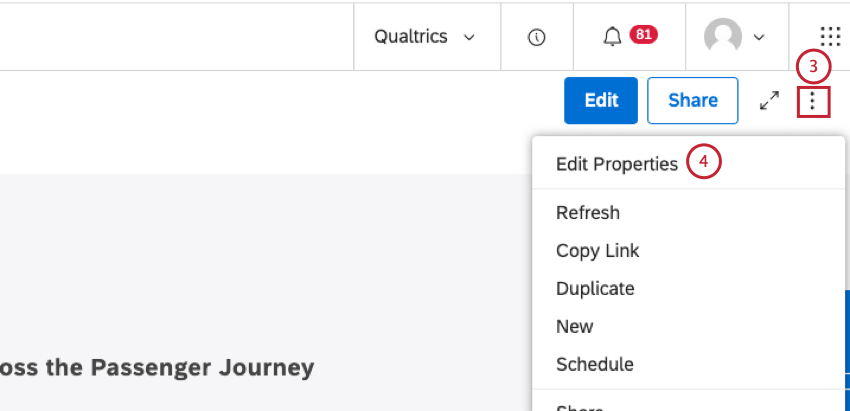
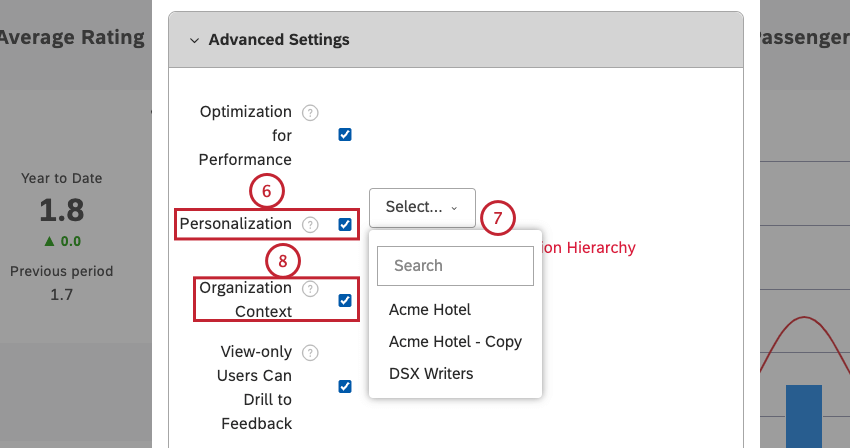
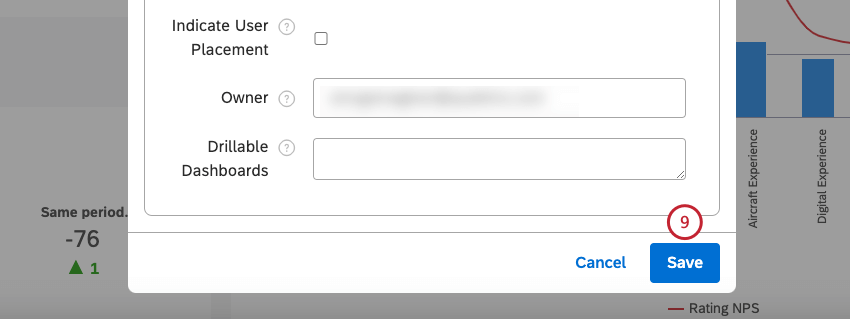
Enabling Dashboard Personalization

Attention: If at least 1 widget is using the same organization hierarchy as a grouping, personalizing a dashboard will enable peer and parent reporting.
Qtip: The list of available organization hierarchies is filtered to only include the organization hierarchies that are relevant to the default project for a specific dashboard
Qtip: If you do not see the hierarchy right away, it is likely because it is still running classification. Once classification is complete, the hierarchy will be available on all personalized dashboards.
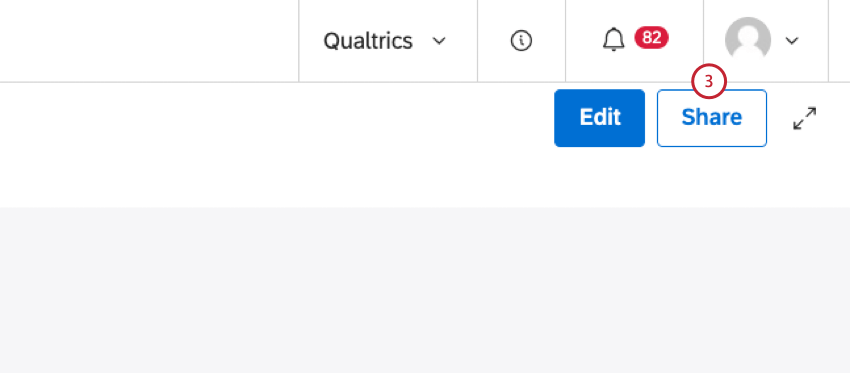
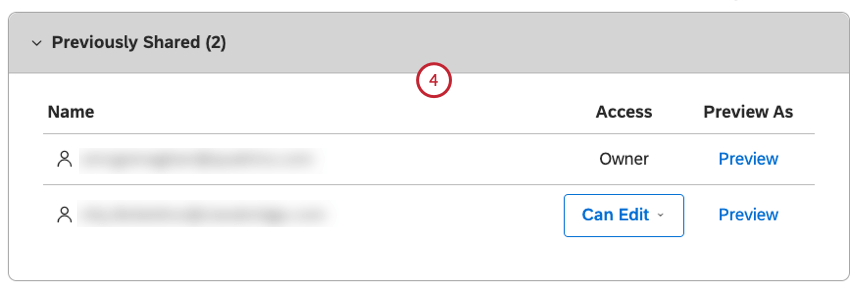
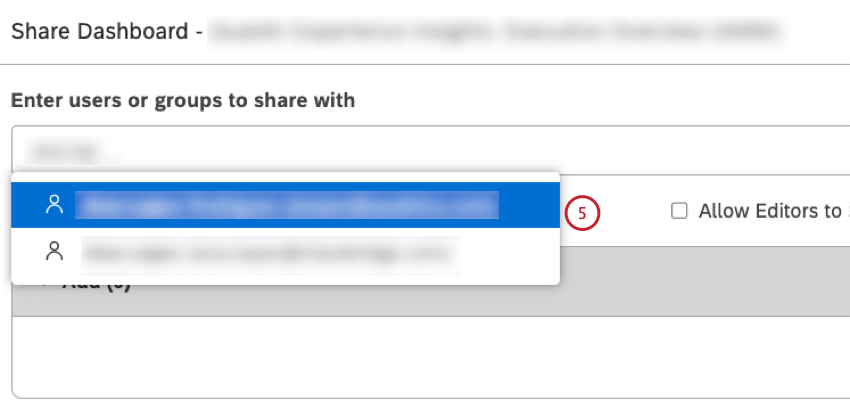
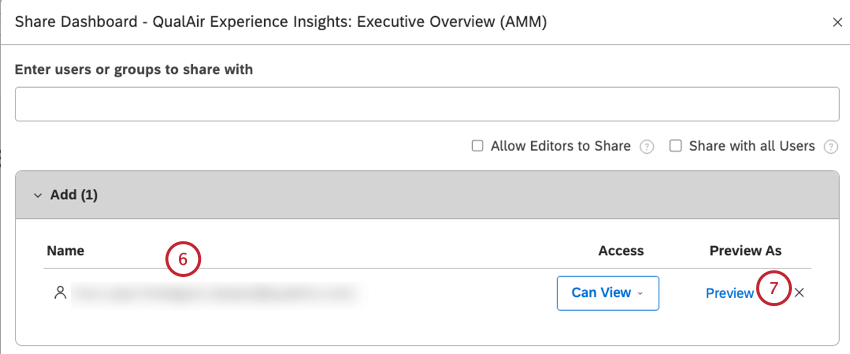
Previewing an Organization Hierarchy
Qtip: To preview a dashboard on behalf of a certain user, you need to be at or above that user’s level in the hierarchy, as well as being able to share a dashboard.
You can preview dashboards exactly how other users in your organization hierarchy will see them. Use this feature to confirm that you’re sharing precisely what you intend to share with a user and to make sure that the information you’re sharing with each user is correct, important, and actionable.
Qtip: Previewing a hierarchy as another user is not the same as the “View As” functionality. “View As” is an administrative ability where account owners can view all of Studio as any other user. When previewing a hierarchy, you can only view users located lower in the hierarchy than you, and you can only view the dashboard, the goal being to confirm that the user you’re looking at can see the correct data. Because of this, you can’t drill into feedback or view document explorer when previewing a hierarchy.
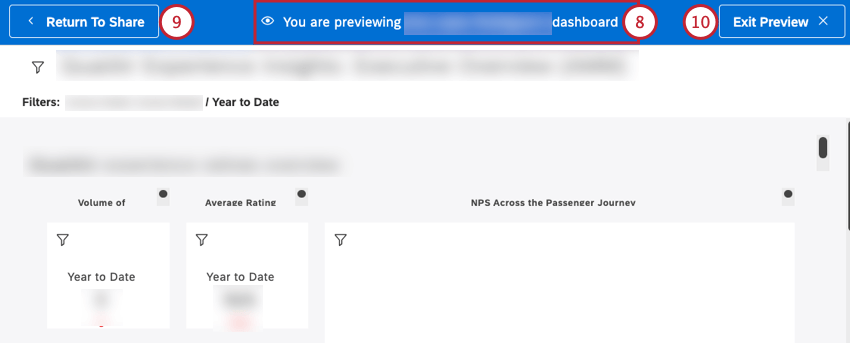
Qtip: The preview has limited interaction and is meant to make sure the dashboard is actionable for each user.
That's great! Thank you for your feedback!
Thank you for your feedback!