
User Divisions
What's on this page
About User Divisions
As a Brand Administrator, you can set up divisions. With divisions, you can segment your license into smaller entities. You can give different divisions specific permissions for their users, and you can give specific users full administrative access for other users within their own division.
Division-level administrators can be helpful if you have natural divisions within your organization that each need their own administrative control, such as different teams, departments, or colleges.
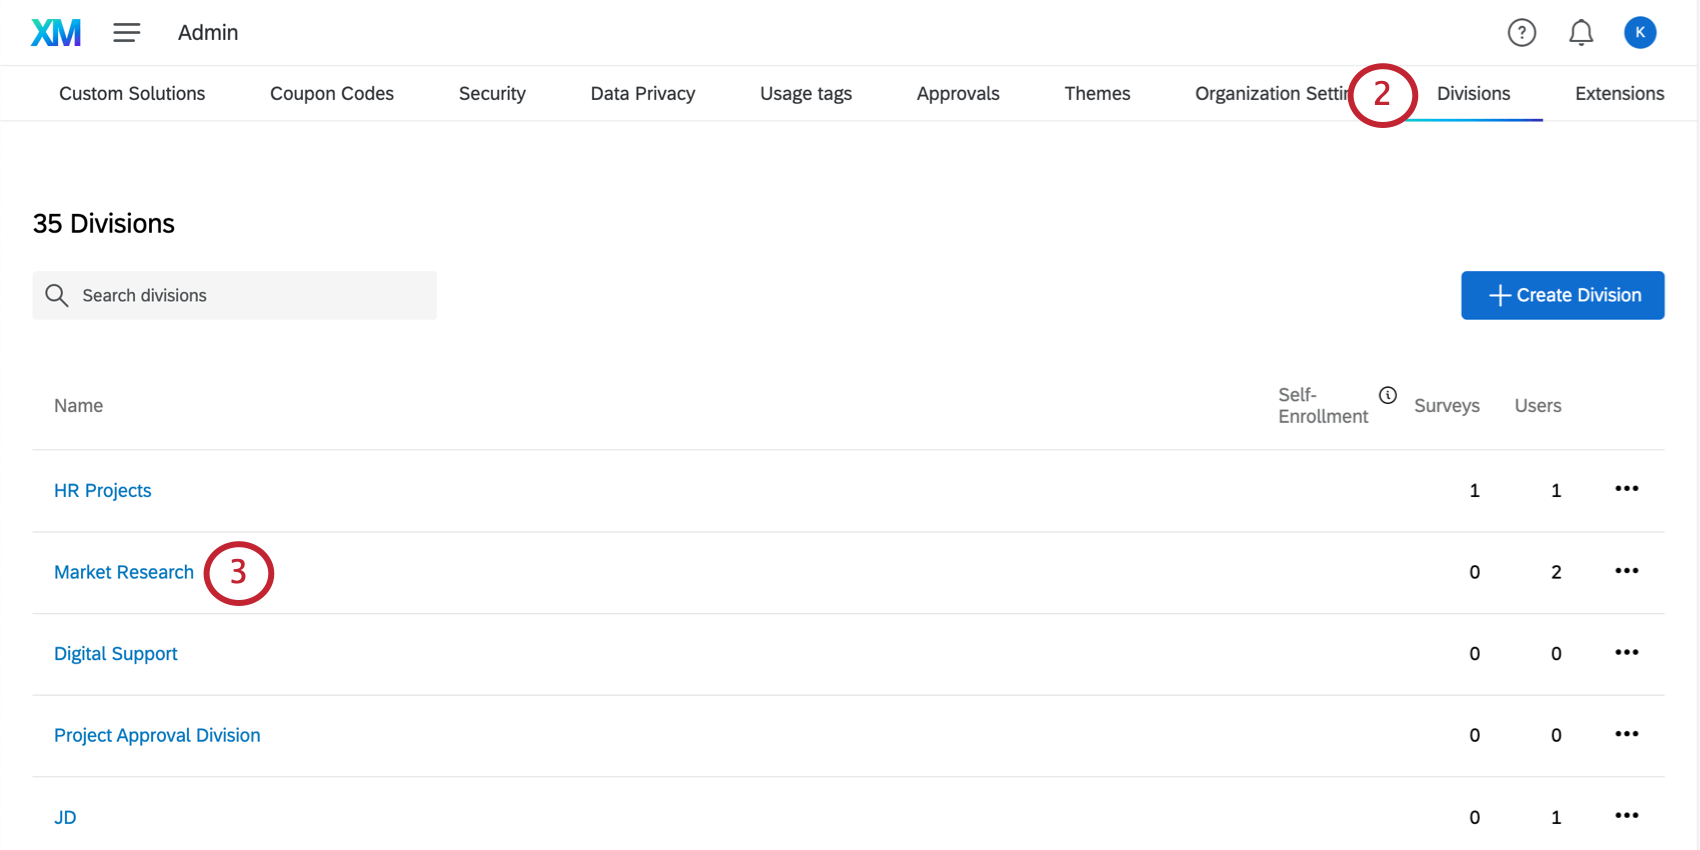
Qtip: The Divisions page will show you the number of users and surveys in each division.
Attention: We strongly advise that you do not use divisions for Employee Experience. Although divisions have Employee Experience permissions, these aren’t as effective as our custom Employee Experience user types.
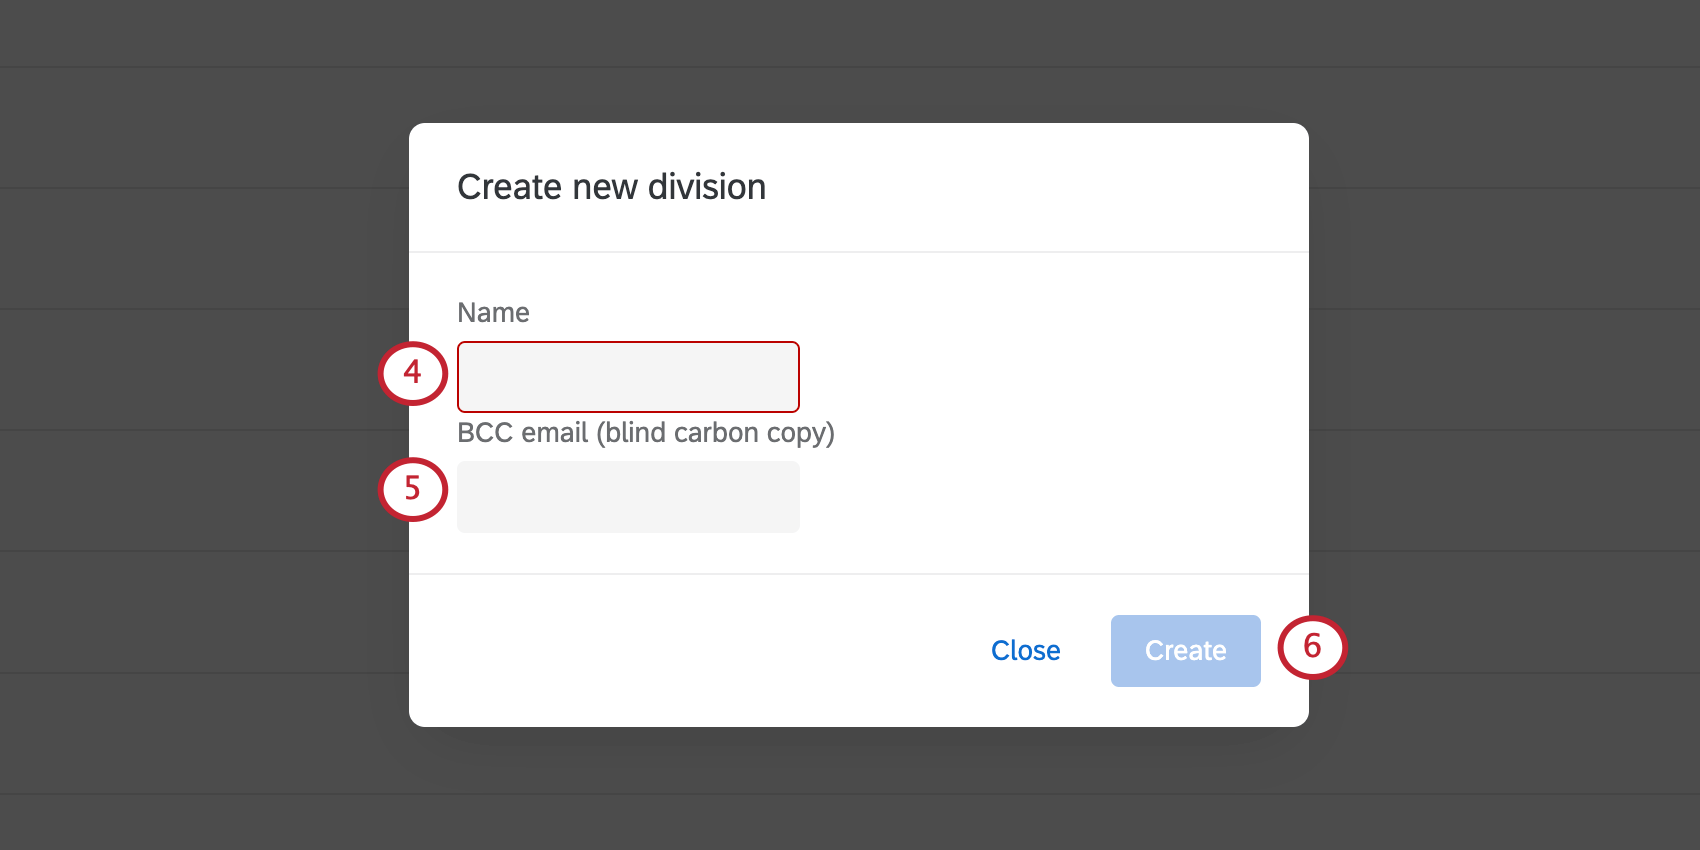
Creating Divisions
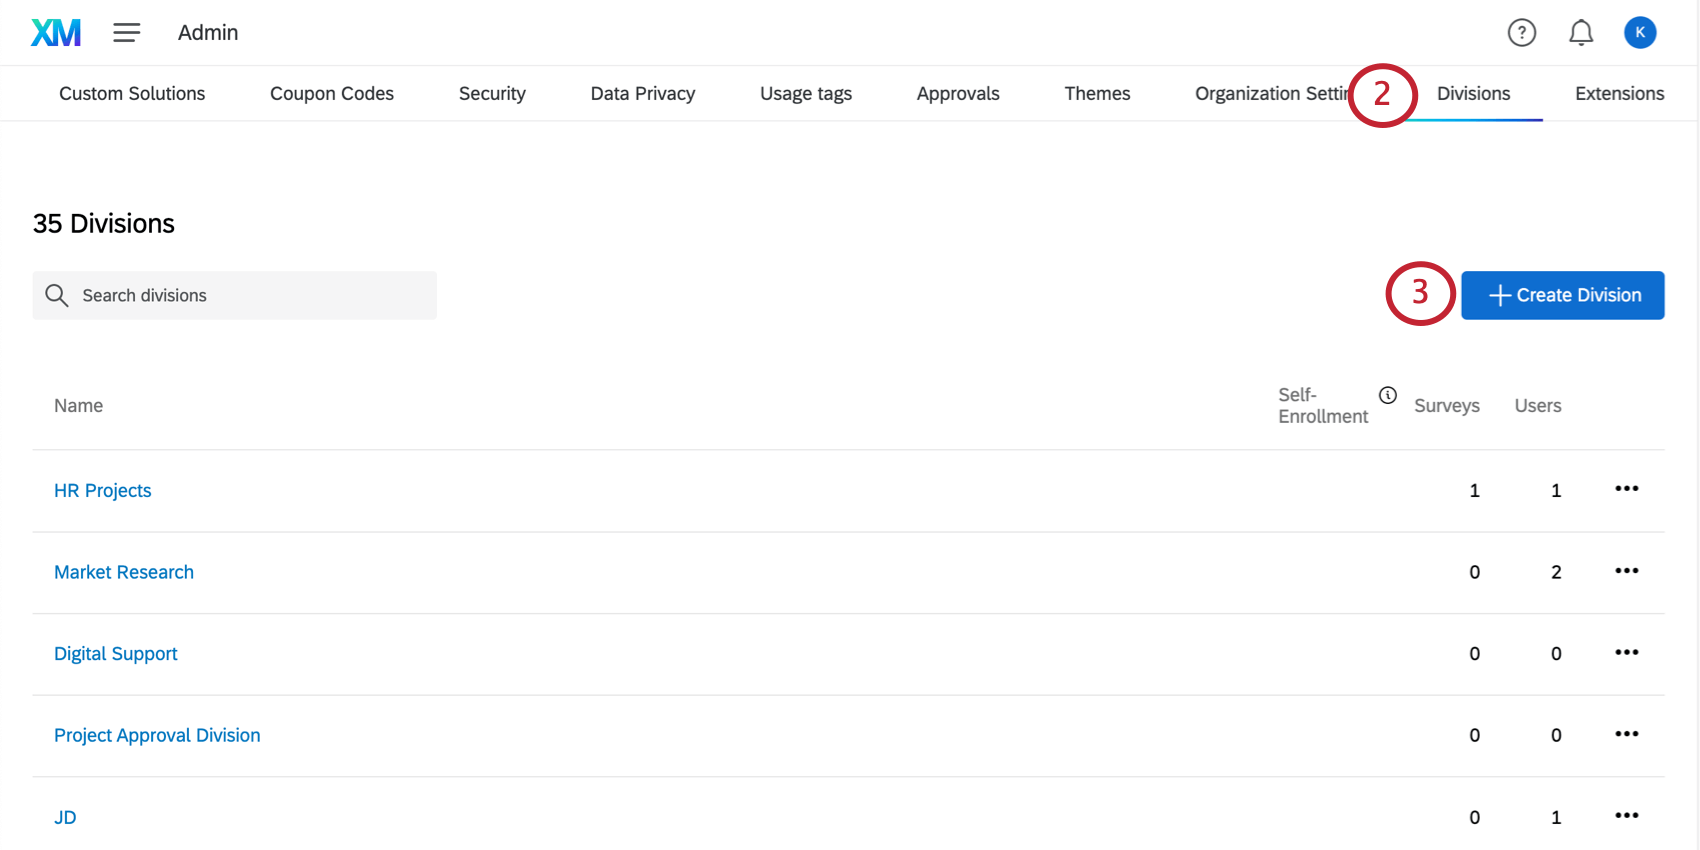
Qtip: These division permissions will be applied to every account that belongs to the division. This process is similar to setting permissions for user types and group types.
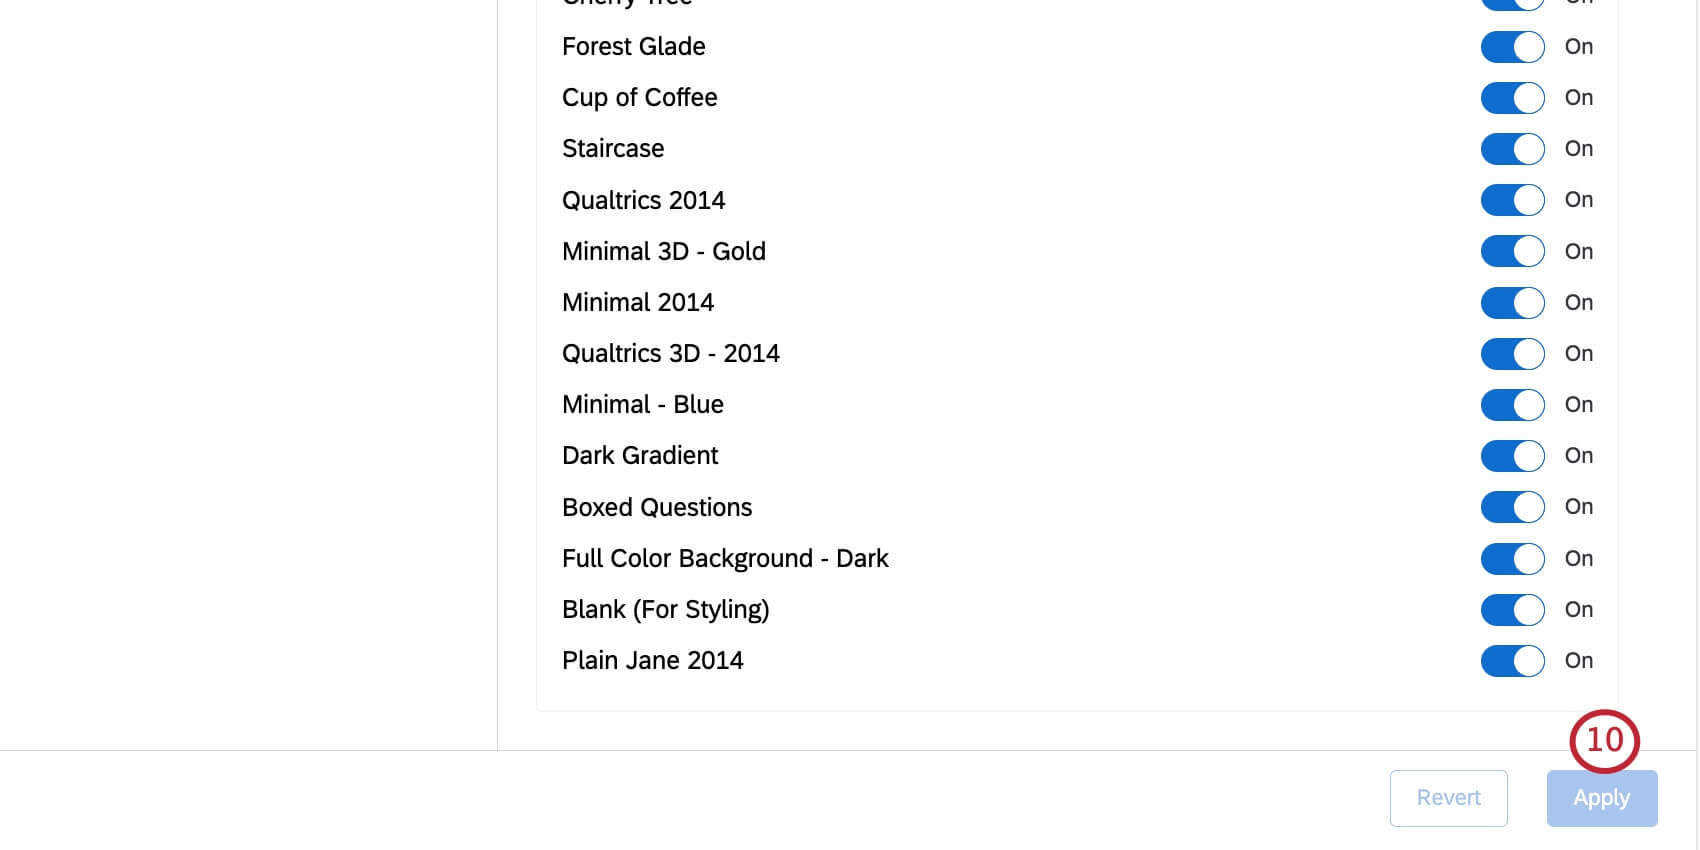
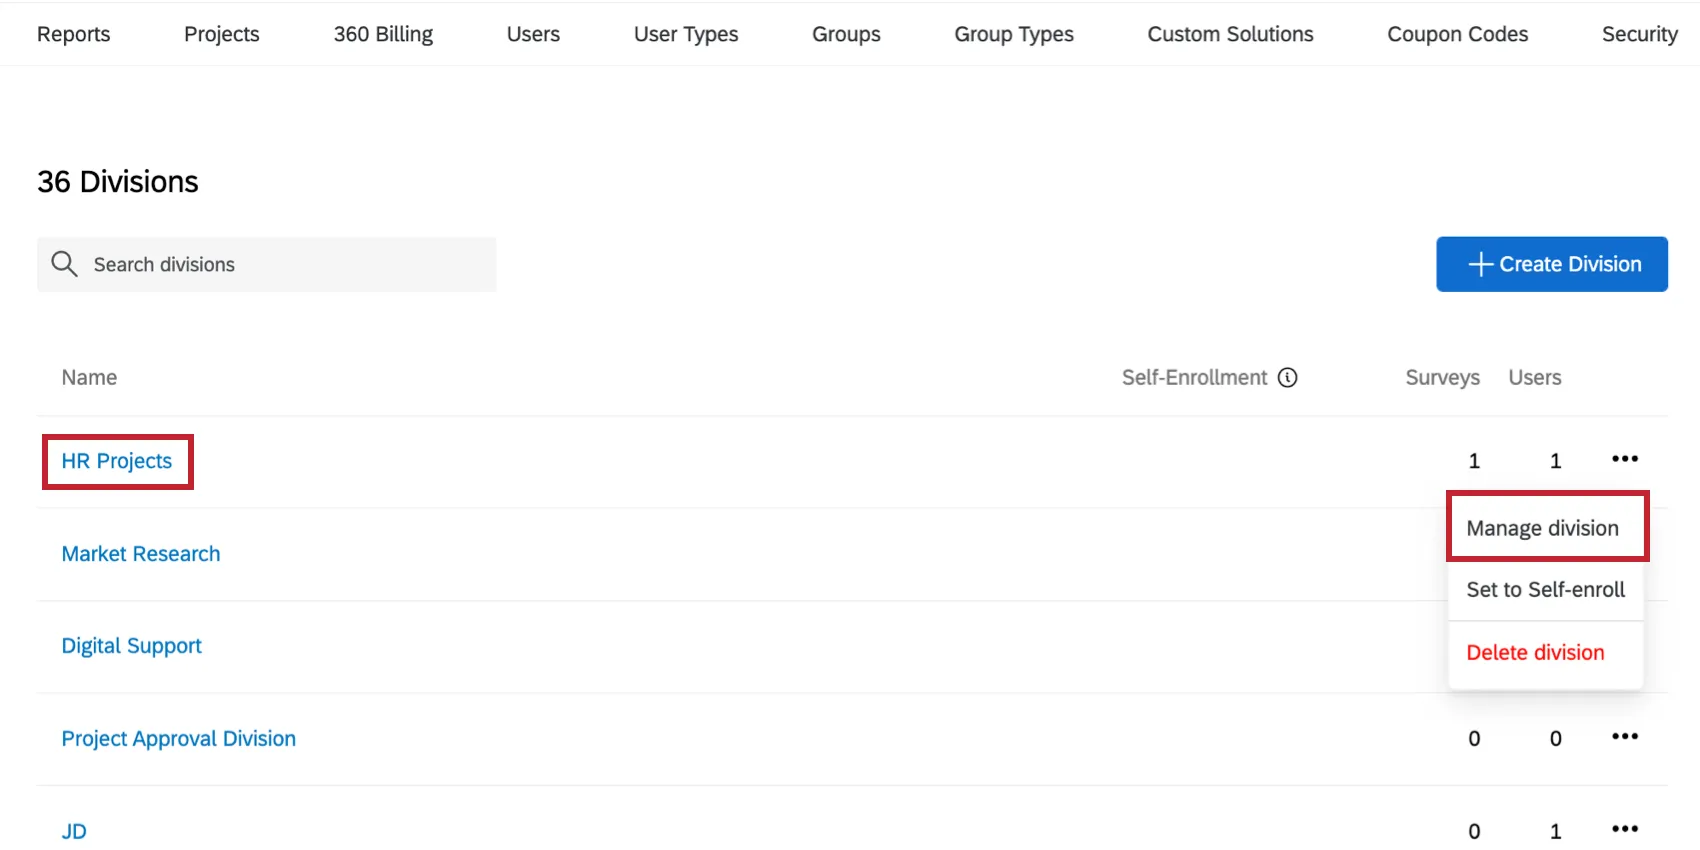
Qtip: You can edit these same settings later by clicking a division’s name on the Division page, or by choosing Manage division under the dropdown.
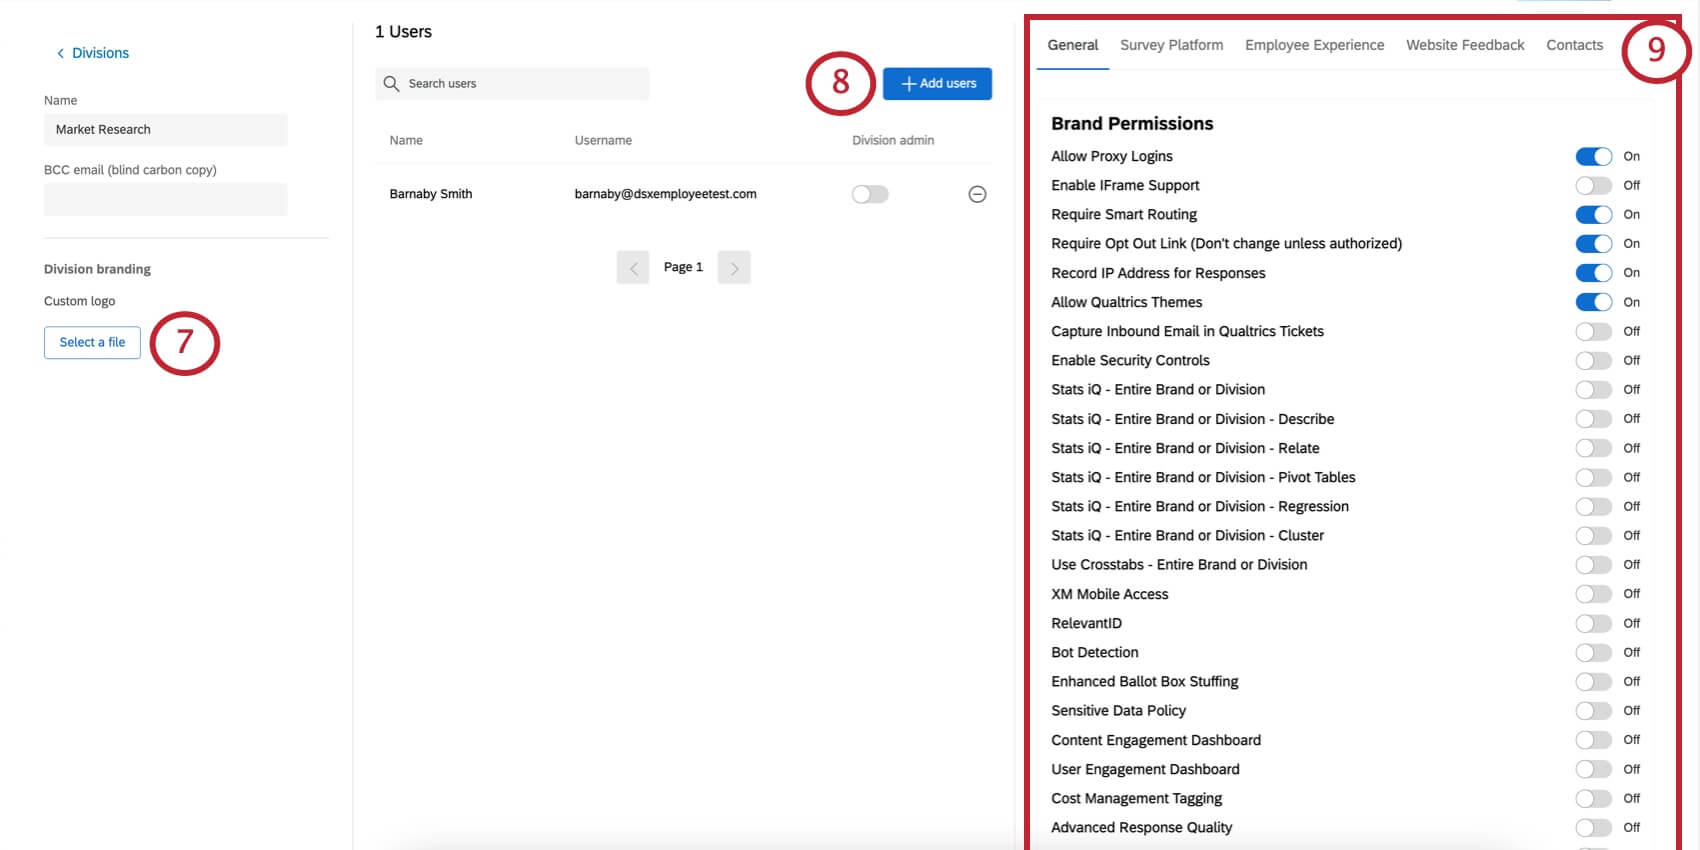
Adding Users to a Division
Qtip: Users can only be assigned to one division at any given time.
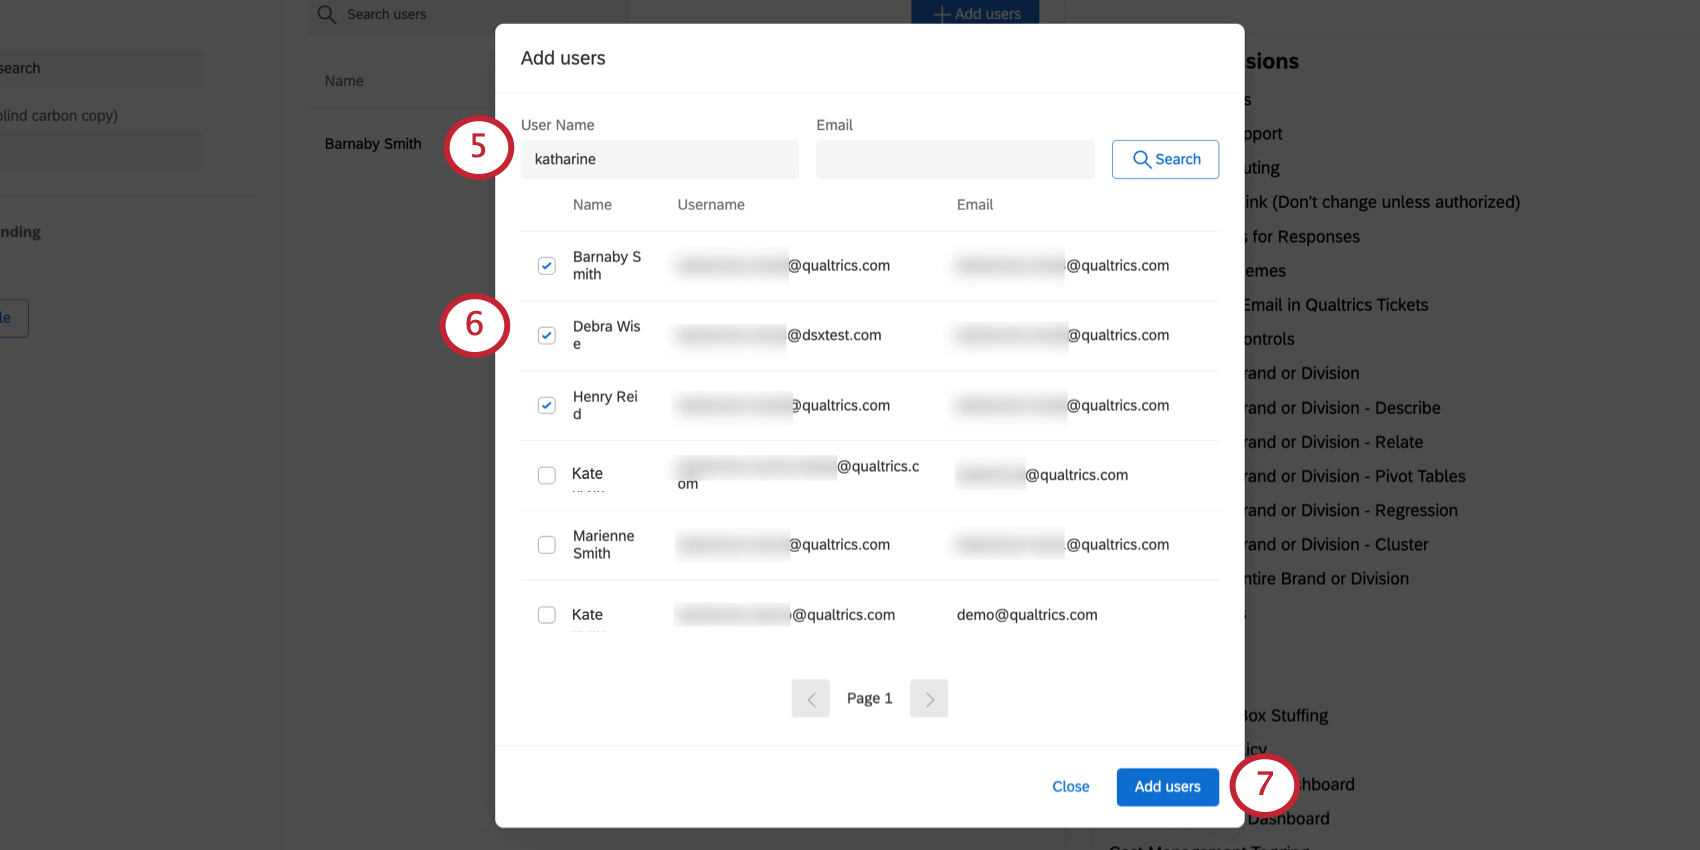
Qtip: You can use incomplete terms if searching by username, but for email, you must type an exact email address (e.g., barnabysmith@example.com).

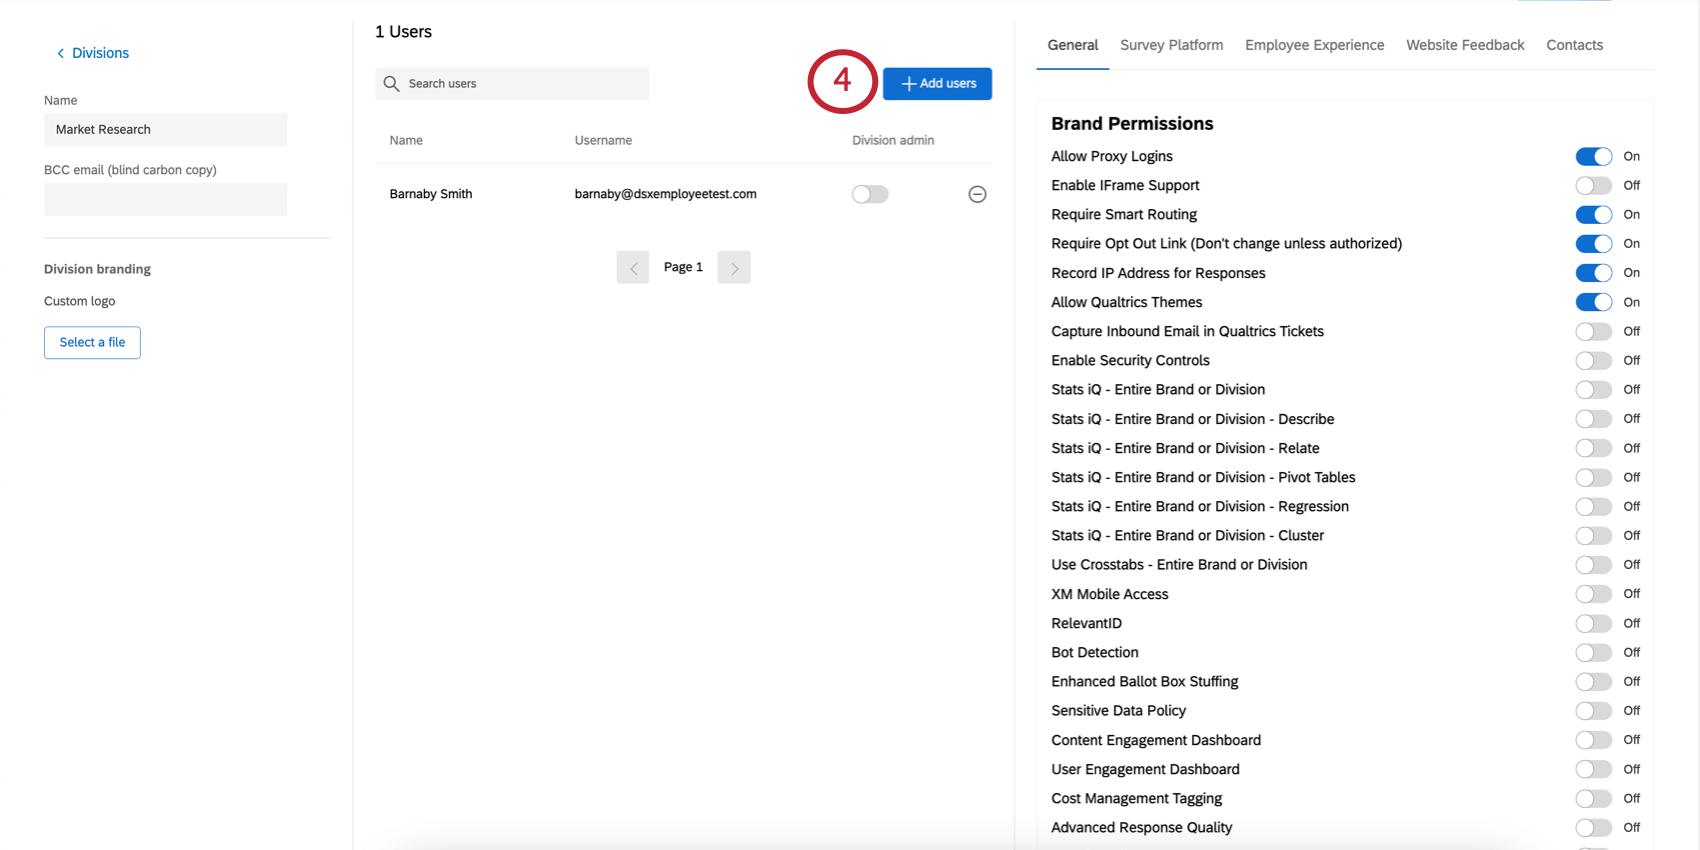
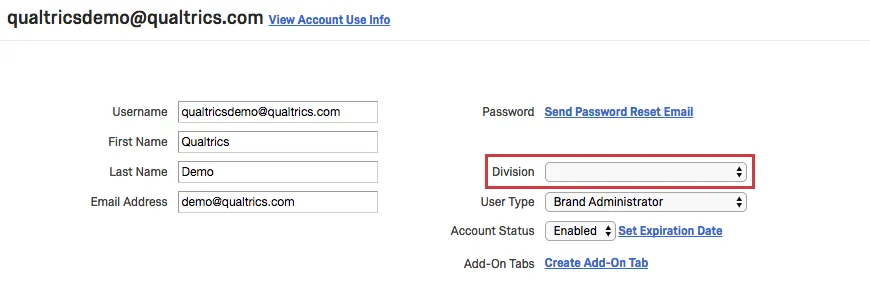
You can also add a user to a division by searching for the username in the Users tab. Then click on the username and set a division by choosing from the divisions dropdown.
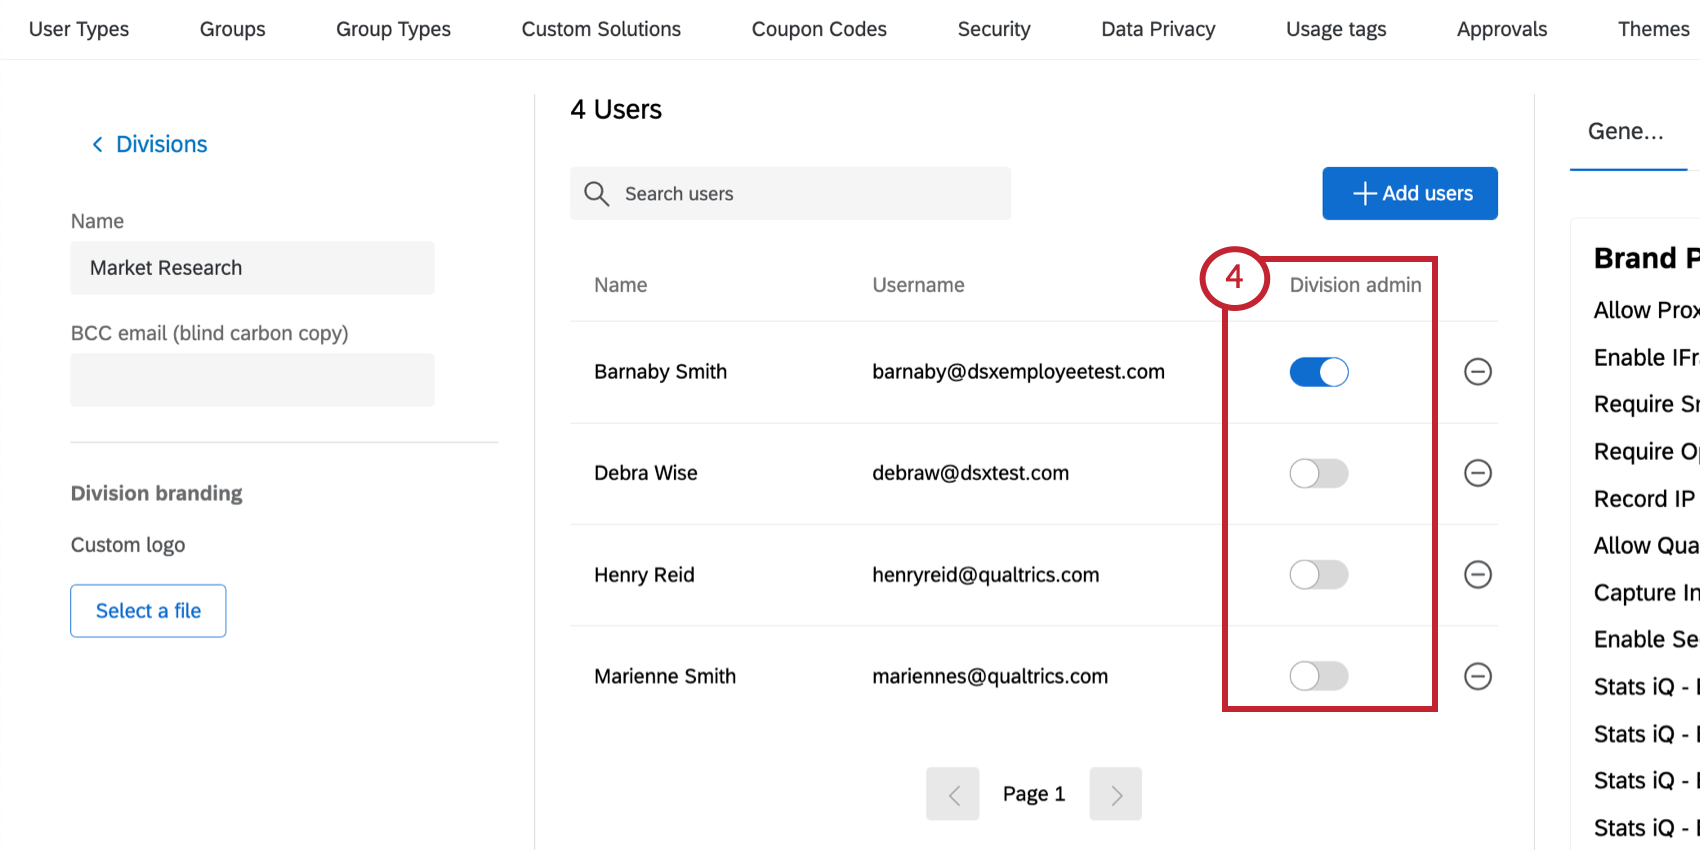
Assigning a Division Administrator
Division Administrators are only able to access and make changes to users in their division; they will be able to add users from their division to groups that they’ve created, but they cannot add users to other divisions or to groups they have not created. Division Administrators will still be able to create new users, but when they do so, the user will automatically be added to the Division Administrator’s division.
Qtip: Division Administrators will have access to the metadata of all users in the brand if they have the Access Organization Address Book permission enabled.
Brand Administrators are able to access the account settings of all users regardless of division.
Qtip: To be an administrator for a division, the user must first be added to the division.
Division Administrator Access
Division Administrators can only affect accounts within their division. They have access to the Reports, Users, User Types, Groups, and Group Types tabs, but the content in these tabs is limited by data and users in their division.
Unlike the Brand Administrator, Division Administrators cannot edit organization settings and cannot request changes to the following:
- Email domains, SPF records, and SMTP
- SSO Settings
- Login URL
- Self-Enrollment
- Survey Description
- Survey Approver/Aprovee
- Brand Logo
- Themes
- Coupon Codes
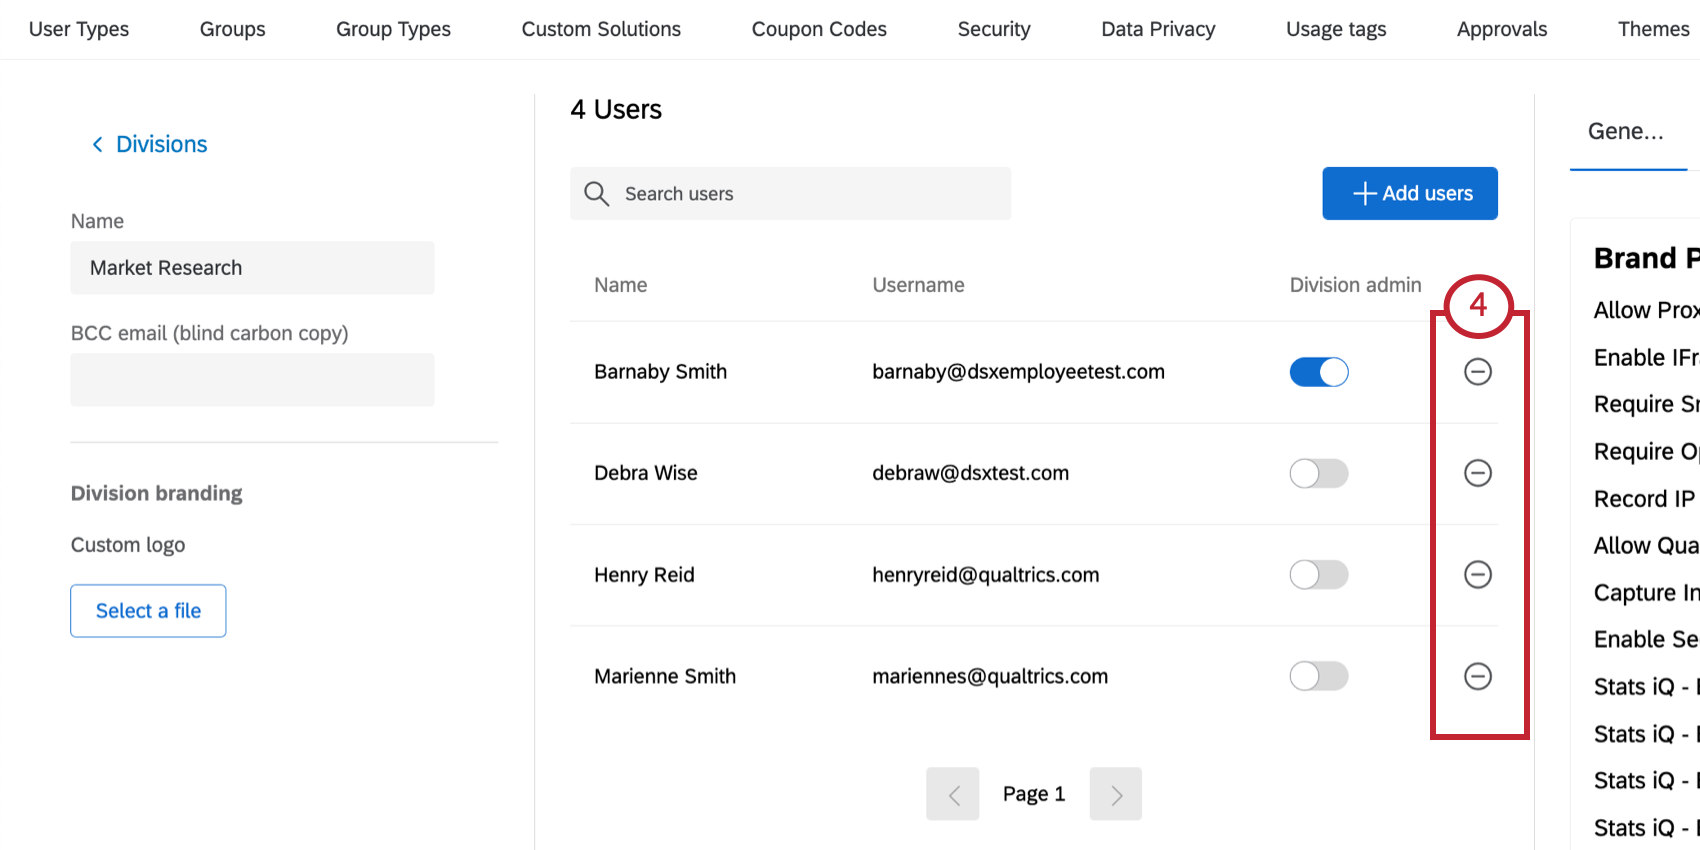
Removing Users from a Division
Deleting a Division
To delete a division, select the dropdown next to the division, then click Delete division.
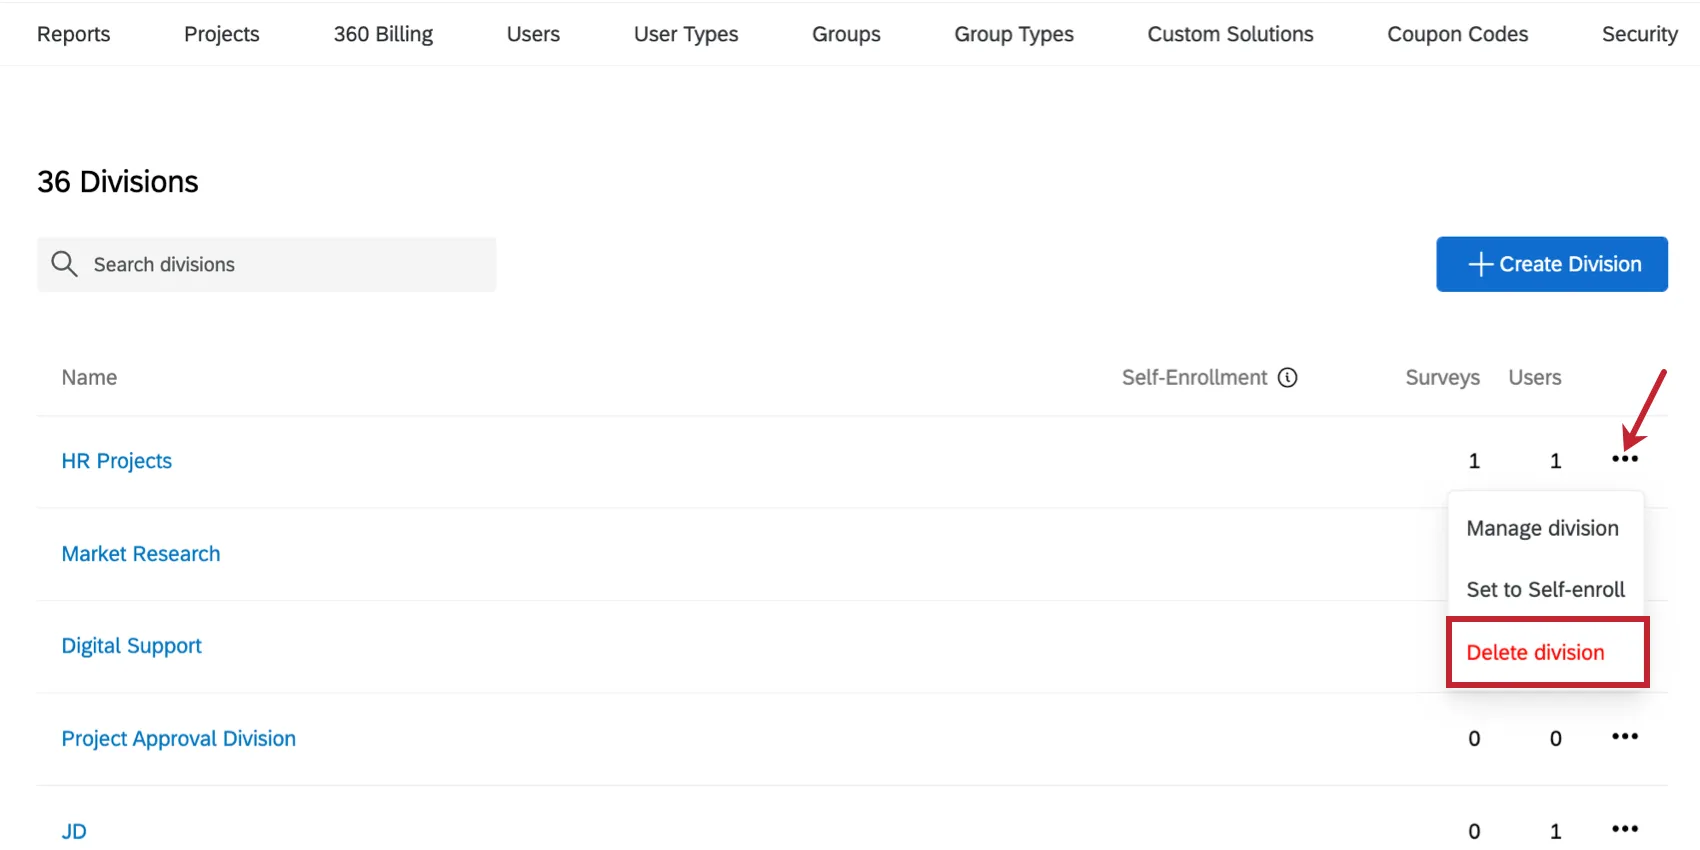
A division cannot be recovered once it is deleted. If you want to reuse a division you’ve deleted, you will need to rebuild the division.
When a division is deleted, any users that were in that division will have their permissions updated according to their user type.
Setting a Self-Enrollment Division
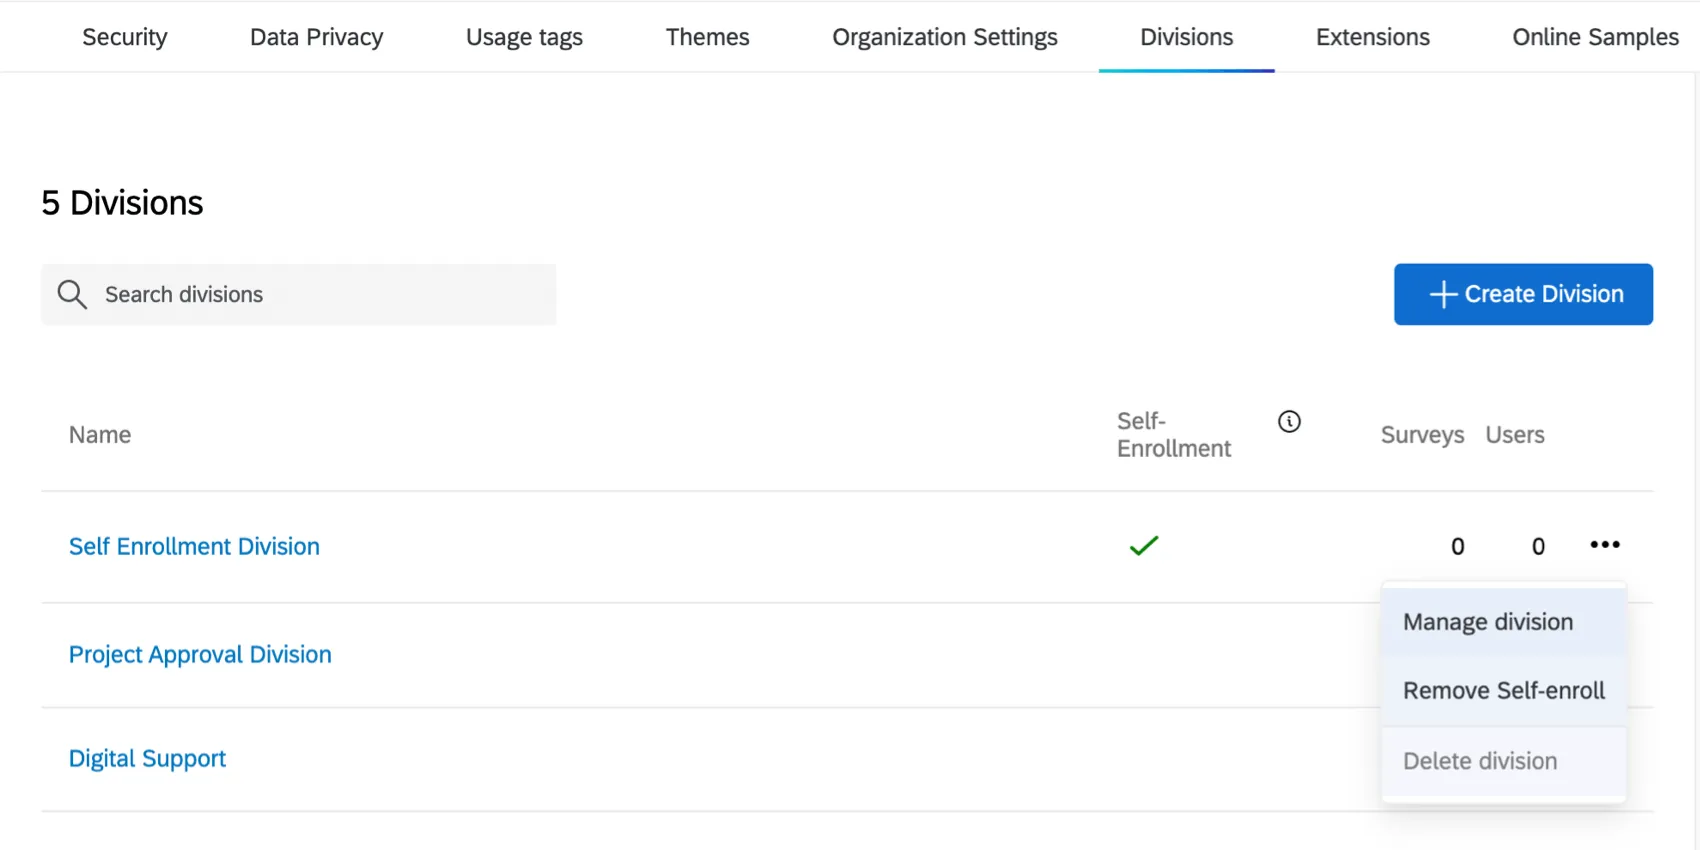
Once you’ve created a division, you can set that division as the default when users self-enroll into your license. Select the dropdown next to the division, then click Set to self-enroll.

Once a division is set to self-enrollment, it will be marked with a checkmark in the Self-Enrollment column. You can remove this by choosing another self-enrollment division, or by clicking the dropdown and selecting Remove Self-enroll.
Division Branding Options
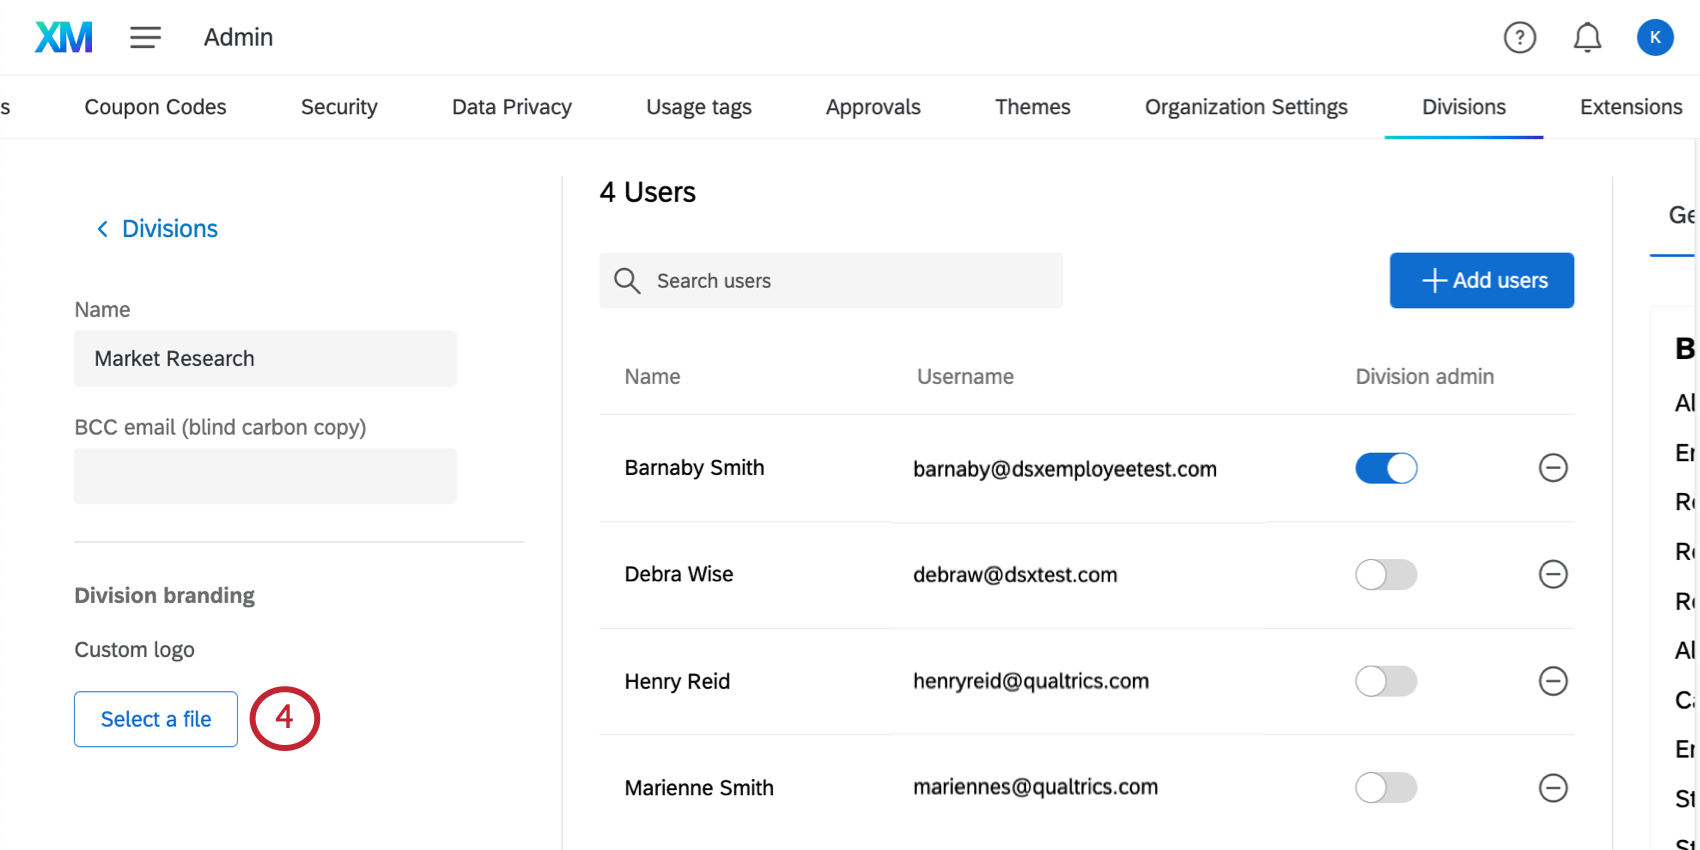
Brand Administrators can edit the logo for a division. Division Administrators must request these changes from their Brand Administrator.
Once a logo has been saved, it will appear in the bottom left-hand corner of all accounts within the division. The image you want to use must be in a PNG or JPG format.
Qtip: Account logos can also be set on a brand level. Brand Administrators can submit a request to have a logo added to all accounts in their brand by submitting a theme update request through the Customer Success Hub.
Division Subscription and Incentive Credit Balances
If your organization uses Online Panels, one of the payment options involves credits, which gives you the freedom to set an initial budget for your panels, then spend them as needed over time. While credits are shared across an organization by default, Brand Admins can allocate how many credits go out to specific divisions. This way, you can limit which teams can spend credits on panels.
There are two types of credits, which are allocated separately from each other:
- Subscription credits: Used to purchase any panel type, including qualitative, quantitative, and synthetic. In qualitative panels, these credits pay for recruitment.
Incentive credits: These credits can be used to reward Qualitative panel recruits for their participation. These credits are not used for synthetic or quantitative panels.
Qtip: To allocate credits to divisions, you need to have already purchased subscription and / or incentive credits from your Account Executive.
Qtip: Brand Admins can track incentive and subscription credit consumption using Admin Reports.
Create a division for each team that should be allowed to use credits.
Qtip: You can always use an existing division instead.
Under General permissions, make sure Access Online Panel is enabled.
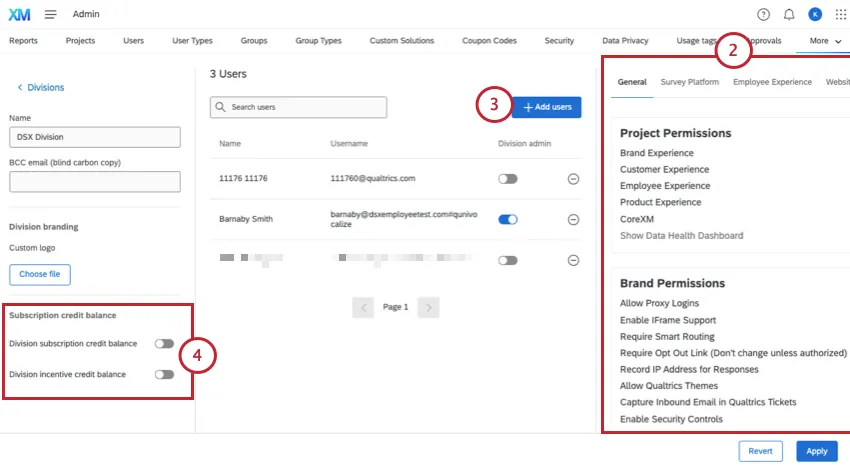
Add users to the division.
Inside the division, select the type of credits you want to allocate:
- Division subscription credit balance
- Division incentive credit balance
Qtip: These credit balances are each allocated separately.
Select a License source. These are the credit purchases you made through your Account Executive. There may often be only one source.
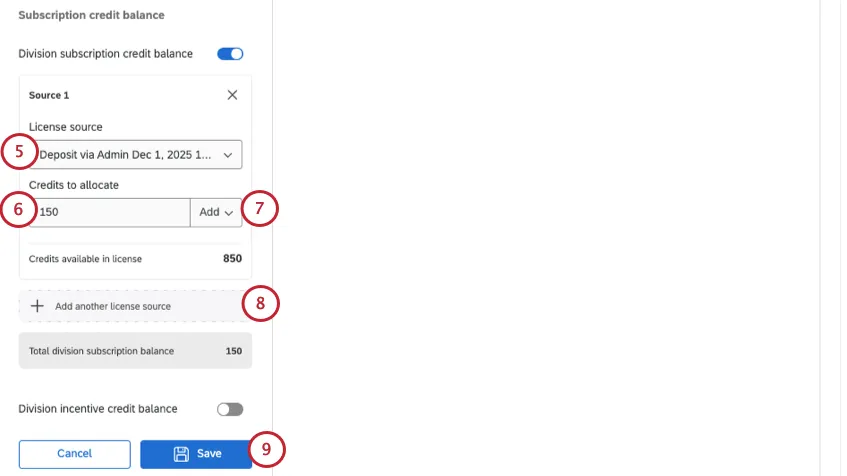
Set the number of Credits to allocate to the division.
Leave this set to Add, or you can instead choose to Remove previously added credits from the division.
Qtip: You have to first add credits before you can remove credits.
To add credits from an additional license source, click Add another license source.
Click Save.
You’ll see your current balance for the division. Click Edit allocation to add or remove credits.
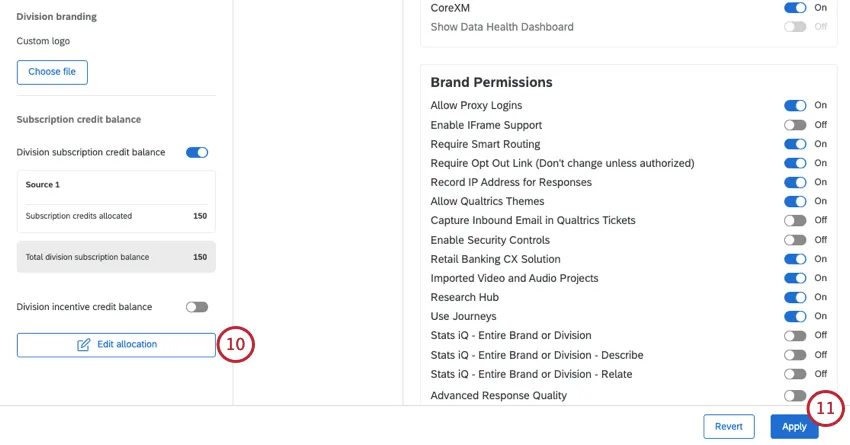
Click Apply to save division changes.
Repeat steps for any divisions you want to give subscription or incentive credits.
Best Practices
Some examples of practical user divisions are:
- Business units within an organization (HR, Marketing, Research, etc)
- Regions within an international organization (North America, South America, Asia, etc)
- Organizations with natural divisions that each require their own administrative control
- Very useful when there is a need to divide user cost among individual cost centers
When building divisions, keep in mind these important considerations:
- Users can only be part of one division at a time
- Divisions add another layer of permissioning – permission changes will need to be reviewed at the division, user type, and user level to make sure the appropriate access is being granted
- Assigned Division Admins only have full control over their respective division
- Divisions are not the solution if your brand would like to branch into a new product area. For example, if you currently have a CX program with Qualtrics and would like to create an EX program, creating a new program entirely would be the proper course of action
FAQs
What does this permission mean?
What does this permission mean?
Once you're on the User, Group, & Division Permissions page, perform a page search to quickly find the permission you're interested in. To perform a page search, press Cmd + F on Mac or Ctrl +F on PC.
I noticed a specific permission is grayed out for a user; why can’t I give this user that specific permission?
I noticed a specific permission is grayed out for a user; why can’t I give this user that specific permission?
What is the difference between a Group and a Division?
What is the difference between a Group and a Division?
What can a Division Administrator do?
What can a Division Administrator do?
How do I edit a user?
How do I edit a user?
For more information, visit the Managing Existing User Accounts section of the Creating and Managing Users support page.
To edit users, you must be a Brand Administrator. Reach out to your Brand Administrator if you need assistance.
That's great! Thank you for your feedback!
Thank you for your feedback!