
Imported Video and Audio Projects
What's on this page
About Imported Video and Audio Projects
The Imported Video and Audio project allows you to import media files into Qualtrics to analyze recorded responses in the video editor. When analyzing your imported responses, you can review the response’s sentiment, assign tags based on the response content, and organize responses into highlight reels.
Imported Video and Audio projects are particularly useful for:
- Reviewing longer recordings for qualitative feedback
- Analyzing in-depth interviews
- Presenting highlighted focus group data
Attention: Every minute of uploaded video/audio will count as one response towards your license’s interactions limit. See the Interaction Usage report to monitor your license’s usage. Contact your Technical Success Manager with questions about your license’s limit.
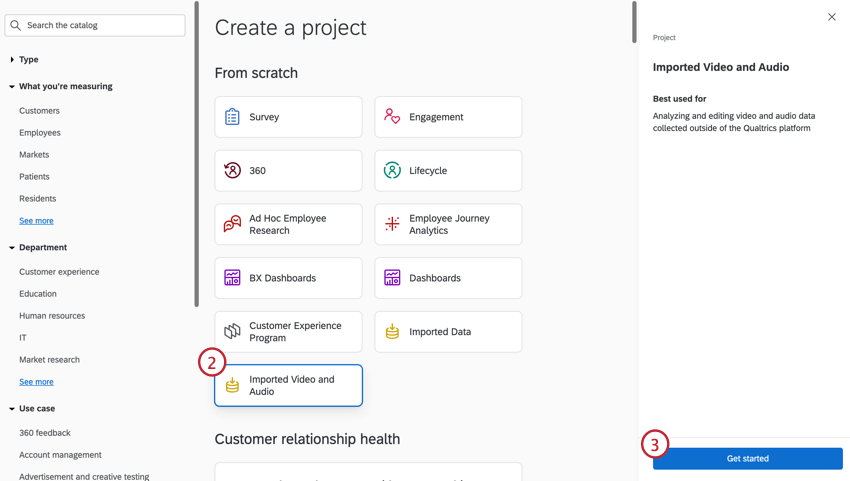
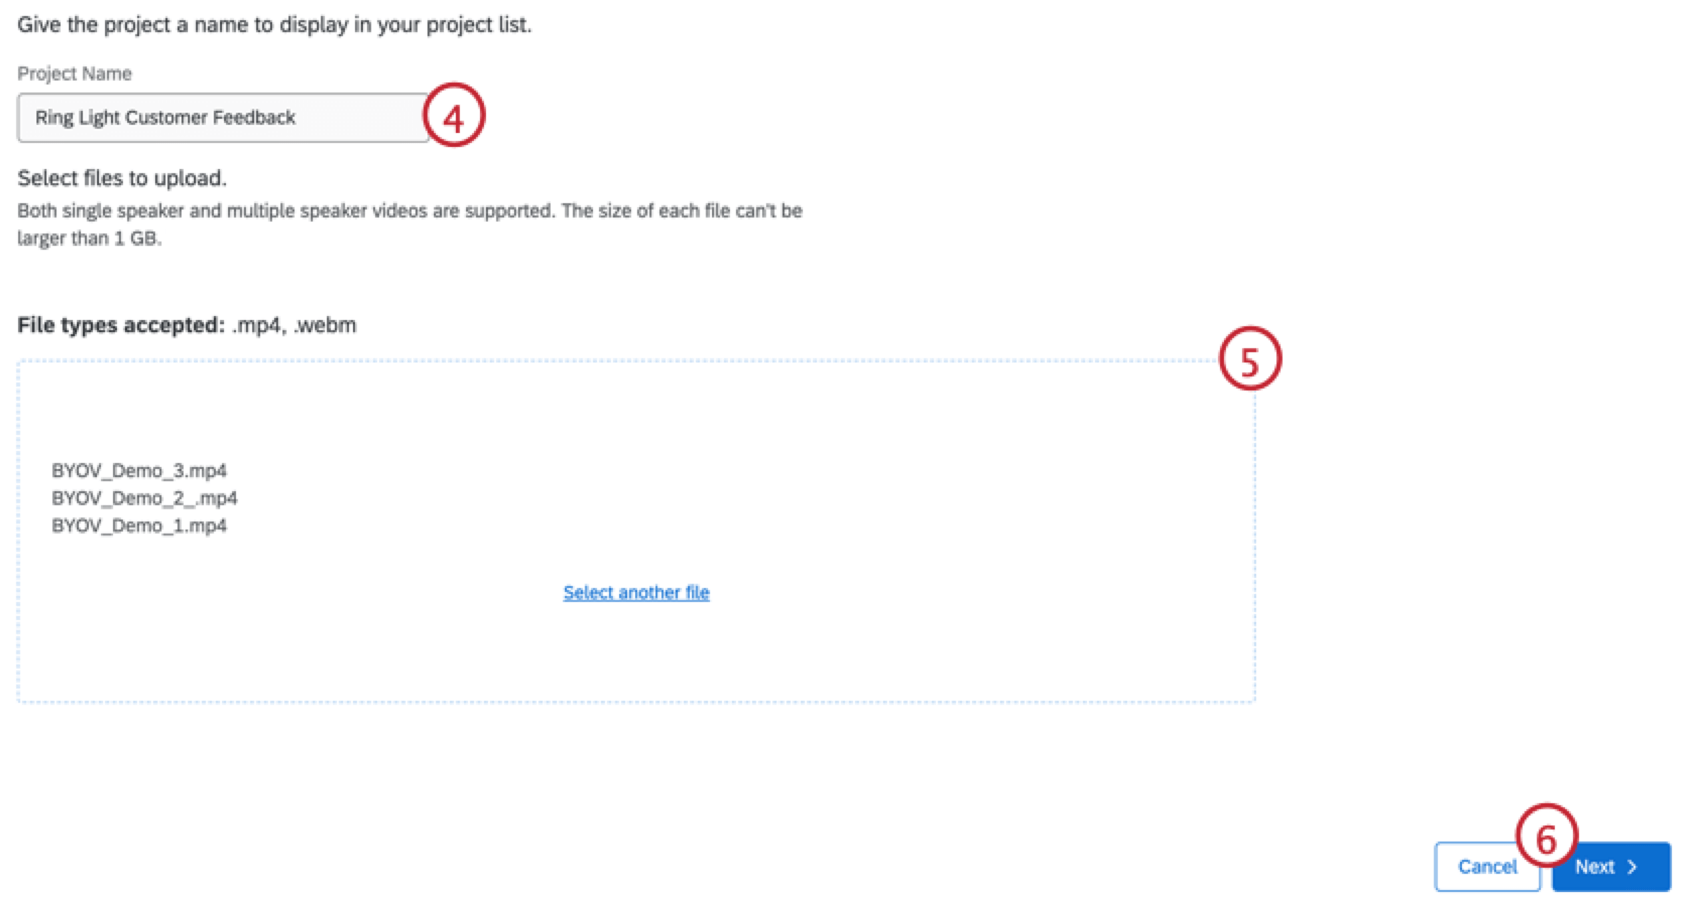
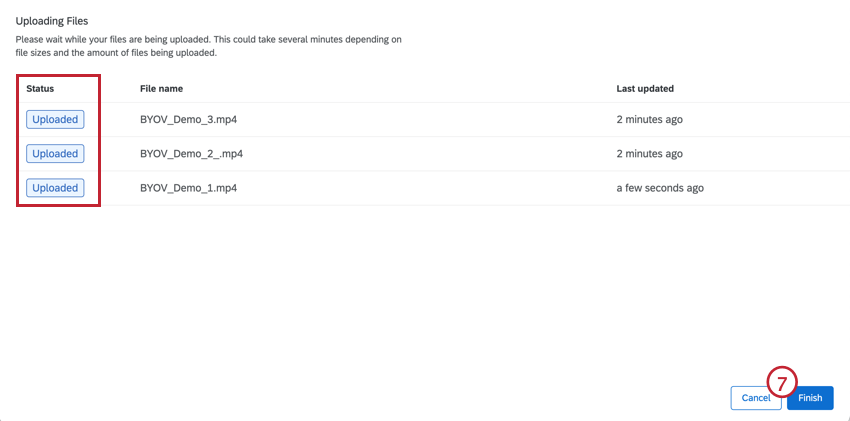
Setting Up an Imported Video and Audio Project
Attention: Uploaded files must have audio in order to be used in the video editor.
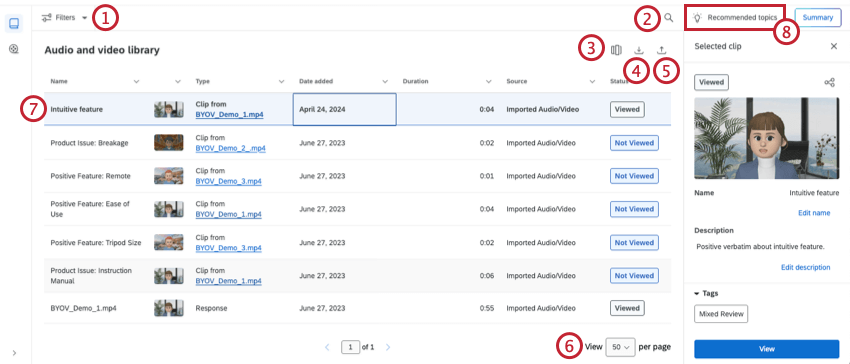
Audio and Video Library
The Audio and video library contains a data table with all of your audio and video responses. From this table, you can view different columns of metadata to analyze and summarize your responses.
Attention: Recorded responses must have audio in order to be uploaded into the video editor. If you are missing a file, ensure that the audio is functional before uploading again.

Viewing a Single Response
Click View on a response to edit the video, view the transcript, and create clips. For more information on working with responses, see Viewing a Single Video Response.

Transcript & Sentiment
If a recording contains sufficient talking, then a transcript will be automatically generated. This transcript contains sentiment data, allowing you to pinpoint how your respondent felt at different moments in time. For more information, see Transcript & Sentiment.
Qtip: Up to 10 different speakers can be identified in an uploaded video’s transcript.
Chapters
Chapters break up responses by AI-generated segments, allowing you to better analyze different concepts in your responses. You can see chapters when you view a response.
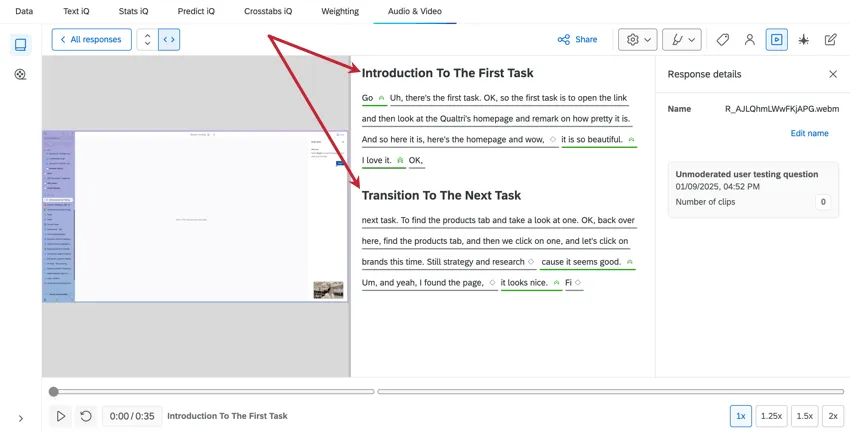
For more information, see Chapters.
Creating a Clip
If you’ve found a moment from a recording you want to highlight or use in your dashboard, you can create a clip of it. For more information, see Creating a Clip.
Highlight Reel Builder
After creating clips from video responses, you can assemble your clips into highlight reels. For more information, see Creating a Highlight Reel.
FAQs
How do I add imported video and audio data to my dashboard?
How do I add imported video and audio data to my dashboard?
On the other hand, survey projects with video questions can be mapped to both data models and data mappers.
That's great! Thank you for your feedback!
Thank you for your feedback!