
Groups (Discover)
What's on this page
About Groups in XM Discover
A group is a collection of users with whom you can share your dashboards, books, filters, and metrics. In Studio, you can create, edit, manage, and delete groups.
For more information about managing users and groups, see Managing Users.
Users & Groups Page Overview
Qtip: A Manage Users permission is required to manage users.
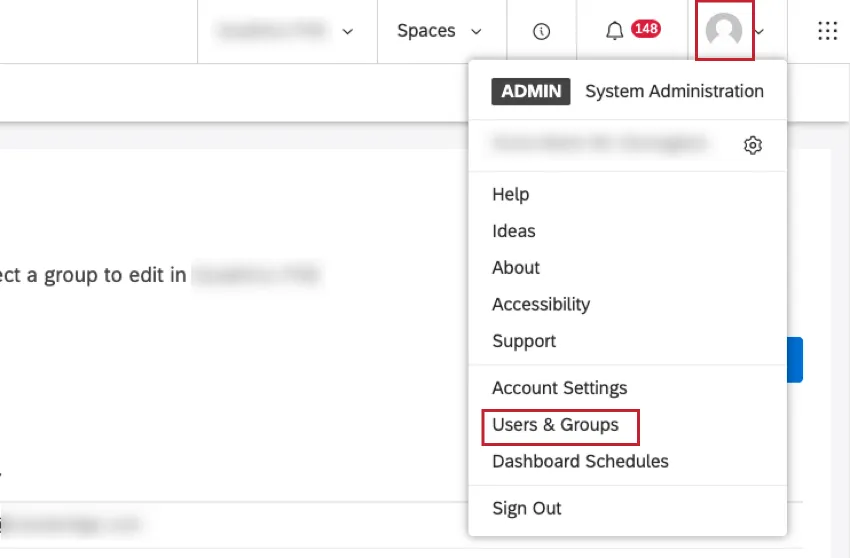
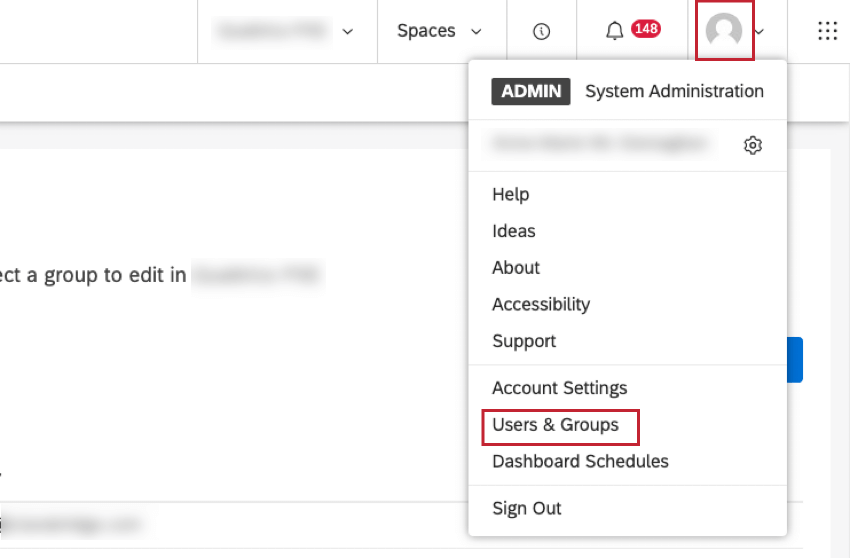
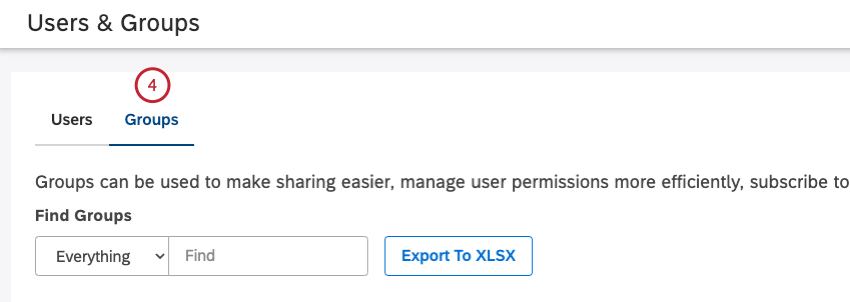
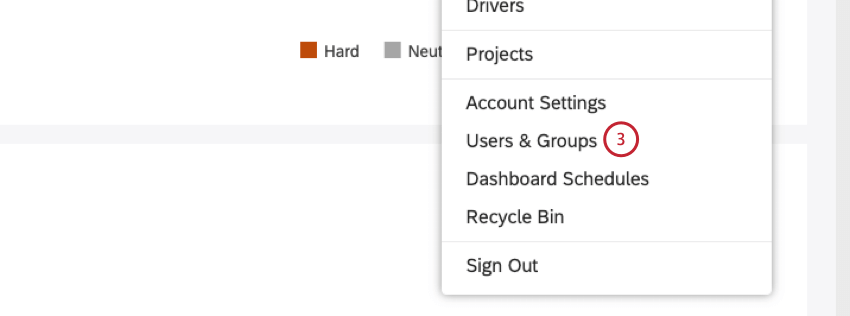
You can manage users and groups on the Users & Groups page.
To access the Users & Groups page, click the profile icon in the top navigation area in Studio and select Users & Groups from the menu.
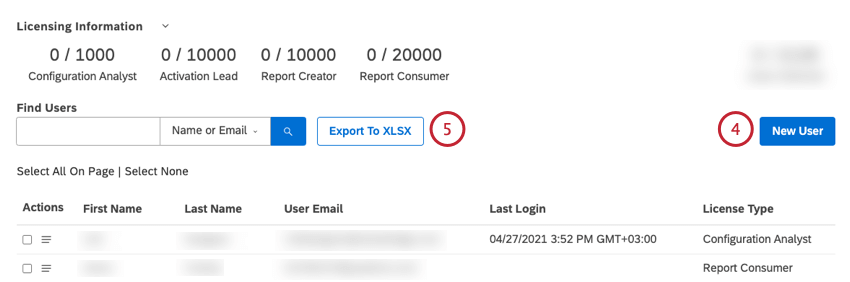
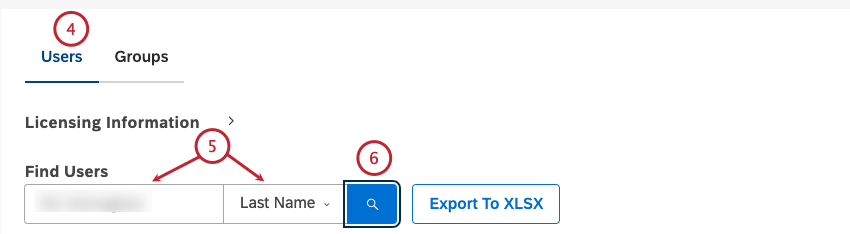
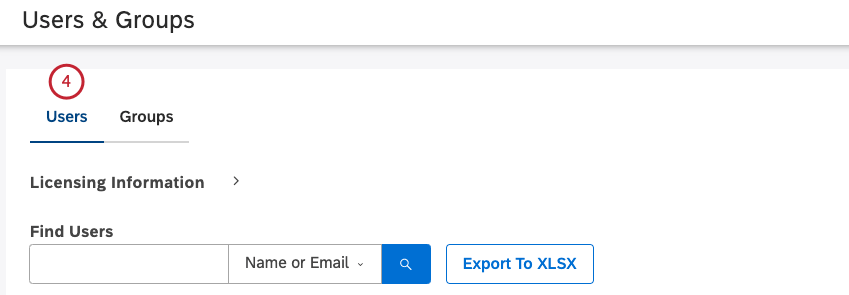
Users Tab
You can do the following in the Users tab:
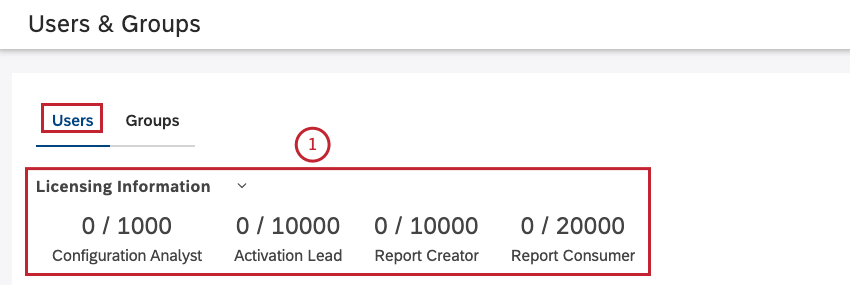
- Name or email
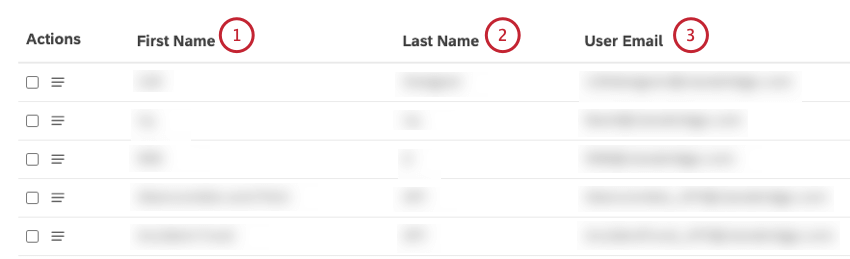
- First Name
- Last Name
- Email Address
- License Type
- Last Login
- Group Name
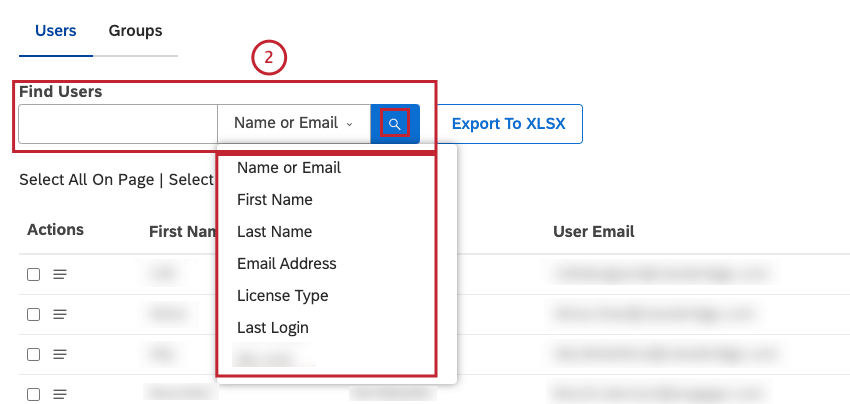
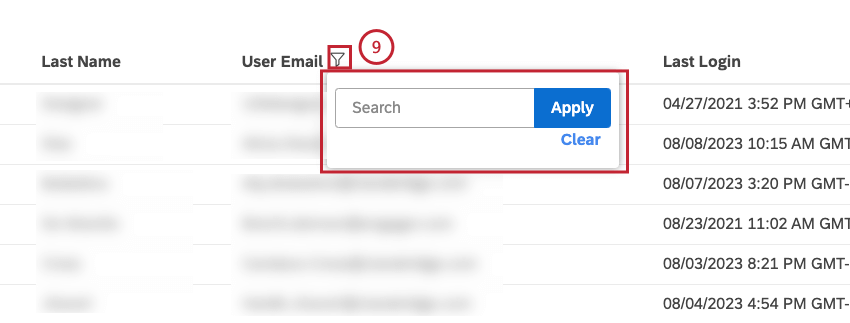
Qtip: Search and column filters have an AND relationship.
Qtip: If a search or column filter is applied, only filtered results are exported.
You can view the following information about users in the table in the Users tab:
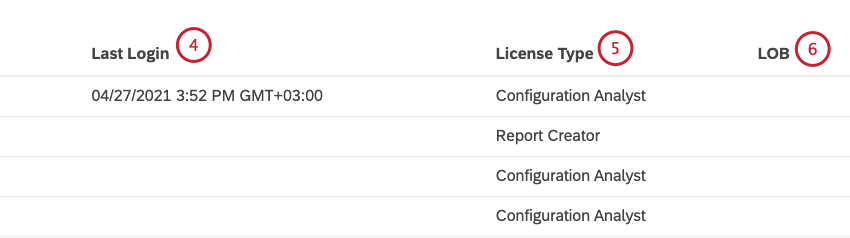
Qtip: The custom field can be used to group users in the Users section.
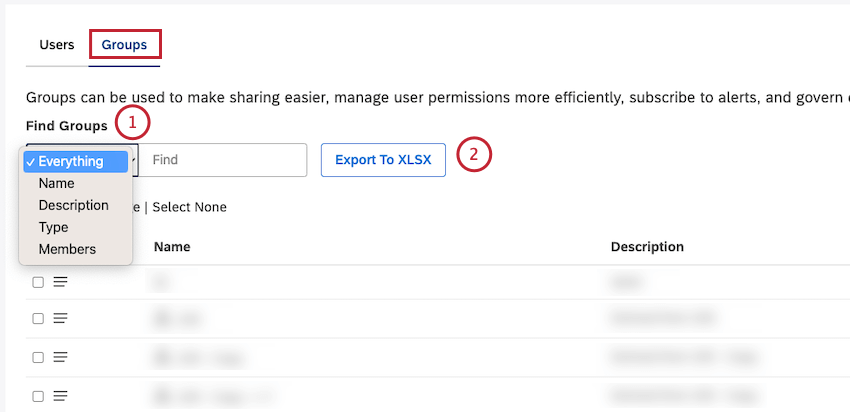
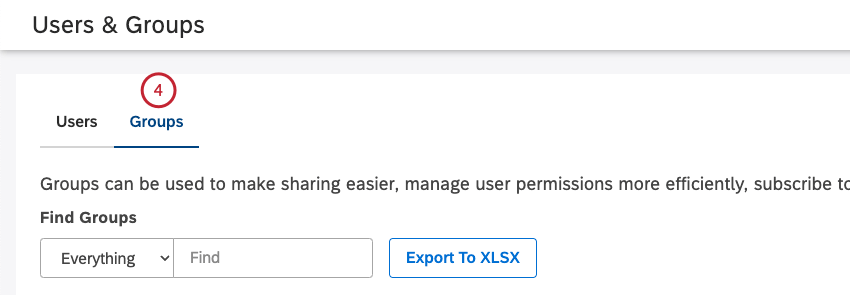
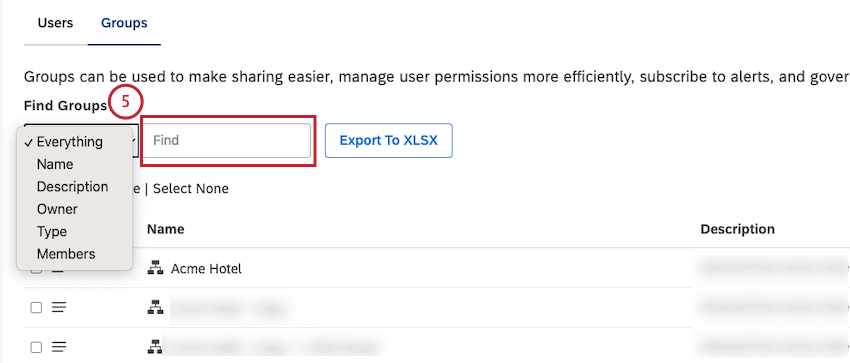
Groups Tab
You can do the following in the Groups tab:
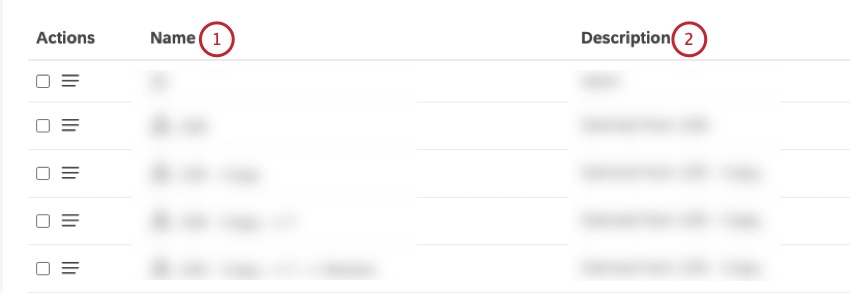
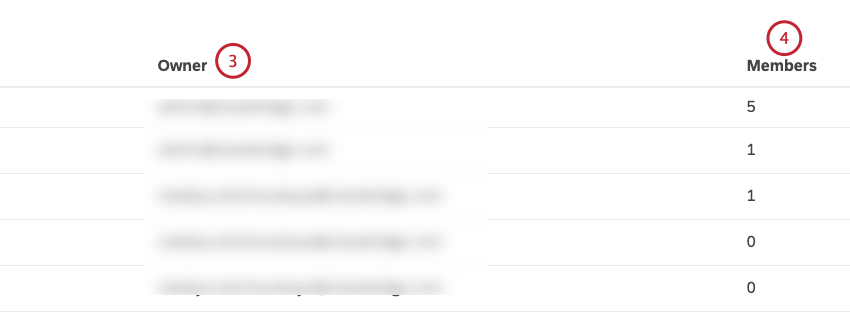
You can view the following information about groups in the table in the Groups tab:
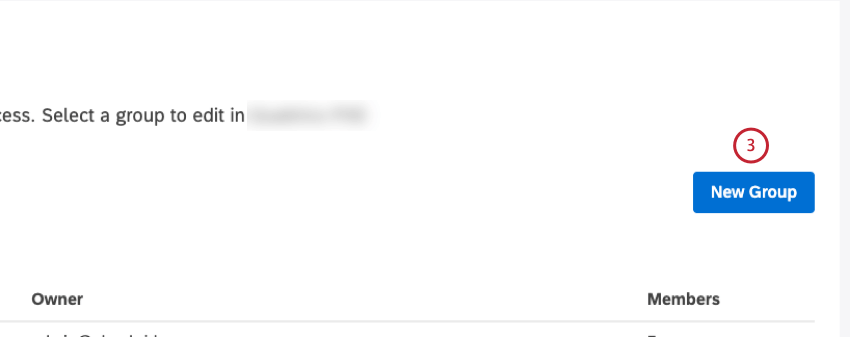
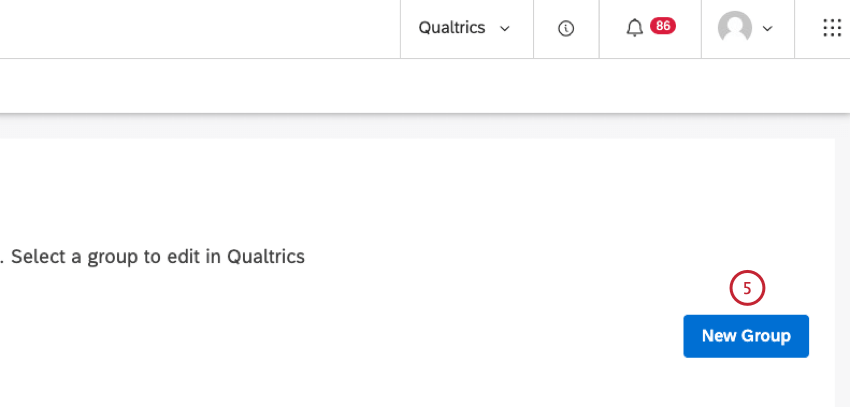
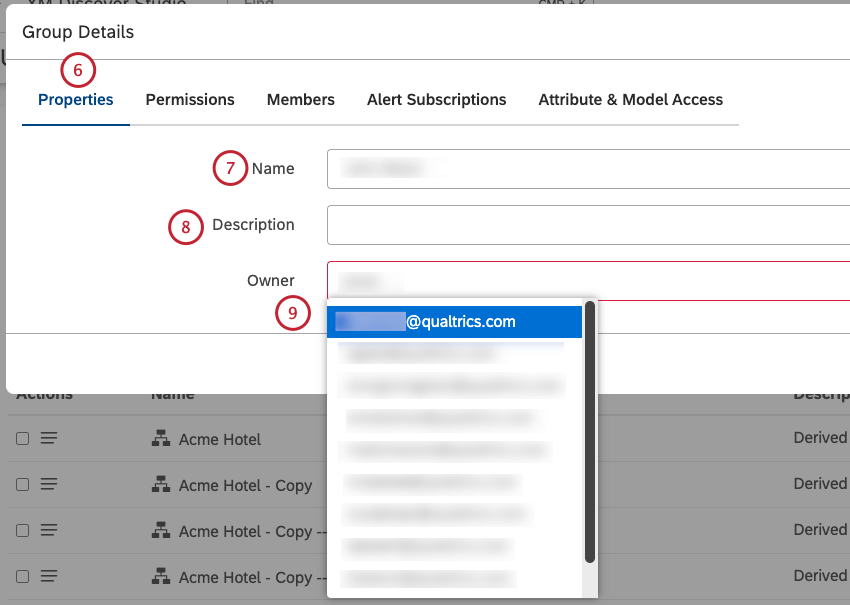
Creating a Group
Qtip: This action requires a Manage Groups permission.
Use groups to organize Studio users for more convenient dashboard sharing and permissions management.
Qtip: Groups that are automatically created from organization hierarchies have a hierarchy icon next to their name.


Qtip: Group permissions do not include Connectors-related permissions which are managed individually at user level.

Qtip: You can add and remove group members any time. For more information, please see the Updating Group Membership via User Management section below.
Qtip: After you create a group, you can remove yourself as a user from that group if you do not wish to receive notifications related to the group.
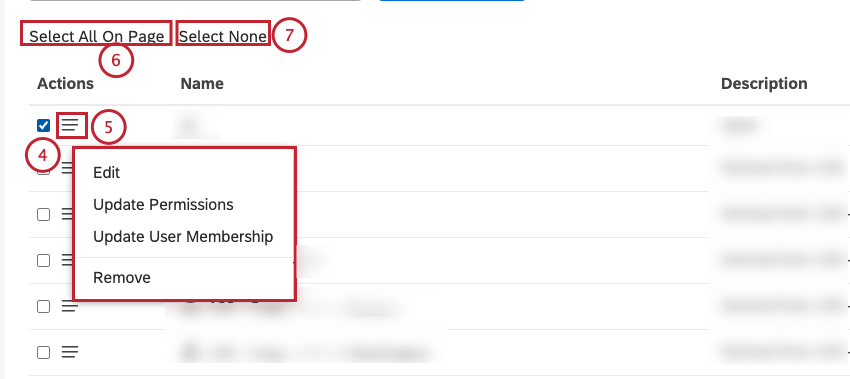
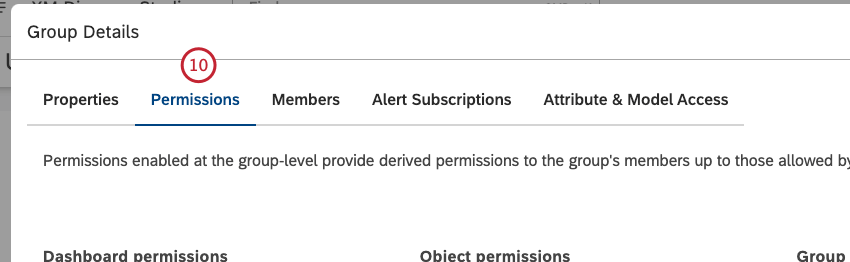
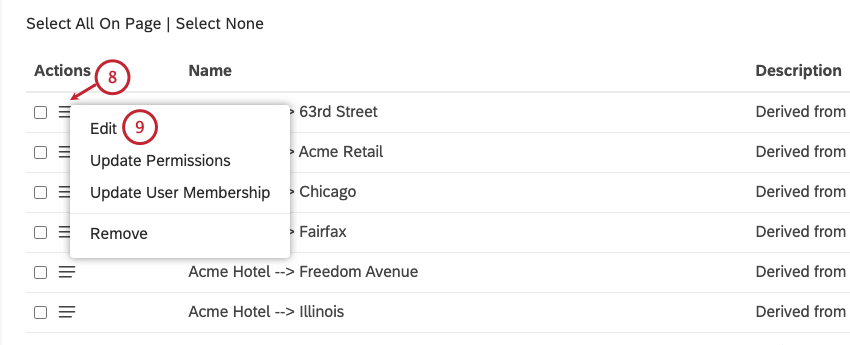
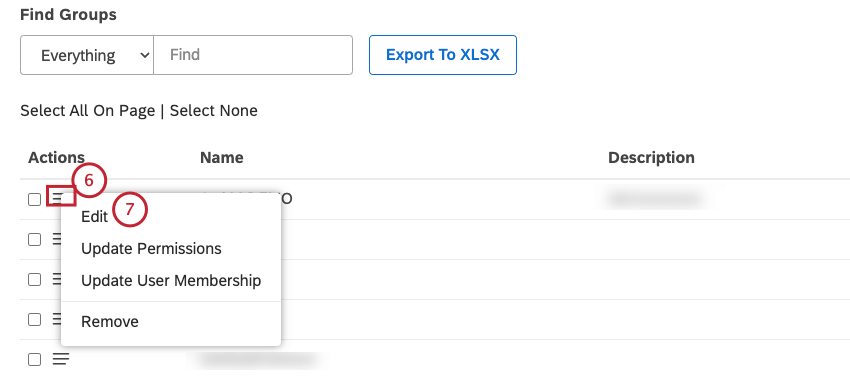
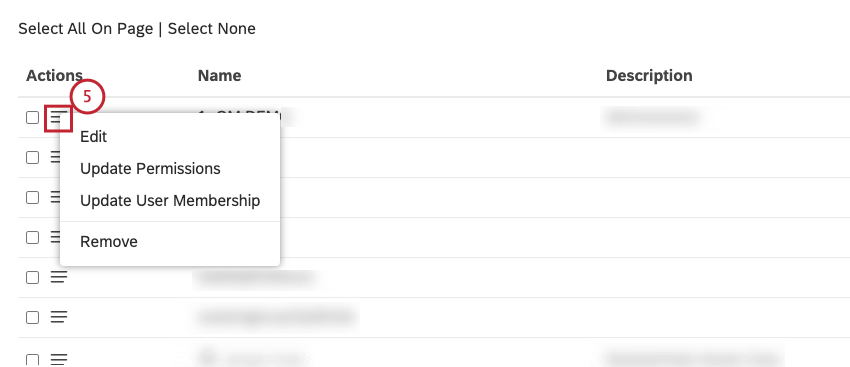
Editing a Group
Qtip: This action requires a Manage Groups permission.
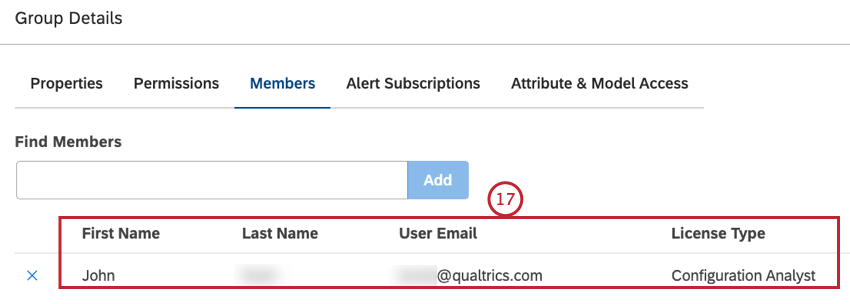
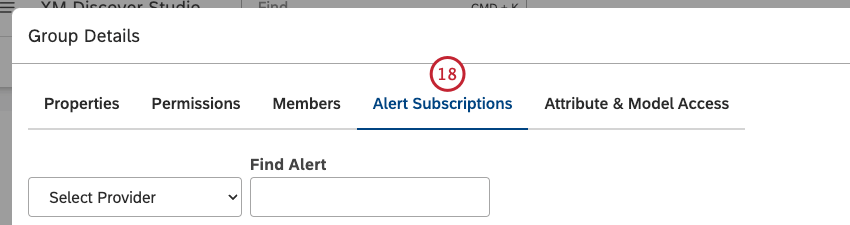
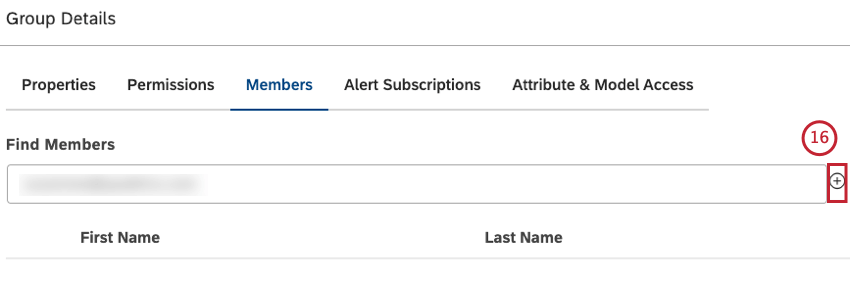
After you create a group, you can change its properties, permissions, members, and alert subscriptions.
Qtip: If a group is created automatically from an organization hierarchy, its properties cannot be edited, and membership can only be updated via a hierarchy. However, you can change its permissions and alert subscriptions.


Updating Group Membership
In Studio, you can organize users into groups for more convenient sharing and permissions management. Group membership is also required to use alerts. There are two ways to update group membership:
- Via User Management: Use this option when you need to add or remove 1 or more users for multiple groups
- Via Group Management: Use this option when you need to add or remove 1 or more users for 1 or several groups.
Only registered users can be added to groups. If a group is created automatically from an organization hierarchy, its membership can only be updated via a hierarchy.
When a user joins a group, the user is granted all group permissions that are allowed by the user license type. They receive access to all dashboards shared with the group (even if they were shared before the user joined). If alerts are configured for the group, the user will receive all alerts triggered for that group after the user joined.
When a user leaves a group, the user is stripped from group permissions and loses access to dashboards shared with the groups.
Updating Group Membership via User Management
Qtip: These actions require Manage Users and Manage Groups permissions.
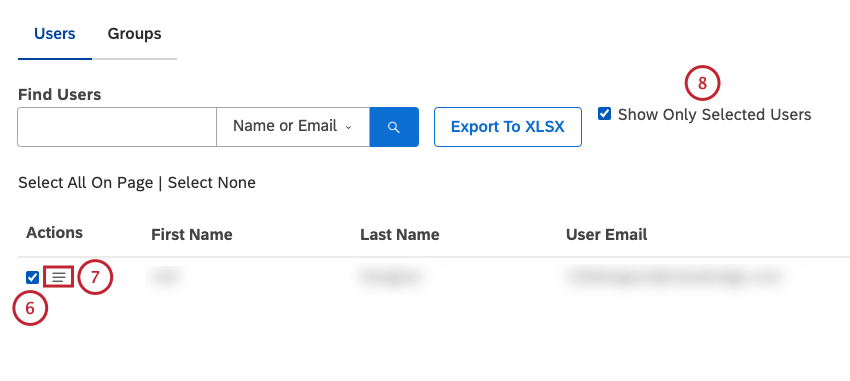
You can update group membership for a single user and for multiple users.
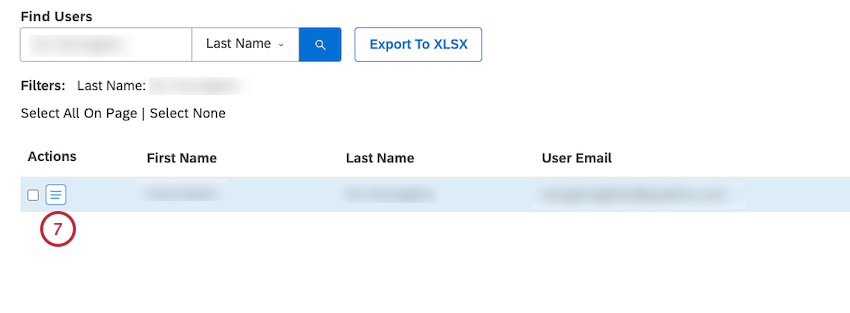
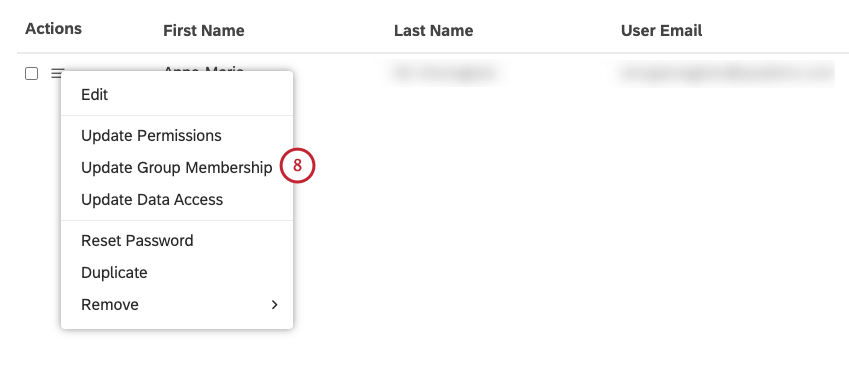
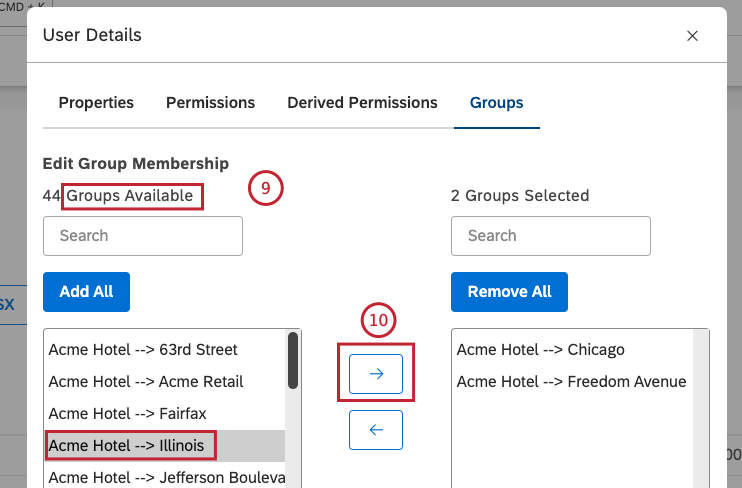
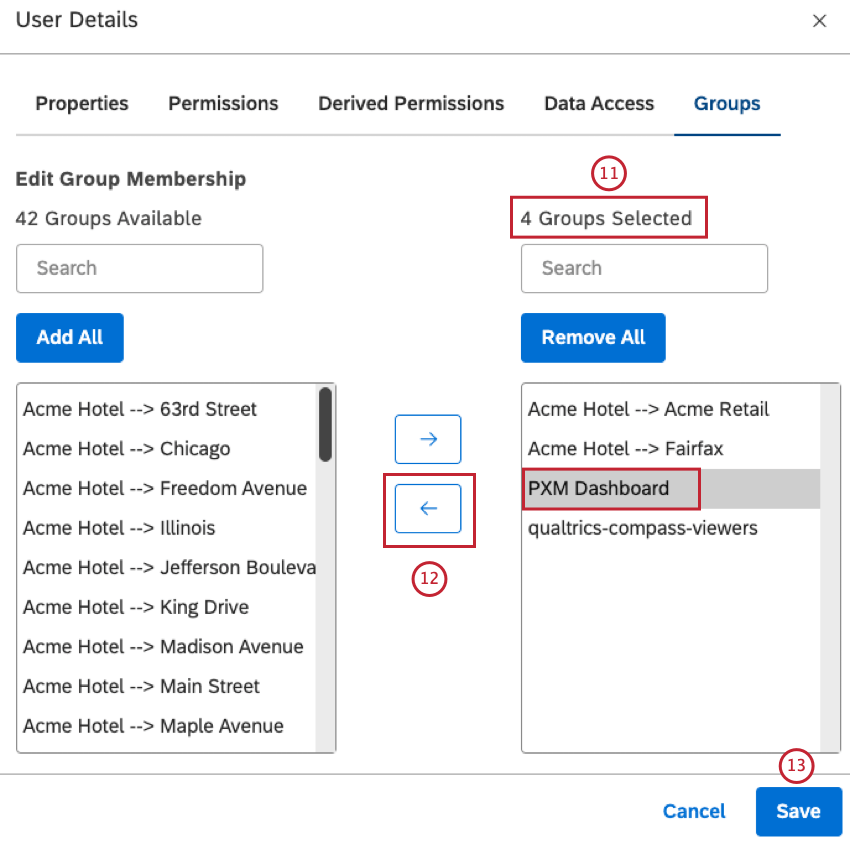
Updating Group Membership for a Single User

- Name or email
- First Name
- Last Name
- Email Address
- License Type
- Last Login
- Group Name
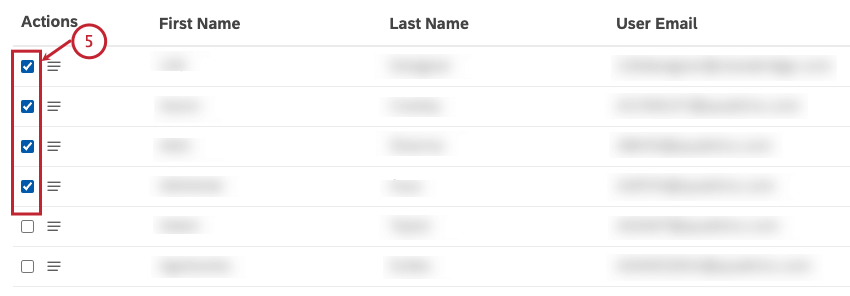
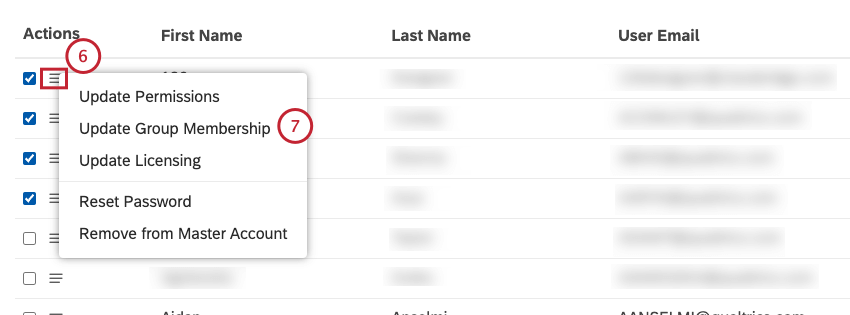
Updating Group Membership for Multiple Users


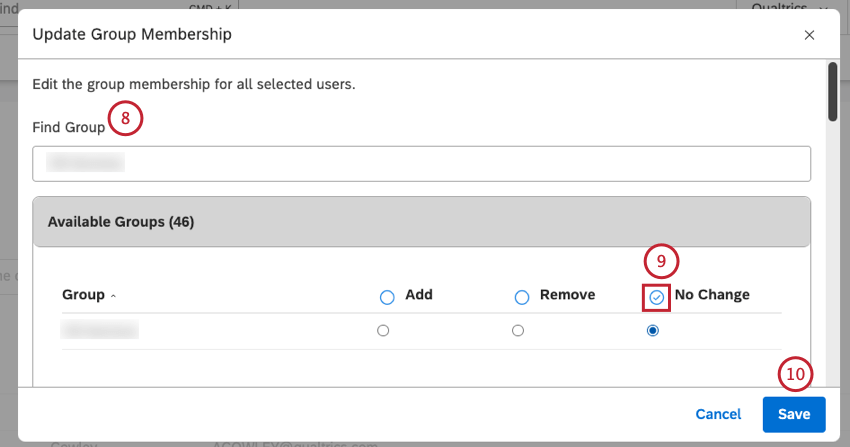
- Add: Add selected users to the group.
- Remove: Remove selected users from the group.
- No Change (Default): Make no changes.
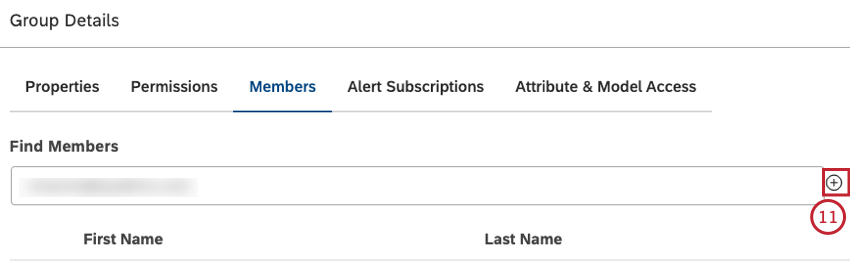
Updating Group Membership via Group Management
You can update group membership for a single group and for multiple groups.
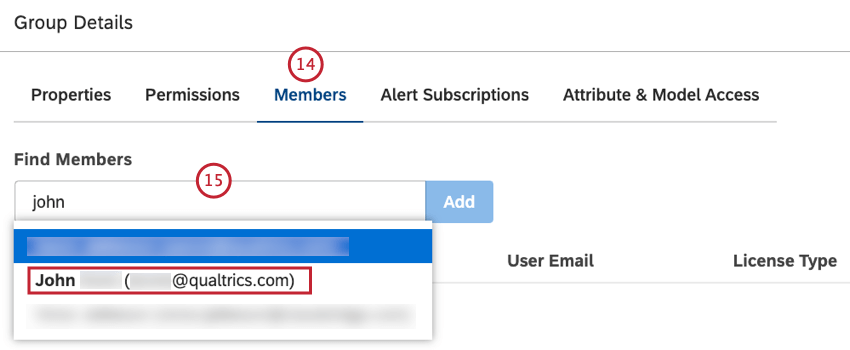
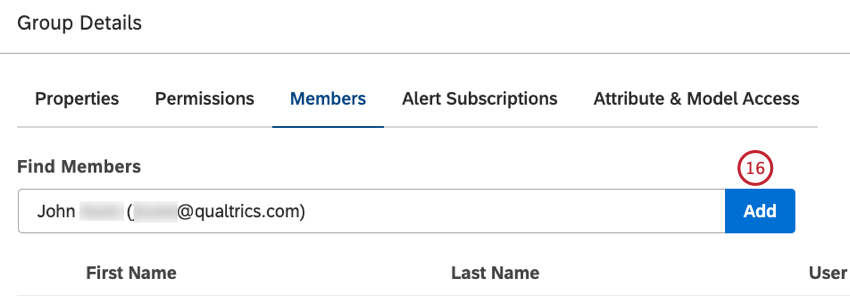
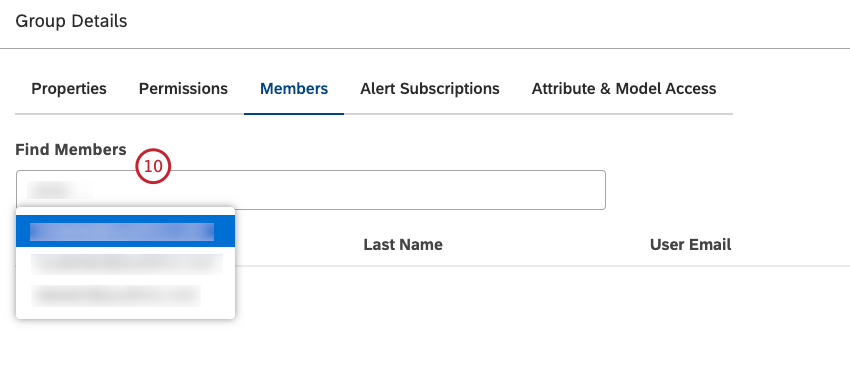
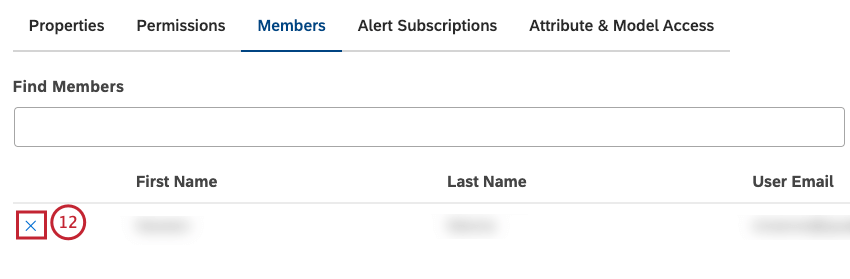
Updating Group Membership for a Single Group
Qtip: This action requires a Manage Groups permission.


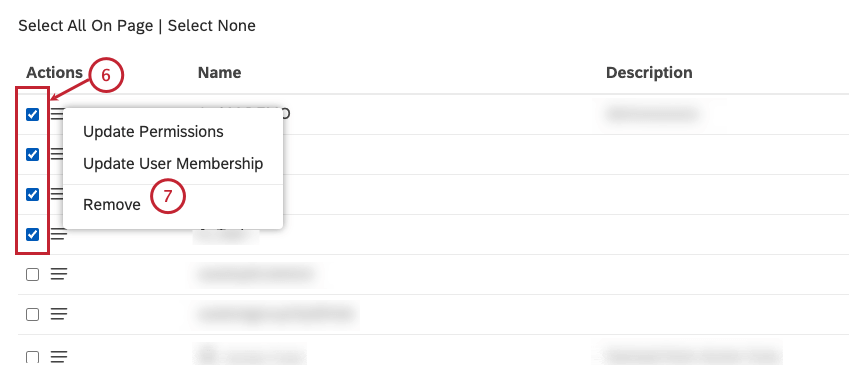
Updating Group Membership for Multiple Groups
Qtip: This action requires a Manage Groups permission.


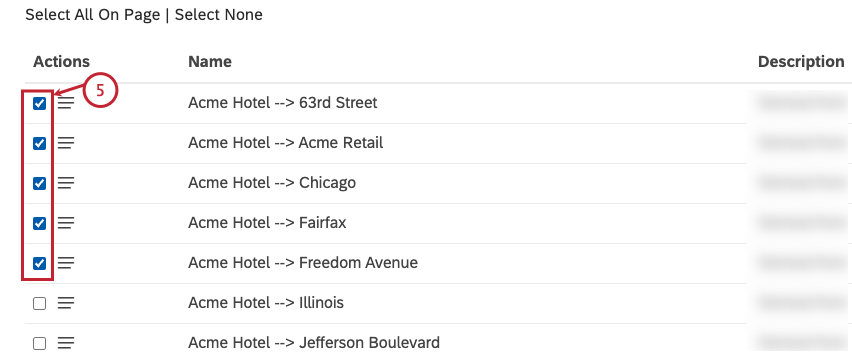
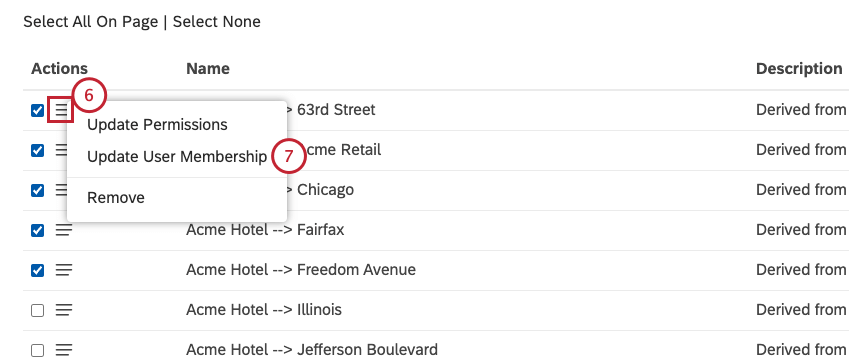
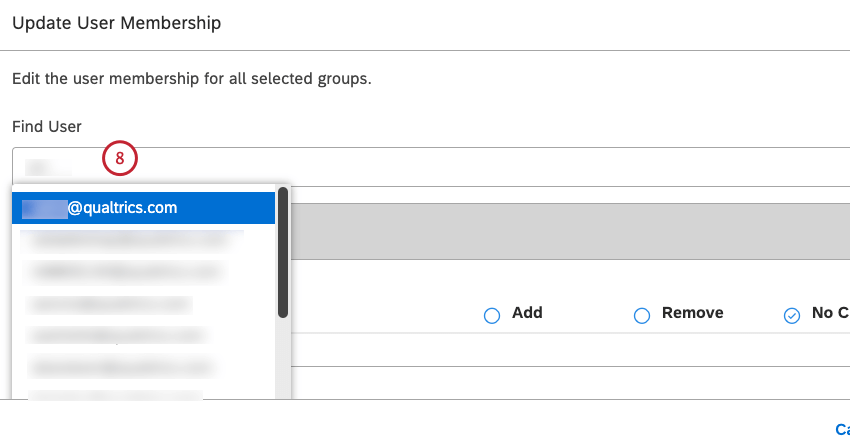
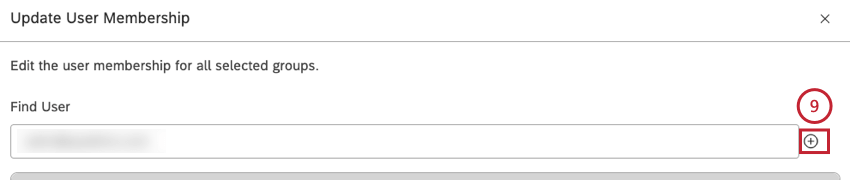
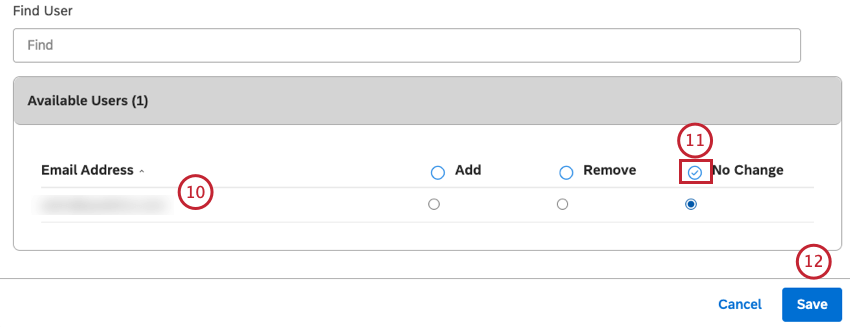
Qtip: You can add as many users as you need.
- Add: Add selected users to the groups.
- Remove: Remove selected users from the groups.
- No Change (Default): Make no changes.
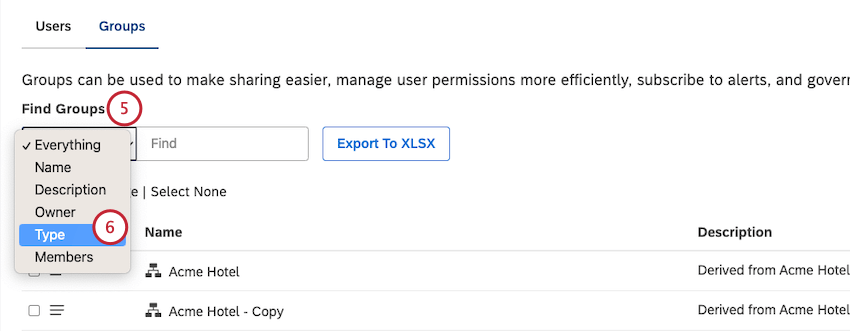
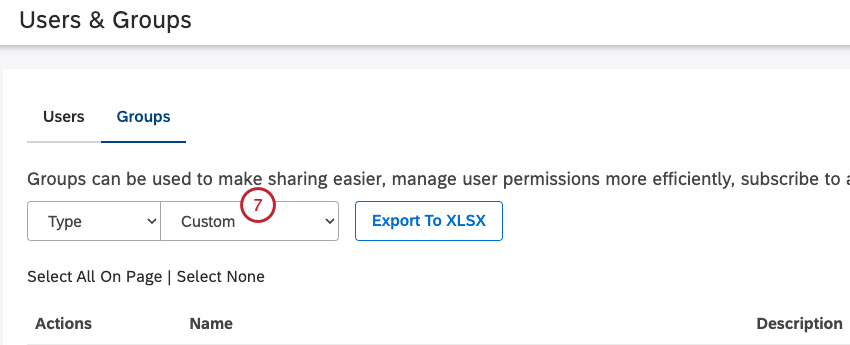
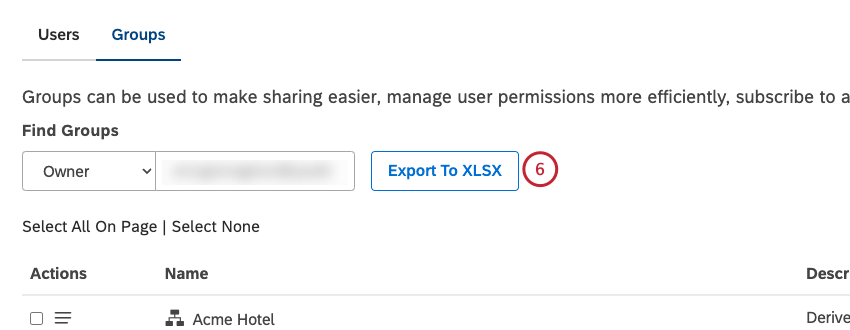
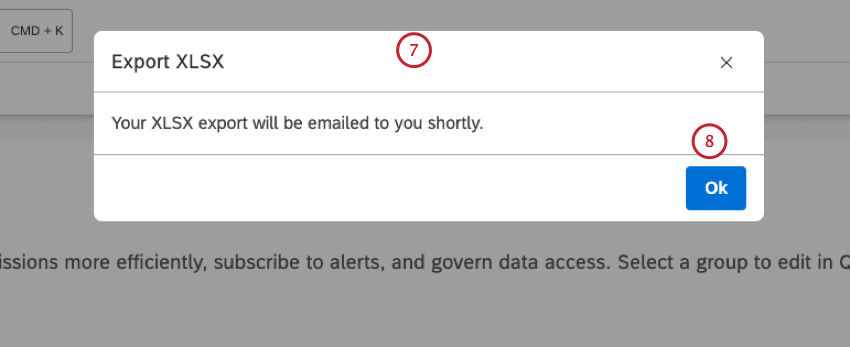
Exporting Groups to Microsoft Excel
Qtip: This action requires a Manage Groups permission.
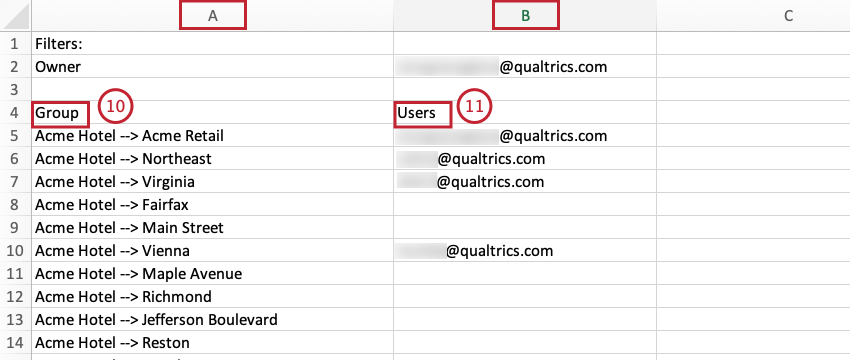
You can export Studio groups to Microsoft Excel to see which users belong to which groups.


- Everything
- Name
- Description
- Owner
- Type
- Members
Qtip: If a filter is applied, only filtered results are exported. If no filter is applied, all groups are exported.
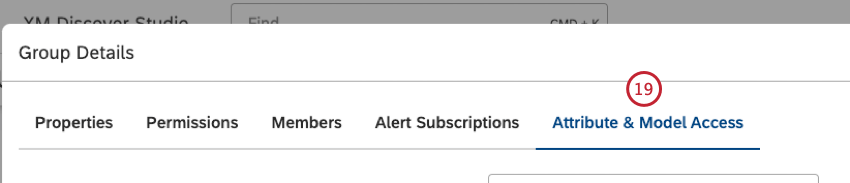
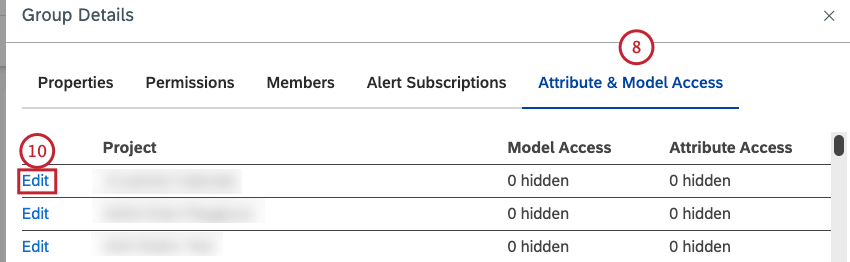
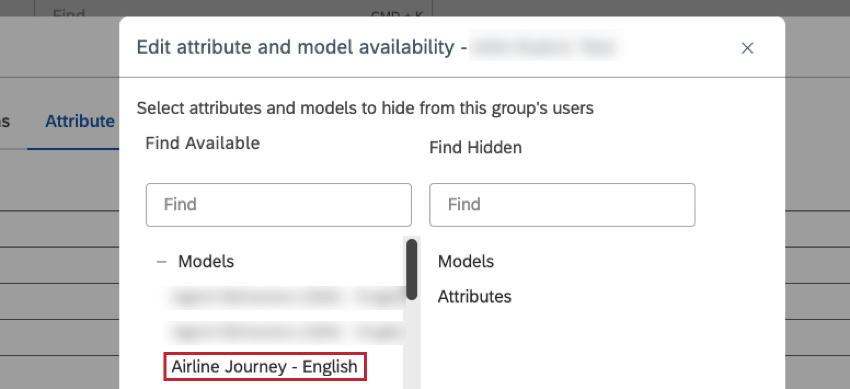
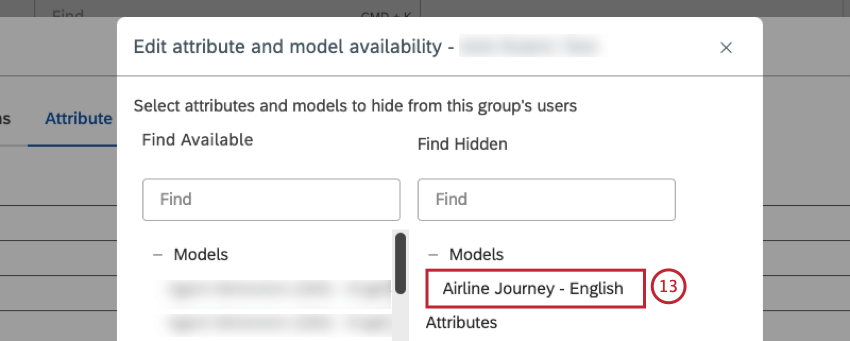
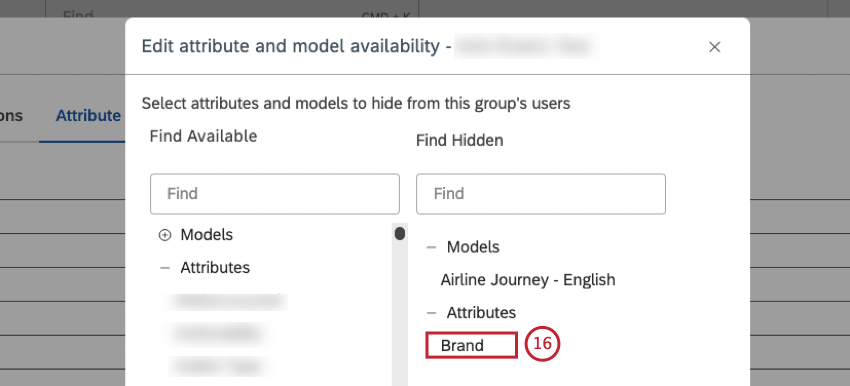
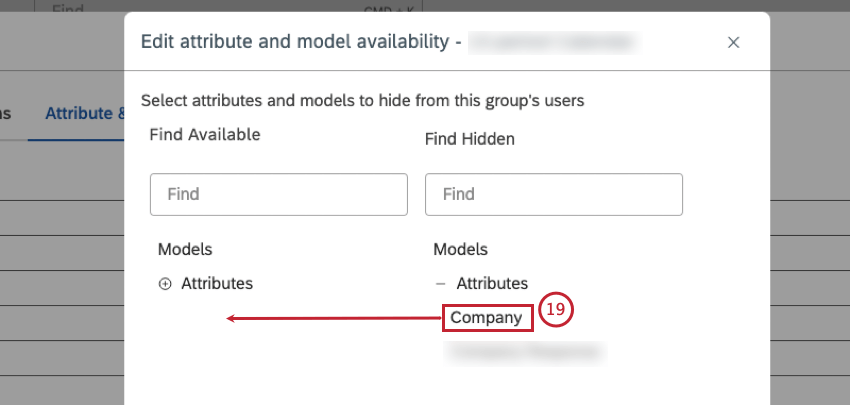
Hiding Attributes and Category Models via Group Access
You can hide selected attributes and category models from all users of a certain group. Attributes and category models hidden via group access do not appear when group members do the following:
- Create widgets, metrics, and filters.
- Use drilling.
- View or export feedback from Document Explorer.
Group members can see attributes and category models hidden via group access in the following cases:
- When a power user shares a dashboard with reports using hidden attributes or models. In this case a group member cannot use drilling on these attributes or models.
- When a user has previously created a widget, metric, or filter using hidden attributes or models.
Attribute and category model governance is about restricting visibility of the attribute or category model itself in various displays. It is not about controlling which documents a particular user can or cannot see.
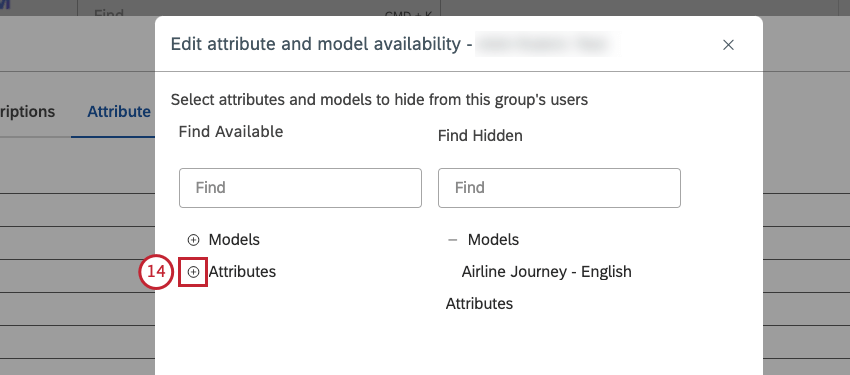
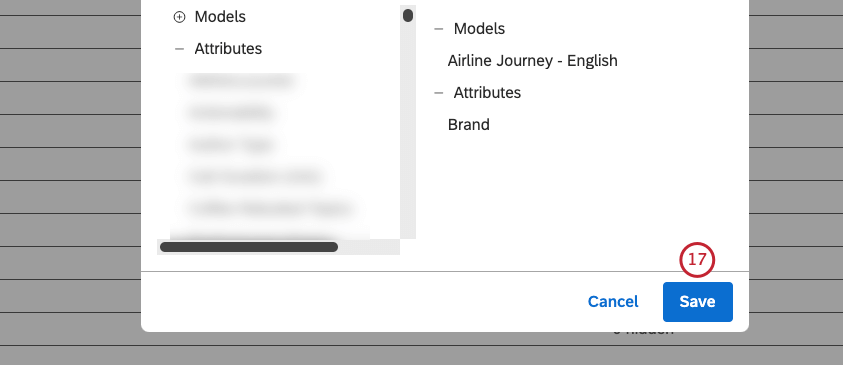
How to Give Access to Attributes and Category Models via Groups
Qtip: This action requires a Manage Groups permission.


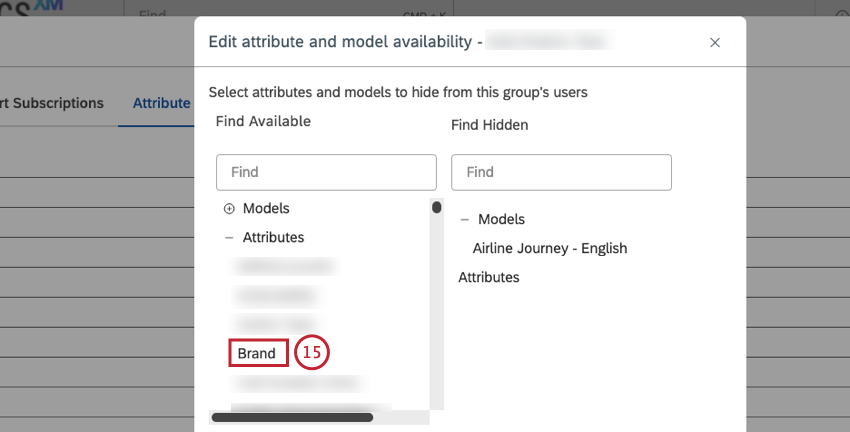
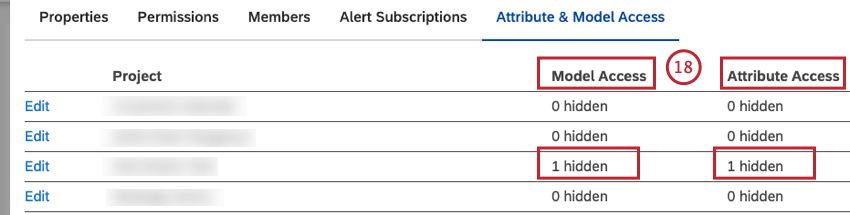
Qtip: For a user in multiple groups, the resulting set of hidden attributes and category models is the union of the user’s group membership. If a user is a member of Group A (with hidden attribute A) and Group B (with hidden attribute B), that user will not see attributes A nor B.
Deleting a Group
Qtip: This action cannot be undone.
Qtip: This action requires a Manage Groups permission.
You can delete groups from Studio. When a group is deleted, the following happens:
- All group members are stripped from group permissions.
- All group members lose access to dashboards shared with this group.
- All alert subscriptions for this group are canceled.


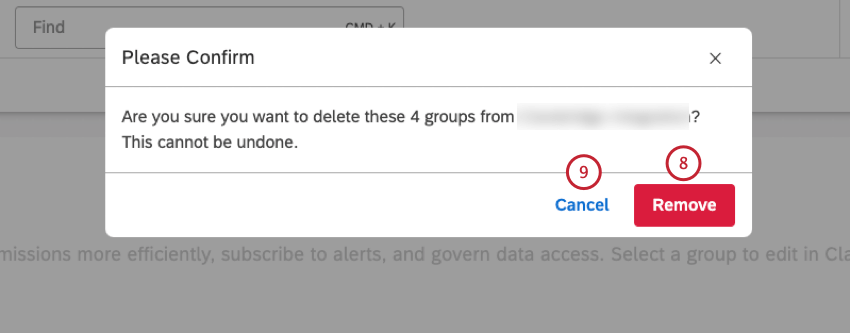
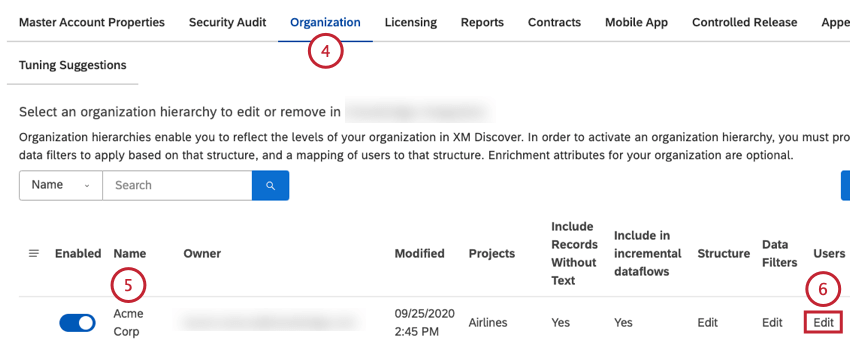
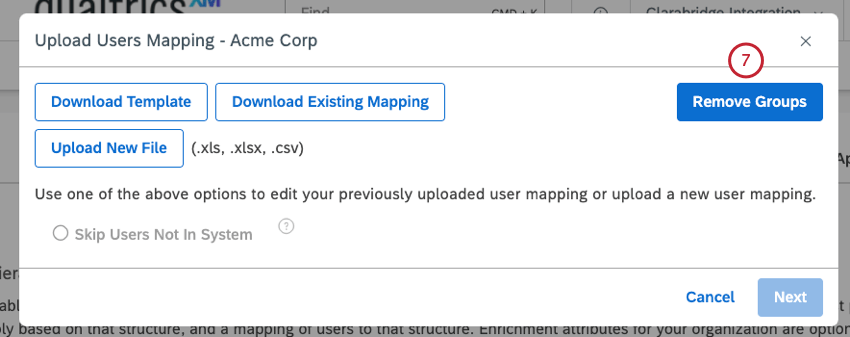
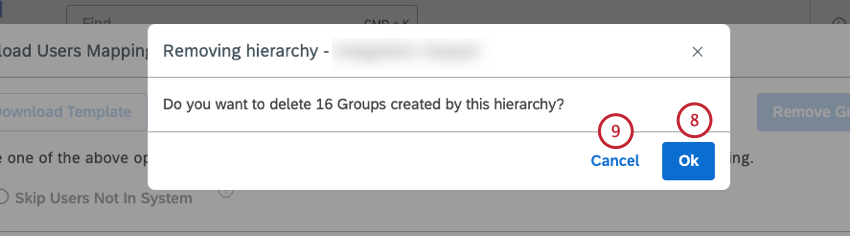
Deleting Hierarchy-Derived Groups
Qtip: This action deletes all groups derived from a selected organization hierarchy. This cannot be undone.
Qtip: You cannot manually delete any groups derived from organization hierarchies. These groups can be deleted from hierarchy settings or automatically when the hierarchy is removed. For information on how to filter out hierarchy-derived groups so that you can focus on groups you have full control over, please see the Editing a Group section.

That's great! Thank you for your feedback!
Thank you for your feedback!