
Connecting to Google Places
What's on this page
Qtip: To use this project type, you must have the, Online Reputation Google and Online Reputation Facebook permissions enabled, found under “Extensions.” You also need the Manage Location Data permission.
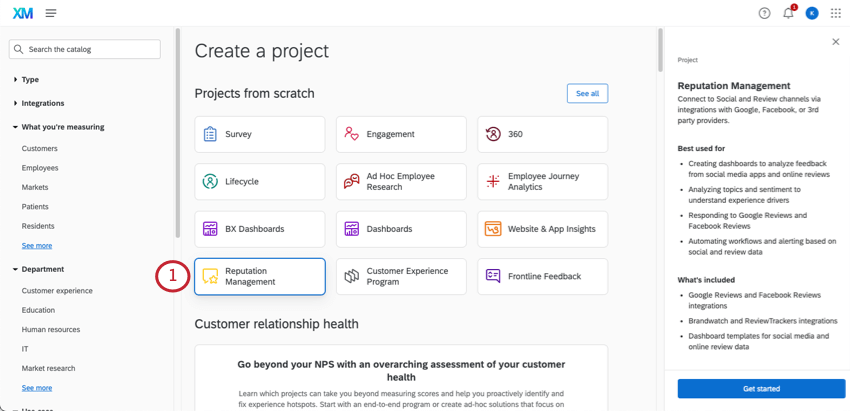
About Connecting to Google Places
If you have a Google Business account, you can connect it to Qualtrics to report on, analyze, and action Google Reviews across your different locations. This feature is capable of mapping reviews to other location feedback in your CX program, supporting multiple Google credentials, and letting you tie Facebook reviews to specific locations.
Qtip: New Google reviews are pulled into Qualtrics roughly every 4 hours. A review may even take longer to appear in Qualtrics if it’s been flagged by Google and needs to go through Google's review verification.
Qtip: If a review is updated, removed, or receives a new reply (including updates to existing reply messages) on Google, or if a reply is deleted, those changes will be reflected in the project within 30 days. This monthly Google review resync does not run on a fixed schedule.
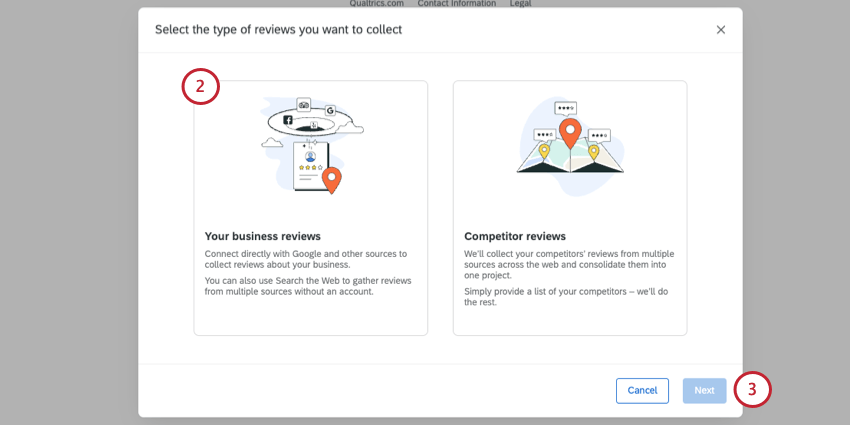
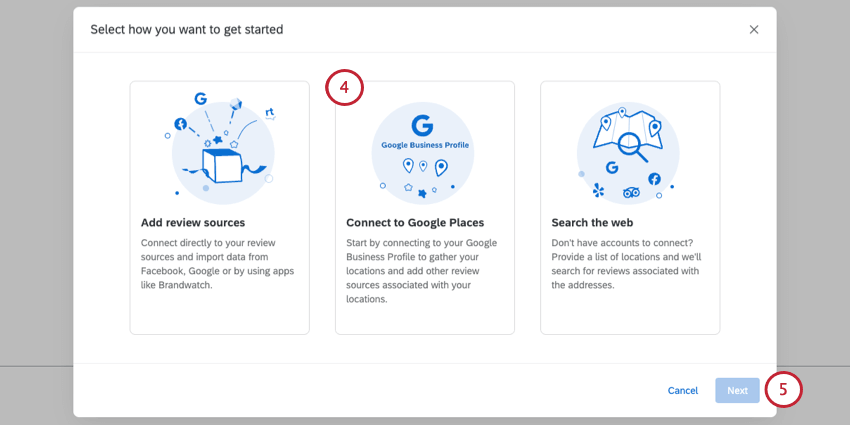
Setting Up Your Project
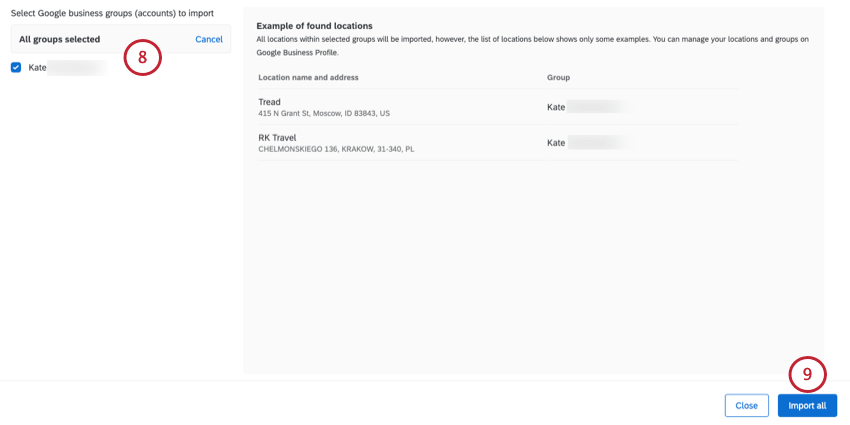
Qtip: All groups are selected by default, but you can choose to only bring a few in if you want.
Attention: Locations with no reviews will still be pulled into the project. However, if there are no reviews, no data will appear in the dashboard for that location.
Qtip: It may take a while for locations to import. Feel free to navigate away from the page in the meantime.
Once your locations are imported, you can create dashboards or workflows.
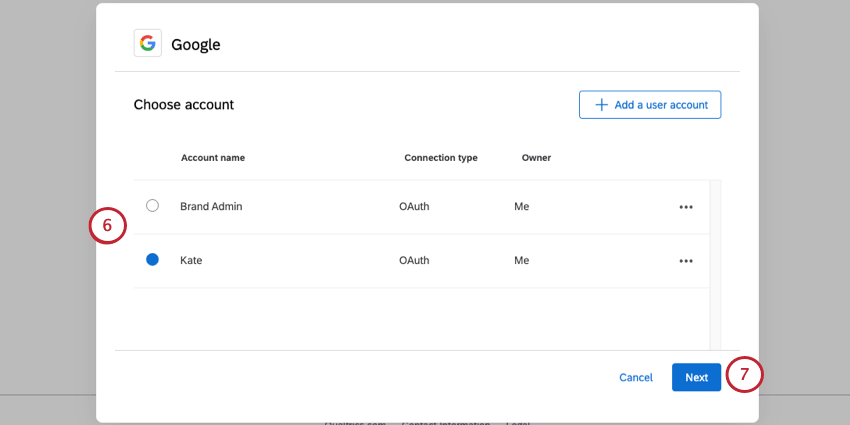
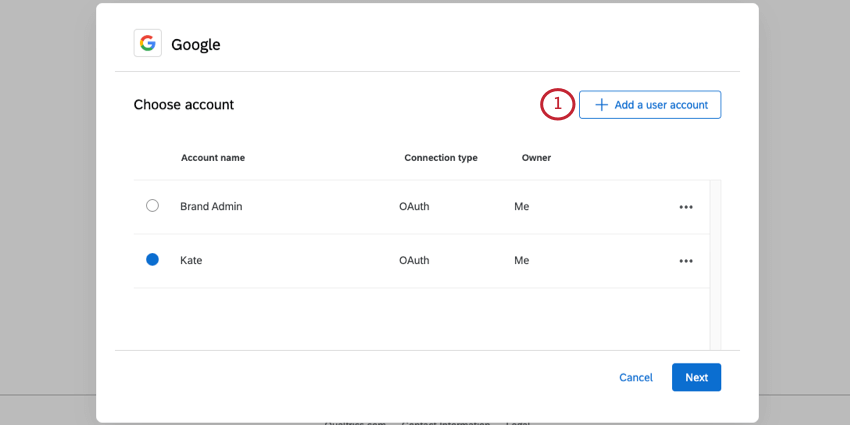
Adding a Google Business Account
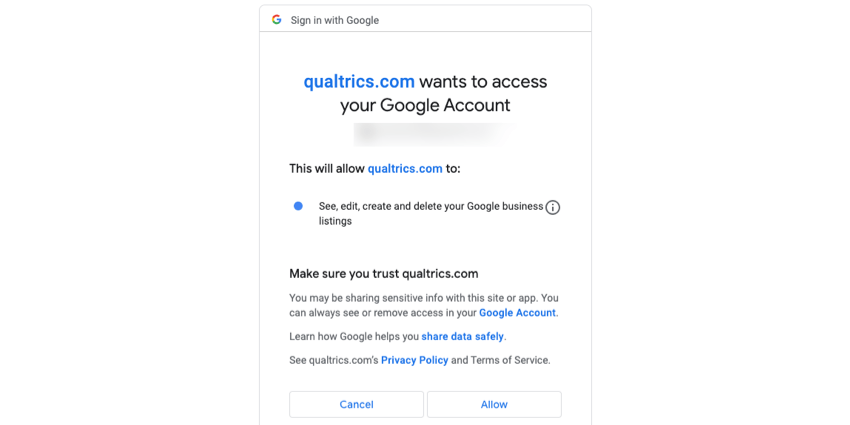
In order to pull Google Reviews into Qualtrics, you need to connect to a Google account. If you already have an account connected, you can select that account. But if you are connecting for the first time, read on.
Attention: This Google Business account needs to be an owner or manager of the locations you want to add to Qualtrics. See Google’s documentation for more details.
Adding an Account as a Brand Administrator
If you are a Brand Administrator, you can add a Google account for some or all users in your license to use.
For more on managing which users have access to this account, see Determining Who Can Use an Extension Account.
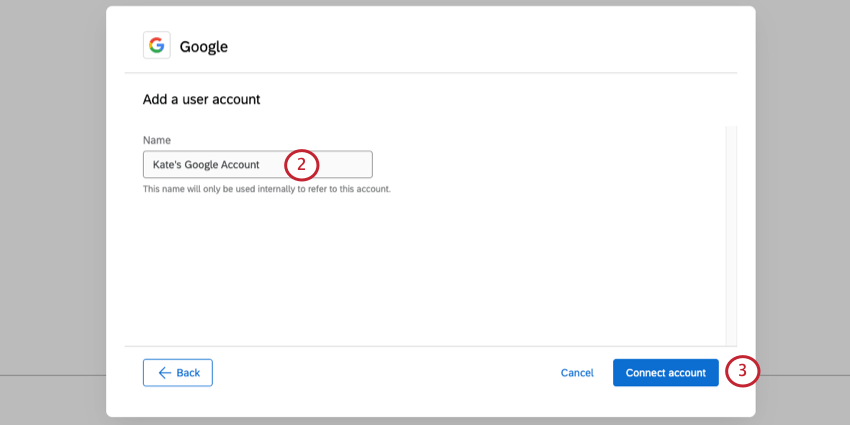
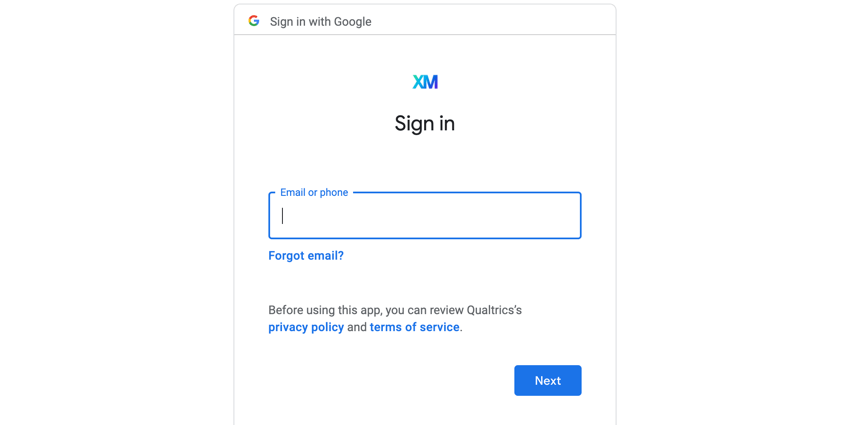
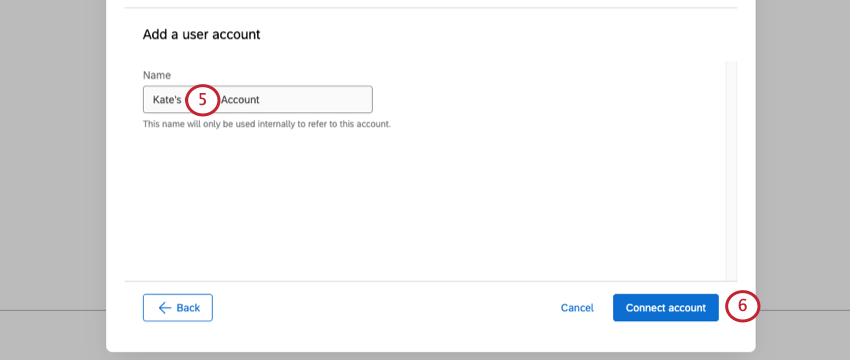
Adding an Account as an Individual User
Follow the steps in this section to add a Google account for your personal use. Only you will be able to use the account that you connect to.
Managing Locations
Once your locations have loaded, you’ll see them listed in the Reputation Management tab.
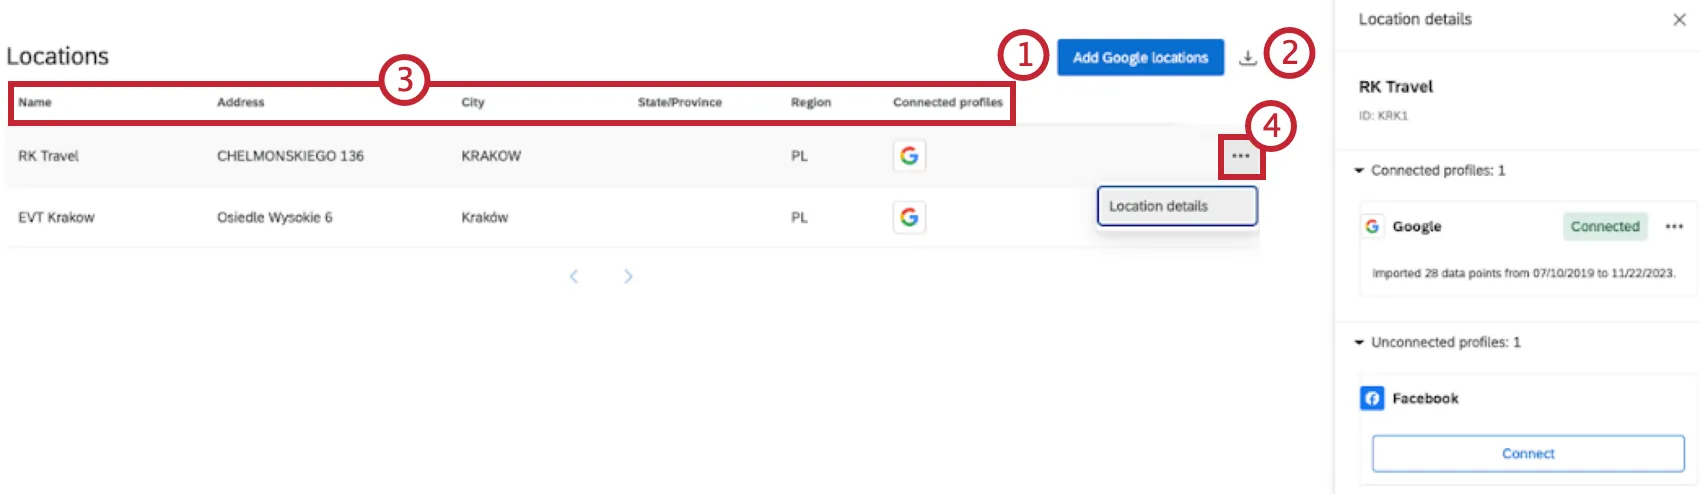
Qtip: This can be helpful if you want to see the ID behind each location and want to use it to align dashboard data, or if you want to use the solicit reviews question.
- Name
- Address
- City
- State/Province
- Region
- Connected Profiles
Enhancing Google Reviews for Dashboard Analysis
Follow the steps in this section if you want to create consistent role-based dashboard restrictions or analyze reviews by information not normally included in Google Reviews, such as region, market, division, and more.
Google has a customizable field called “Store Code” that contains a unique identifier for each location. If the data in your CX program uses these same unique identifiers, then you’ll be able to link your Google Reviews with feedback you’ve collected in the Qualtrics platform.
For more information on managing Store Codes, see Google’s support documentation.
Qtip: In order for this setup to work, the “Store Code” field in Google needs to match the unique ID that you also use in Qualtrics.
Qtip: The _recordedDate field is refreshed during the 30-day Google review resync, causing the data to show sudden increases on the date of the resync. This field can be useful to track the latest platform activity, but _creationDate is better for tracking the original ingestion date.
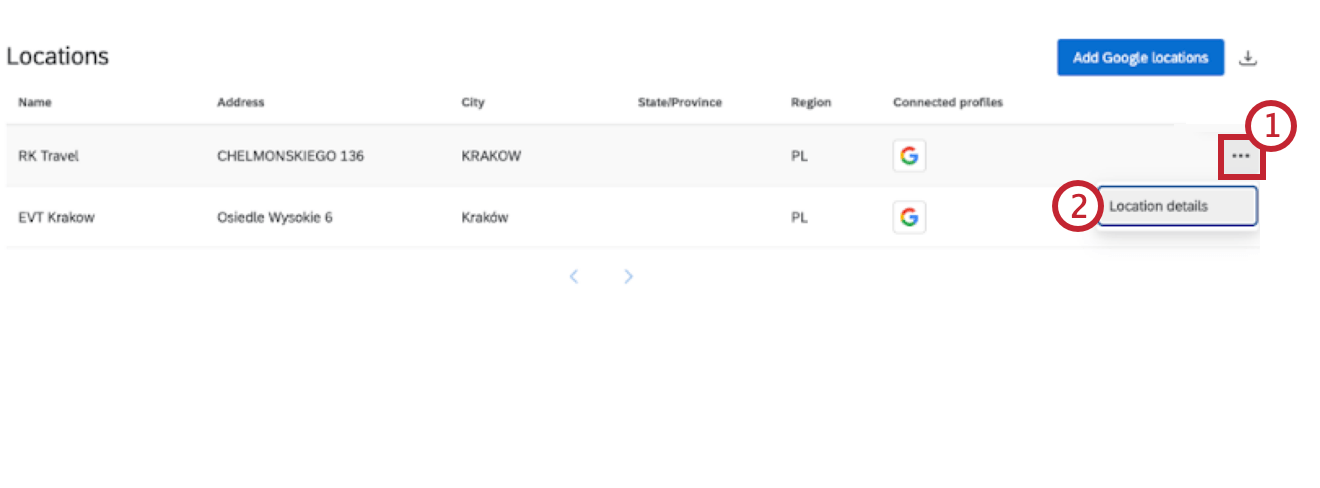
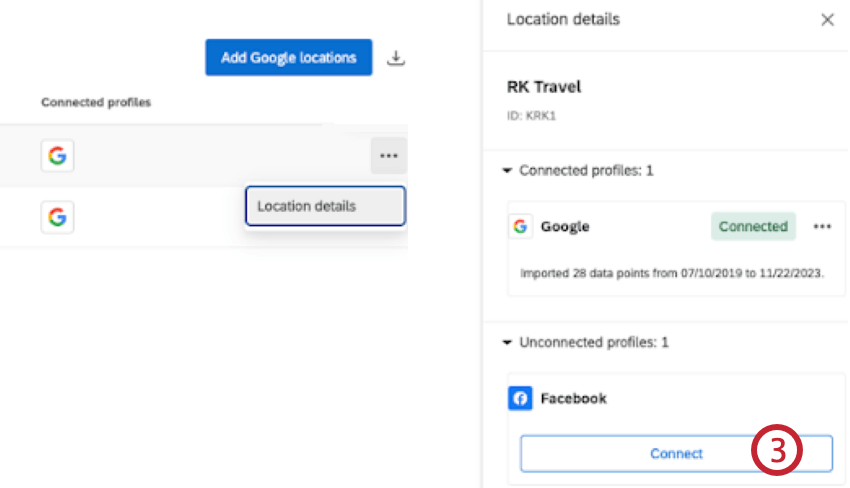
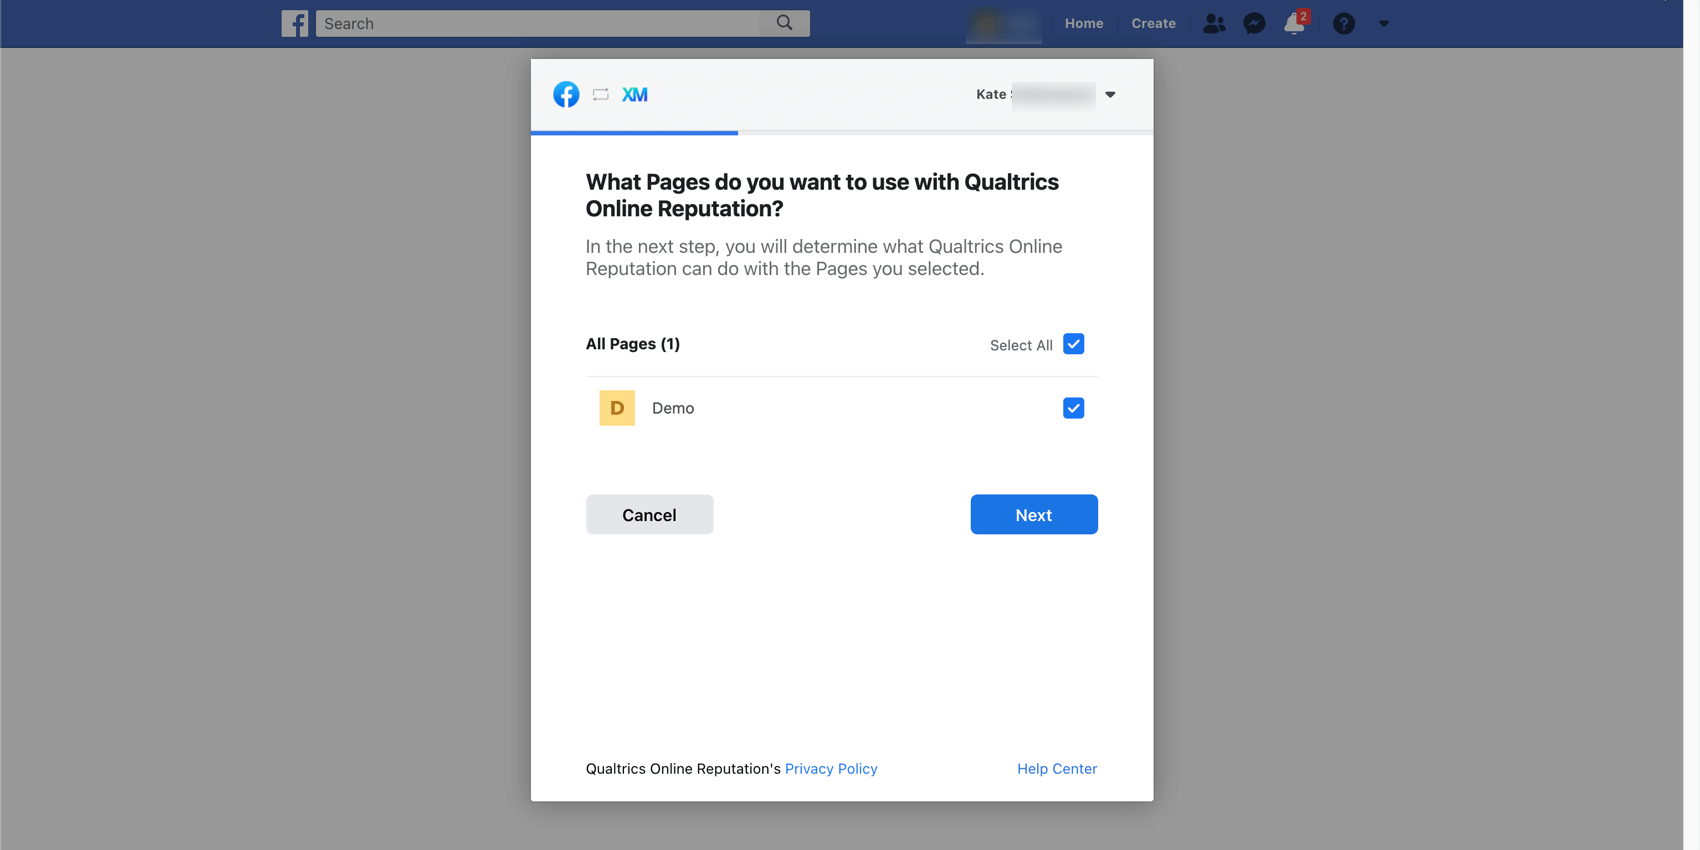
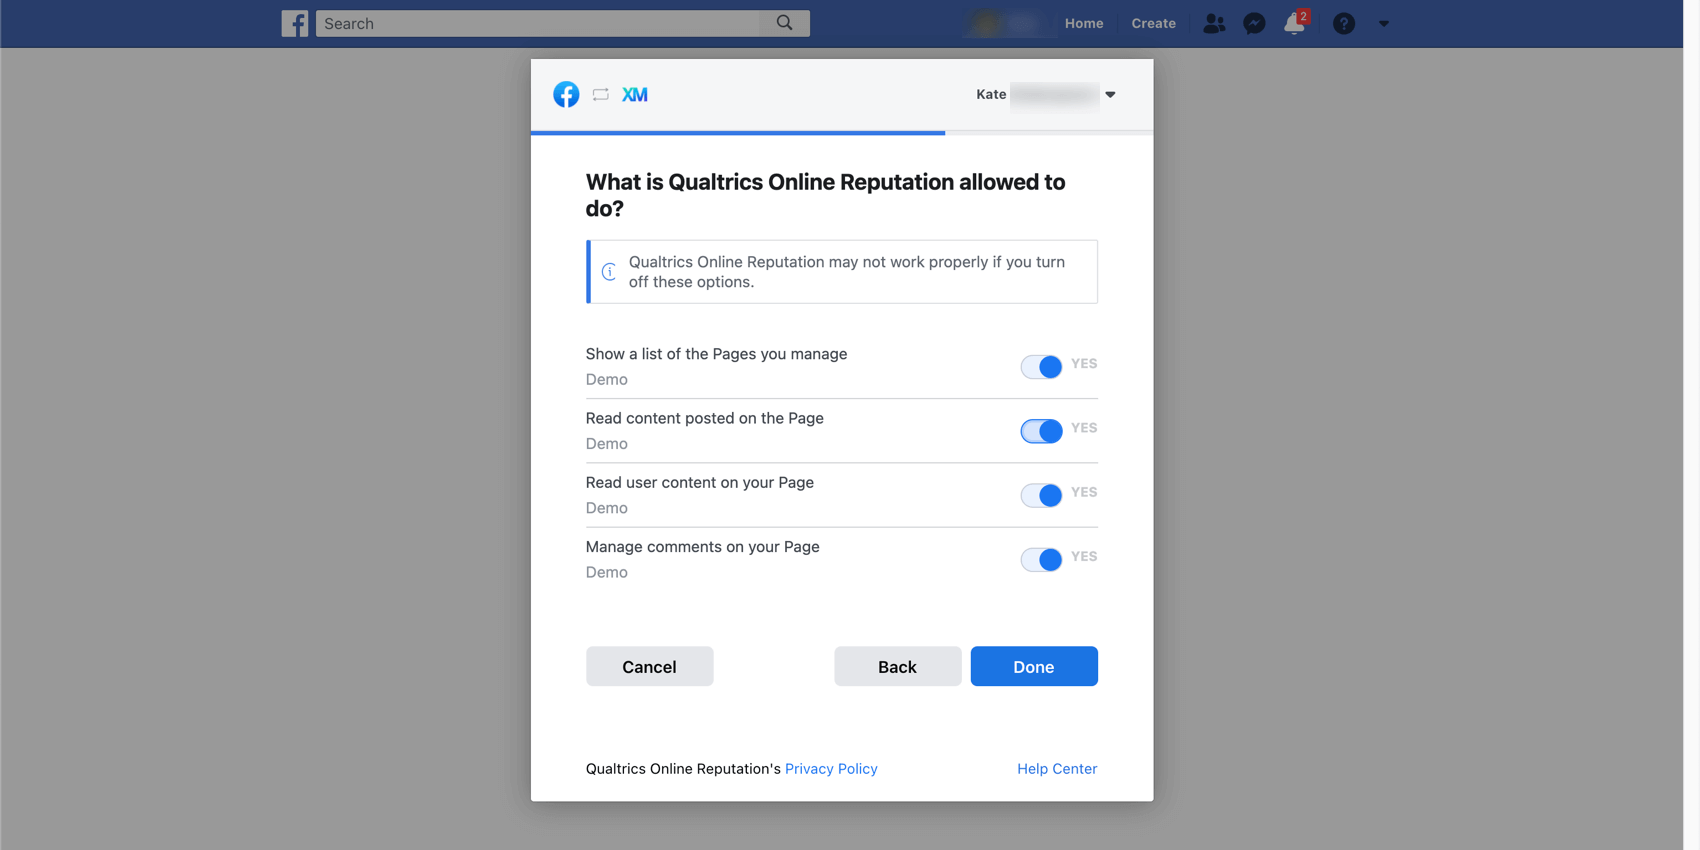
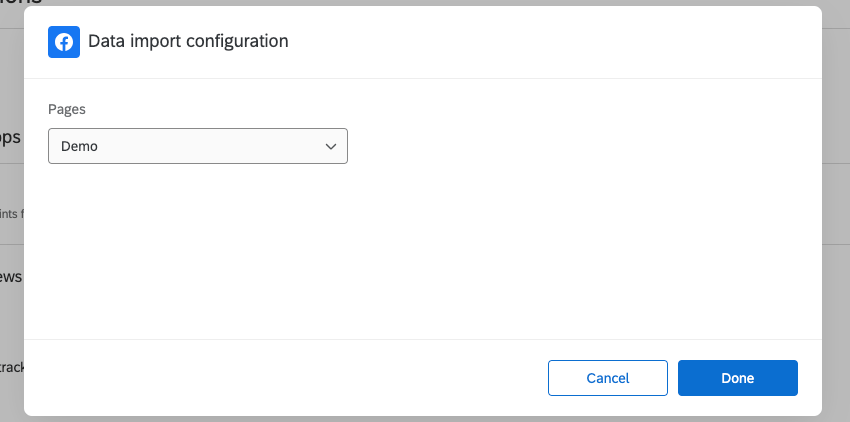
Connecting Locations to Facebook Reviews
Once you’ve connected your Google Places to Qualtrics, you can also pull in Facebook locations! We especially recommend completing this step if you’ve created a separate Facebook page for each of your locations.
Qtip: If you have only 1 Facebook page shared among all of your locations, try adding review sources instead.
Qtip: The Facebook API does not support old recommendations without content messages.
FAQs
If a new location is added to my Google account, will it automatically pull into Qualtrics?
If a new location is added to my Google account, will it automatically pull into Qualtrics?
If data about a location changes (e.g. store code, location name, etc), will it be automatically updated in Qualtrics?
If data about a location changes (e.g. store code, location name, etc), will it be automatically updated in Qualtrics?
How do I get locations that have no Google reviews included in my dashboard?
How do I get locations that have no Google reviews included in my dashboard?
What if my Google Store Code doesn’t match the IDs I use for locations in my Qualtrics CX data?
What if my Google Store Code doesn’t match the IDs I use for locations in my Qualtrics CX data?
If I change my Google Business profile credentials, will it affect my Reputation Management project?
If I change my Google Business profile credentials, will it affect my Reputation Management project?
Are review scores normalized for sites with different rating scales?
Are review scores normalized for sites with different rating scales?
That's great! Thank you for your feedback!
Thank you for your feedback!