
Load Users into EX Directory Task
What's on this page
About the Load Users into EX Directory Task
The Load Users into EX Directory task is used to save your employee data to your Qualtrics employee directory. To use this task, you must first load data into Qualtrics using a data extractor task.
Qtip: For information on general limits that apply to ETL workflows, see Workflow Limits. For any task-specific limits, refer to the information on this page.
Setting up a Load Users into EX Directory Task
Select Data source (ETL extractor). In this step, you’ll extract data that you can load to another destination. See using Building ETL Workflows for more information.
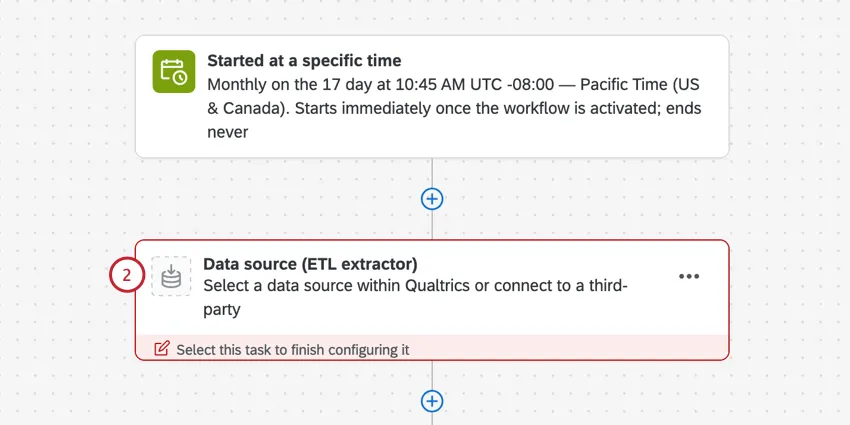
Qtip: Usually, this is the extract data from SuccessFactors task, but can be any data extractor task.
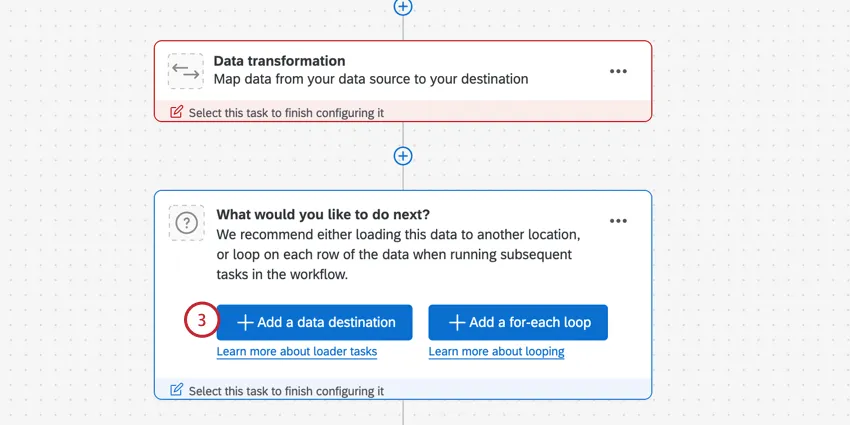
Click Add a data destination.
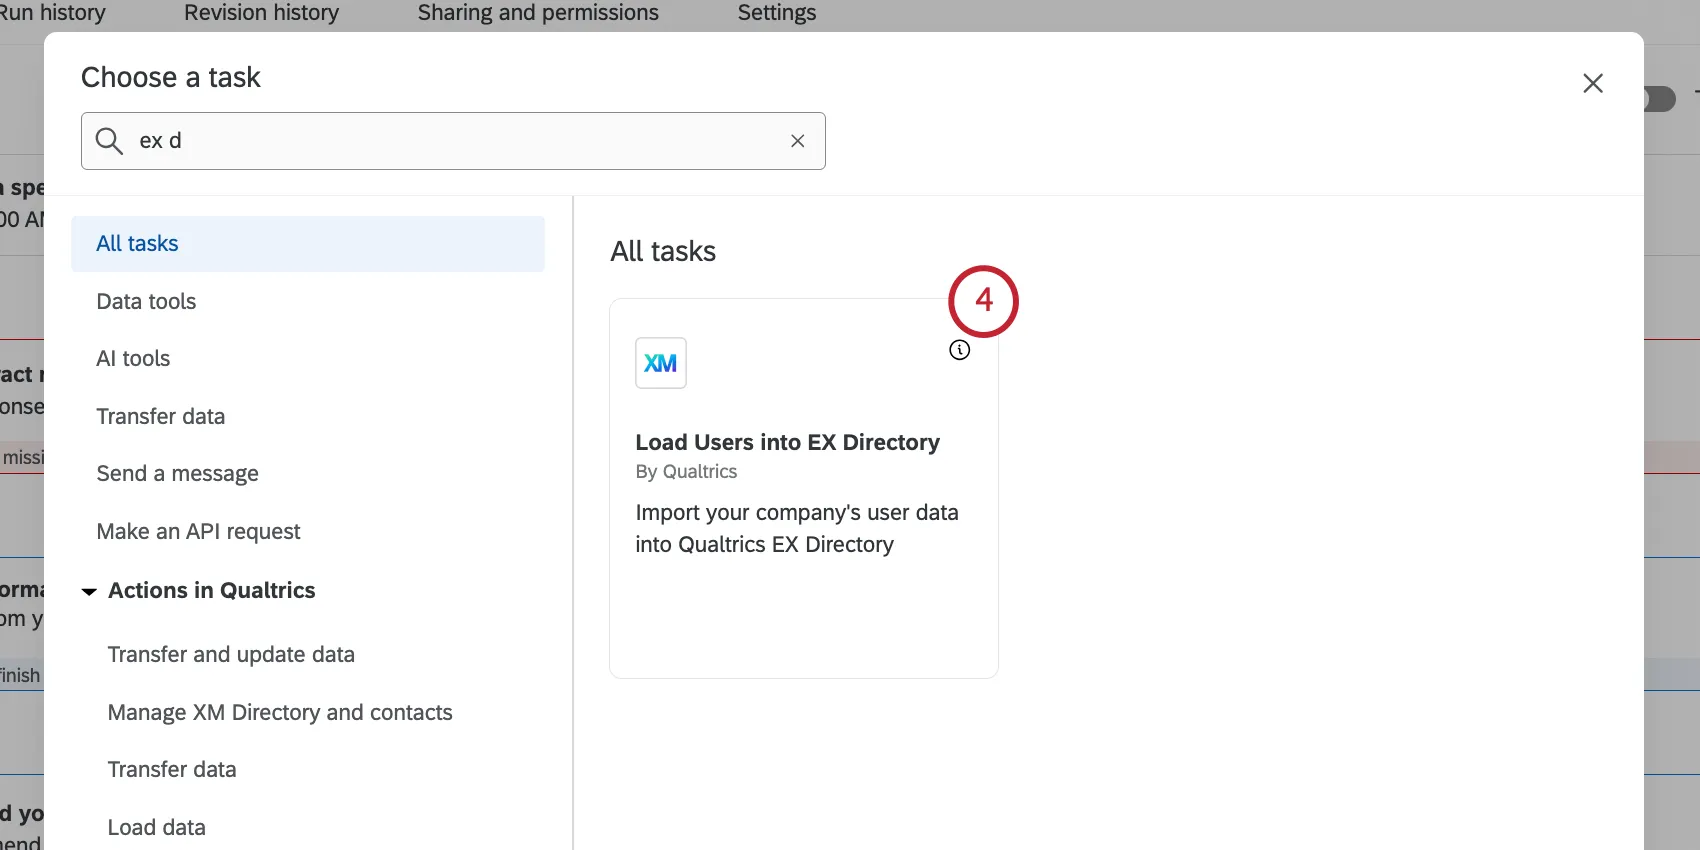
Choose the Load Users into EX Directory task.
Select where you want to save the data. You can choose your global employee directory, or a specific EX project.

Qtip: When importing directly into a Lifecycle project, these participants ignore any participant import automation criteria.
Choose the task to import data from. This should be your data loader task.
Qtip: The maximum file size for the file in the data loader task is 1 GB.
Map your source fields from SuccessFactors to your destination fields in Qualtrics. The pre-loaded fields are required, and below is our suggested mapping:
| Source field | Destination field |
|---|---|
| /person/employment_information/user_id | UniqueIdentifier |
| /person/personal_information/first_name | Firstname |
| /person/personal_information/last_name | Lastname |
| /person/email_information/email_address |
To import additional metadata fields, click Add field.

For your additional field, select the source field from SuccessFactors.
Use the Choose field or Add New dropdown to select a metadata field from your EX directory to save the data to. You also have the option to create a new metadata field instead.
To delete an additional field, click the 3 dots menu and select Delete row.
If needed, you can map specific values for your field by clicking the 3 dots menu. You can use this feature if you want to save your data with different values than they have in SuccessFactors.
Qtip: For more details, see Mapping Field Values for steps. While this link will take you to another task’s support page, the functionality is the same.
If your license uses SSO, you can enable or disable the Import as SSO Users option. When this option is enabled, any newly created participants will be added as an SSO user. Your organization ID will be automatically added to the end of their email address to create their SSO login username. When disabled, the new participants will be added as standard users who log in with a unique Qualtrics username and password.
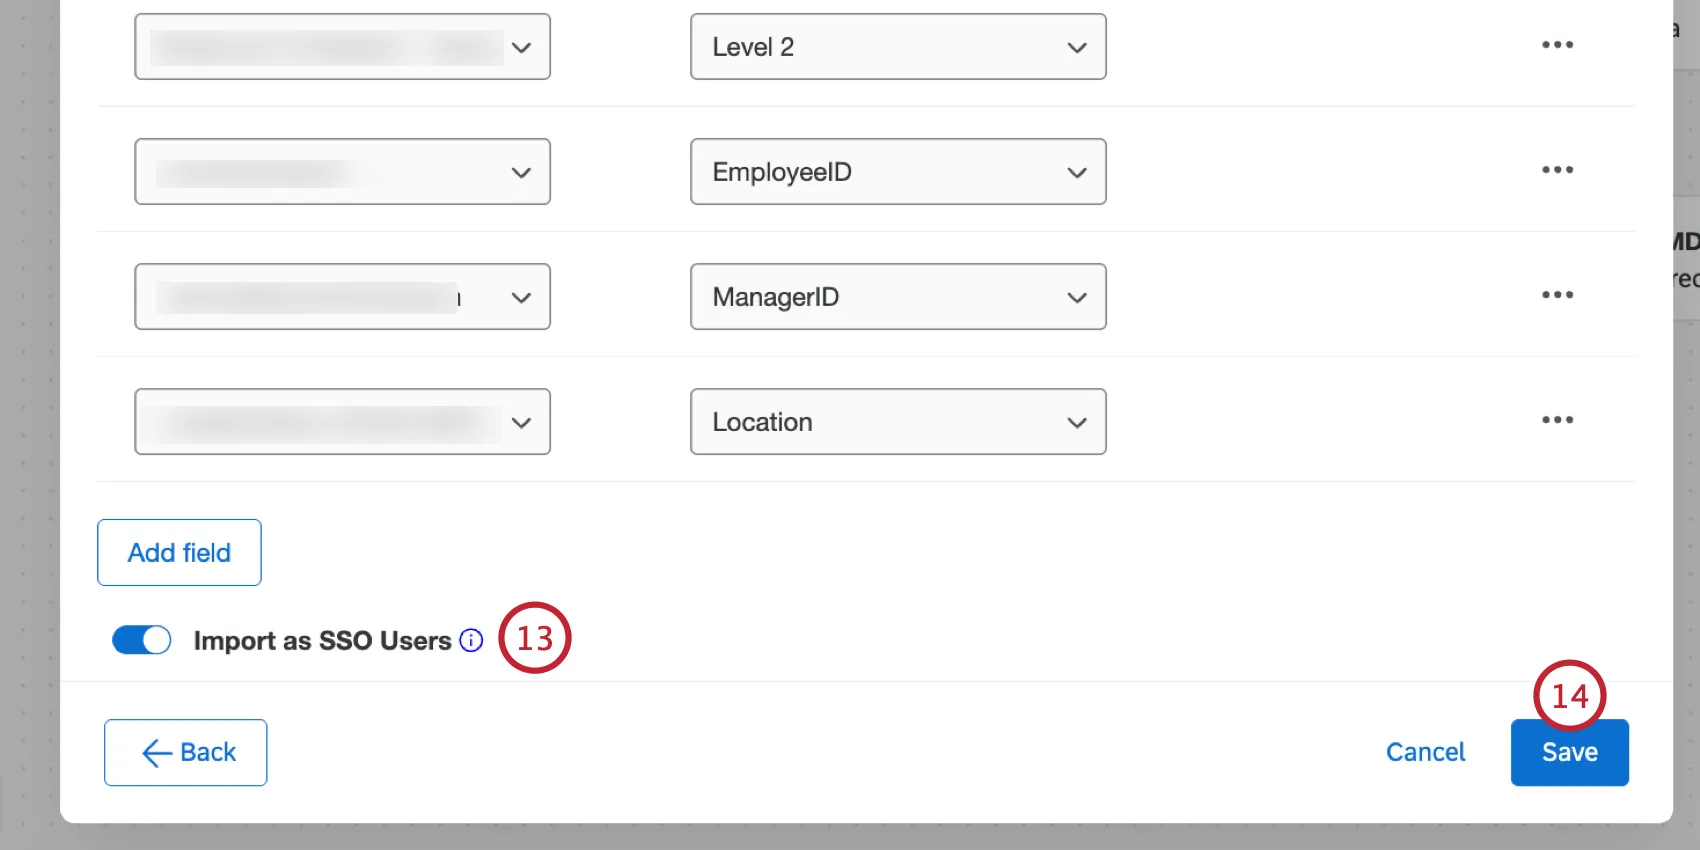
When finished mapping fields, click Save.
Qtip: When this task runs successfully, you’ll see the message “There were no files available when this task was run,” in your workflow run history. This is because the processed data is based on the extractor task earlier in your workflow, not a separate file.
FAQs
Do I have access to all extensions available through the Workflows templates?
Do I have access to all extensions available through the Workflows templates?
Is there a link to all Workflows events and tasks?
Is there a link to all Workflows events and tasks?
What are Workflows templates?
What are Workflows templates?
What are workflows? / Where are actions?
What are workflows? / Where are actions?
There are no changes to workflow functionality as part of this update.
Are changes to members of my employee directory reflected in my project’s participants?
Are changes to members of my employee directory reflected in my project’s participants?
If you update someone’s unique identifier, first name, last name, or login information, this information will always be reflected in any projects that person is a participant in.
That's great! Thank you for your feedback!
Thank you for your feedback!