
TotalXM Reports
What's on this page
Attention: This feature is only available to users on the new simplified pricing and packaging plans. If you have questions about your Qualtrics pricing and packaging plan, reach out to Account Services.
About TotalXM Reports
TotalXM Reports are a great tool for gathering and presenting insights across different product areas. In this project type, you can build reports using your most meaningful data and dashboard widgets to present a cohesive story. These reports are designed to be shared with executive leaders and other shareholders interested in CX and EX drivers and outcomes.
Attention: Once you share your report, anyone can access it and look at its data via the shared link. You should not include data in your report unless you are comfortable with it being public. For more protection, add a password to your report.
Creating TotalXM Reports
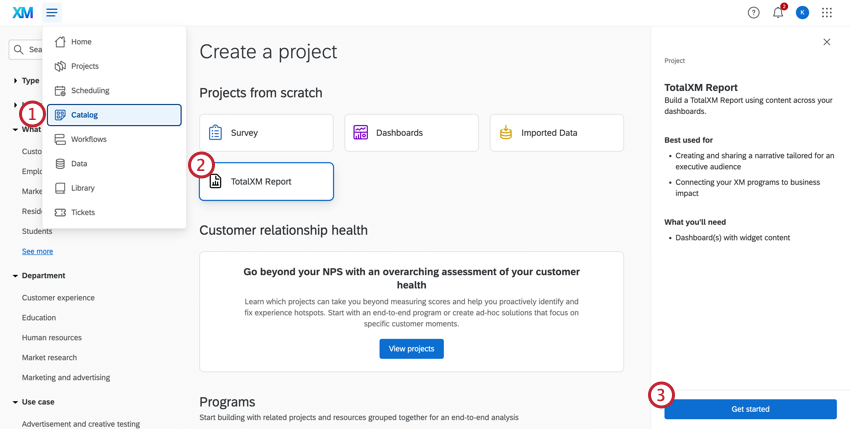
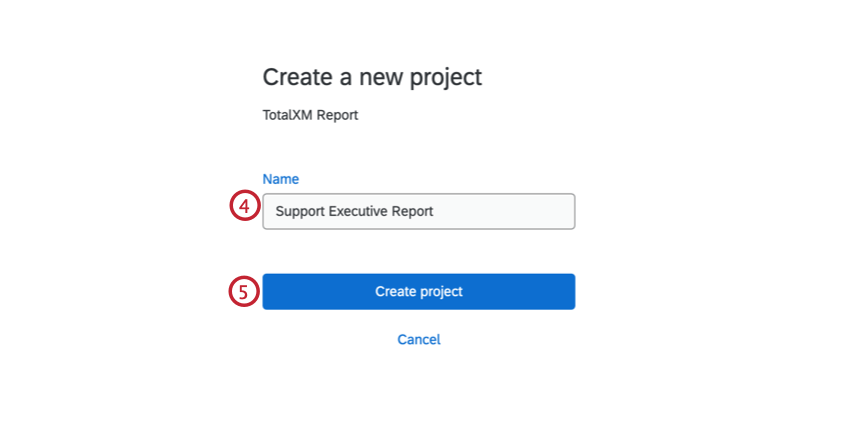
Navigating TotalXM Reports
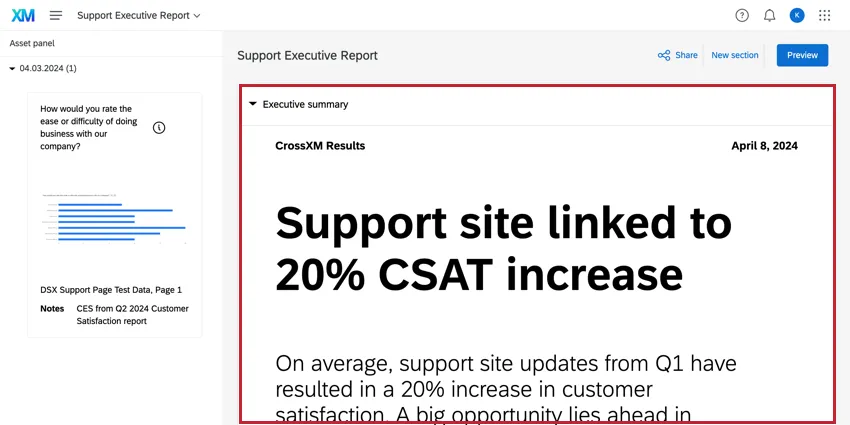
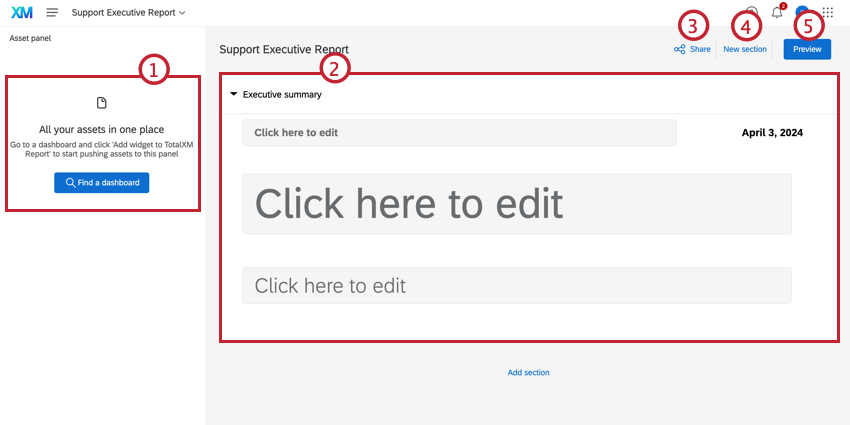
Once you have created a TotalXM Report, you will be able to edit content, add assets, and share your report. For more information on the different areas of the TotalXM Report, see the sections below.

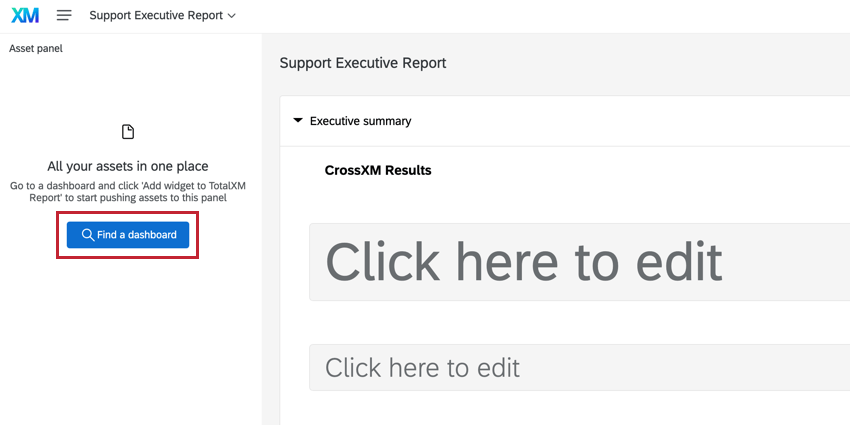
Asset Panel
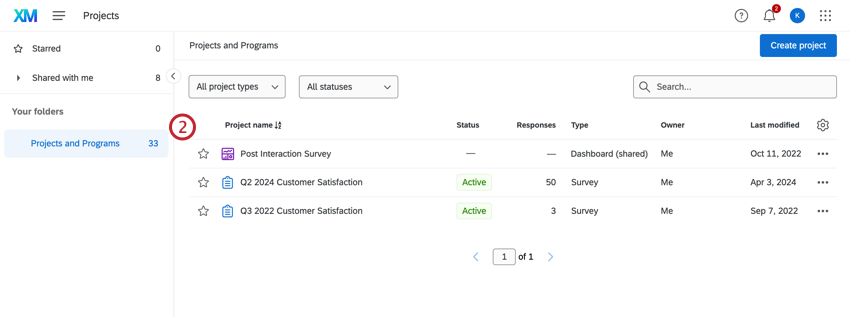
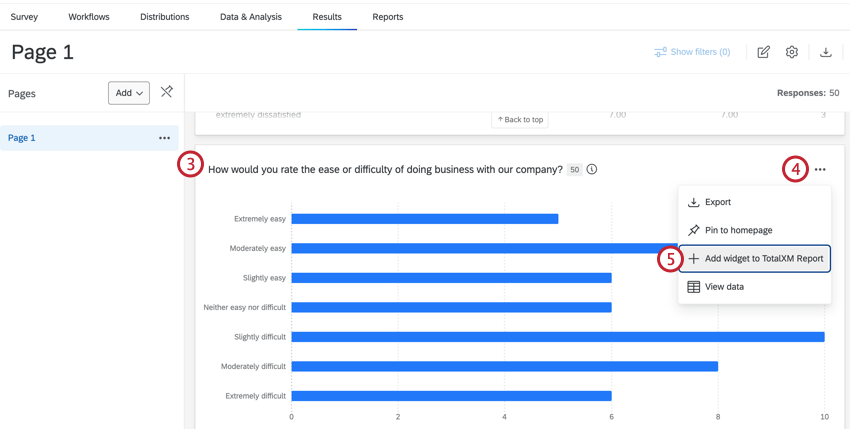
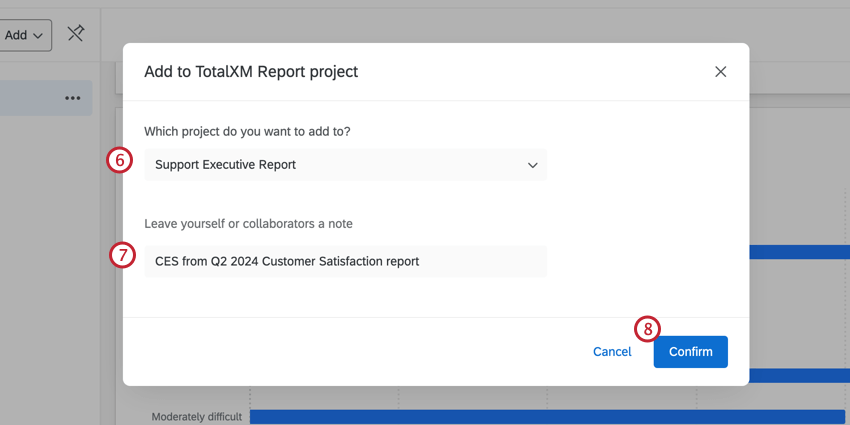
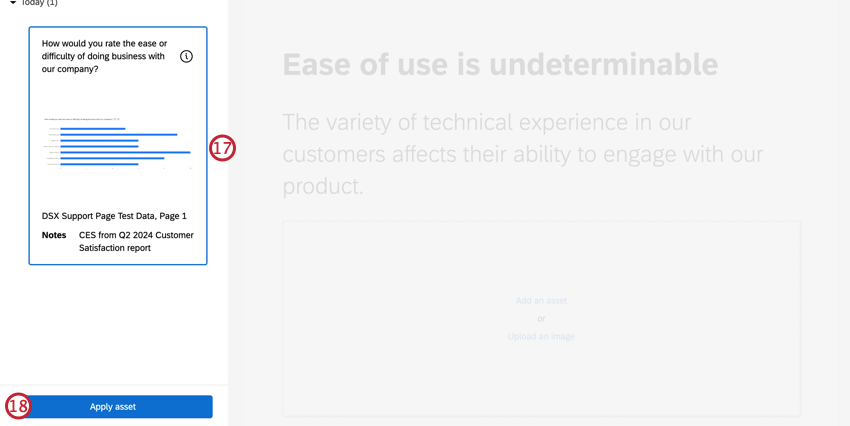
Use the asset panel to import widgets from your dashboards to your report. Assets can be imported from CX, BX, and EX dashboards, survey projects, or other TotalXM reports. The only type of dashboard not supported is Pulse.
Qtip: To import widgets into the asset panel, you must have export or edit access to the dashboard. For more information, see Sharing Your Dashboard (CX) or Participant Information Window (EX).
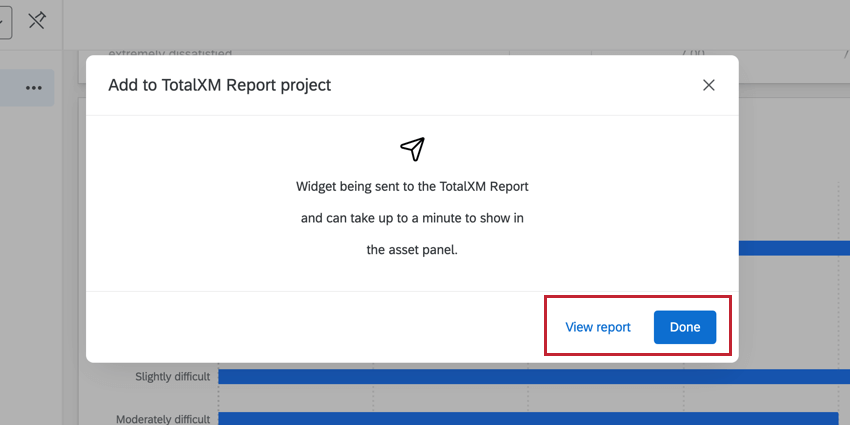
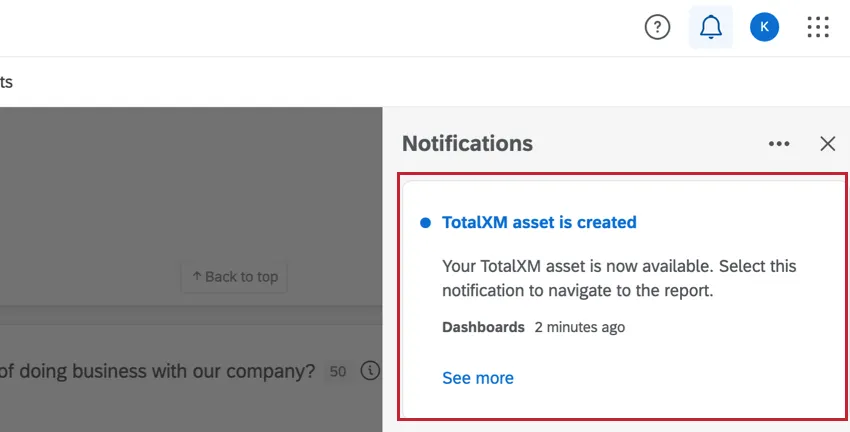
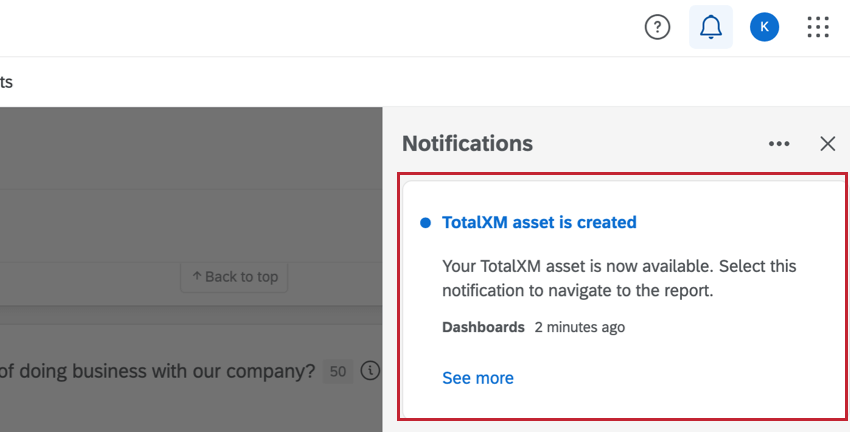
Qtip: You will receive a notification in the notifications feed when the asset has successfully been added.

Attention: Widgets that are imported as static images into the asset panel. Changes to the widget or the data in the widget will not be applied automatically.
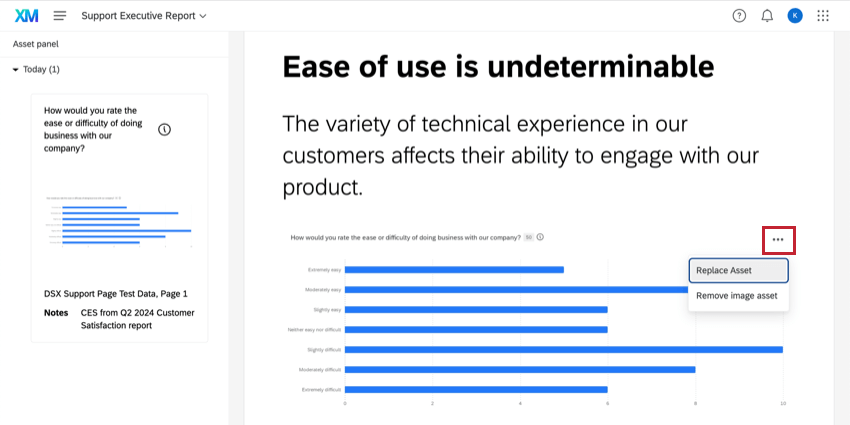
MANAGING ASSETS
To replace or remove assets, click the three-dot menu in the upper right corner of the asset and select an option.

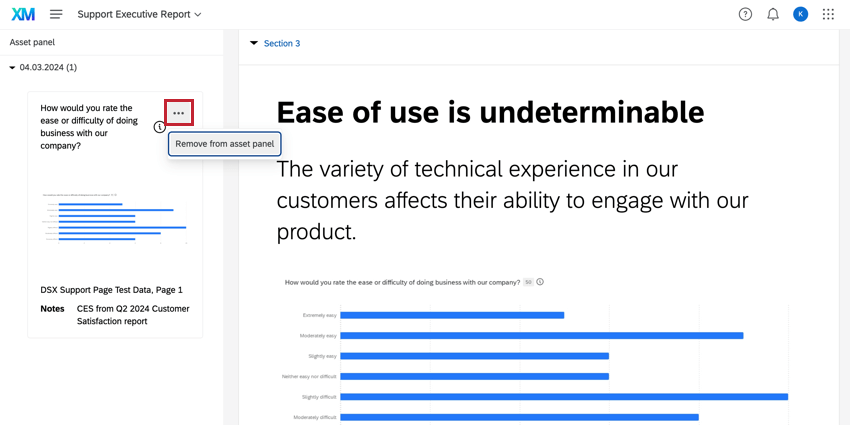
To remove an asset from the asset panel, click the three-dot menu in the upper right corner of the asset from the panel menu and select Remove from asset panel.

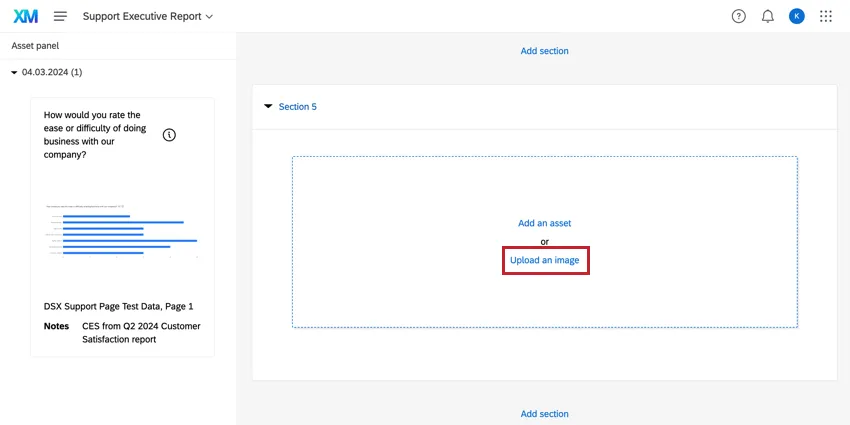
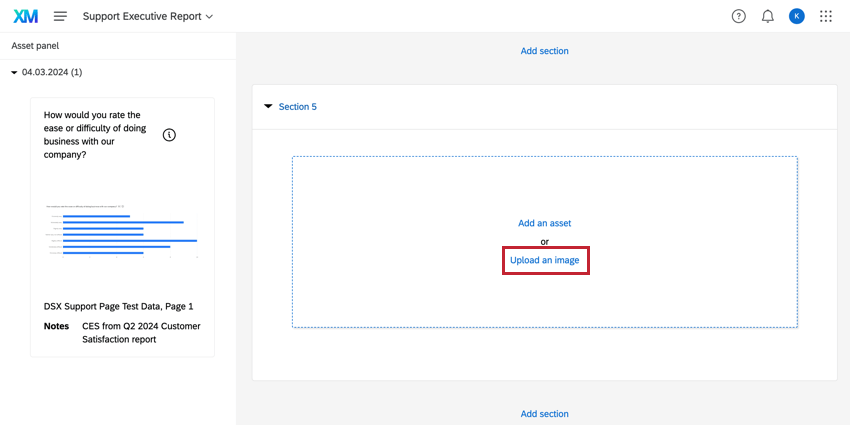
UPLOADING CUSTOM IMAGES
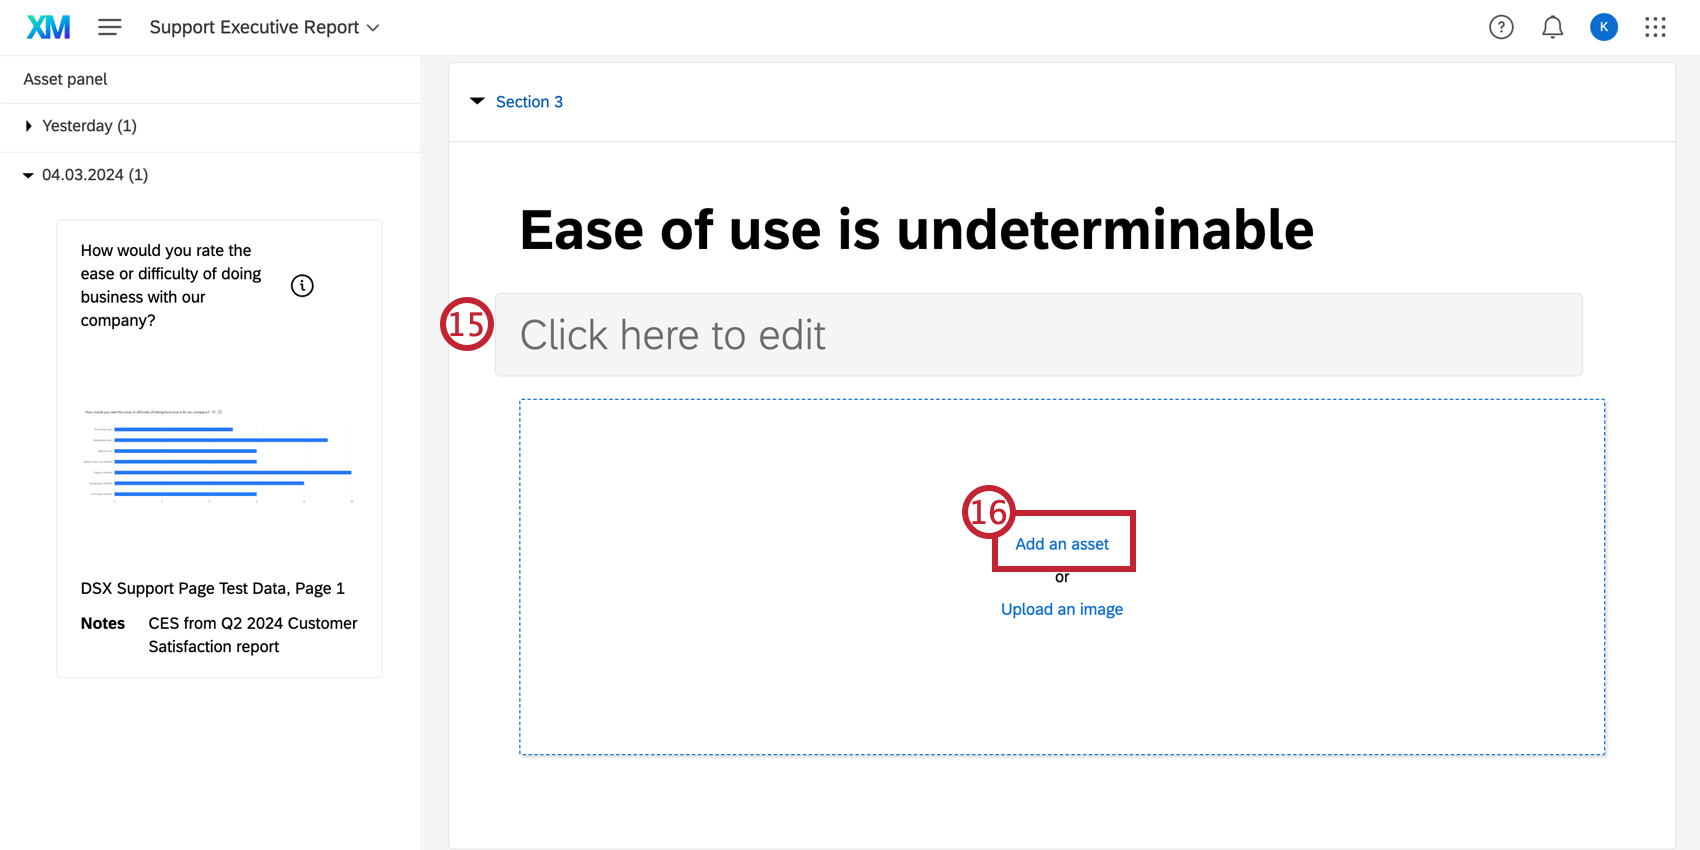
You can also upload your own images directly into sections instead of importing them from dashboards. Once you add a new section with visualizations, click Upload an image and choose your file.
Sections
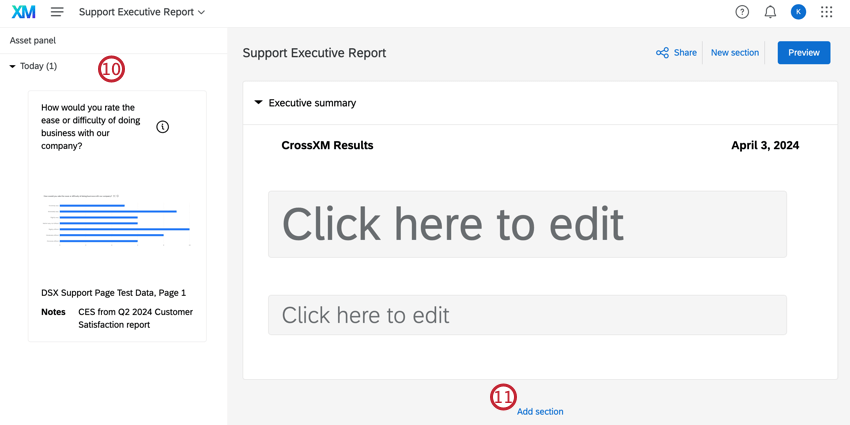
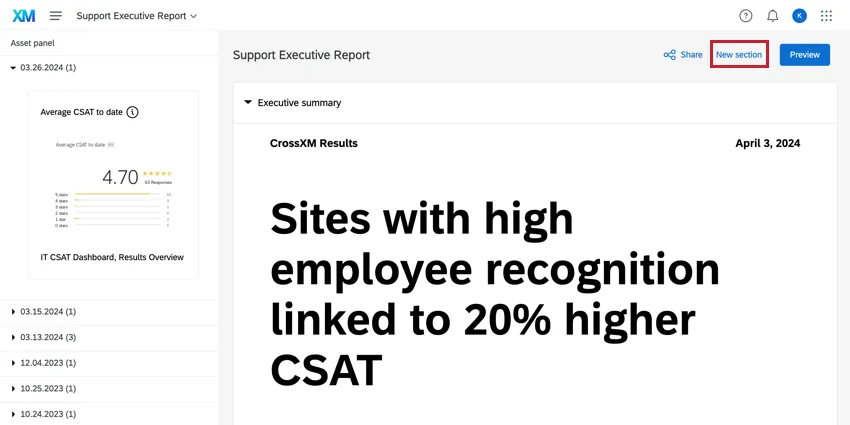
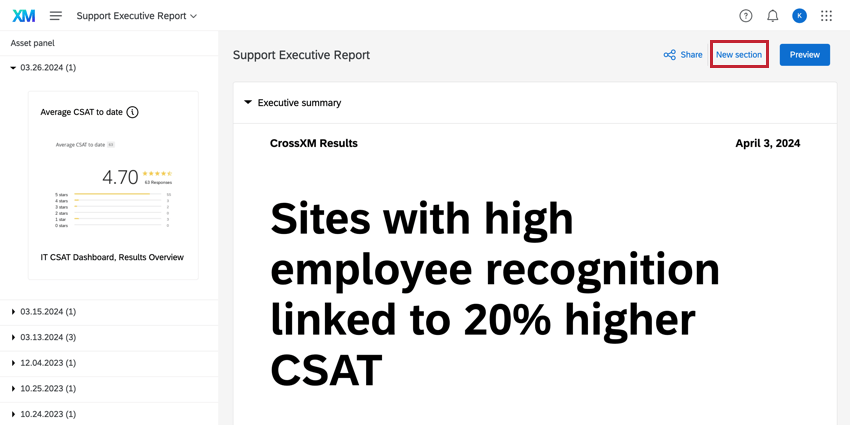
Sections create the report’s content by using insights and data to tell the story. Click the Add section button after any section to add a new one. You can also click the New section button in the top-right corner.
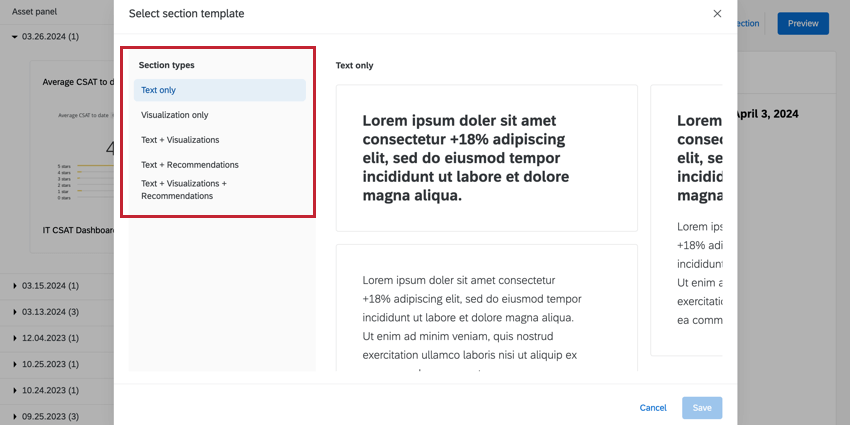
There are multiple section types that can be added to the report. Each section type contains a combination of formats:

- Text: Provides different formats for text content in your report.
- Visualization: An asset from the asset panel. For more information, see Asset Panel.
- Recommendations: An additional blue box at the bottom of your section that can be edited to include recommended action. Recommendations are combined with text and/or visualizations.
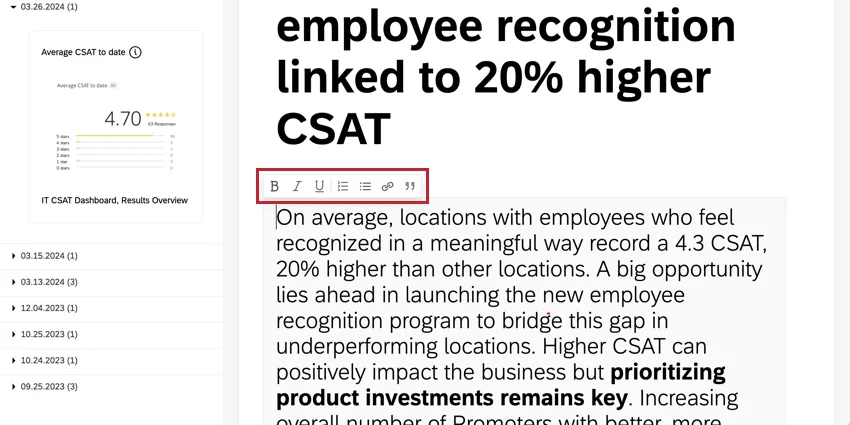
Click on text in the section to edit it. You can change the format of your text by using the rich text editor above the text box.
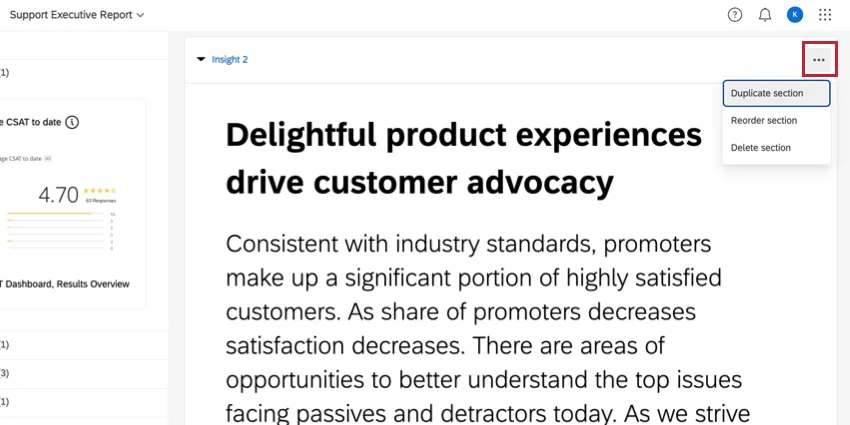
MANAGING SECTIONS
Click the three-dot menu in the top right of a section to duplicate, reorder, or delete it.
If you select Reorder section, use the dropdown menus to indicate the new location for that section. Once the location is selected, click Move.

Executive Summary
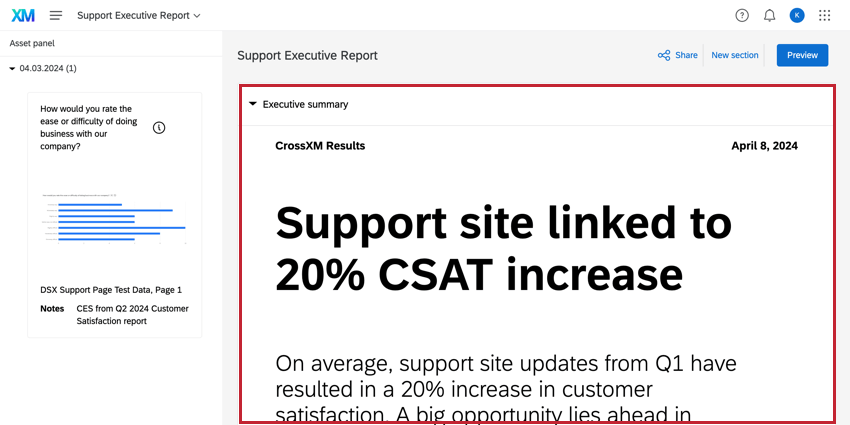
The executive summary is a text-only section designed to provide a clear takeaway of the content in the report. This section is at the top of the report and includes a report header textbox above the report title and supporting text.
Qtip: The date in the executive summary reflects the date that the report was created. It is not currently possible to change this date.
Sharing the TotalXM Report
Attention: Once you share your report, anyone can access it and look at its data via the shared link. You should not include data in your report unless you are comfortable with it being public. For more protection, add a password to your report.
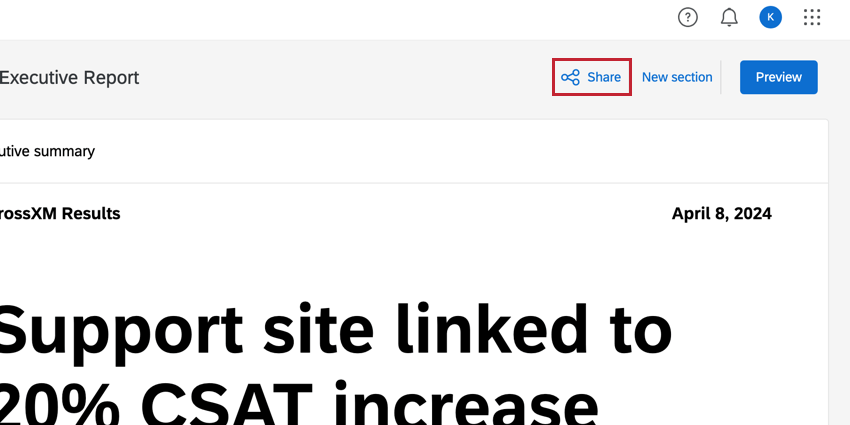
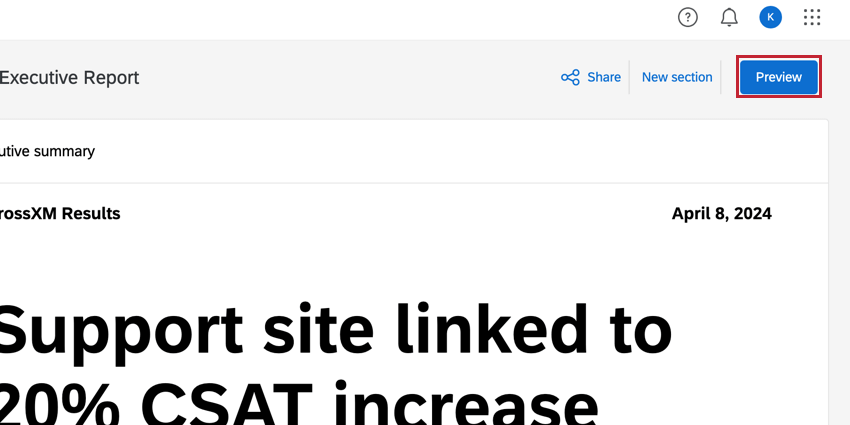
When you are finished editing the report, you can preview how it will look to viewers by clicking Preview in the upper right corner.

Once you are finished previewing and editing the report, you can Share it with your audience. Sharing the report will generate a link that you can send via email, SMS, or other distribution channels.
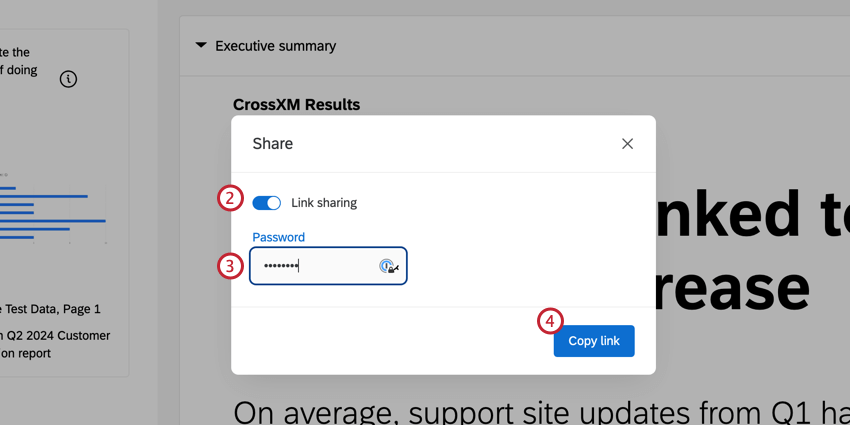
Qtip: Your password must be at least 12 characters long and contain at least one number, lowercase, uppercase, and special characters.
Qtip: Users with editing access to the TotalXM report can view the source dashboard of an asset by clicking on it, as long as they also have editing rights to that dashboard.
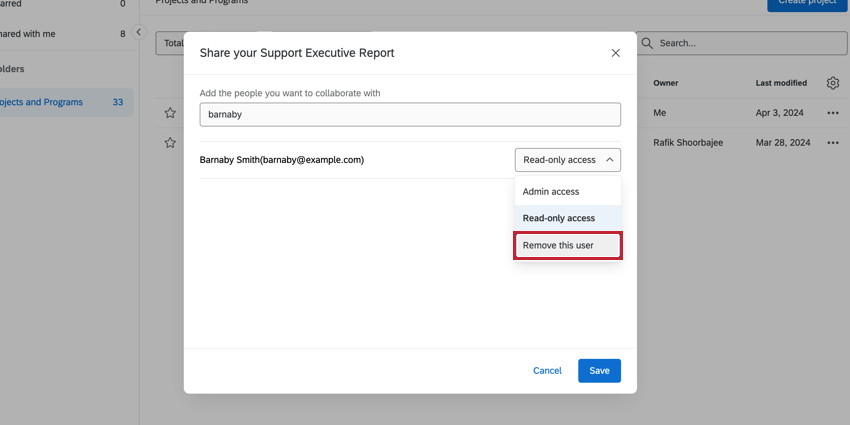
Collaborating on TotalXM Reports
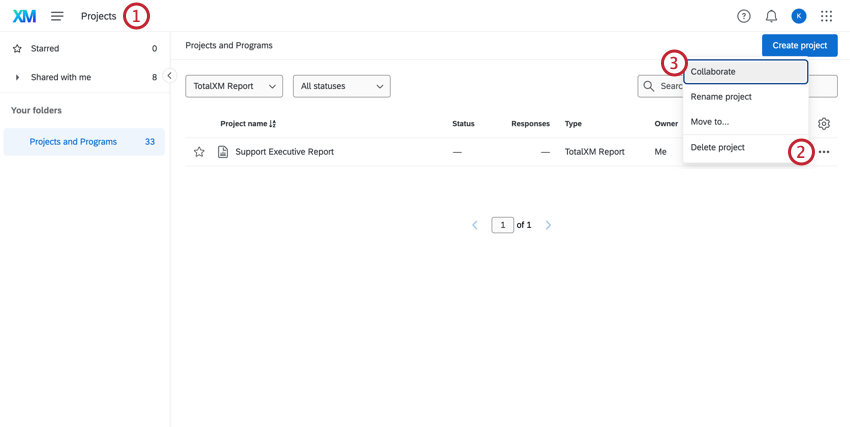

- Admin access: The user can edit the report.
- Read-only access: The user can view the report in Preview mode.
Qtip: To remove access from a user, click the dropdown to the right and select Remove this user.

FAQs
Is it possible to resize an asset in TotalXM reports?
Is it possible to resize an asset in TotalXM reports?
Is it possible to change the title of an asset in TotalXM reports?
Is it possible to change the title of an asset in TotalXM reports?
Can the spacing between sections be changed in TotalXM reports?
Can the spacing between sections be changed in TotalXM reports?
Can you add page breaks to the TotalXM report?
Can you add page breaks to the TotalXM report?
That's great! Thank you for your feedback!
Thank you for your feedback!