
Viewing & Editing Users (Designer)
Suite
Customer Experience
Product
Qualtrics
What's on this page
About Viewing & Editing Users in Designer
A user account is required to access Designer. User accounts are created and managed in Studio. Once a user is created, a system administrator can view the user in Designer. Administrators can also edit user information and permissions in Designer.
Qtip: Linking a user to a Content Provider replicates this user’s account in a corresponding Designer instance. Please refer to Managing Users (Studio) to learn more about creating and linking user accounts.
Accessing Users in Designer
To access users in Designer:
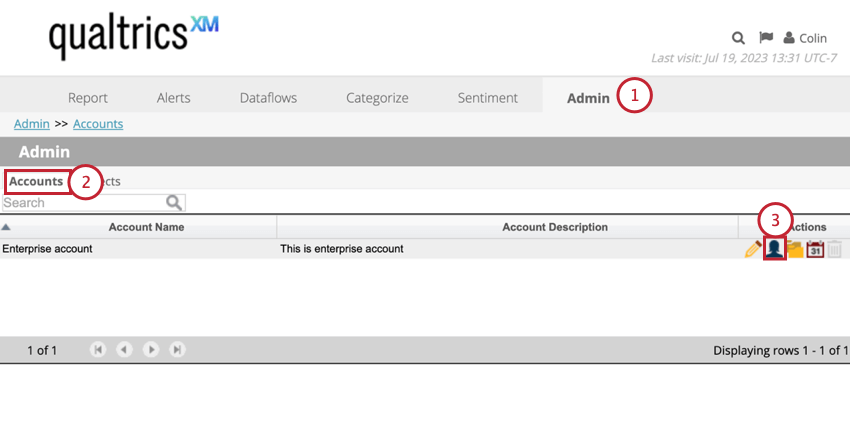

Viewing User Information
After navigating to the users section of Designer, you can view a table with the following information about your users:
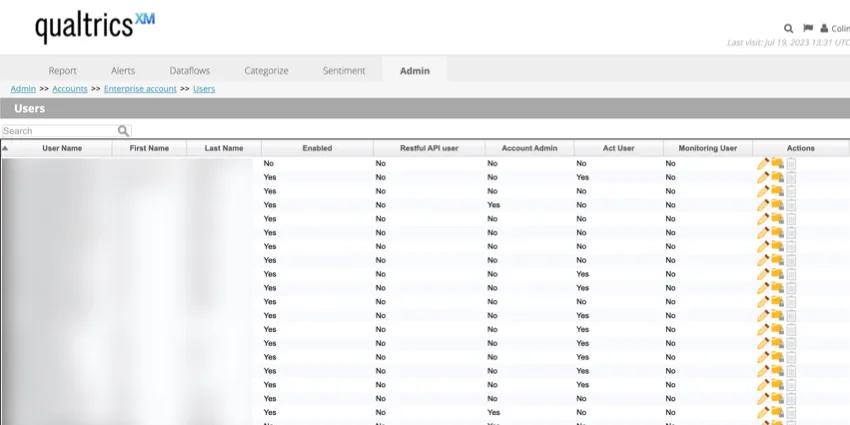
- User Name: The email or username used to log in.
- First Name: The user’s first name.
- Last Name: The user’s last name.
- Enabled. This field is no longer used in Designer. It has been moved to Studio and has no effect on user access.
- Restful API user: Shows whether these credentials can be used by Studio to perform API calls.
- Account Admin: Shows whether this user is an Account Administrator. See User Roles for more information on available roles.
- Act User: This feature has been deprecated.
- Monitoring User: This feature has been deprecated.
- Actions: Edit the user’s server, account, and project permissions. Qtip: You cannot use the trash can icon to delete users. See Managing Users (Studio) for information on deleting users.

Qtip: By default, users are sorted alphabetically by login name. To sort them by other columns, click the column headings. To find users by name (login name, first name, or last name) use the Search field at the top of the table.
Editing User Information and Permissions
Qtip: By default, user permissions are set in the DATA ACCESS section of User Details in Studio. When you change the default permissions set by Studio, project access will display as “Custom” in Studio.
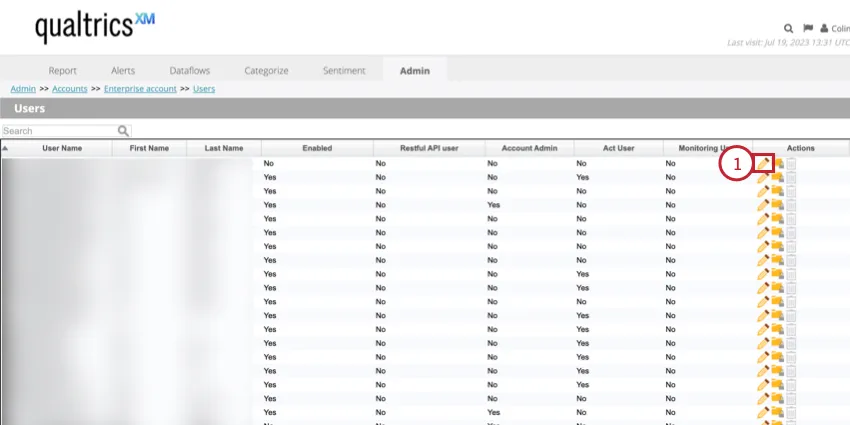
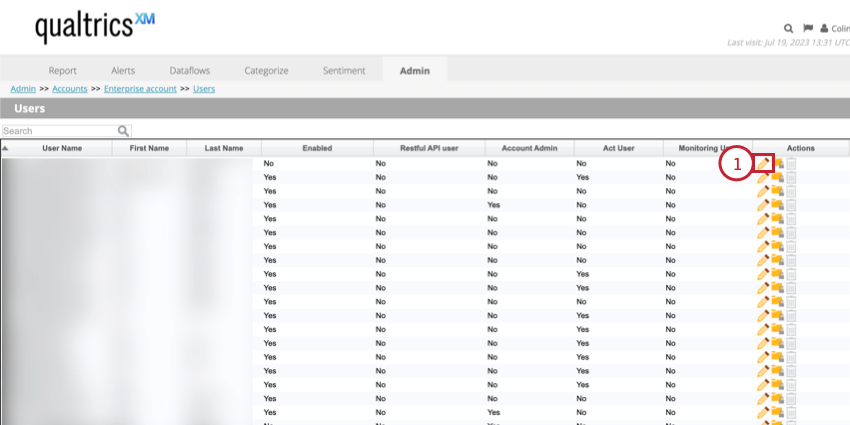
You can edit a user’s information and permissions in Designer by following the steps below:
While in the users section, click the pencil icon next to the user you want to edit.
In the User Information section, you can change the following settings:

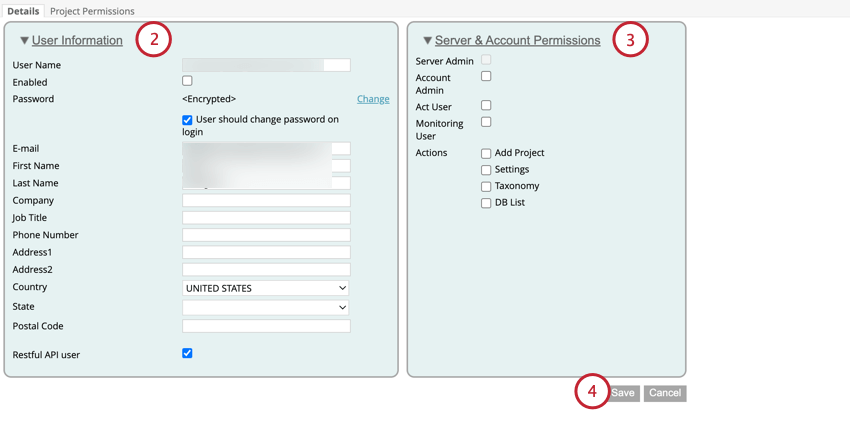
In the Server & Account Permissions section, you can adjust the following user permissions:
- Server Admin: Select this option to give the System Administrator role to a user.
- Account Admin: Select this option to give the Account Administrator role to a user.
- Act User: This permission has been deprecated.
- Monitoring User: This permission has been deprecated
- Actions: Select specific actions that can be performed by this user:
- Add Project. Allow a user to add new projects.
- Settings. Allow a user to manage project settings.
- Taxonomy. Allow a user to manage project taxonomies.
- DB List. Allow a user to specify a default database for the account and select non-default database when creating a project. Qtip: These permissions are usually only needed for power users and administrators.
Click Save after making any changes.
To adjust project permissions, go to the Projects Permissions tab.
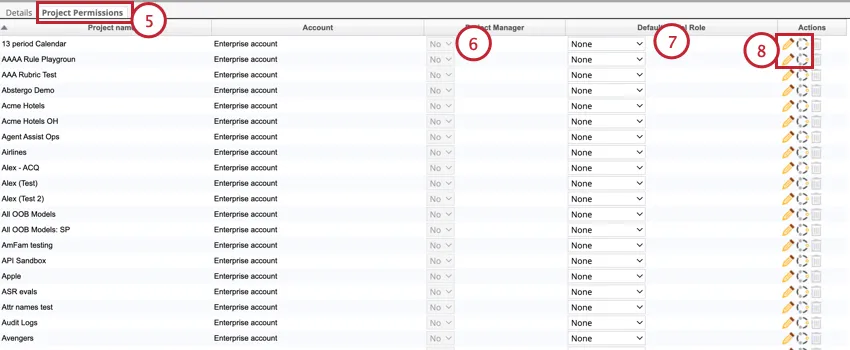
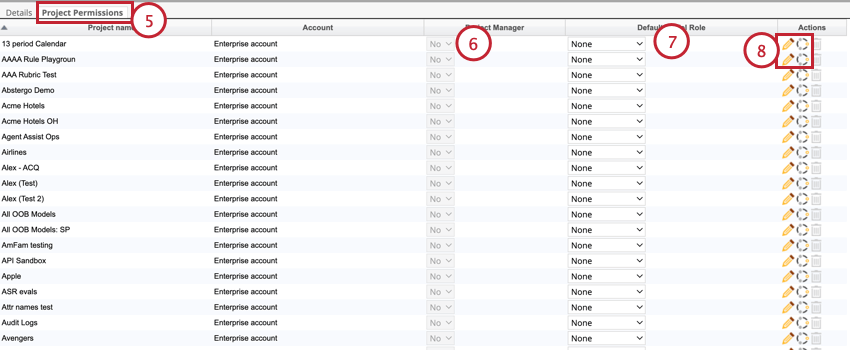
To grant this user full access to a project, select Yes in the Project Manager column.
To grant this user a specific role in the project and all its existing and future models, select the role in the Default Model Role column. See Roles to learn more about Designer roles.
To edit project permissions or model permissions, click the Edit icons in the Actions column. See Designer Permissions for more information about each permission here.
Revoking User Permissions
You can revoke all project permissions from a user at any time.
Navigate to the Admin tab.
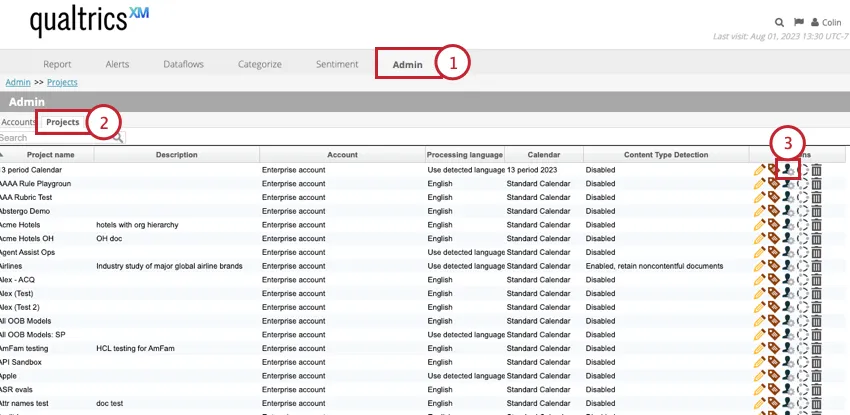
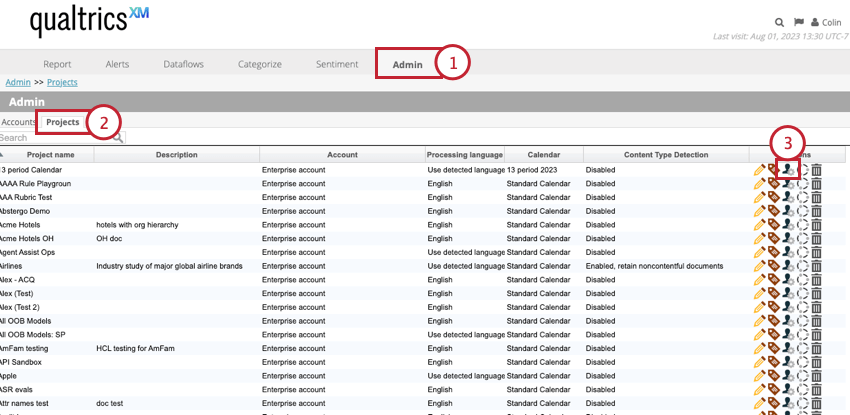
Go to Projects.
Select User Permissions in the Actions column.
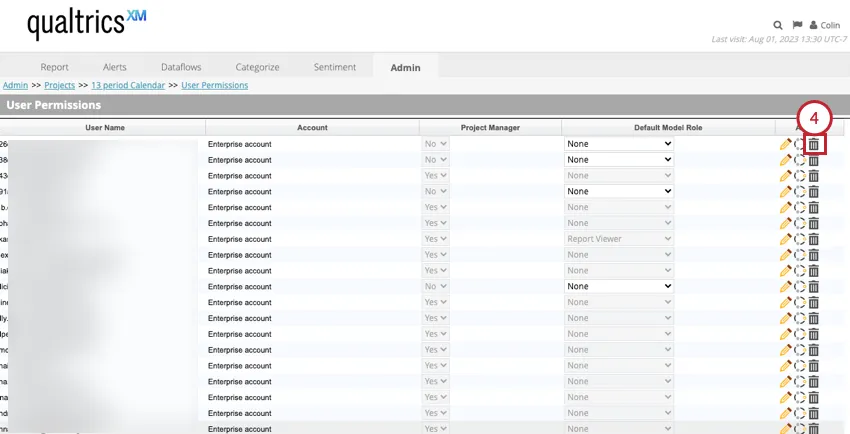
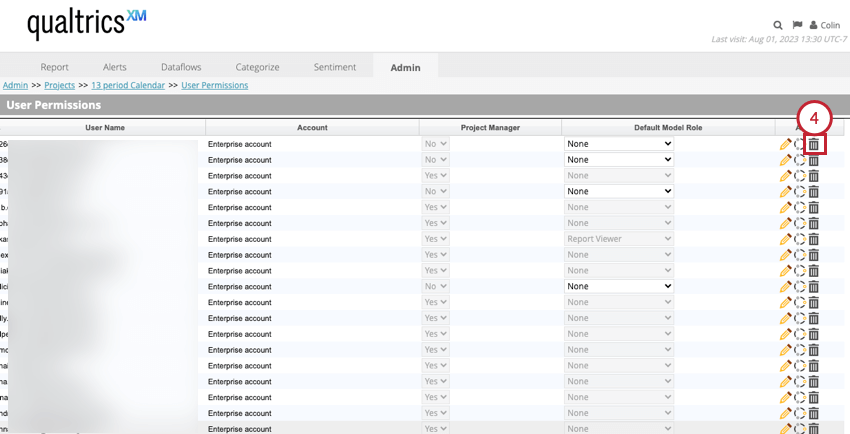
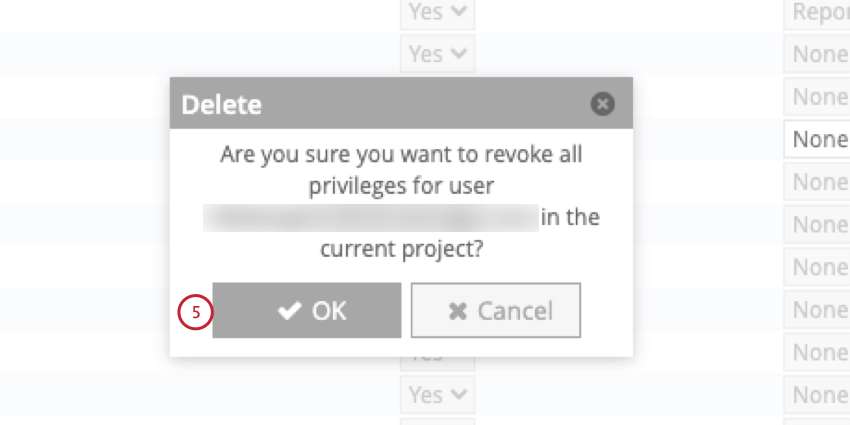
Click the trash can icon next to the user you want to remove permissions from.
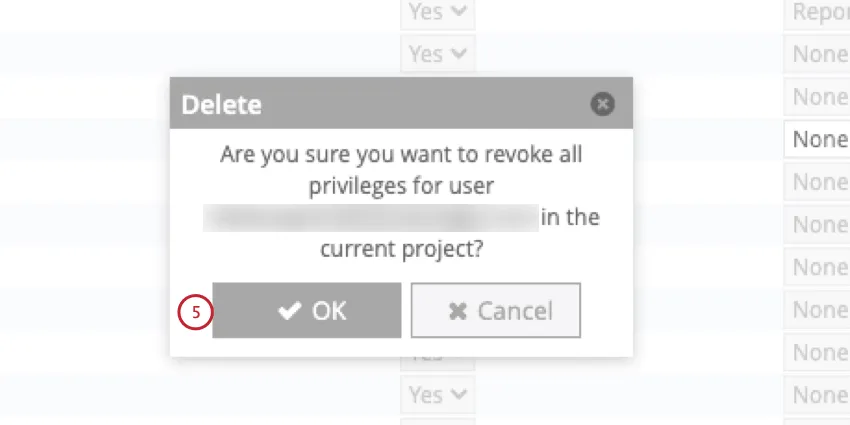
Click OK.
That's great! Thank you for your feedback!
Thank you for your feedback!