
Projects Basic Overview (Designer)
What's on this page
About Projects in Designer
A project brings together related data for analysis, including customer feedback, category models, and sentiment settings. A good way to think of a project is as a comprehensive collection of data and metadata that you want to analyze together.
Projects are used throughout the rest of XM Discover. Designer is where we create these projects and perform fundamental data enhancement, such as the creation of category models and sentiment analysis.
Navigating Projects in Designer
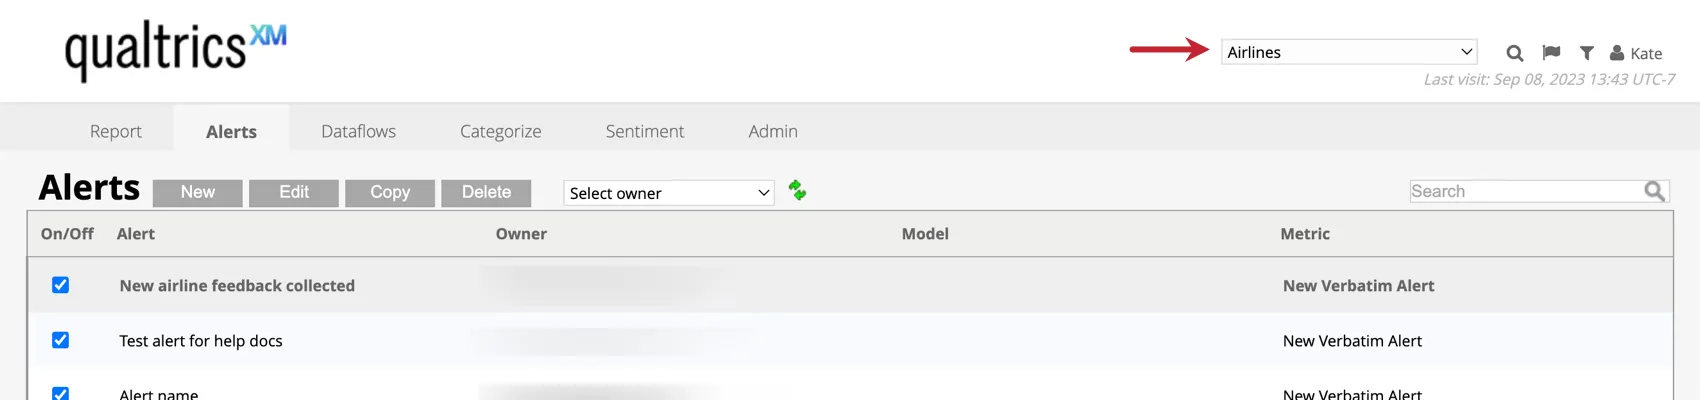
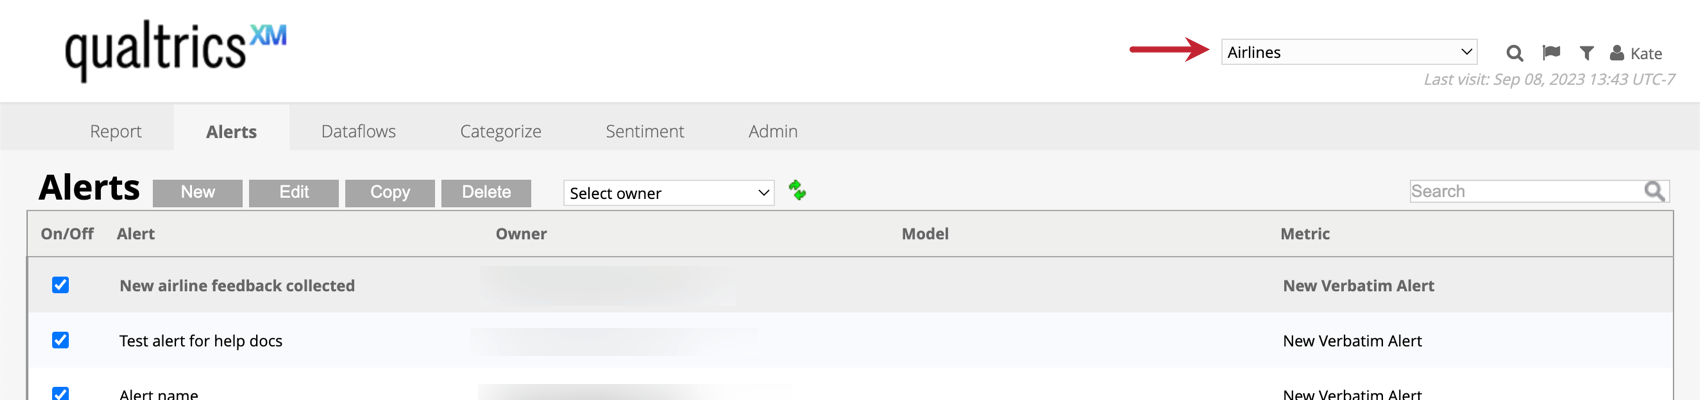
Once inside a project, you can navigate between different ones you have access to using the drop-down menu in the upper-right of Designer.
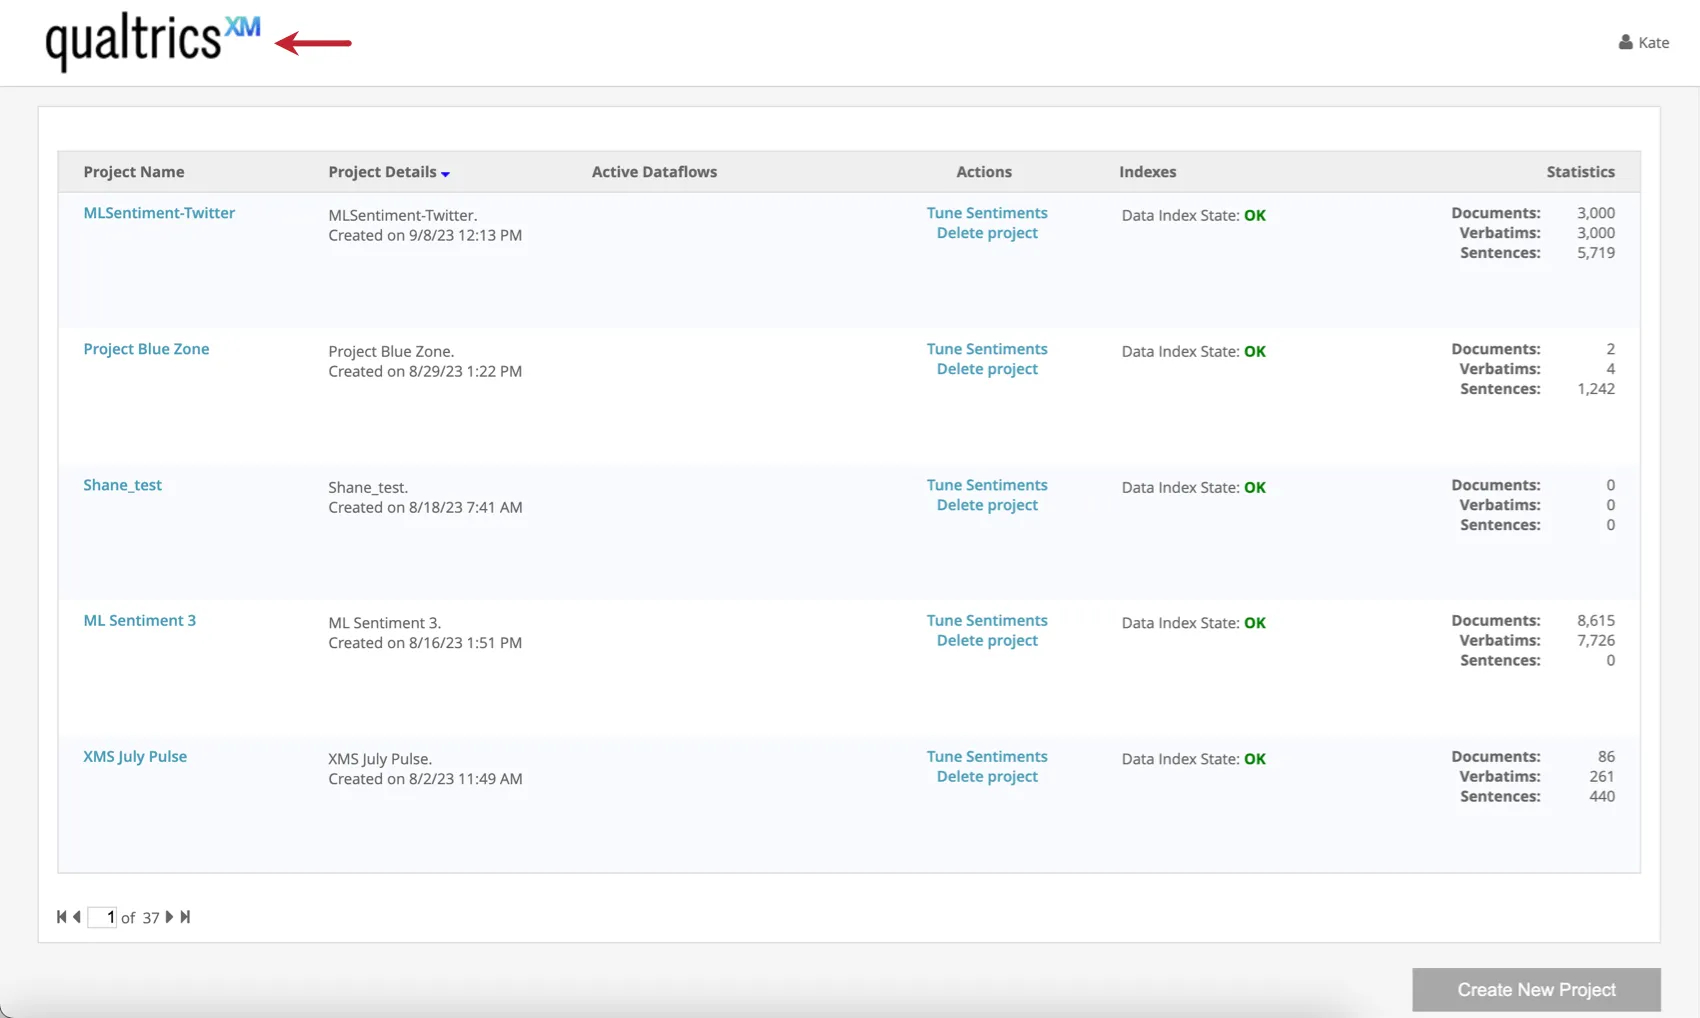
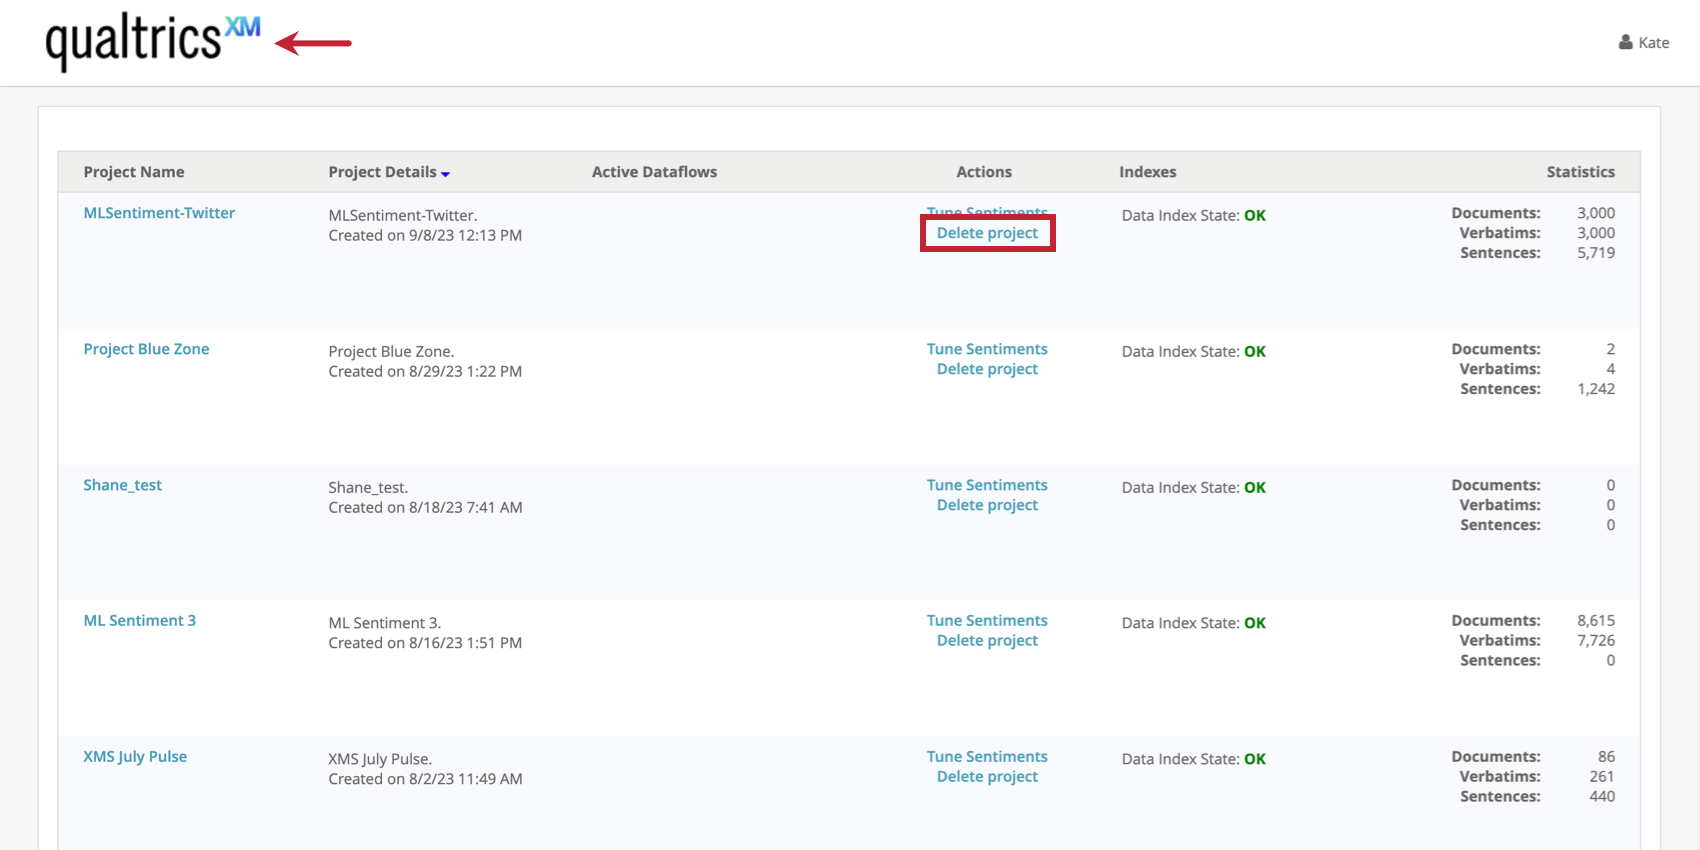
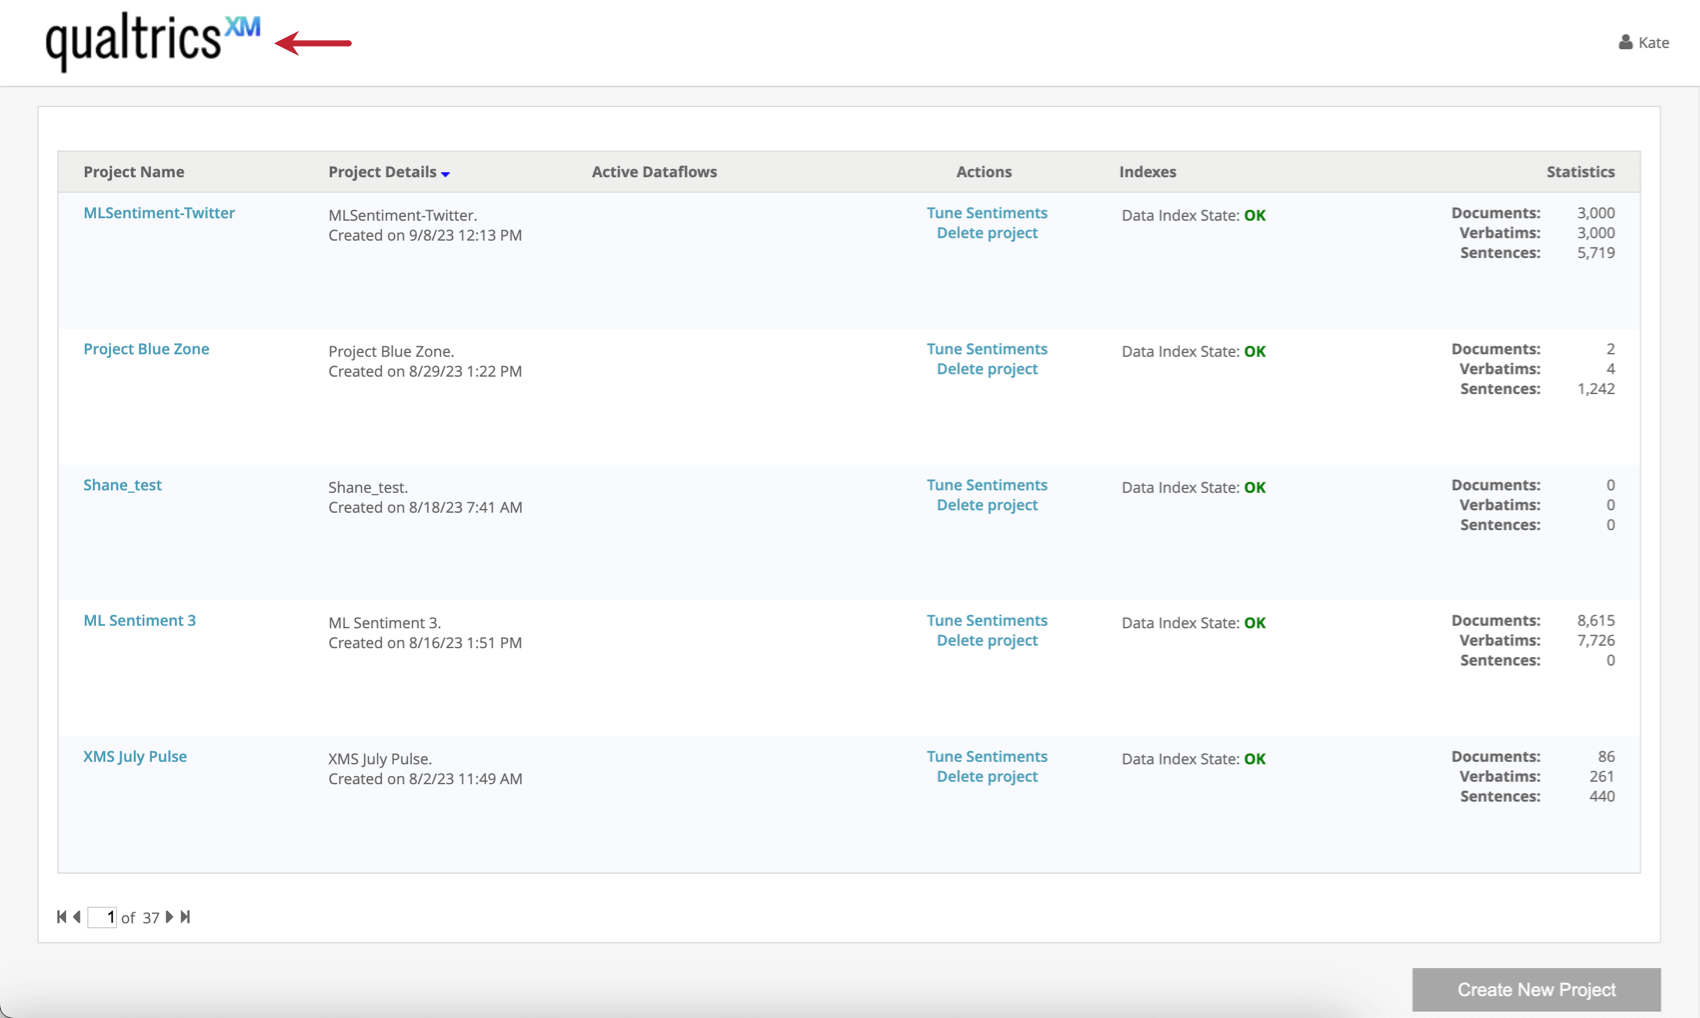
If you’d like to see a full list of projects you have access to, create a project, or delete a project, click the Qualtrics XM logo.
Creating a Project
Before uploading your data in Connectors, you need to create a project in Designer.
Qtip: Once you create a project, you are assigned the role of Project Manager for that project. You can assign additional project managers later as needed. See Granting Users a Project-Level Role for details.
You can create projects in a few different places in Designer:
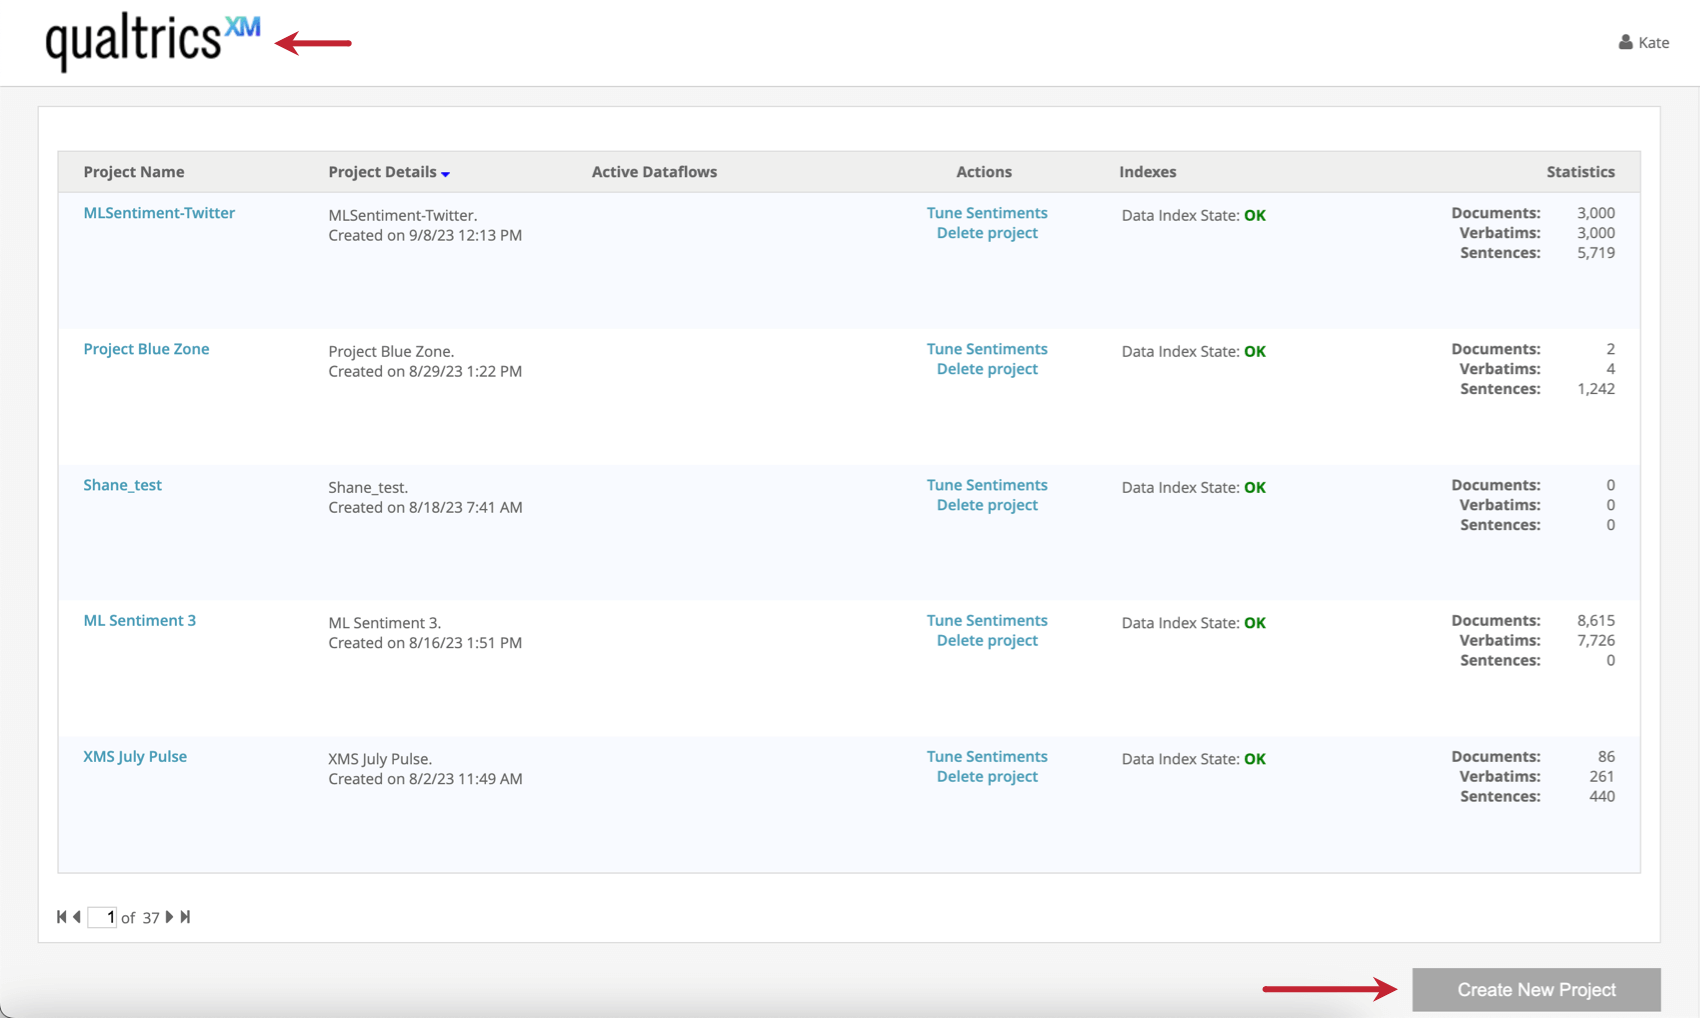
- Go to the Qualtrics XM logo, then select Create New Project.

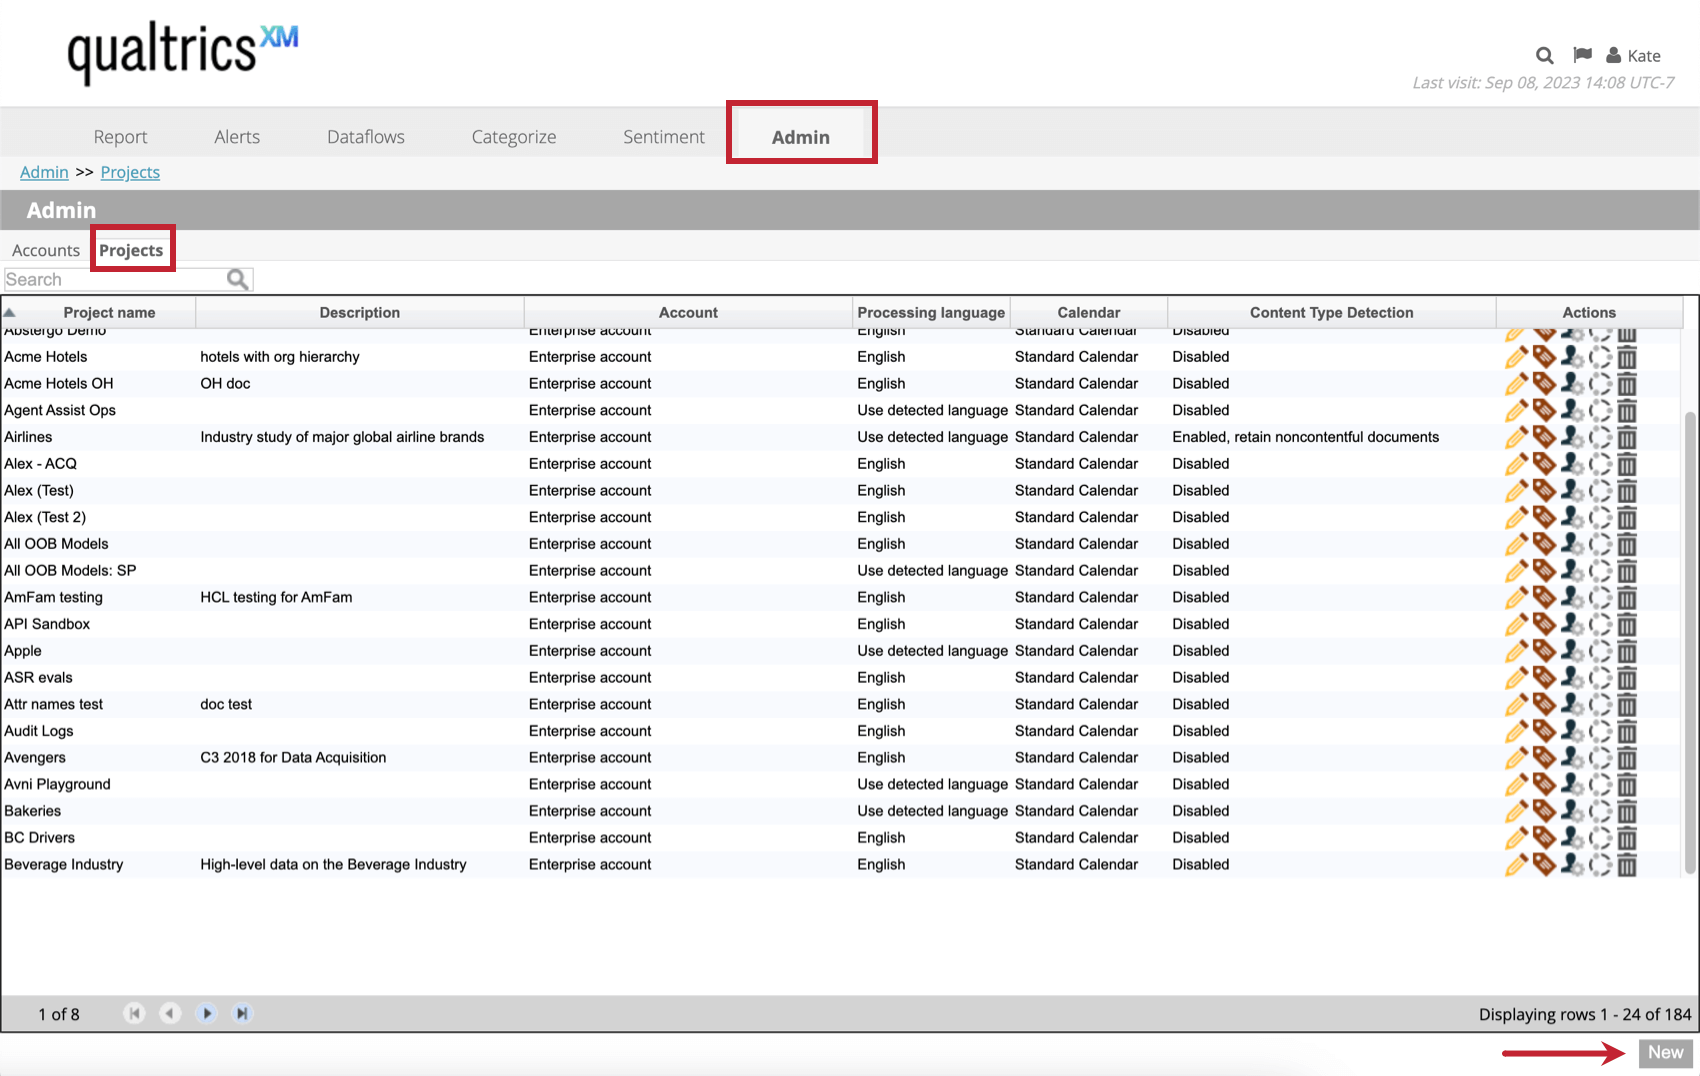
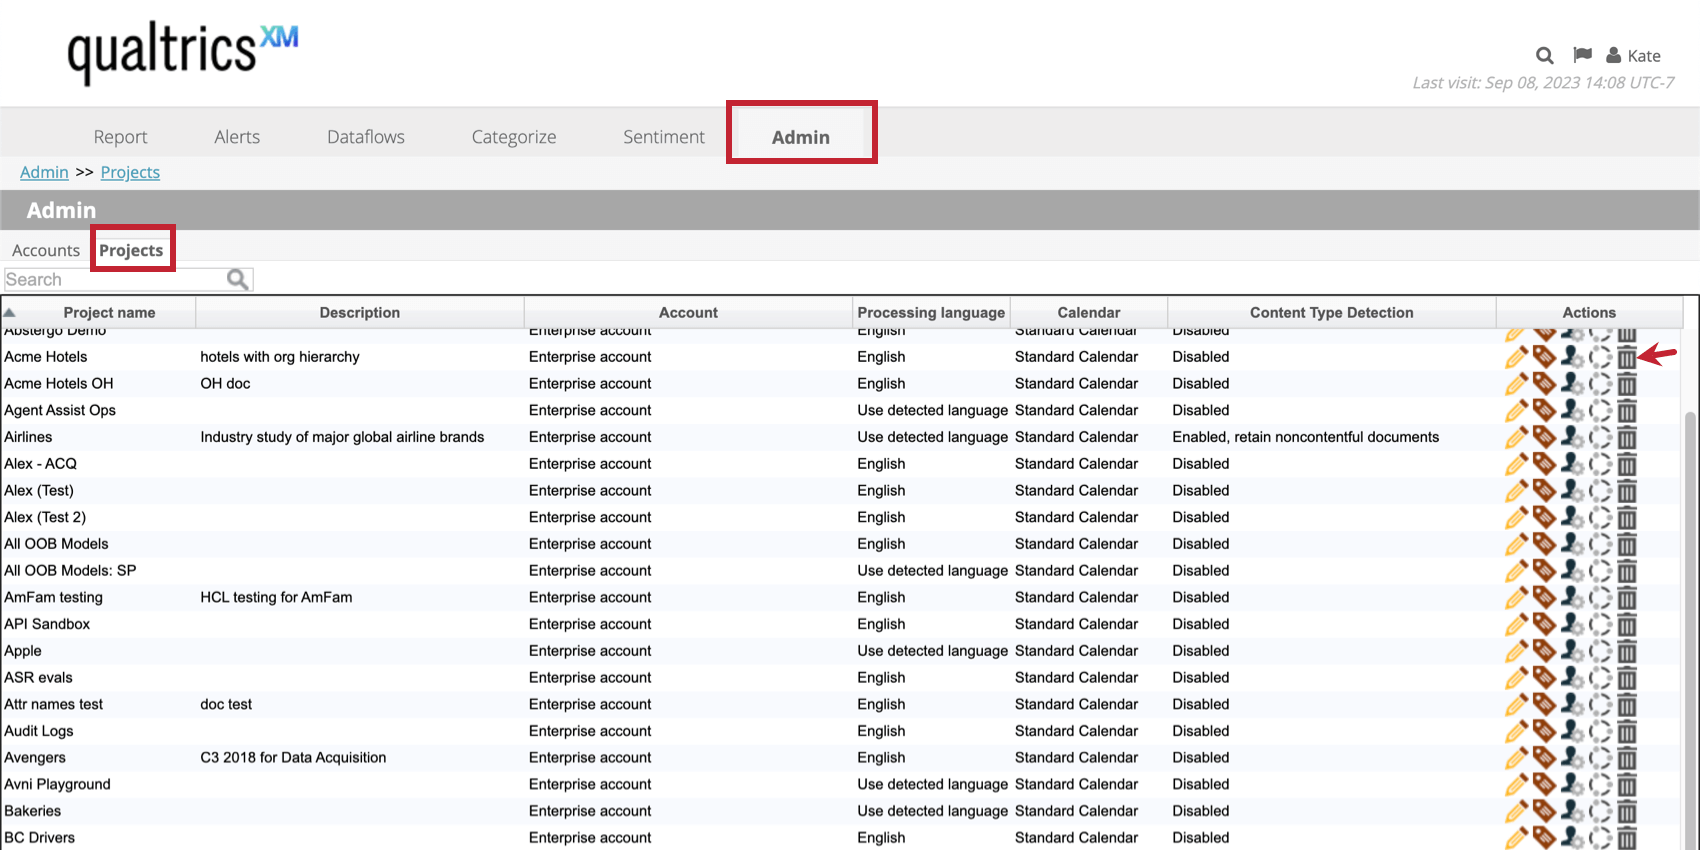
- Go to the Admin tab, Projects List, then select New.

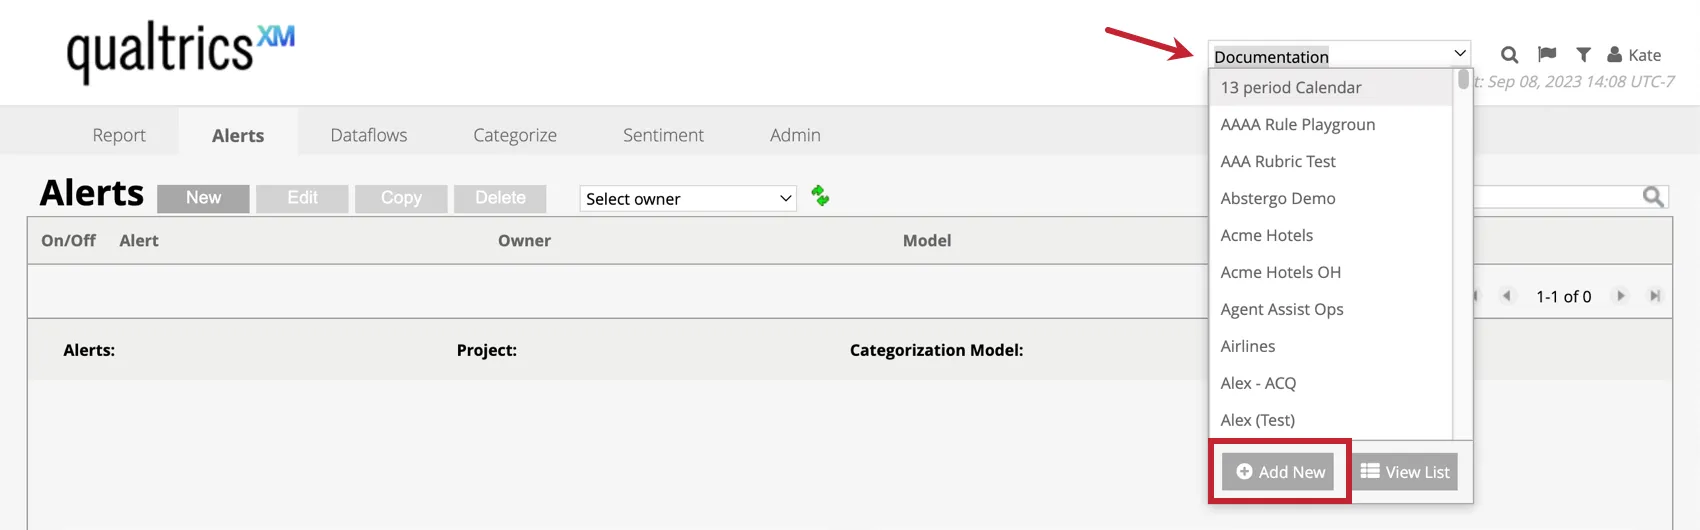
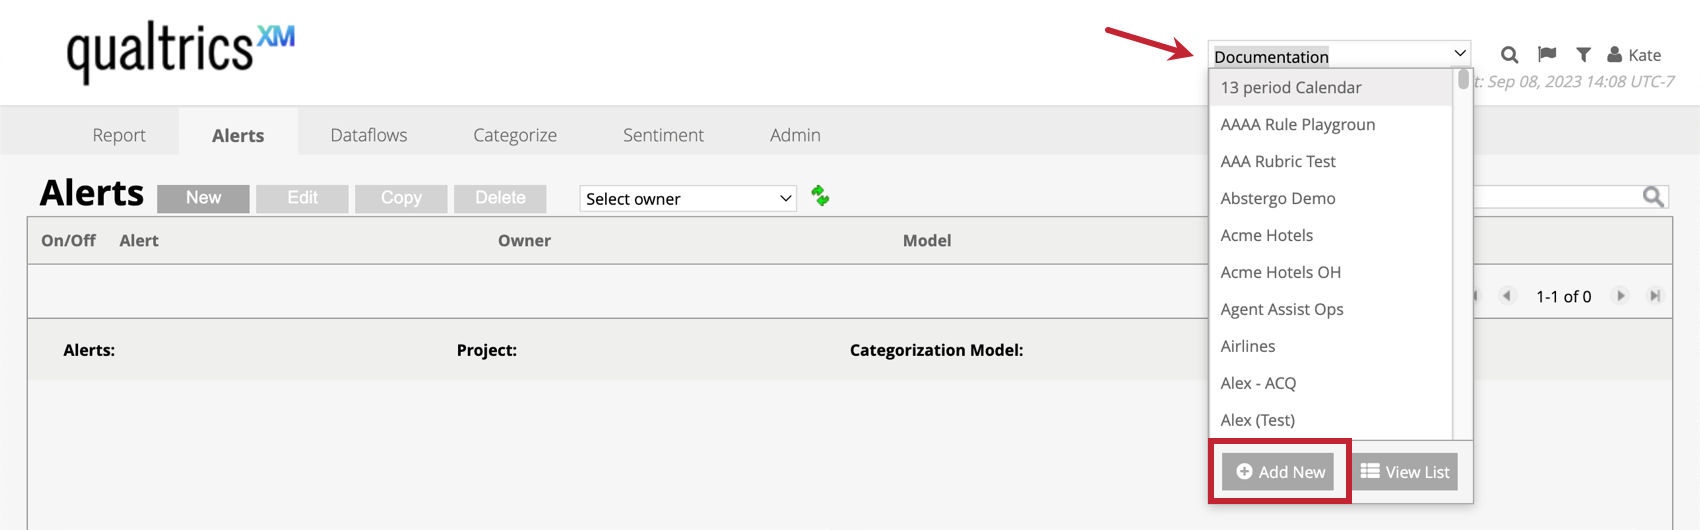
- Click the drop-down menu in the upper-right and select Add New.
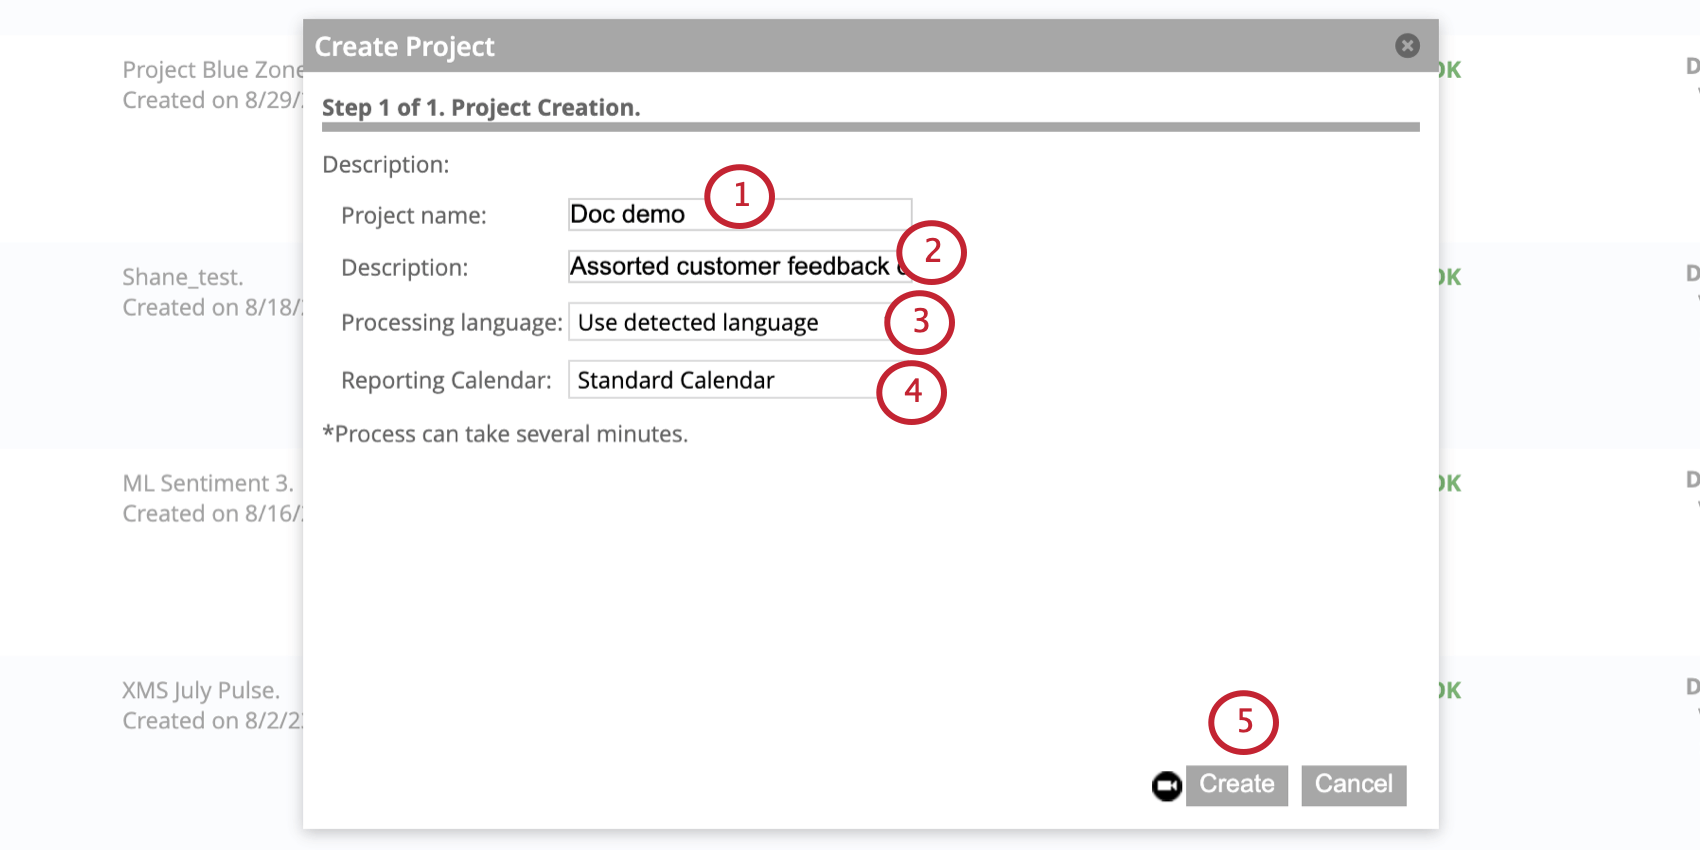
Once that is done, you can follow these steps to create your project:

Qtip: We do not recommend using special characters in project names. Spaces are allowed, but multiple consecutive spaces will be automatically reduced to 1 space.
Qtip: Apostrophes ( ‘ ) and other special characters are not allowed in the project description.
- Use detected language: This is recommended if you plan to use multiple languages in your project.
- Specific language: If you’re only going to use 1 language, you can choose that language from the list. XM Discover will perform Natural Language Processing only for this specific language. Qtip: For a list of supported languages, talk to your XM Discover Representative.

- Other: If you don’t need syntax and semantic analysis (for example, if your data doesn’t contain any spoken language, but technical codes), select Other. Natural Language Processing will not be performed for this data. Qtip: You can change the processing language options later in the Details tab of project settings.
Qtip: You can always change your project’s calendar settings later. See Custom Calendars for more information.
Now you can upload data to your project using Connectors.
Deleting a Project
Warning: Deleting a project permanently removes all of its data. Deleting a project in Designer can impact your setup for that project in Connectors and Studio. Only delete a project if you are completely sure that is what you want to do.
You can delete projects in a few different places in Designer:
- Go to the Qualtrics XM logo, find the project you want to delete, then select Delete project.
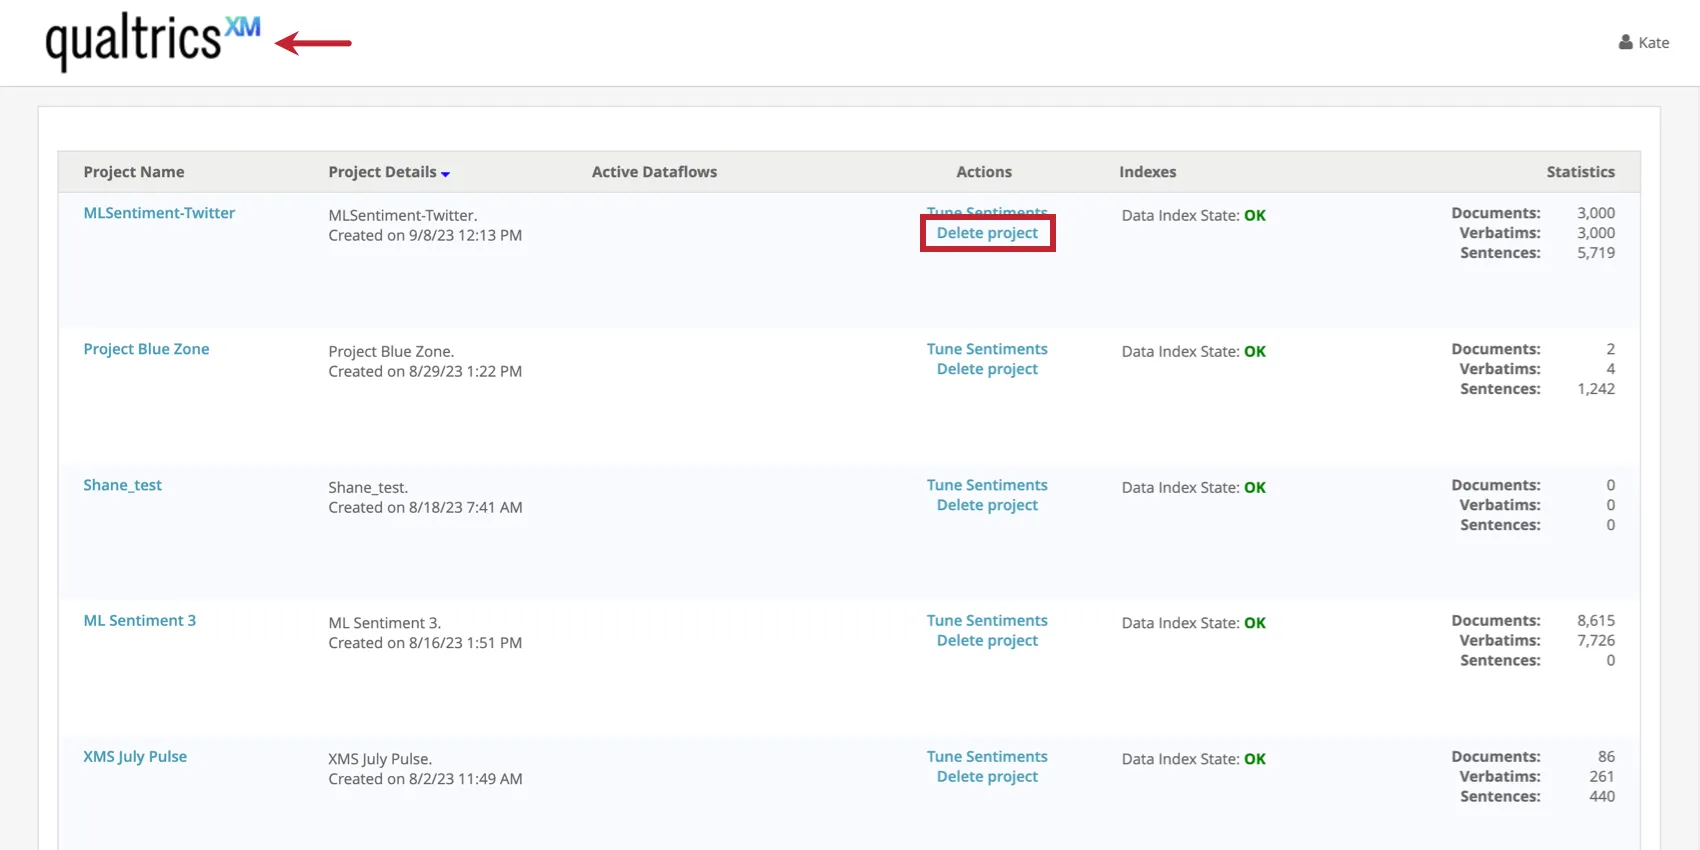 Qtip: This option is only available if you have a project-wide Execute permission.
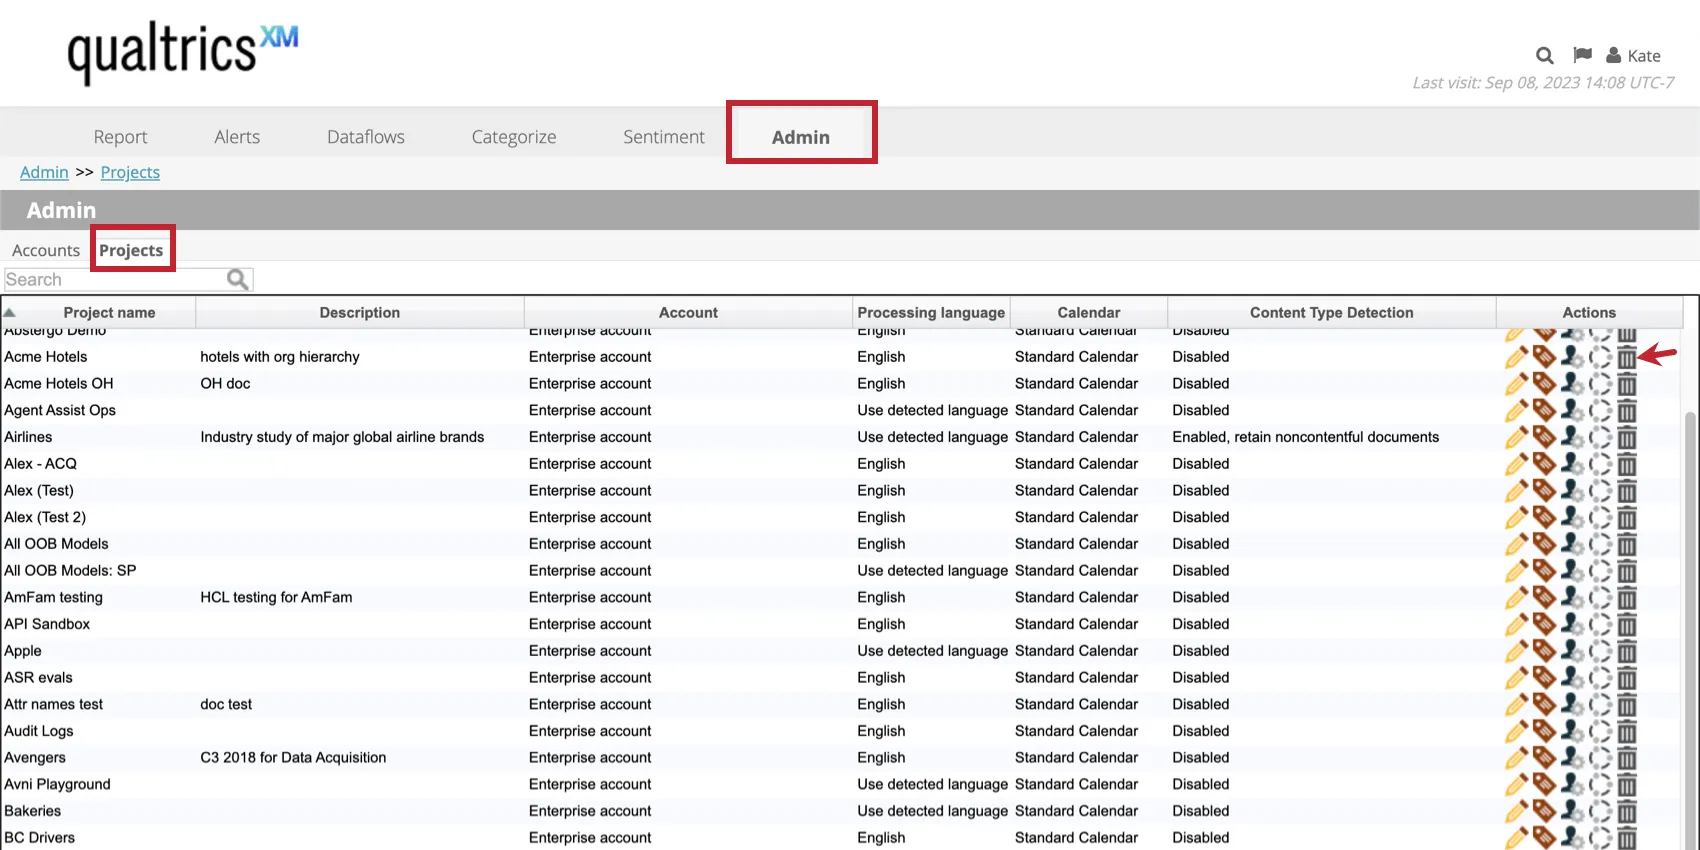
 - Go to the Admin tab, Projects List, then click the trash icon next to projects you want to delete.
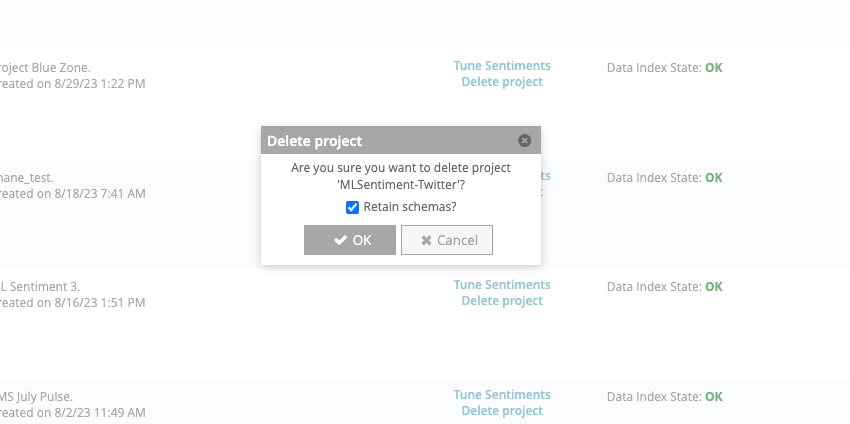
Once that’s done, follow these steps to delete a project:
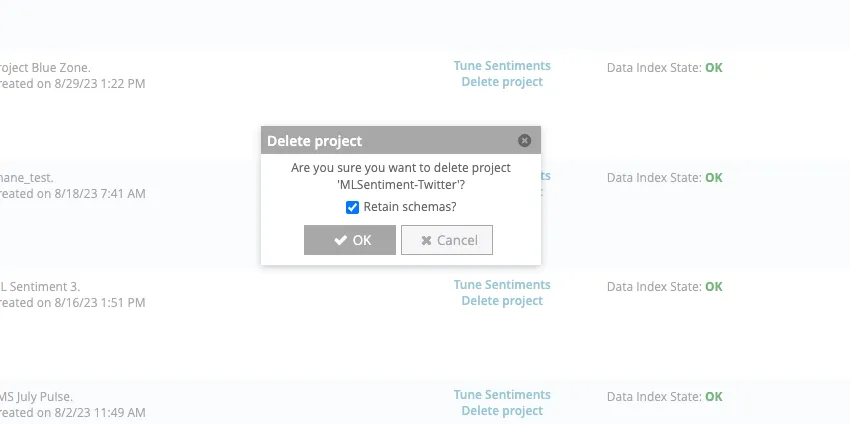
Qtip: This is a backend option that makes it easier to retrieve data in the event of an emergency. Keep in mind that there is no guarantee we can retrieve deleted data. Do not delete projects unless you are sure you want to delete them permanently.
Determining How Many Projects You Need
Typically, each project is used for a different set of data, since uploaded feedback cannot be shared between projects. When deciding whether to put data into 1 or multiple projects, consider these factors:
- Purpose of the data: Is the data from the same department, initiative, or program? Would there be value in analyzing it all together? If the answer is yes, it’s best to create only 1 project for all of that data. But for different initiatives and purposes, data should be split apart. Example: We have a project to analyze the performance of our customer feedback and a separate project for employee feedback.
 Example: The marketing research team has several separate projects, each for different feedback they’ve collected for different programs and initiatives.Example: We want to see broader trends in customer experience for our entire company. We combine customer feedback survey data, call center data, social media reviews, and more, all into 1 project.
 - Type of data: Combining data from different sources (for example, from a call center and email survey) is a good idea if the feedback is similar. However, you might want to consider loading data from structured surveys and social media into separate projects.
- Analysis you want to perform on the data: Dashboards are built with one project at a time. If you need to see aggregated reports on feedback from multiple sources, it should be loaded into 1 project. However, you might want to create separate projects for sources with significant differences in data elements.
That's great! Thank you for your feedback!
Thank you for your feedback!