
Importing Responses (360)
What's on this page
Qtip: Contact Account Services or your Account Executive for pricing on importing. Imported responses are considered separate from and will not impact the account’s purchased participants.
About Importing Responses
You can use the Import Data option in the Data tab to upload test or example data, to add multiple responses for a single participant, or to upload data collected externally.
Qtip: This page is for importing responses into 360. If you are interested in learning how to import your list of participants, please visit our Adding Subjects, Evaluators, & Managers support page.
Attention: Before importing your responses, you must import your subjects and their evaluators (including evaluators’ relationships to the subject). If you try to import responses without first adding subjects and evaluators, the import will fail.
Preparing & Importing Your Data
You will need to make sure your data file is ready for import. Your data needs to be in a format Qualtrics will understand, and it needs to exactly match the format and content of the survey you’re importing the data into.
Getting a Template File
These steps are the same in the Data tab of 360 as they are in the Data & Analysis tab of other Employee Experience projects. See Getting a Template File for details.
File Requirements for 360
For the import to work, the data file needs a special column that identifies all of the following:
Here is a list of the required columns in your exported file. Do not change spelling, punctuation, capitalization, or casing:
- SubjectUniqueIdentifier: The unique identifier of the subject.
- ParticipantUniqueIdentifier: The unique identifier of the evaluator.
- Relationship: The relationship of the evaluator to the subject. Regardless of the type of ID you are using, you must always include the relationship in your file. If the relationship is not included, the import will fail.
- Unsolicited: This field refers to whether the evaluation was solicited or not. An evaluator is unsolicited when they nominate themselves to evaluate a subject, rather than being nominated by the subject, a manager, or the 360 project administrator. Unsolicited responses should be marked 1 and solicited responses should leave this field blank.
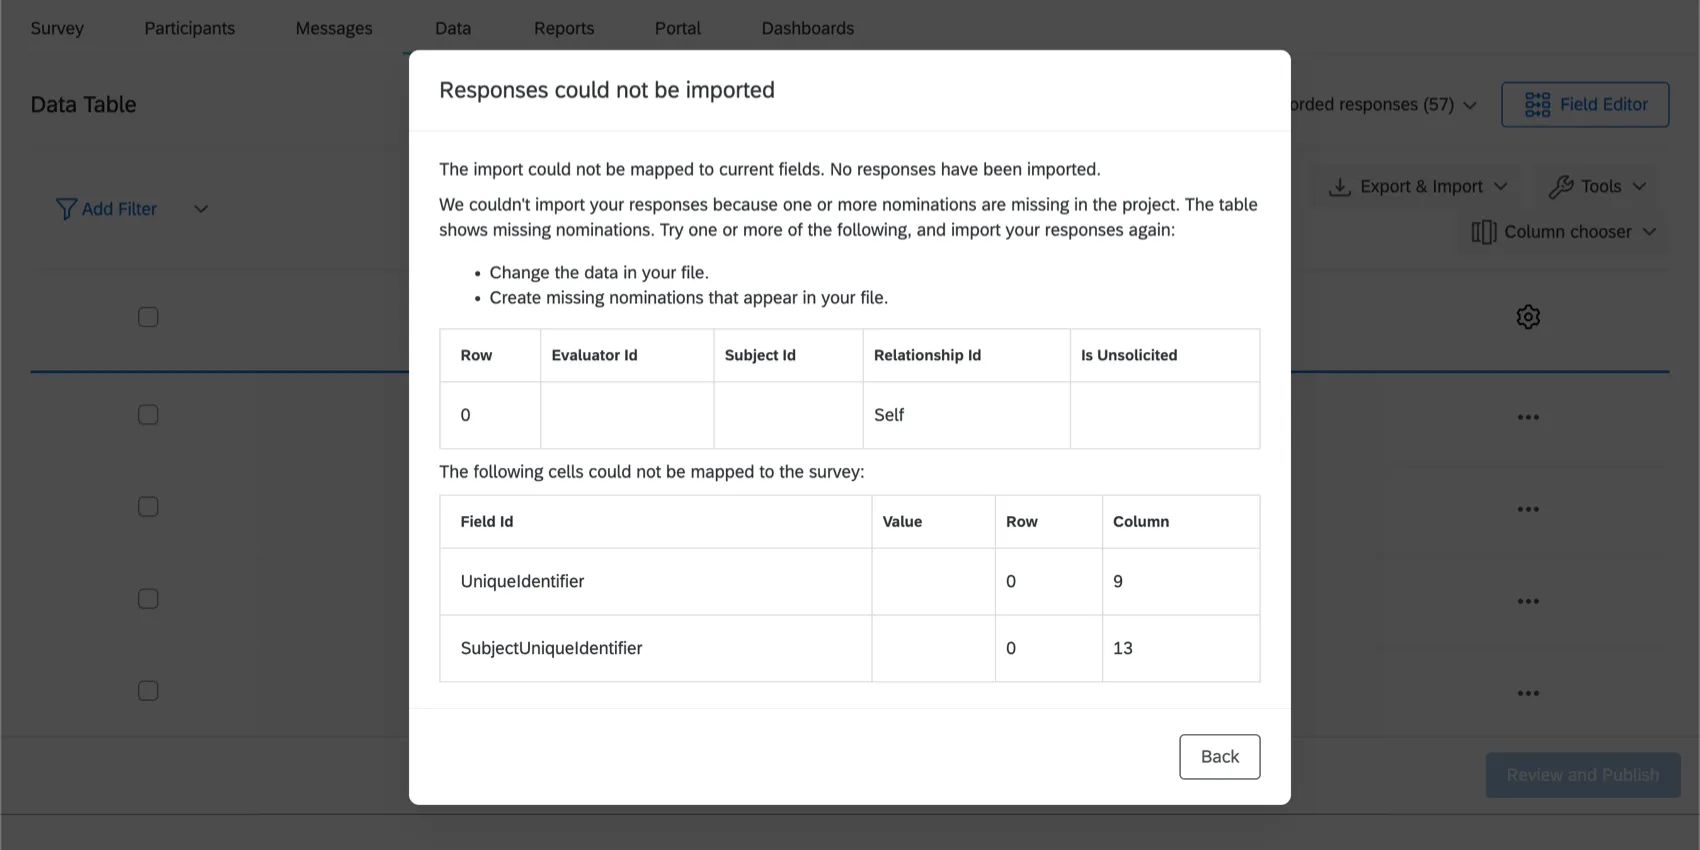
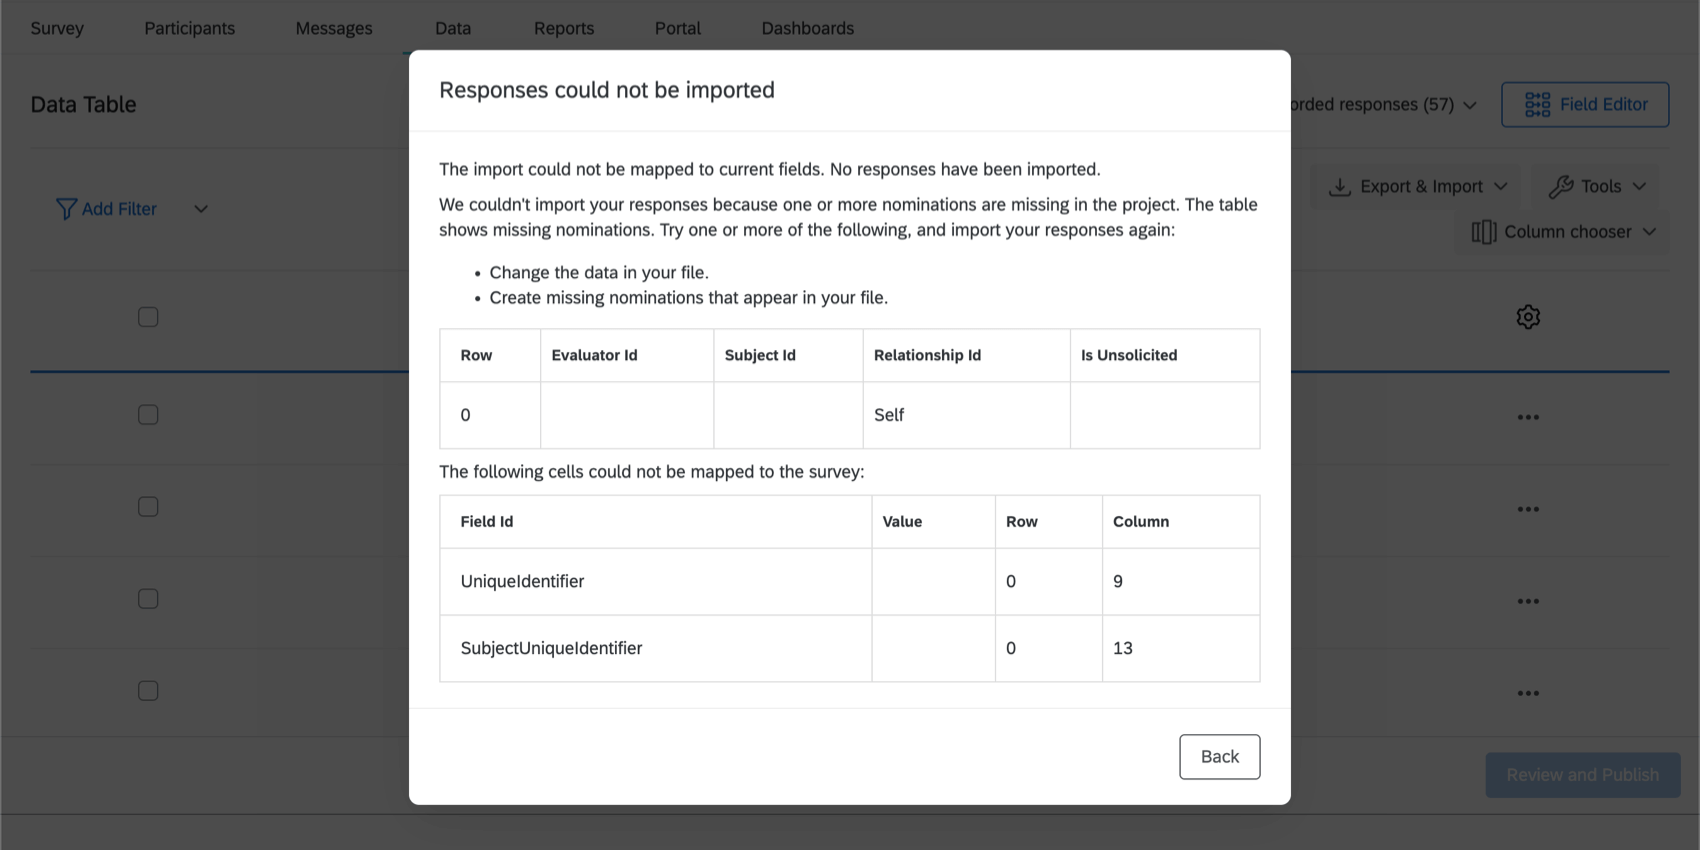
Qtip: If your file contains a unique identifier for a participant who hasn’t been added to the project, the import will fail with the error message, “The import could not be completed. No responses were processed.” Best practice is to make sure that you’ve imported a participant before you try to upload their response.
You don’t need to include metadata in your import. The importer recognizes the participants’ unique identifiers, and associates the appropriate participant metadata with the response. Any metadata you try to include in this file – location, department, participant email, parent unit, SubjectID, EvaluatorID, etc. – will be ignored.
Qtip: Looking to change your participant metadata? Check out our support page on importing metadata updates instead.
Your file must be in CSV, TSV, or TXT format. The importer cannot read any other file types, even if they can also be read by Excel.
The maximum file size is 100MB.
Qtip: Participants whose responses were already collected will not modify the existing response. If the unique identifier column is the same, the new response will be skipped over (not uploaded). If the unique identifier is missing, the responses will not be uploaded. See our Editing Responses and Retake Survey Link pages for information on editing your existing data.
Importing Your Responses
These steps are the same in the Data tab of 360 as they are in the Data & Analysis tab of other Employee Experience projects. See Importing Your Responses for details.
That's great! Thank you for your feedback!
Thank you for your feedback!