
Survey Flow
What's on this page
About the Survey Flow
The Survey flow is where you customize the order in which respondents experience the elements of your survey. As the name suggests, it’s where you determine the “flow” of your survey. For a survey with a few blocks of questions, this just means making sure everything’s in the correct order. But your survey flow can also be more complex. You may need to send respondents down customized paths, or need to randomize conditions. Once a survey-taker goes down a special path, maybe they need to be assigned a special value or end the survey early. With the survey flow section of the survey, you can do this and more.
Survey Flow Elements

Elements are the building blocks of the survey flow. They let you do everything from creating personalized paths for respondents, setting up new key variables, or randomizing blocks of questions.
The following is a list of the different survey flow elements available to you, in order of how commonly they’re used. Click the corresponding link to learn more about each element.
- Question Blocks: Show a block of questions. Qtip: See Question Blocks for information on using blocks in the survey flow. See Block Options for information on how to create and edit blocks.

- Branches: Display blocks and other elements based on the conditions that survey respondents meet.
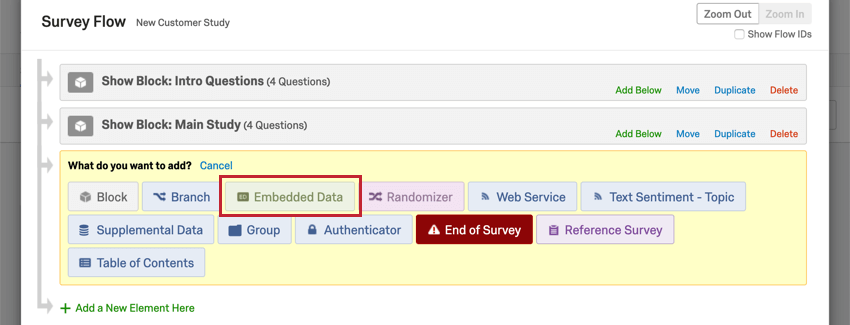
- Embedded Data: Add any extra information you want to include in the survey data beyond the question responses, such as contact data or other variables you assign by branching.
- Randomizer: Randomly present question blocks and other elements.
- End of Survey: Terminate respondents at various locations with custom experiences.
- Authenticator: Verify respondents’ identities before they take the survey.
- Groups: Group different survey flow elements together.
- Reference Surveys: Use the same sets of questions in multiple surveys.
- Table of Contents: Allow respondents to self-navigate question blocks.
- Text Sentiment – Topic: As respondents fill out open-ended feedback in your survey, assess the sentiment of the response, topics used in the response, and the sentiment of those particular topics. Then branch based on the text analysis results.
- Web Service: Integrate API calls and web services into your survey.
- Experience Agent: Embed an agent to help you resolve customer issues identified in surveys.
Navigating the Survey Flow
To access the survey flow, make sure you are in the Survey tab of your project. Then click the Survey flow icon in the navigation bar on the lefthand side.
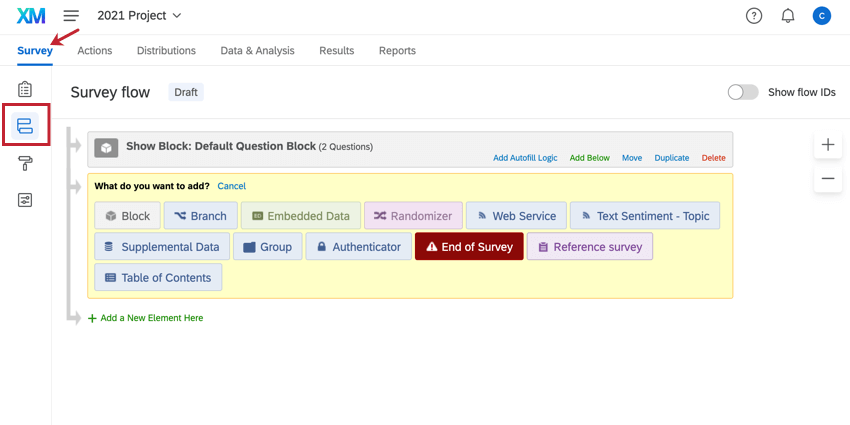
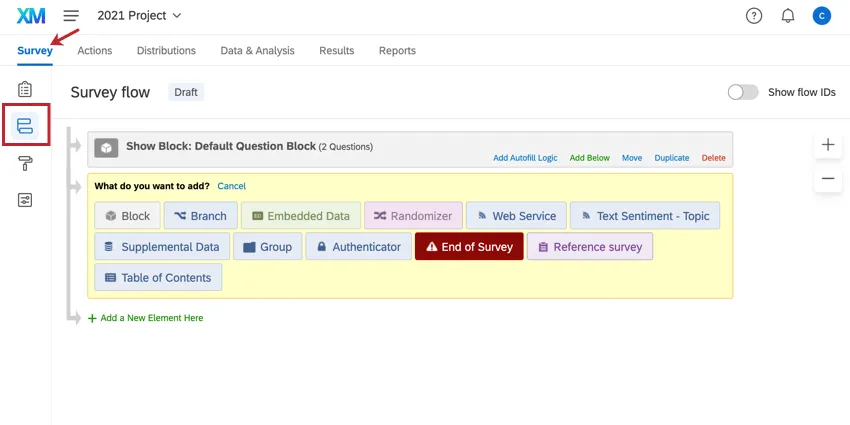
Here, you’ll see a list of the question blocks in your survey. In basic surveys, you may see just 1 block.
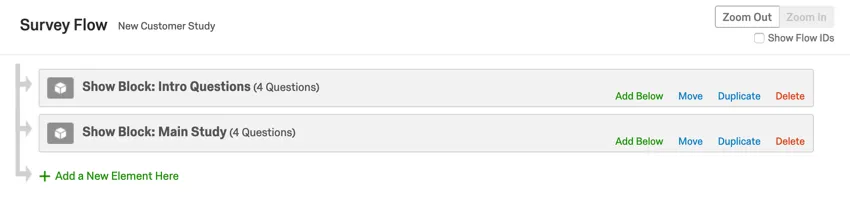
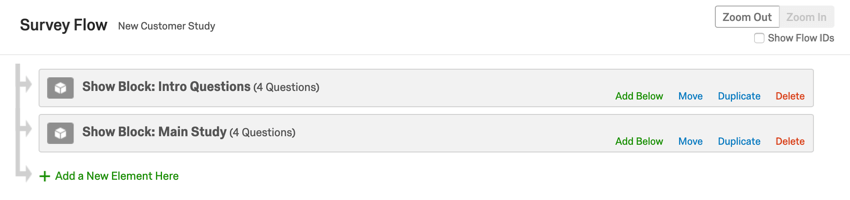
Respondents will start at the top of the flow and work their way through each element until they reach an end point and finish the survey.
In addition to blocks, the survey flow can be customized by adding new elements such as branches (used to show certain elements only to those who meet conditions you specify), randomizers (used to randomly choose which elements each respondent will see), and a variety of other elements.
Example: Let’s say we’re surveying customers who just made a purchase in our store, but we only want to study those who bought from us for the first time. In the screenshot below, we have a block of introduction questions, which includes a question about whether this is the survey taker’s first time buying from our store. We then have a branch that catches all the survey takers who have previously made purchases at our store, and sends them to an end of survey element, so the survey stops. Survey takers who don’t meet the branch’s condition will skip the end of survey element and instead head to the “Main Study” block, where we’ll survey them on their first experience with us.

Editing the Survey Flow
Adding Elements
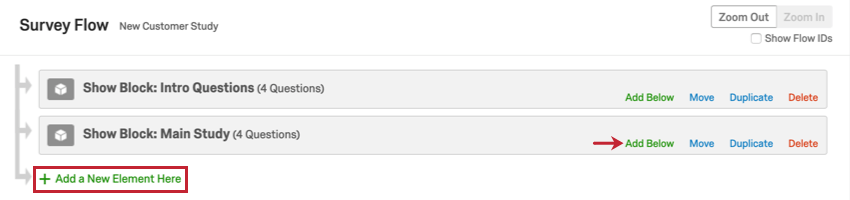
Qtip: If there’s a particular spot in the survey flow where you want your new element to appear, click Add Below.
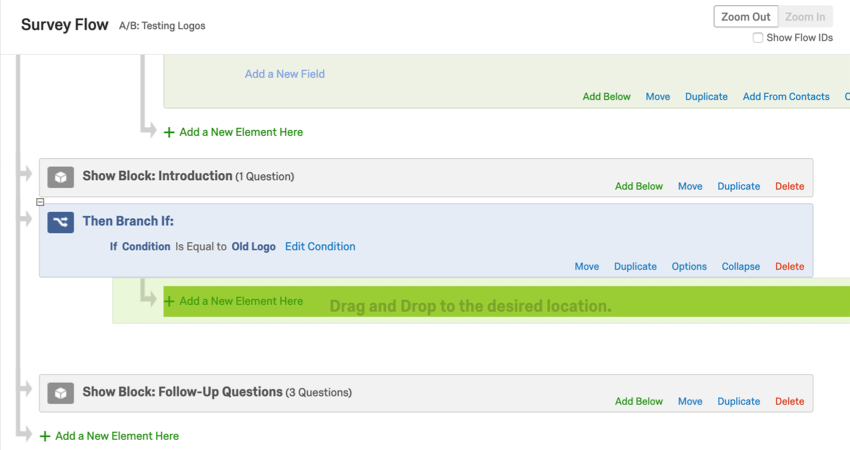
Moving Elements
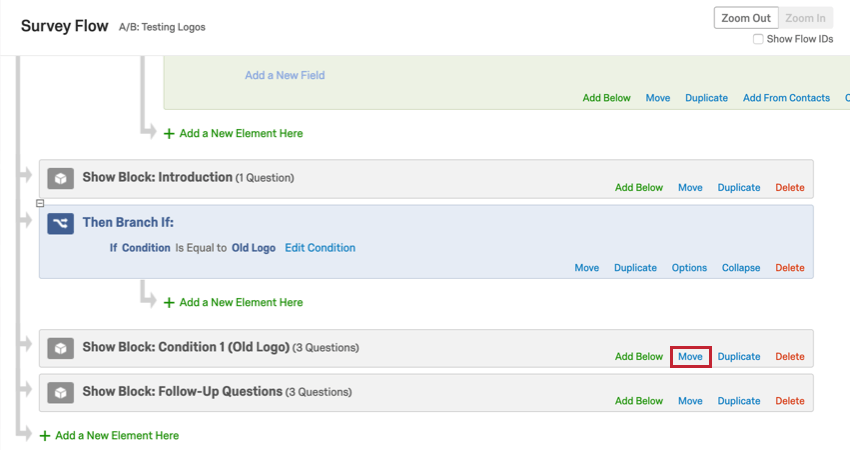
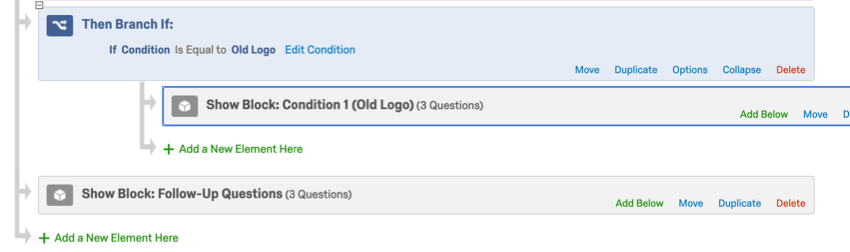
Example: Survey takers will need to meet the conditions of the branch to see the block labeled Condition 1 (Old Logo), but they won’t need to pass the condition of the branch to see the block labeled Follow-Up Questions.
Qtip: You can also move selected elements in the Survey Flow by clicking the element and pressing the ↑ and ↓ keys on your keyboard.
Duplicating Elements
Click Duplicate on an element to copy it. If this element is a branch, randomizer, group, or authenticator, take note that everything indented underneath it will also be copied.

Qtip: If you add a block that’s already in the survey flow and respondents see it twice, the second instance will display all of the same questions with their previous answers filled in. Qualtrics will save the responses from the last instance the block was shown.
Deleting elements
Click Delete on an element to remove it. If this element is a branch, randomizer, group, or authenticator, take note that everything indented underneath it will also be removed.

Warning: Don’t ever delete an element unless you are absolutely sure this is what you want to do! You won’t be able to retrieve any elements you delete, and you will need to rebuild them from scratch. In the case of elements like Embedded Data, you will also delete all corresponding data from your survey.
Saving the Flow
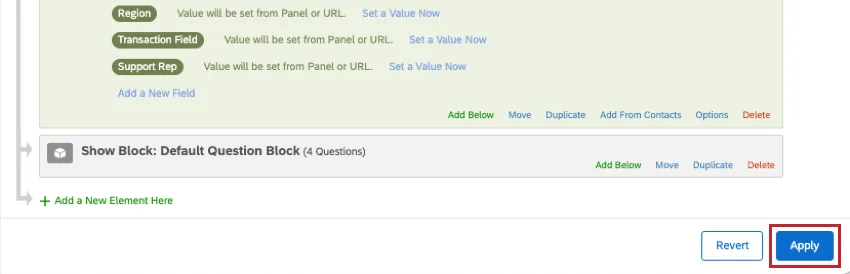
Click Apply to save the edits you’ve made.
Qtip: If you don’t want to apply your edits, or you made a mistake, simply click Revert to not save the change.
Examples of the Survey Flow in Action
You can do almost anything you want with the survey flow, which can be daunting if you don’t know what you want to do yet. To help you get started, we’ve written a collection of common survey builds that are popular with real Qualtrics users. The ones listed here all utilize the survey flow in some unique way:
- Building a consent form
- Allowing respondents to redo sections of the survey
- A/B Testing (or research on a treatment vs. a control group)
- Assigning randomized IDs to respondents (such as for MTurk)
- Panel company integration
- Screening out certain survey takers
- Creating an anonymized raffle
- Pulling data into one survey from another (such as for longitudinal research)
- Displaying different messages to respondents based on how they scored
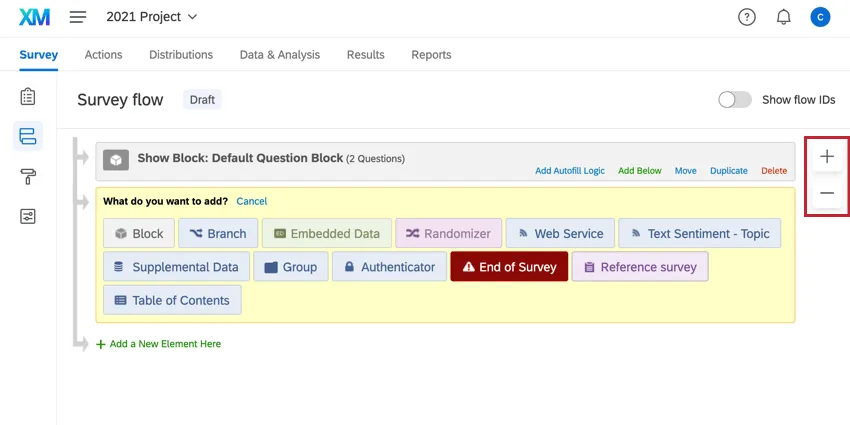
Qtip: If you need to see your survey flow better while you edit all the different elements inside, you can use the plus (+) and minus (–) buttons to zoom in and out.
Types of Projects with Survey Flows
Survey flows can be used in many types of Qualtrics projects. These include:
Other Qualtrics projects have survey flows with special considerations.
- For Engagement, Lifecycle, Ad Hoc Employee Research, or Pulse projects, please see Survey Flow (EX).
- For 360 projects, see Survey Flow (360).
FAQs
How do I display different messages for different participants at the end of the survey?
How do I display different messages for different participants at the end of the survey?
A block has a red error message at the top of it saying "Not in Survey Flow". What does this mean?
A block has a red error message at the top of it saying "Not in Survey Flow". What does this mean?
I am having trouble setting up logic to display a question or set of questions to a specific subset of my respondents.
I am having trouble setting up logic to display a question or set of questions to a specific subset of my respondents.
How do I branch my respondents based on today's date?
How do I branch my respondents based on today's date?
When creating logic based on today's date, you need to save the day, month, and year as separate embedded data fields with your response. You can then use logic based on your embedded data fields to send your respondents down different paths based on today's date.
When creating your embedded data fields, use the following piped text codes for your fields:
- Day: ${date://CurrentDate/d}
- Month: ${date://CurrentDate/m}
- Year: ${date://CurrentDate/Y}
Let's run through an example on how to use these fields with branch logic. In this example we want our branch to only include people who are taking the survey in the first half of January. Our logic has three main compontents, one for each piece of the date:
That's great! Thank you for your feedback!
Thank you for your feedback!