
Organization Hierarchies Basic Overview (Studio)
What's on this page
About Organization Hierarchies in XM Discover
You can use organization hierarchies to incorporate your organization structure into XM Discover reporting. From contact centers to product lines and retail stores, an organization hierarchy can be useful to expand your analytics while improving personalization and data access control. For information on managing organization hierarchies, see Managing Organization Hierarchies.
For examples and troubleshooting tips for organization hierarchies in XM Discover, please see Best Practices for Organization Hierarchies (Studio).
Applying Organization Hierarchies
Organization hierarchy is a powerful feature that can greatly enhance your reporting and Customer Experience (CX) operationalization to address CX challenges. You can use organization hierarchies for a range of purposes:
- Dashboard personalization and access control: Provide tailored insights to each user and prevent them from seeing sensitive data.
- Product model relationship: Use organization hierarchies to capture relationships.
- Peer and parent reporting: Enable dashboard viewers to compare their CX performance KPIs to their peers and parents in the organization.
- Target and variance reporting: Quantify how each level of an organization stacks up to its targets and how these targets vary compared to actual KPIs.
- User and group management: Manage users and groups at scale.
- Notification, alert and case routing: Personalize notifications to foster accountability.
Dashboard Personalization and Access Control
You can use access control to prevent users from seeing sensitive data and distribute insights tailored to each person via dashboard personalization. Given their place in the hierarchy, users see content personally filtered for them. For example, contact centers can use organization hierarchies to show dashboard viewers data related to their recent customer service calls. When a supervisor opens the shared dashboard, data on all widgets is automatically filtered for them. An operations manager higher in the hierarchy can access data associated with all of their subordinates (both the aggregates and individual supervisors).
Qtip: You can email CX insights to user groups as PDF snapshots. This requires an active organization hierarchy.
Product Model Relationship
You can use organization hierarchies to capture relationships. For example, a cruise line company can use an organization hierarchy to capture the relationship between voyages and ships. All users are assigned to the top level of the hierarchy and see the same report data. Selecting a specific ship name in the hierarchy filters the widgets to show data for all the voyages associated with that ship.
Peer and Parent Reporting
You can use organization hierarchies so that dashboard viewers can compare their CX performance KPIs to their peers and parents to highlight individual contributions and foster friendly competition. Report builders can share insights so users see their metrics relative to their peers or parents in the organization.
Qtip: Use peer and parent reporting to implement gamification and leaderboards for quality management. This requires an active and published organization hierarchy.
Target and Variance Reporting
Target and variance reporting enables you to quantify how each level of an organization stacks up to its targets and how these targets vary compared to the actual KPIs.
Qtip: This requires an active and published organization hierarchy with additional enrichment parameters.
You can use organization hierarchies to define goals for data segments and measure the difference between goals and actual results. For example, a hotel group can define target sentiment values for individual hotels and create a simple custom math metric to show the difference between the target and actual sentiment.
User and Group Management
Hierarchy management means user and group management at scale, from distributing content to managing data access rights.
Notification, Alert, and Case Routing
Organization hierarchies enable organizations to personalize notifications to foster accountability.
Qtip: Couple an organization hierarchy with an alert to distribute personalized content to all users when actionable.
Attribute Filter Hierarchies
Attribute filter-based hierarchies can better support larger brands that have structured fields that define the rules for each node or leaf. For more information, see Attribute Filter-Based Hierarchies.
Defining Organization Hierarchies
Attention: These actions require a Manage Settings permission.
To define an organization hierarchy, you need to do the following:
Attribute Filter-Based Hierarchies
Attribute filter-based hierarchies do not require classification or publishing; they process requests directly with the defined filter applied. Therefore, these hierarchies can better support larger brands that have structured fields that define the rules for each node or leaf.
Example: A contact center needs an attribute filter-based structure where each node represents one agent based on EmployeeID.
In an attribute-based hierarchy, parent nodes can be left empty. When parent nodes are empty, they will inherit the rules of its children nodes:
- Parent inheritance has a limit of 3000 underlying nodes. If you exceed 3000, you must either reduce the total number of children nodes or add filter rules to the parent node.
- If a node level has a filter, all other nodes at the same level must also target and use the same attribute filter rule.
Attribute Filter-Based Compared To Custom Filter-Based Hierarchies
Attribute filter-based hierarchies differ from custom filter-based hierarchies because attribute hierarchies:
- Do not require publishing and classification.
- Support up to 75,000 nodes.
- Support up to 1,000 peer nodes.
- Restrict to one attribute for the leaf level node and one value for each leaf node.
- Do not offer automatic group creation. However, they still create a group for the root node (i.e., a group that contains all users who are part of the hierarchy). If you skip non-existing users when generating the hierarchy, these users will not be added to the hierarchy’s root node later, and admins will not be able to edit the new group of users. Best practice is to run the hierarchy only when all intended users already exist in XM Discover. Qtip: You can add up to 500 users to a group using the bulk user upload.

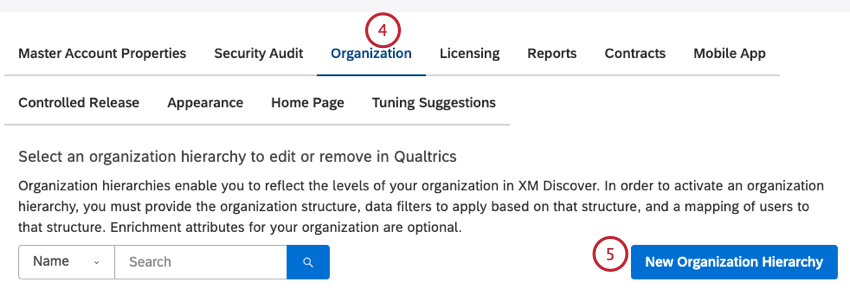
Adding an Organization Hierarchy
Qtip: You can automate the creation of organization hierarchies by using the organization hierarchy inbound connector.

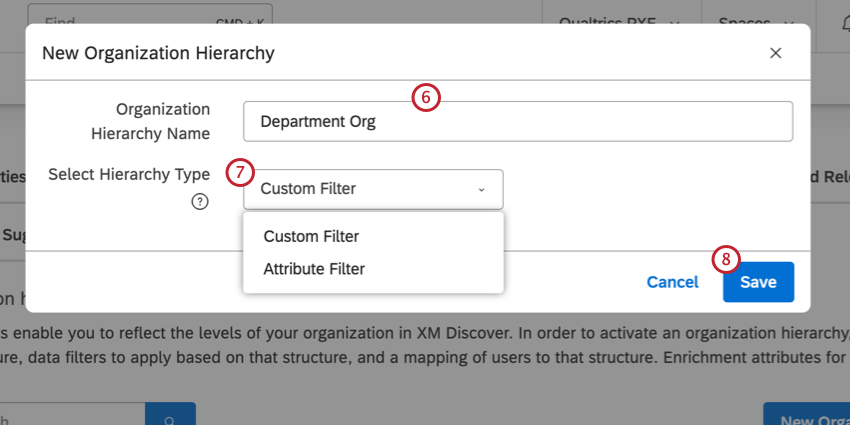
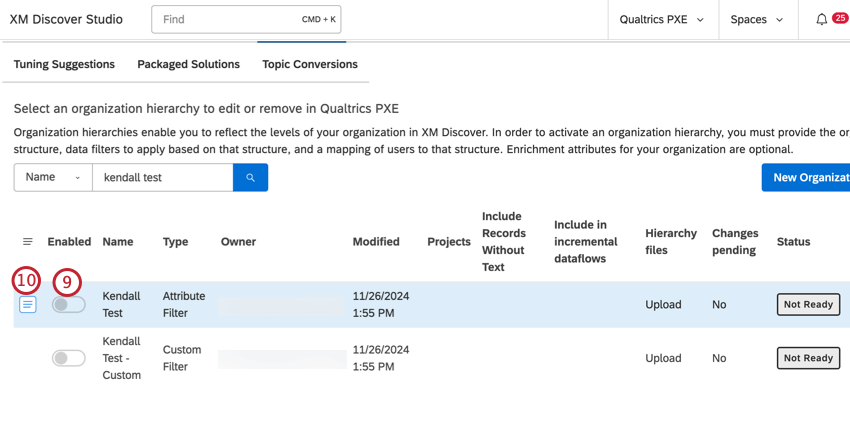
- Attribute Filter: Create the organization hierarchy based on an attribute filter. For more information, see Attribute Filter-Based Hierarchies.
- Custom Filter: Create the organization hierarchy based on traditional XM Discover hierarchies.
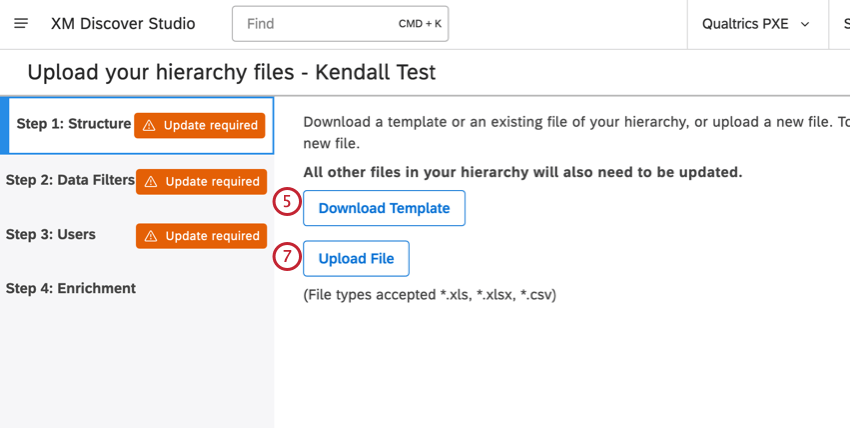
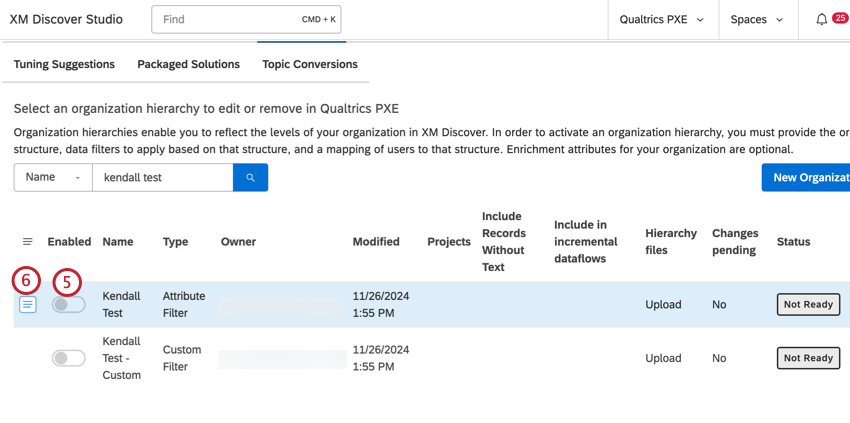
Defining the Organization Structure
After you add an organization hierarchy, you can define your organization structure.
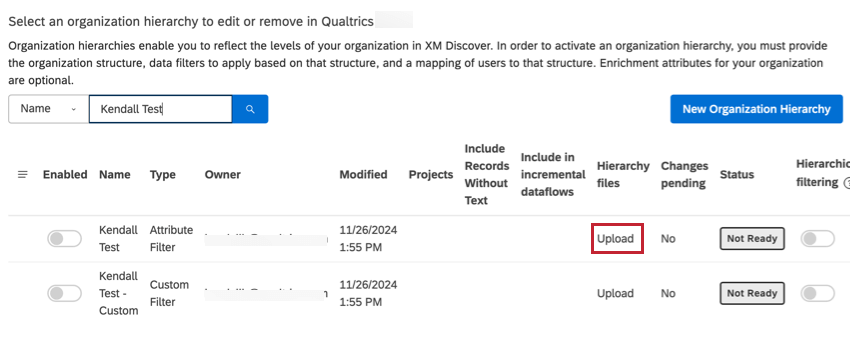
Qtip: The Upload link means no structure has been defined. Once the structure is defined, the Upload link changes to Edit.
Qtip: If you see an error message when you upload your file, please see Examples and Troubleshooting Tips for Organization Hierarchies in XM Discover.
Mapping Data Filters to Organization Levels
After you define your organization structure, you can specify a data filter for each level in your organization.
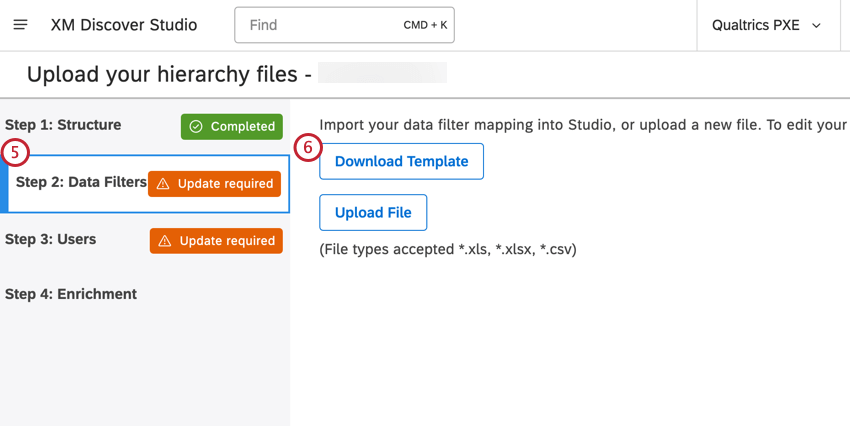
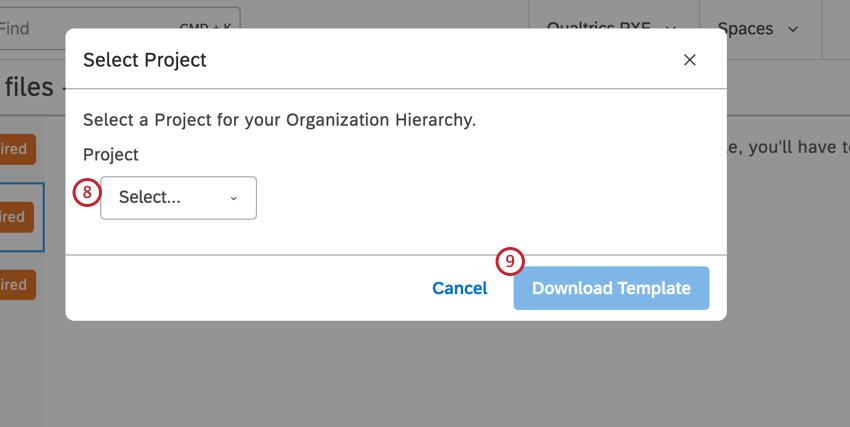
Qtip: Data filters templates (MS Excel format only) are created based on the number of projects in your content provider and on the organization structure you uploaded earlier.
Qtip: The data filters are essentially a structured attribute or a keyword.
Mapping Users to Organization Levels
After defining your organization structure and mapping data filters to organization levels, you can map user accounts to the same levels.
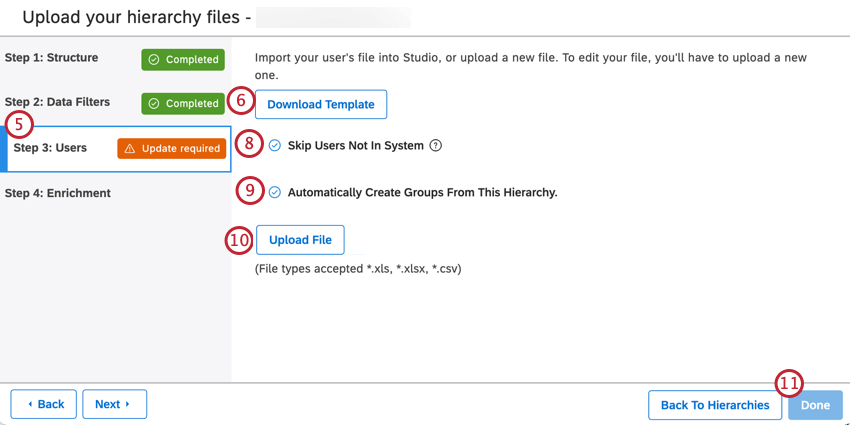
Qtip: User mapping templates (available in MS Excel format only) are based on the organization structure you uploaded earlier.
- Selected: Studio will create a new group for every business segment defined in a hierarchy. All users mapped to these segments will be automatically added to their groups. This will allow you to easily share your dashboards with these users. Qtip: You can choose to create 1 additional group per hierarchy node.You can remove these derived groups at any time, as well as keep them after removing the related hierarchy.
- Not selected: No segment-level groups will be created. Attention: A master group for all organization hierarchy users is created regardless of what you choose during this step.

Qtip: If you see an error message when you upload your file, please see Examples and Troubleshooting Tips for Organization Hierarchies in XM Discover.
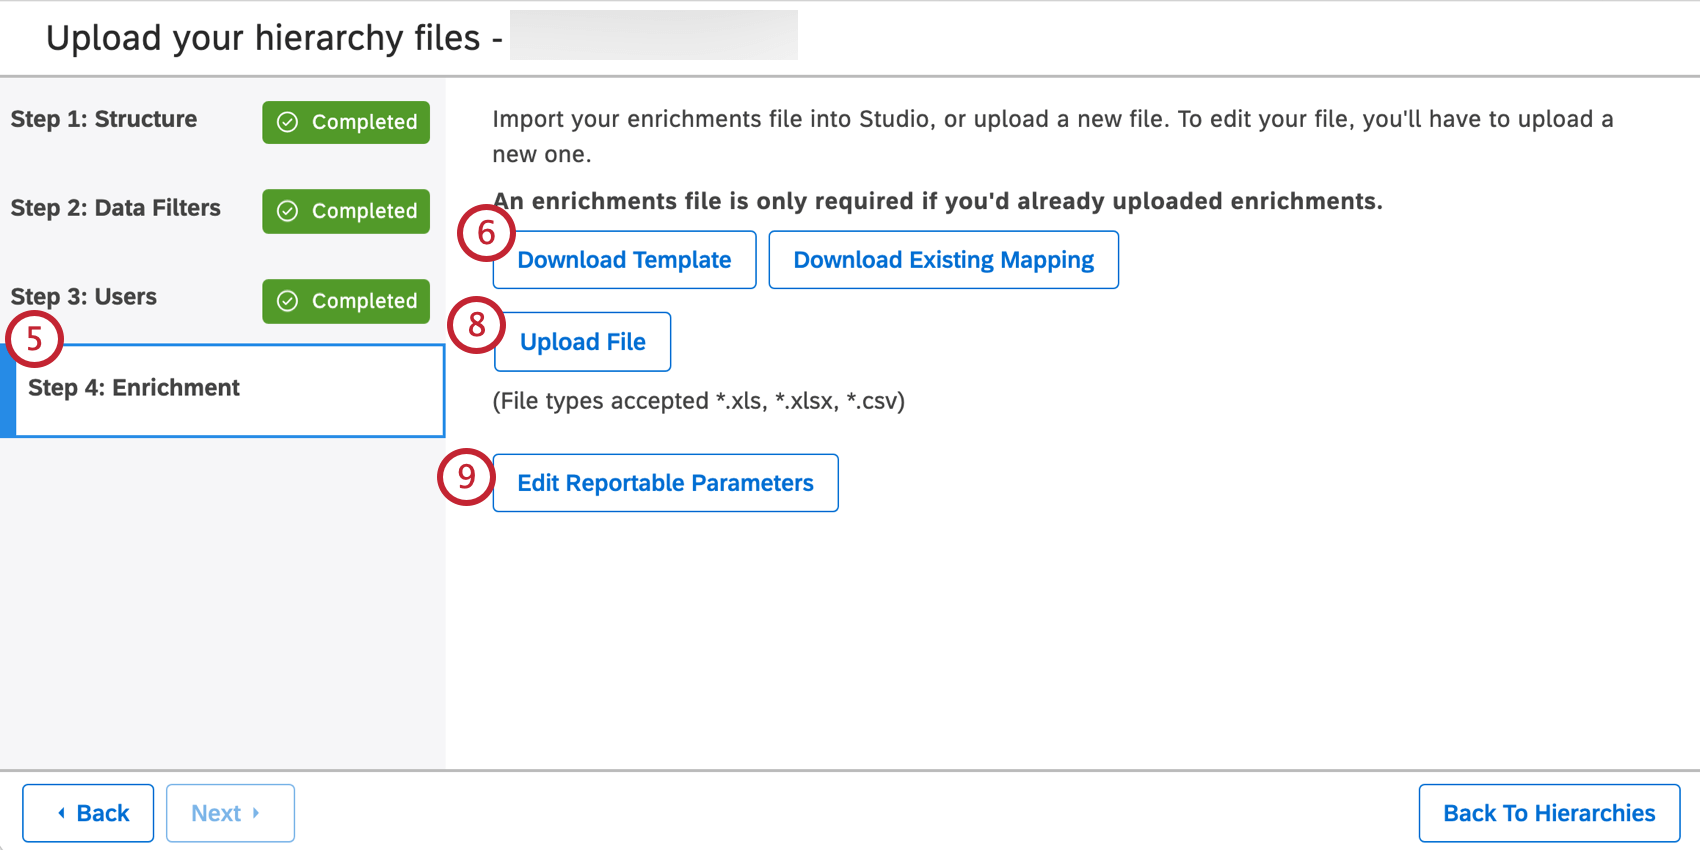
Mapping Enrichment Parameters
After defining your organization structure and mapping data filters and user emails to its organization levels, you can define up to 6 enrichment parameters for each organization level. This step is optional.
Qtip: This enables you to use target and variance reporting.
Qtip: If you see an error message when you upload your file, see Defining Organization Hierarchies Troubleshooting.
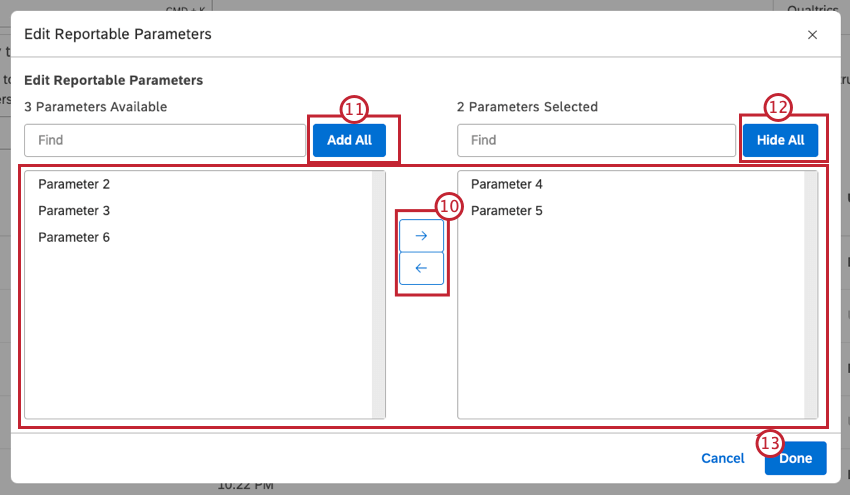
Qtip: You can edit reportable parameters at any time after uploading the enrichment mapping file. To do so, click Edit in the Enrichment column of your organization hierarchy and then click the Edit Reportable Parameters button in the new window.
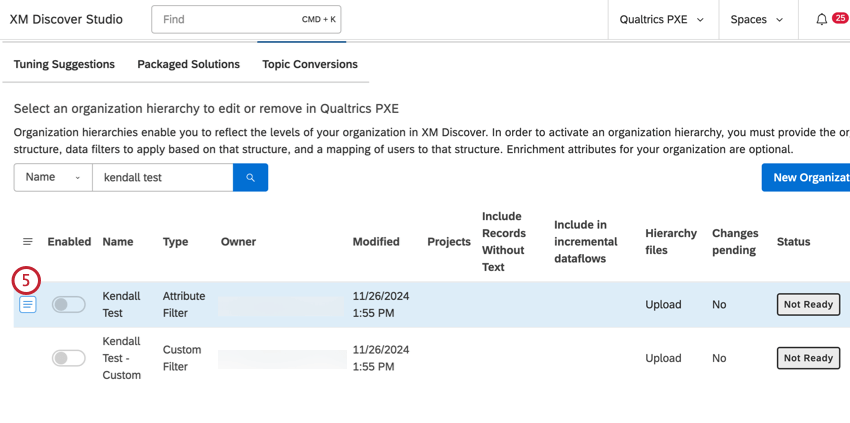
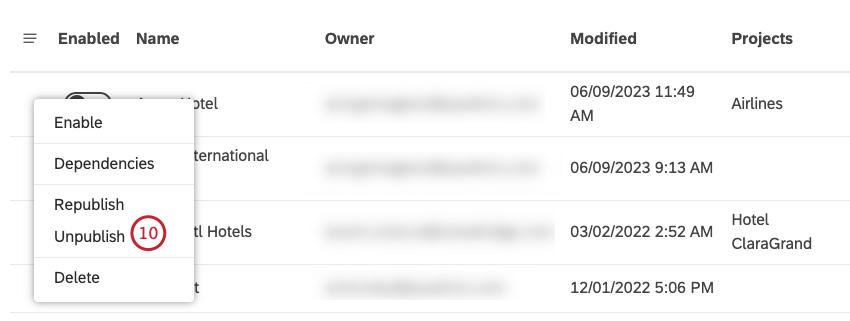
Publishing and Unpublishing an Organization Hierarchy
After defining your organization structure and mapping filters, users, and enrichment parameters to its organization levels, you can publish and unpublish it.
Attention: Attribute filter-based hierarchies do not require publishing.
Qtip: Publishing an organization hierarchy enables you to group data by its levels. This is a prerequisite for peer and parent reporting, as well as target and variance reporting. Unpublished hierarchies can be used to personalize dashboards but are not available as groupings.
Qtip: Whenever you change your organization hierarchy’s structure and data filters, you need to republish it to reflect these changes in Studio.
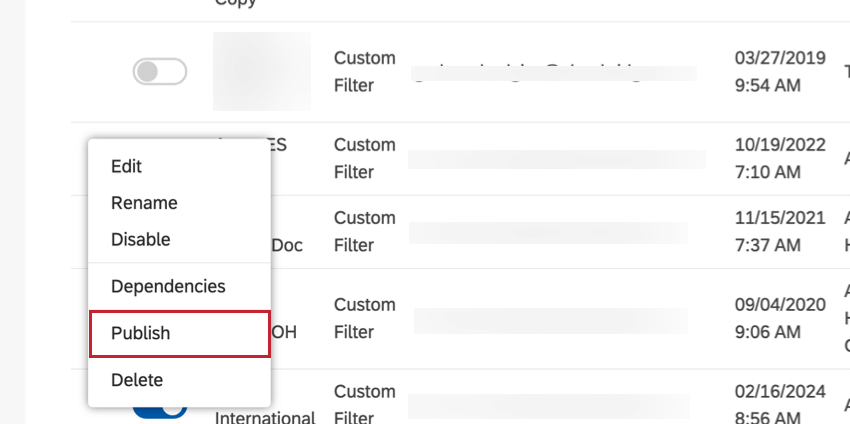
Qtip: After the initial publishing, the menu options change to Republish / Unpublish. Click Republish to apply any changes you have made to the hierarchy’s structure and data filters since the last publishing.
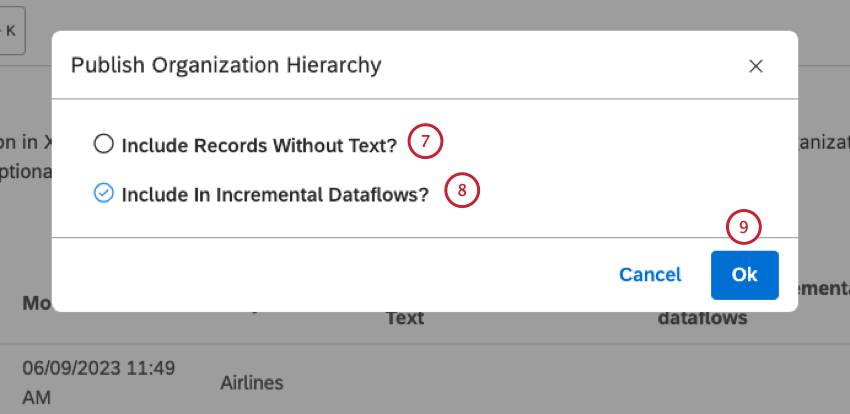
Qtip: If you expect that publishing an organization hierarchy will conflict with other Realtime Downstream dataflows, you should deselect the Include In Incremental Dataflows? checkbox. The model that gets created and subsequently classified will not block other dataflows if this option is not selected.
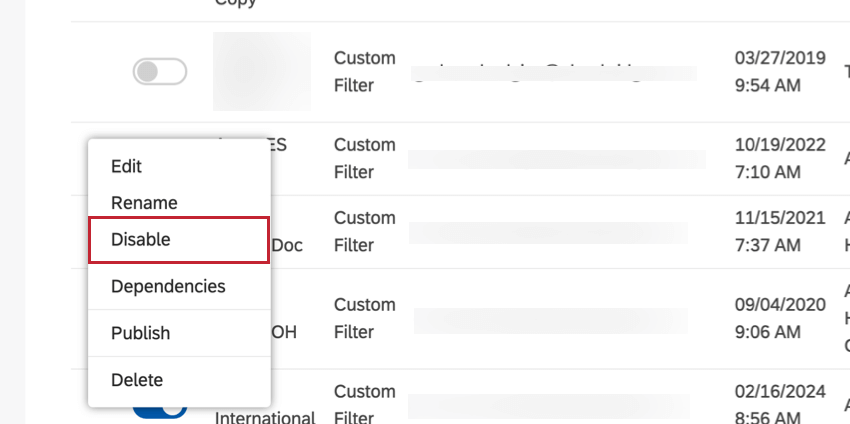
Qtip: This may be useful when you need to update the organization hierarchy, but not make it entirely unavailable to your team. When you unpublish an active organization hierarchy, dashboard personalization is not disabled.
Qtip: Change the name of a current organization hierarchy, if it is unpublished, rather than create a new hierarchy for a name change. For more information, please see Renaming an Organization Hierarchy.
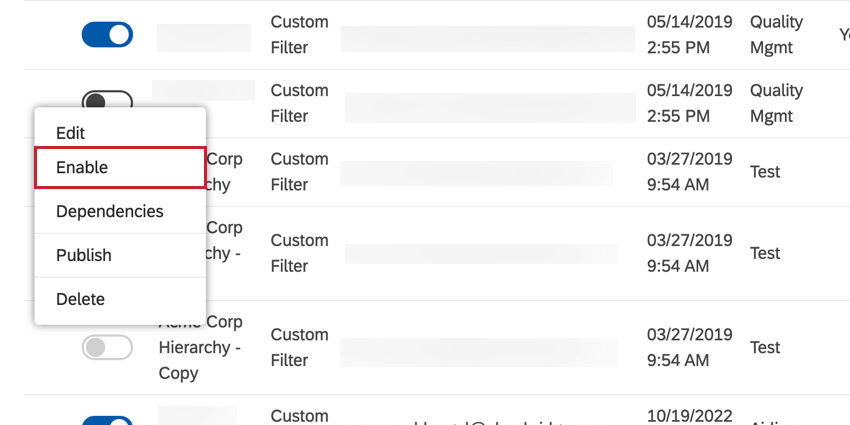
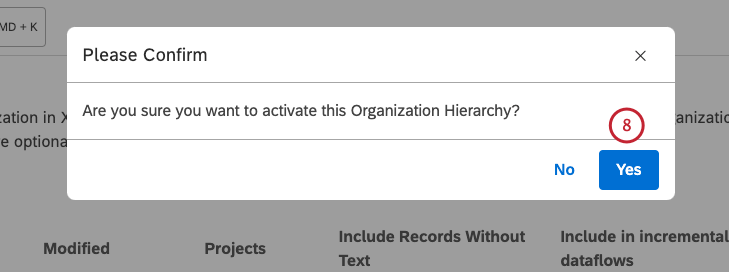
Activating and Deactivating an Organization Hierarchy
Before you activate an organization hierarchy, you need to upload its structure, data filters, user mappings, and enrichment parameters (this step is optional), and publish it. You can activate an unpublished hierarchy. Unpublished hierarchies can be used to personalize dashboards but are not available as groupings.
That's great! Thank you for your feedback!
Thank you for your feedback!