
Setting Up Session Capture
What's on this page
About Sessions Setup
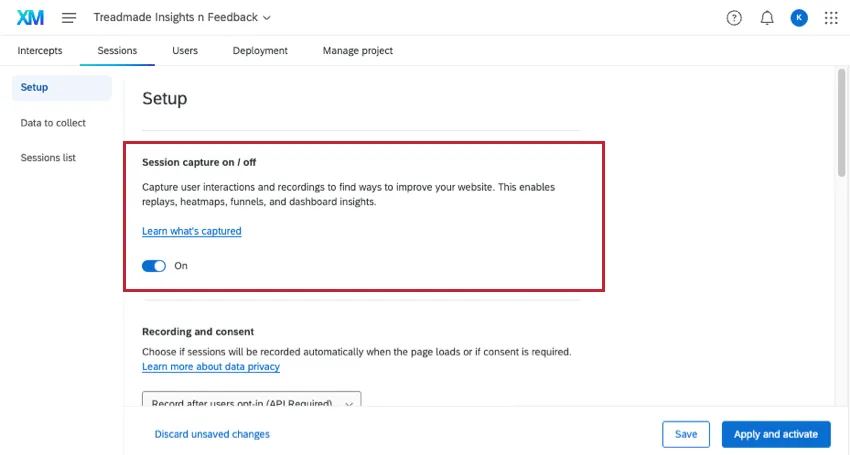
On this page, we’ll walk you through how to set up session capture, so you can get the full benefits of Digital Experience Analytics. To start, go to Sessions, then Setup.

Attention: It is your responsibility to comply with all applicable legal requirements relating to your use of this feature, including, where required under applicable laws, obtaining any consent necessary from website visitors before enabling session recording, masking any personal data or other sensitive data in the recordings, and disclosing your use of Qualtrics in making and storing the recordings. For more information about data security and privacy, see Data Security & Privacy for Digital Experience Analytics.
Attention: Place https://*.qualtrics.com in the Content Security Policy header on your website to ensure sessions are recorded. Sessions will not be recorded if you do not have Qualtrics as an authorized domain.
Qtip: To track your organization’s session replay usage, see Digital Usage.
Qtip: We do not recommend using session capture on websites with multiple projects’ deployment code on them. If there are multiple Website Insights projects you need to implement on the same page, we recommend trying to consolidate all of your intercepts and creatives onto one project as best as you can. Ideally, your site should have only one project’s code before you enable session capture.
Session Capture
To begin recording sessions on your website, you need to enable Session capture.
Qtip: If you receive a “Something went wrong” error after clicking “Save,” then session replay is not enabled for your license. A Brand Administrator must contact Account Services to request the feature.
This is the minimal setting you need to start using Digital Experience Analytics on your site. If this is all you want to do, you can save or activate your changes. However, we recommend checking out the other settings on this page to further enhance the experience.
Attention: Session recordings don't record iframes. They will show up as a blank box. This includes Qualtrics surveys.
Qtip: To connect session replay data with survey data, you have to add the fields “Q_SR_ID” & “Q_SR_PlaybackUrl” to your survey flow. See Viewing Digital Experience Analytics Data in a Dashboard for step-by-step instructions.
Video Walkthrough
Need help getting started with session capture? Check out this 2-minute video walkthrough:
Conditional Targeting
After turning on session replay, you can enable Conditional targeting to create conditions that have to be met for your sessions to be recorded. These conditions are evaluated each page change event. Once a session meets the criteria, the session will begin recording. The recording will pause if the visitor navigates to a page that no longer meets the criteria, and it will resume recording if the visitor again navigates to a page that passes the criteria.
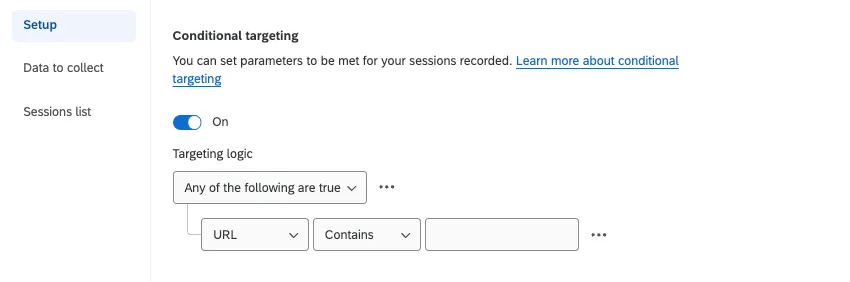
Use the dropdowns to create the conditions that will be evaluated to determine if a session is recorded. For more information on creating conditions in Qualtrics, see Using Logic.
Attention: You can add a maximum of 20 conditions. Each logic set is also counted as a condition. If you have 10 logic sets that each contain 1 condition, that is equal to 20 conditions.
Conditions can be set based on the following criteria:
URL: Target or exclude specific URLs from being recorded.

Qtip: This can be used to make sure you are only recording sessions on URLs that are important or have high usage. This can optimize session quota usage by focusing on the most valuable customer data and insights.
URL query parameter: Target or exclude specific URL parameters from being recorded. A parameter is anything within the URL after a “?” is added.

Example: For the URL https://website.com/?Language=EN, Language is a parameter with the value EN.
IP address: Target or exclude specific visitors sessions from being recorded based on their IP address.
Example: Set up IP address targeting to exclude session recordings from internal office members who are accessing and testing your website.
Qtip: If you aren’t sure what your IP address is, search the web for “What is my IP” to find out.
- JS Expression: Target or exclude sessions from being recorded depending on the value of a JavaScript expression. Often websites will store information about their visitors in JavaScript variables (for example, if a site visitor is a current or potential customer).
Qtip: Check with your web team if you are unsure about the website data available to you via JavaScript. Custom coding features are provided as-is and require programming knowledge to implement. Qualtrics Support does not offer assistance or consultation on custom coding. You can always try asking our community of dedicated users instead. If you'd like to know more about our custom coding services, please contact your Qualtrics Account Executive.
- HTML on Site: Target or exclude sessions from being recorded depending on the value of an HTML element on your website.
Example: If you wanted to run session recordings when a user has 2 or more items in their shopping cart, you can create a condition to record the session if the HTML element for the shopping cart contains a number larger than or equal to 2.
If the element you need to target doesn’t have an ID attribute and you aren’t able to add one, consider targeting this element using the JS Expression condition instead. Take the following expression:
document.getElementsByClassName('qty-in-cart')[0];In this example, the shopping cart has no ID but is defined by the class=“qty-in-cart.” It is the first element with this class on the page, and therefore the JavaScript expression could be used to target it.
- Country: Target or exclude specific visitors sessions from being recorded based on their country of origin.
Qtip: This condition uses the visitor’s IP address to approximate their location, according to the MaxMind GeoIP database.
Recording and Consent
After turning on session replay, you have to decide if sessions will be automatically recorded when the page loads, or if explicit consent is required. Select your preferred option from the dropdown:
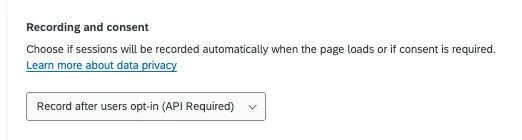
Record after users opt-in: Only record sessions after users provide their consent. This setting is selected by default.

Attention: API is required for this option. You can also use the API to control which pages to record and when to start and stop the recording. See the Qualtrics API documentation for more information. See Integrating Consent Managers with Digital Experience Analytics for how to integrate with OneTrust, a common consent management provider.
- Record when the web page loads: Begin recording sessions as soon as the web page loads.
You can also only record on specific pages by choosing on which pages to start, pause, and stop the recording. For more information, see Integrating Consent Managers with Digital Experience Analytics.
Masking
Masking allows you to hide input field data like usernames, addresses, and phone numbers from being seen in session replays. This is an important step to prevent users’ private information from being captured and shown in replays.
Attention: Masking is not retroactive. Once a session has been captured, elements will not be hidden if new masking rules are added.
When setting up masking, you have 3 options:
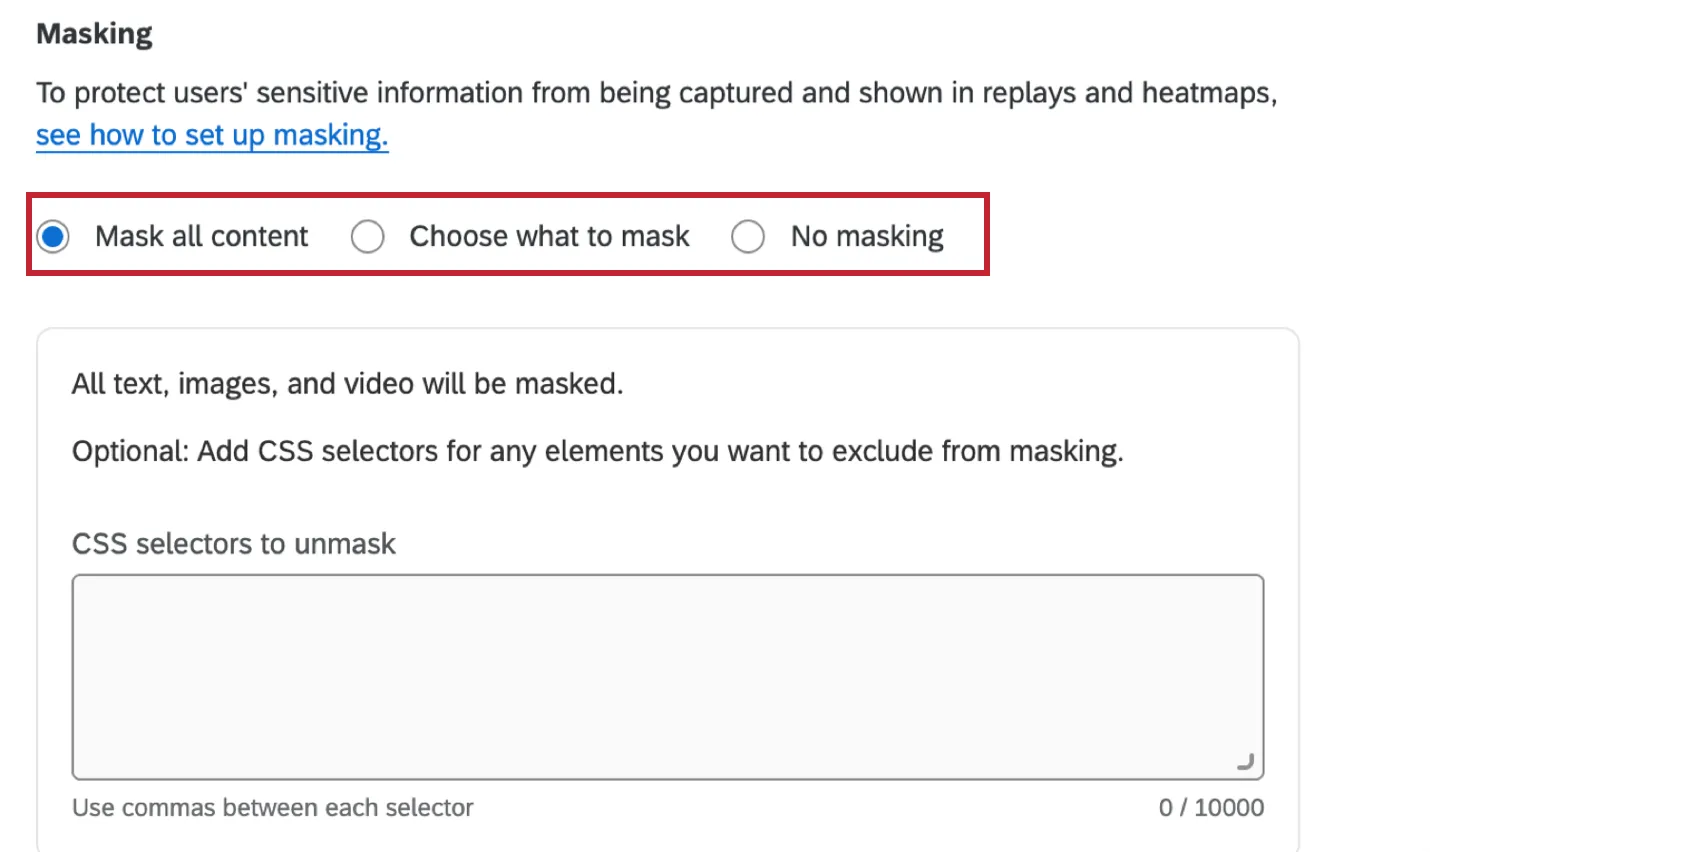
Mask all content: By default, all text, images, and video will be masked. If desired, you can add CSS selectors for any elements you want to exclude from masking. See the “Elements included in Masking” subsection below for a list of elements that are masked by default.
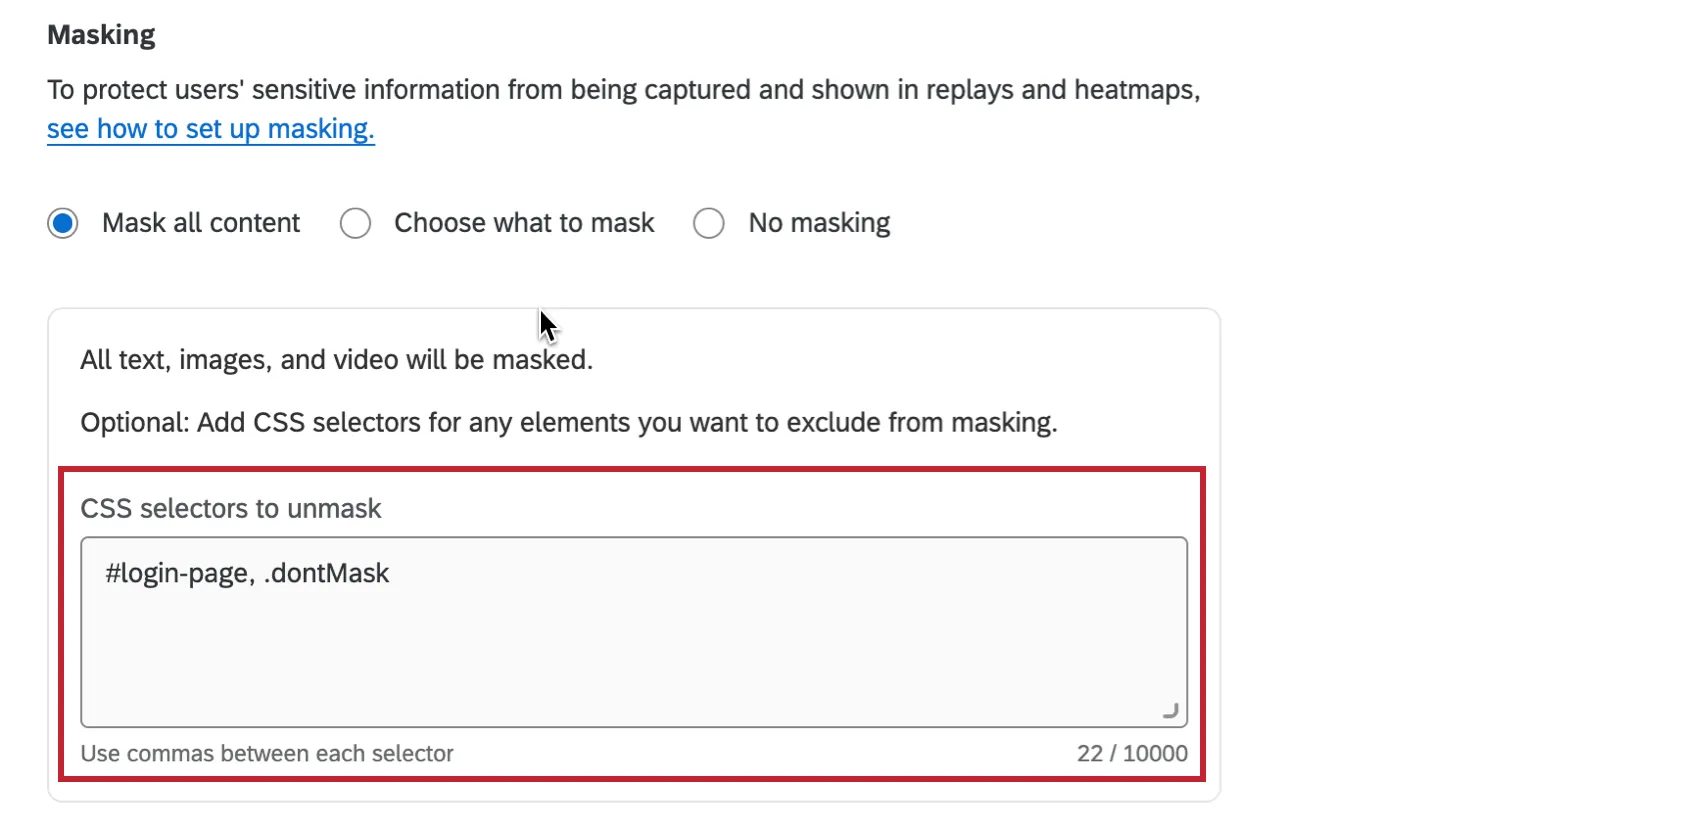
Attention: If you want to prevent collecting unnecessary PII, choose this option. You can then selectively unmask any elements you are interested in. Any changes made to your website, including new elements added, may not be masked with this option. Always test your settings before publishing and after making changes to your website.
Choose what to mask: By default, all text entered into input fields will be masked. If desired, you can remove input field masking by disabling the Mask all input fields Additionally, you can add CSS selectors for any specific elements you want to mask.
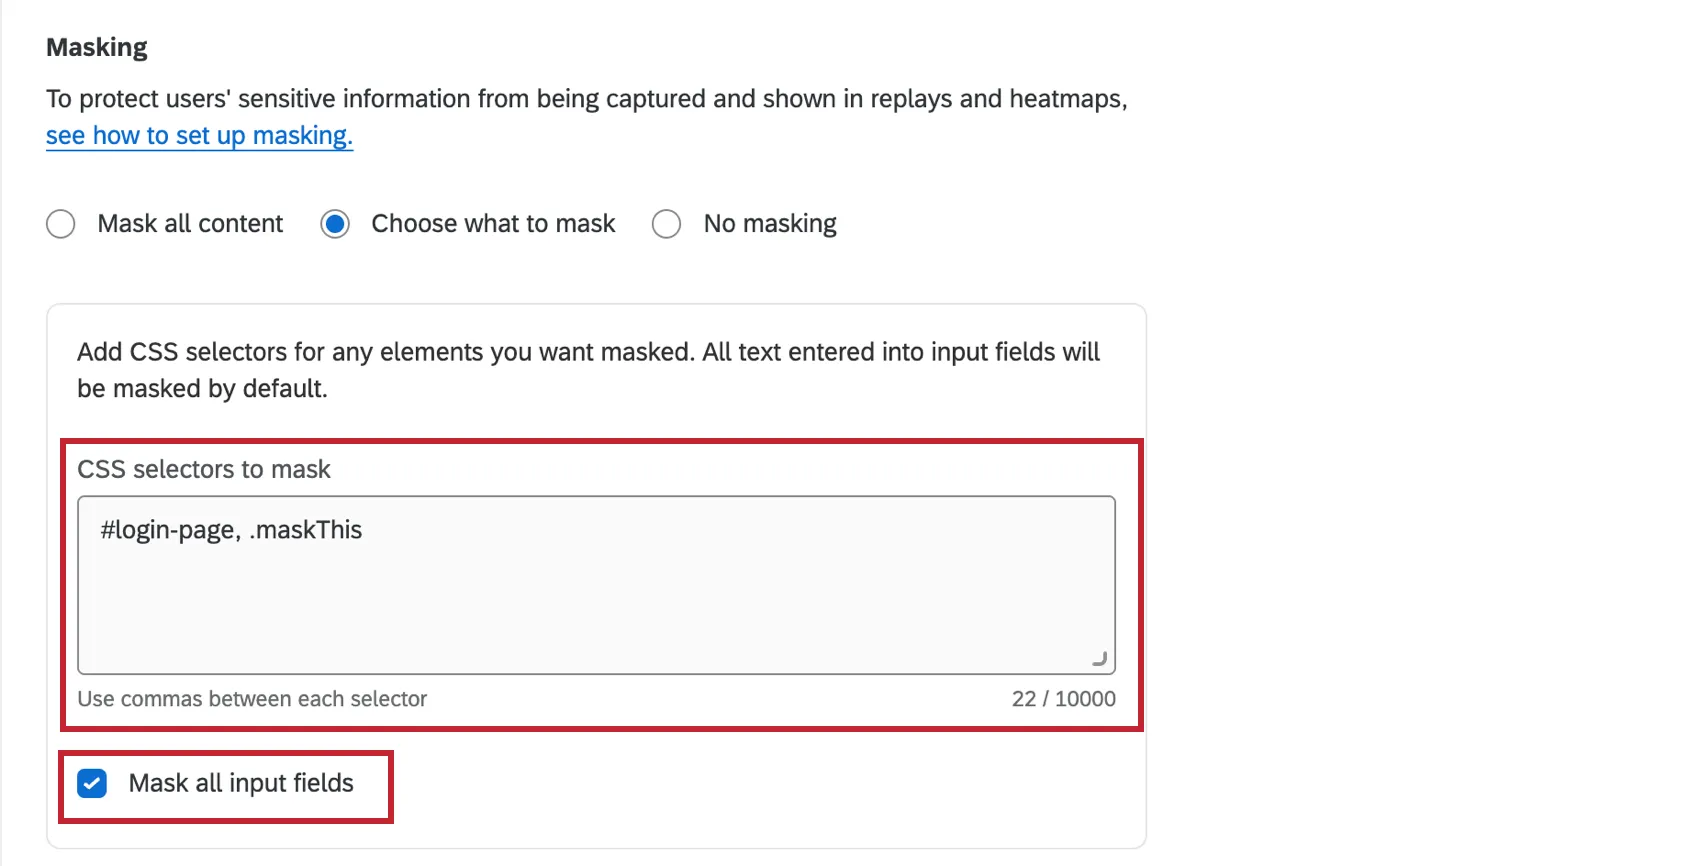
Attention: Since this option by default only masks input fields, some PII may not be masked if it is included on the page directly. Examples of this include an email address on the page as plain text and PII displayed in any profile boxes.
No masking: All content in user sessions, except for password fields, will be captured and shown in replays.
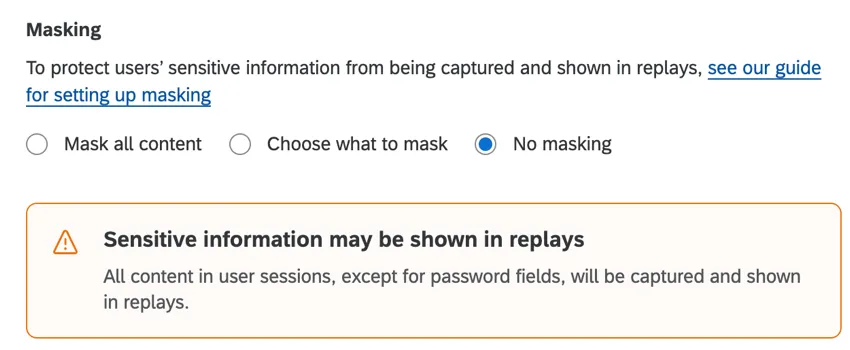
Attention: If you select this option, all PII except for passwords will be visible in replays.
Elements included in Masking
When you select Mask all content, the following elements will be masked from your session replays:
- HTML Tags: img, svg, video, object, picture, embed, map, audio
All inputs types
Attention: Placeholder helper text displayed in input fields and background images that are part of the “style sheets” will not get masked, but you can hide them with CSS selectors.
- All text
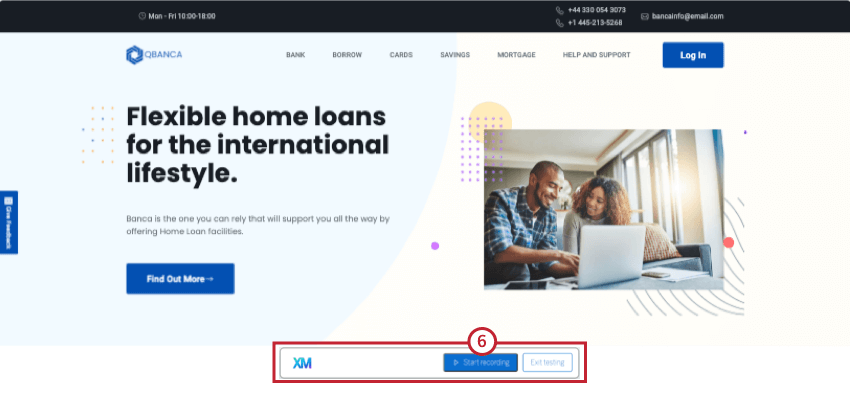
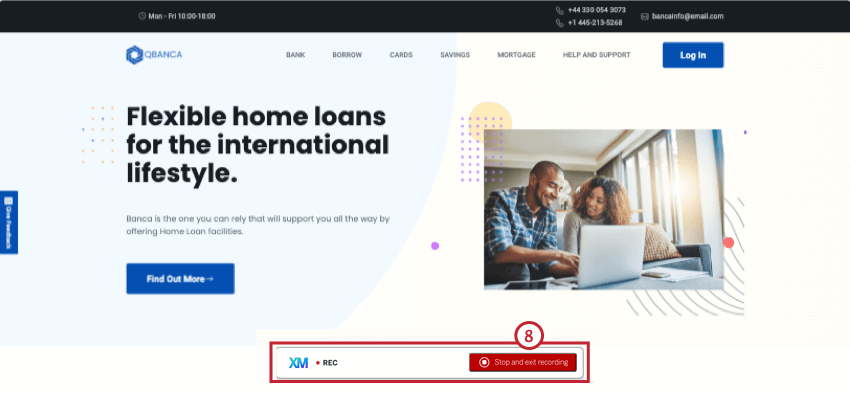
Test Sessions
Attention: You must enable 3rd party cookies in your browser to use test sessions.
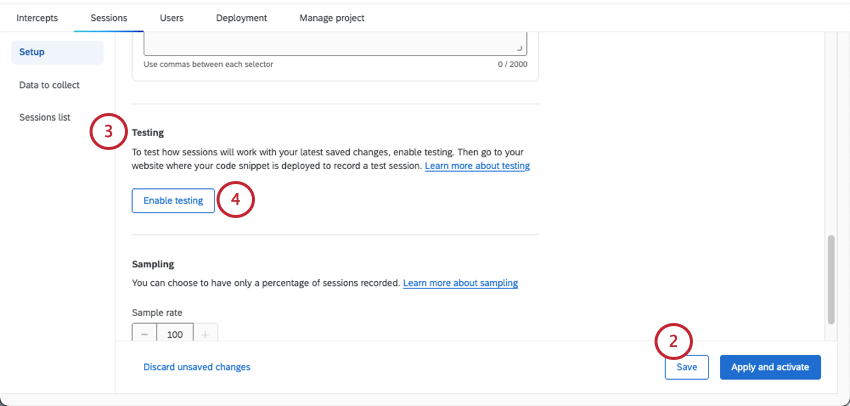
Testing allows you to see how session replay will work with your latest saved changes.
Attention: Before you can begin testing, you have to deploy the code snippet on your website.
Qtip: Recording and Consent and Sampling settings do not apply to test sessions.
Qtip: It may take up to 30 minutes for new sessions to appear.
Qtip: If your organization has a vanity URL for Qualtrics, you need to follow a different set of steps to test session capture.
Testing Session Capture on Vanity URLs
If your Qualtrics license has a vanity URL, you host Qualtrics accounts, surveys, dashboards, and more from a custom website domain instead of using qualtrics.com. For example, your survey may have a URL like feedback.treadmade.org/SV_XXXXXX.
If your organization uses a vanity URL with Qualtrics, you cannot use the standard steps to test session capture, and instead should follow the steps below:
Qtip: Recording and Consent and Sampling settings do not apply to test sessions.
javascript:(function(){document.cookie = 'QSI_TestSessions_ZN_XXXXXXXXXXXXXXX=true;domain=.qualtrics.com;samesite=none;secure=true';})()

Attention: Custom coding features are provided as-is and require programming knowledge to implement. Qualtrics Support does not offer assistance or consultation on custom coding. You can always try asking our community of dedicated users instead. If you’d like to know more about our custom coding services, please contact your Qualtrics Account Executive.
Sampling
Sampling allows you to only record a percentage of sessions. By default all sessions will be recorded. To enable sampling, select a sample rate from 1-100 to determine the percentage of sessions that will be recorded.

Saving and Applying Changes
Attention: Make sure you’ve tested session replay before you turn it on.
When you make changes to any session replay settings, these changes must be saved or applied before navigating anywhere else within your project or account. If you leave the page without saving or applying your changes, all new changes will be undone.
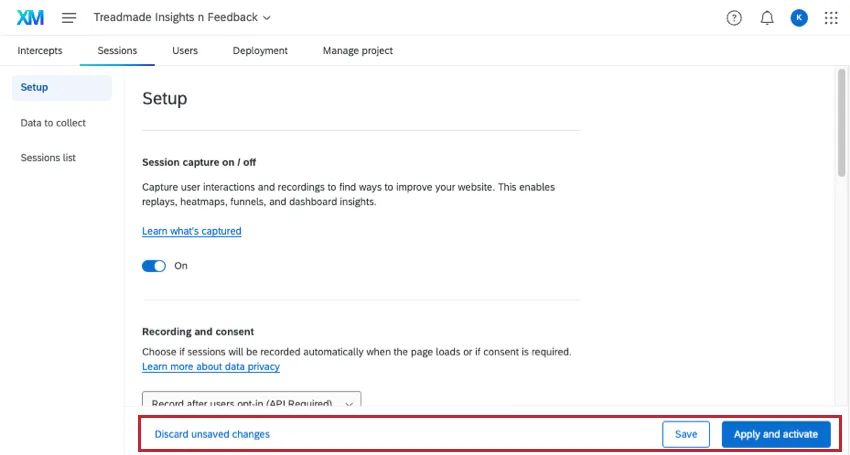
You can deliberately remove your edits by clicking Discard unsaved changes.
To save changes you’ve made without pushing them live to your website, click Save. This will save your configuration and allow you to use it in testing, but your changes won’t be applied to session replays or any dashboards using session replay data.
To apply changes you’ve made to session replays and any dashboards using session replay data, click Apply and activate.
Qtip: It may take several hours for dashboards to reflect these changes.
FAQs
How long will my sessions be recorded for?
How long will my sessions be recorded for?
Sessions close after 30 minutes of inactivity.
That's great! Thank you for your feedback!
Thank you for your feedback!