-

Qualtrics Platform -

Customer Journey Optimizer -

XM Discover -

Qualtrics Social Connect
Step 6: Testing & Going Live
About Testing
Testing is vital to ensure the success of your project. There are two main areas which need to be tested: the survey and the email messages coming from the system. This section will walk you through the options you have available to you to test your project before sending it out.
There are two options available for you when testing the survey: (1) previewing the survey with the Preview Survey option in the Survey tab, and (2) adding yourself as a participant to the project and taking the survey from the perspective of a participant. They both serve functions at different times of the preparation phase of your project.
Option 1: Preview Survey/Send Test Email
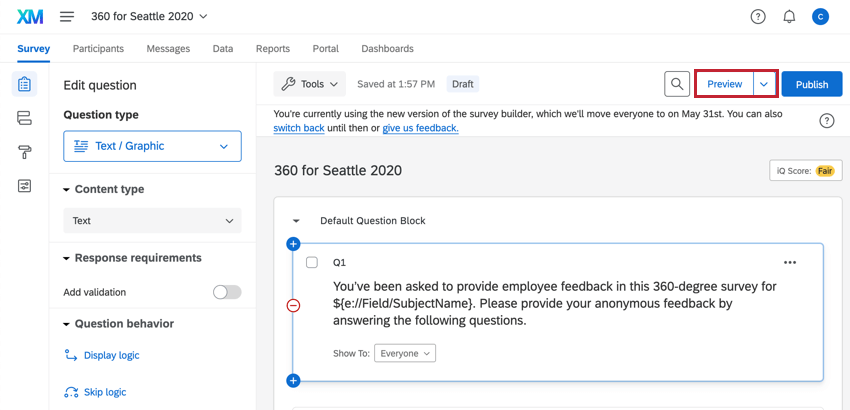
Preview Survey
Within the Survey tab, you have the option to Preview Survey. This is useful for seeing how questions display on the page, as well as for testing the overall flow of the survey (e.g., if you have logic set up to show or hide particular questions). The preview is not useful if your logic is based on participant metadata. For this, see Option 2 below.
We recommend using the Preview Survey when you are editing the survey to verify everything is in order, while still being able to make changes easily. You can also share the Preview Survey link to your colleagues so they can test and give you feedback. You can use the Preview Survey link as many times as you want, however, there will be no piped text or metadata information pulled in to the survey response. Instead, see Option 2 below.
Send Test Email
In the Messages tab, you have the option to Send Test Email. Best practice is to send this to yourself in order to verify the content and “From” address. You can send unlimited test emails from this tab. Note that piped text will not render with this function as the purpose of Send Test Email is to test how the message looks so you can make quick changes.
Option 2: Adding Yourself As a Participant
Before sending out the email invites to all of your participants, we recommend you add yourself to the project as a subject and follow the whole process as a normal respondent would. This allows you to test piped text in the email messaging, the translations in the email messaging, and the survey experience for a participant. It is highly recommended that you add yourself to the project through the same method as you have done with all your other participants to ensure you are replicating the exact set up (e.g., uploading the CSV with relevant language codes).
We recommend you send the Subject Invite email to yourself in order to verify you’re happy with how everything looks. We also recommend you trigger emails to yourself and/or your testing team, in all languages you have added in the messages.
If your workflow requires respondents to nominate users, do so by nominating colleagues in your team so you can verify you are happy with how the Evaluator Invite is triggered depending on your options.
Testing Reports
After you’ve collected some data, but before you’ve made your reports available for all the participants, it’s important to run some tests to make sure subject reports appear exactly as you want them to. It can be useful to export the raw data and compare what you see to several subjects’ reports. You can calculate means quickly in Excel, if needed. If the numbers don’t match up between the raw data and the reports, it’s likely due to one of two things, which are easily fixed even after your data is collected.
- Survey Recode Values: When you create a question, a recode value is automatically assigned to each answer choice. The recode value is the numeric value of a choice. If your data isn’t displaying correctly, these recode values may be wrong. This can happen if you deleted and added answers after activating the survey, or if your questions are copied from much older surveys. Follow the instructions on the linked support page to edit these recode values.
- Scoring Categories: Scoring is incredibly important to 360. It’s another means of assigning numerical values to your questions, while also grouping them together under a single concept called a category. This is very helpful for presenting results to your subjects and managers in a meaningful way, but if you don’t score each item in the category correctly, your reports can look a little off. Make sure all your categories are set up correctly.
Scoring and recode values are safe to edit at any time before, during, or after data collection. Be careful not to add or remove entire categories without editing the corresponding graphs and tables in your reports.
Going Live with Your Survey
Once you are happy with your survey and email testing, it is time to send your survey. Go to the Messages tab, select Subject Invite, and schedule the email. If needed, also schedule the Evaluator Invite.