
Survey Style & Motion
What's on this page
About Survey Style & Motion
Your survey’s style is important for making sure respondents enjoy taking your survey. This includes your survey’s font, colors, question spacing, and any custom CSS you’d like to add. You can also customize how your survey moves, from setting a page transition animation to automatically advancing respondents through your survey as they answer questions.
Attention: The New Survey Taking Experience uses a different page structure in order to better support accessibility and mobile first design, which causes custom CSS to function differently. When this experience is enabled, elements of custom CSS (e.g. html, css classes, and ids) will need to be updated to function correctly.
Fonts
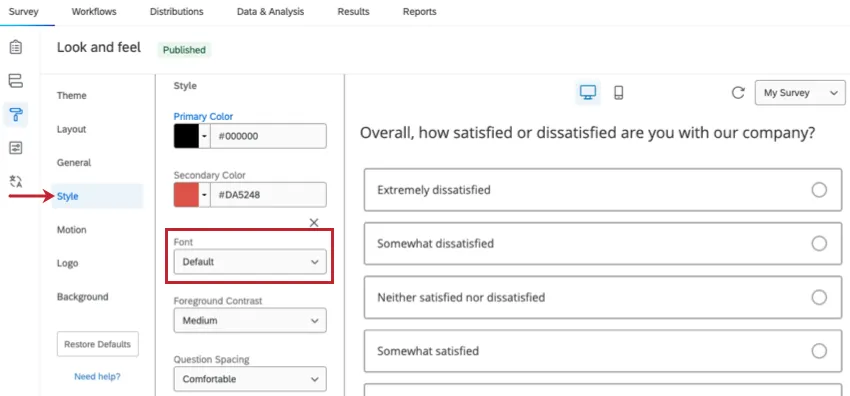
You can change the font of your questions and answer choices in the Style section of the Look & feel menu. To change your font typeface, click the Font dropdown and select a typeface.
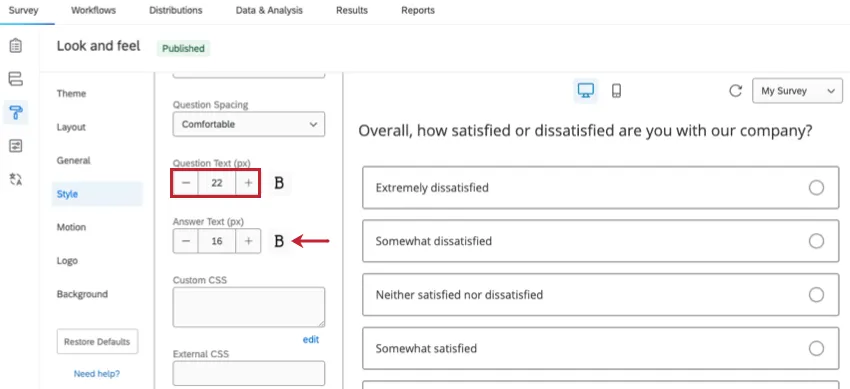
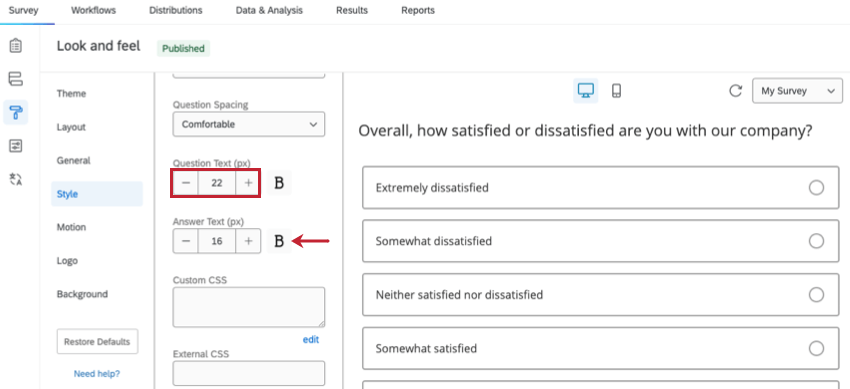
You can also customize the size of your survey’s font. This includes bolding the font as well as giving your survey questions and answers different font sizes.
To change the font size, type the desired font size (in pixels) into the font size box. Click the B icon to the right of the font size to bold your text.
Default Fonts
The font selection dropdown has an option for a Default font. Depending on your selected layout, the default font is different:
- The Flat layout uses Poppins as the font typeface.
- The Modern layout uses Open Sans as the font typeface.
- The Classic layout uses Helvetica Neue as the typeface.
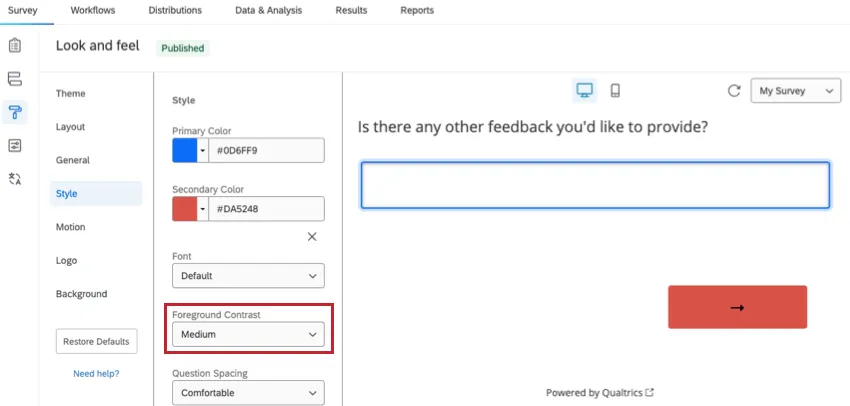
Colors
You can change the color of items within your survey in the Style section of the Look & feel menu. From this section, you can customize the primary and secondary colors of your survey.
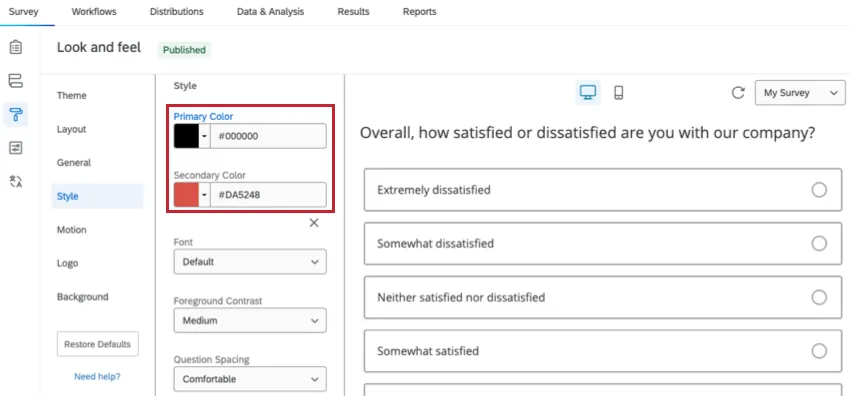
Primary Color
The primary color of your survey applies to the main elements of your survey. This changes depending on your survey layout, but usually applies to colors of features like the Progress Bar and question highlights.

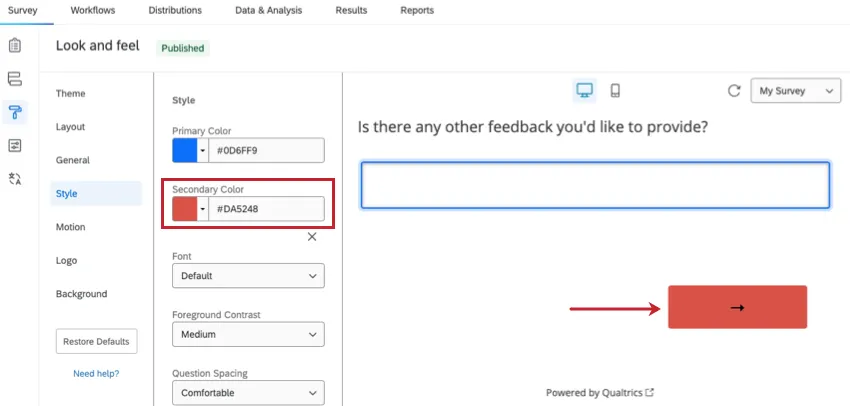
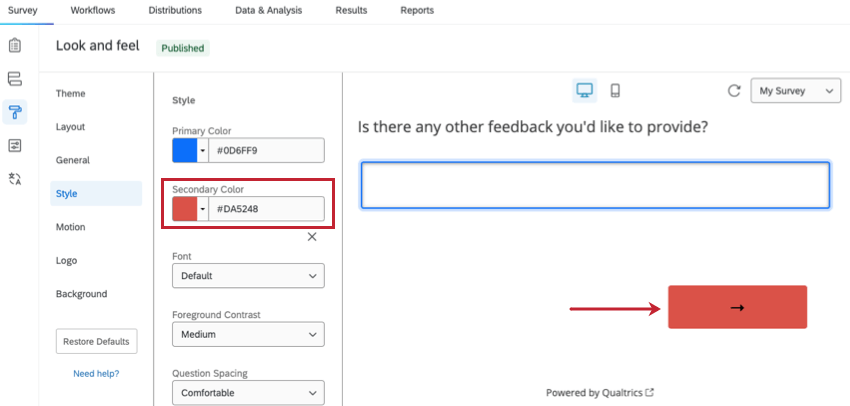
Secondary Color
The secondary color of your survey applies to minor elements of your survey. This changes depending on your survey layout, but usually applies to features like the Next and Back buttons.
Add Custom CSS
Attention: The following code is provided as-is and requires programming knowledge to implement. Qualtrics Support does not offer assistance or consultation on custom coding. You can always try asking our community of dedicated users instead.
Attention: When the New Survey Taking Experience is enabled, elements of custom CSS (e.g. html, css classes, and ids) will need to be updated to function correctly.
Sometimes you may want to alter the Look & feel of your survey beyond the simple click-to-change formatting options available. For those tech-savvy folks who want to dive into coding the layout of their survey, we offer the option to add custom CSS.
Cascading Style Sheets (CSS) is a coding language used to style website pages. With the Add Custom CSS feature, you can type your own CSS directly into the CSS editor or point to a CSS file hosted online.
To add custom CSS to your survey:
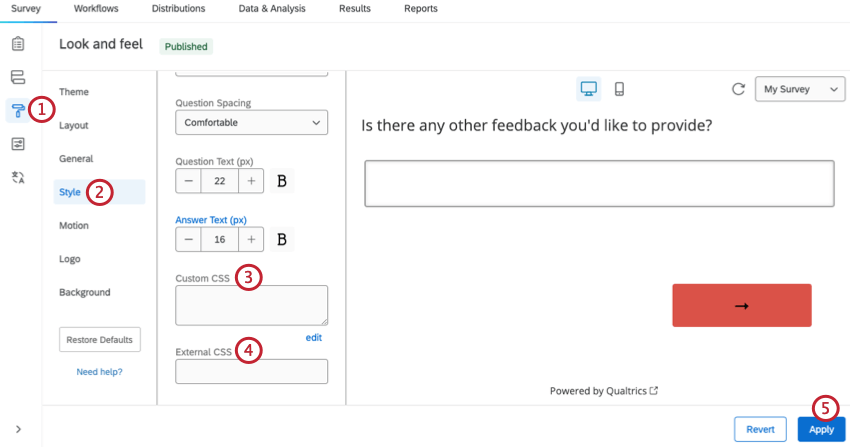
Qtip: If you need more space to build your CSS, click edit below the Custom CSS box to pull up the CSS Editor.
Qtip: The below bit of code allows you to remove the default logo on your theme. To do this, copy the following CSS code into the Custom CSS editor:
html .Skin #Logo {display: none;}
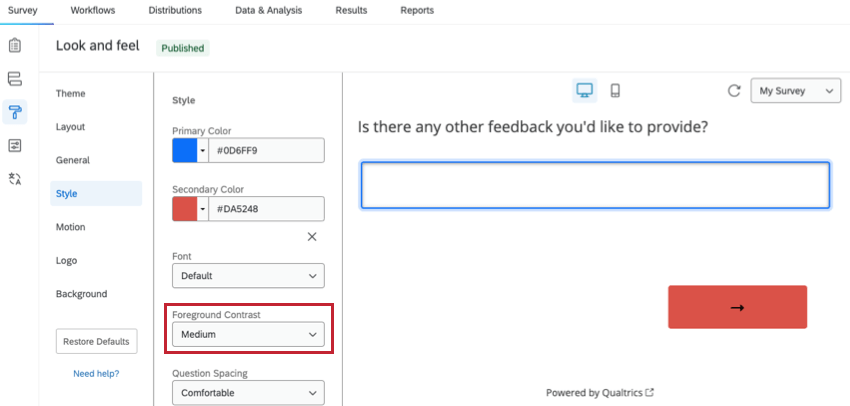
Foreground Contrast
Foreground Contrast determines the level of contrast between the foreground (text, text boxes, etc.) and the background image. You can choose between Low, Medium, and High contrast. If your survey’s text is hard to read against the survey background, increasing the Foreground Contrast may help improve readability.
To determine this, we select a gray scale color that adheres to a proper contrast ratio of 4.5, which is WCAG compliant. To increase the contrast between the text and background, change this to Medium or High. High is always white or black. We also take into account the background image and overlay color/opacity when determining the proper foreground color. This setting is the same as the Foreground Contrast found in the Background section.
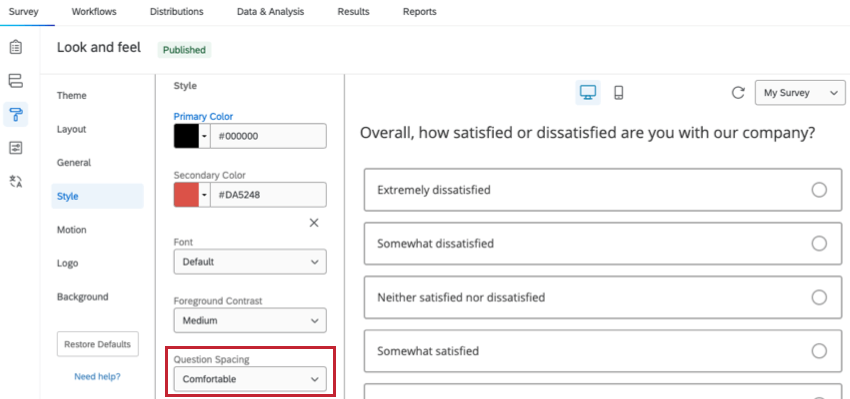
Question Spacing
Question Spacing determines the amount of space that separates your survey questions. You can choose spacing that is Compact, Comfortable, or Extended. Changing your survey’s question spacing can allow you to control your survey’s length. For example, decreasing the spacing between your questions makes it easier to design a survey that fits on 1 page.

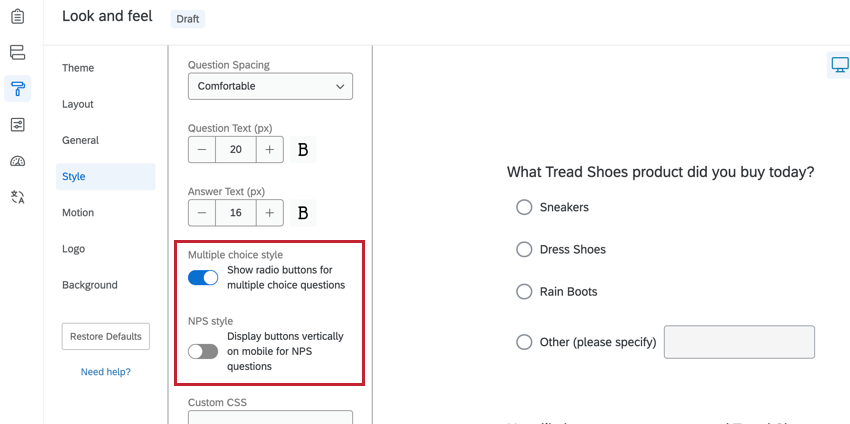
Question Style Options
If your survey uses the New Survey Taking Experience, there are multiple question style options available to you. These options affect the survey taker experience when taking the survey. The question customization options include:
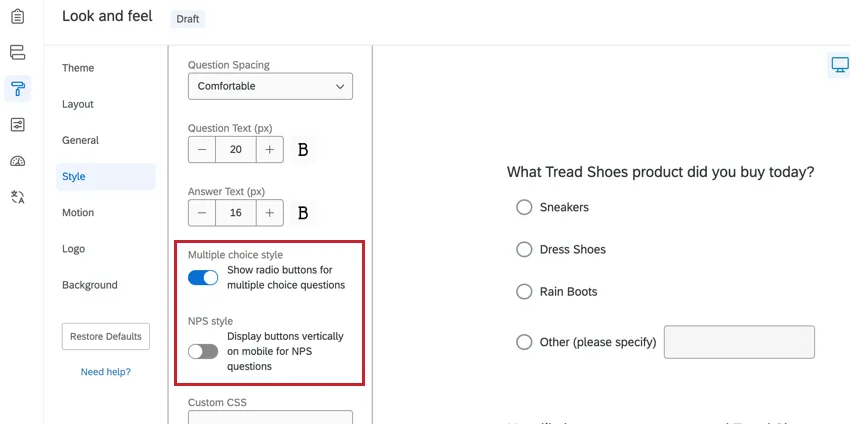
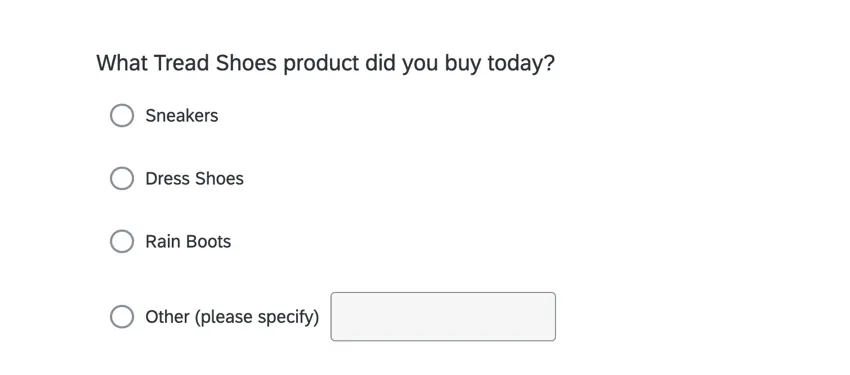
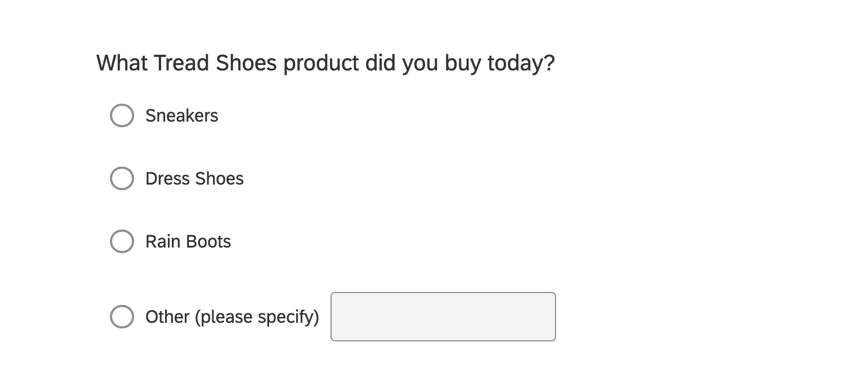
- Show radio buttons for multiple choice questions: When enabled, multiple choice question answer choices will use radio buttons instead of a fully clickable button. Example: In the first image below, this option is disabled, so answer choices appear as a fully clickable button.

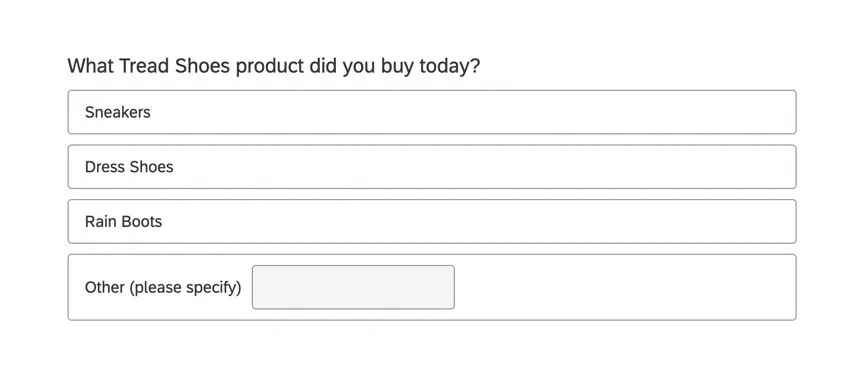
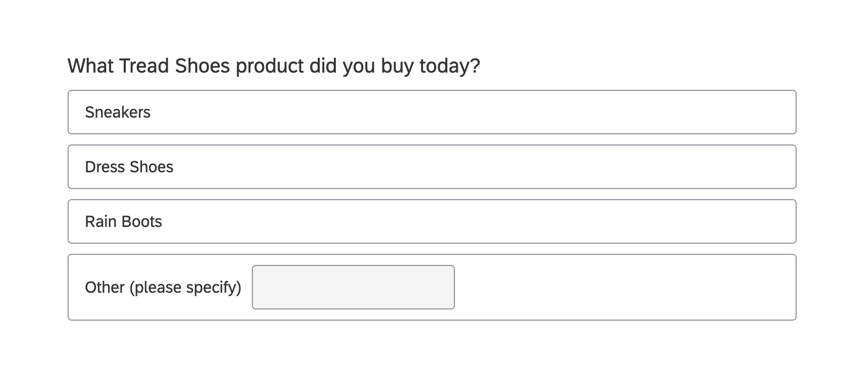
The second image shows the same question with the radio button option enabled instead.
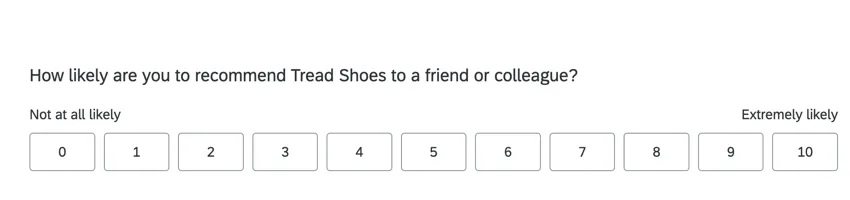
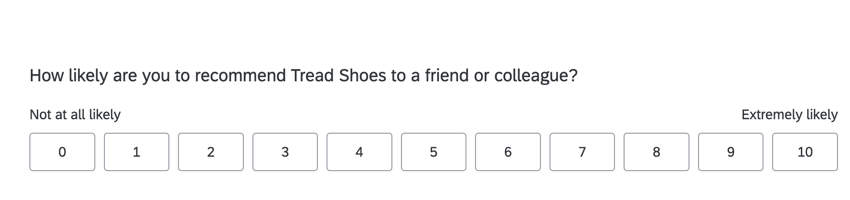
- Display buttons vertically on mobile for NPS questions: When enabled, NPS questions will appear vertically for users taking the survey from a mobile device. Example: In the first image below, this option is disabled, so NPS questions appear in a horizontal format for all survey takers.
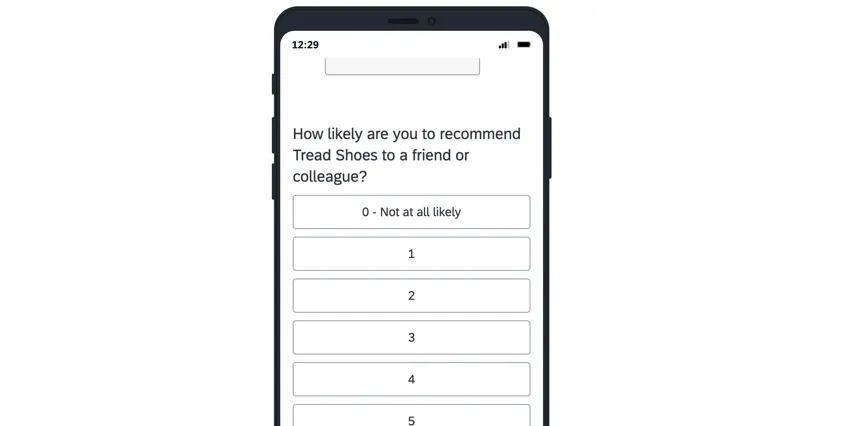
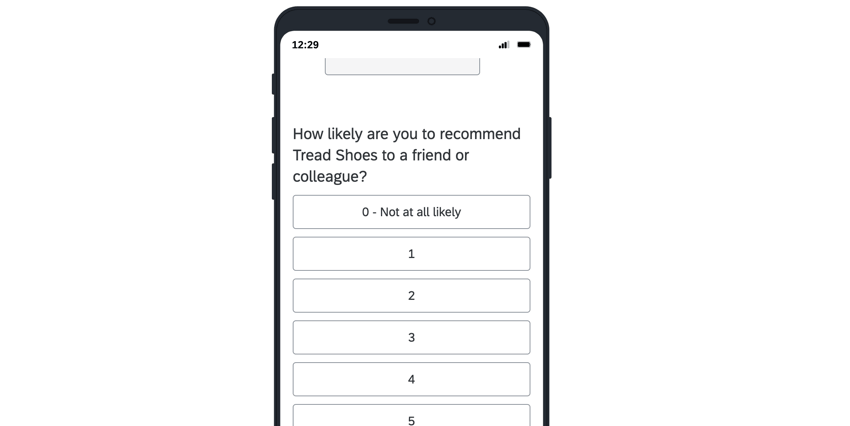
The second image shows the same question with the vertical option enabled for mobile survey takers.
Look & Feel vs. Rich Content Editor
Fonts and text color can be edited 2 ways: globally and locally. Global style changes are made in the Look & feel menu and affect all question and/or answer text. Local style changes are made in the Rich Content Editor for that specific question or answer choice. Local changes override global changes, so if you make a change in the Rich Content Editor of a question, you will see those settings instead of whatever is set in the Look & feel.
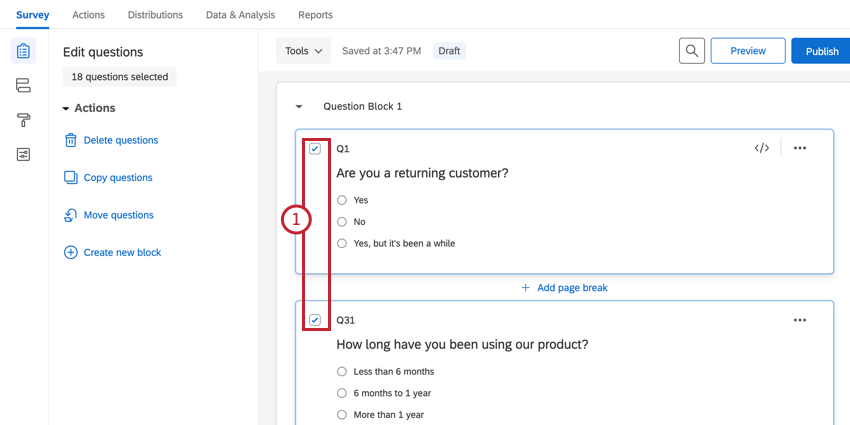
You can use Strip Formatting to quickly remove all local formatting from selected questions and let the global changes take effect uniformly.
To strip formatting

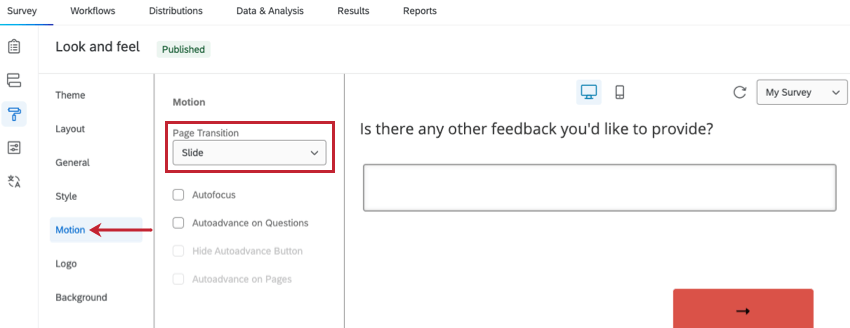
Page Transition
The Page Transition option in the Motion section allows you to specify the transition effect that plays when respondents navigate through your survey’s pages.

Below is an overview of each Page Transition type:
- None: No page transition will play. Each page of your survey will load like a normal web page.
- Slide: When a respondent clicks the next or back button, the subsequent page will slide into the screen from the side.
- Fade: When a respondent clicks the next or back button, the subsequent page will fade into view while the prior page will fade out of view.
- Flip: When a respondent clicks the next or back button, the page will “flip” over and reveal the subsequent page.
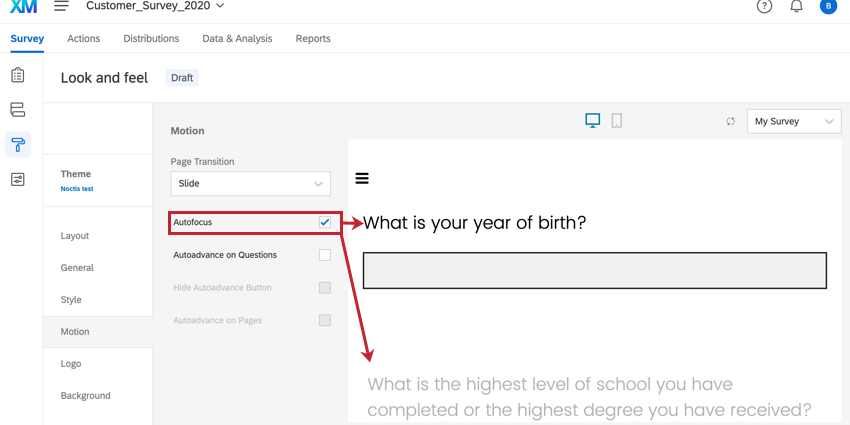
Autofocus
The Autofocus feature in the Motion section fades all survey questions besides the one the respondent is currently viewing. This can help keep survey respondents from being distracted by previous or upcoming survey questions.

Autoadvance
The Autoadvance setting in the Motion section automatically moves respondents through your survey as they answer your questions. There are multiple settings you can use to control the survey taking experience.

- Autoadvance on Questions: This option lets respondents advance past questions without scrolling the page. Instead, they will automatically advance to the next question as soon as they select an answer. When Autoadvance on Questions is enabled, a Done button will appear after certain question types, like text entry and multi-select multiple choice questions. Respondents can click this button to continue to the next question. Qtip: This setting must be enabled to use the other Autoadvance features.

- Hide Autoadvance Button: Enabling this option will hide the Done button that appears when Autoadvance on Questions is enabled.
- Autoadvance on Pages: This option lets respondents advance past pages without clicking a Next button. Instead, they will go to the next page as soon as they select an answer to the last question on the page. Qtip: Autoadvance on Pages will introduce the Back button into your survey even if it isn’t enabled in your survey options. You cannot disable this button.
Once you enable Autoadvance, it is enabled for every page in the survey. Autoadvance is compatible with back buttons.
Qtip: When autoadvance is enabled on the new survey taking experience, survey takers will see a final page at the end of the survey that contains the text “End of survey. Select Submit to finish.”
Qtip: If you include an inline email question in a survey invite, and your survey only has 1 question, Autoadvance will not automatically advance the survey to the next page or submit the survey. For instructions on how to achieve this, see Making an Inline Email Question Submit Immediately.
Compatible Questions
Autoadvance only applies to certain question features:
- On the legacy experience, autoadvance applies to:
- Multiple choice questions
- NPS questions
- Matrix table carousel
- Pressing Enter on a text entry box
- In addition to compatible legacy experience features, the new survey taking experience can also use autoadvance for:
FAQs
How can I change the background/theme of my survey?
How can I change the background/theme of my survey?
Why are all of my fonts different in my survey? How do I fix it?
Why are all of my fonts different in my survey? How do I fix it?
Global font changes are made in the Look and feel menu and local font changes are made in the rich content editor for that specific question or answer choice.
Local font changes override global font changes, so if you made both types, you’ll end up with a mix between the global font settings and the local font settings for questions. Follow these steps to clear away all local formatting and let the global changes take effect uniformly: Note that global changes made within Look and feel do not show up in the Survey tab. You need to preview the survey to see the changes and styling.
How do I update or report problems with static themes?
How do I update or report problems with static themes?
That's great! Thank you for your feedback!
Thank you for your feedback!