
Managing Project Attributes (Studio)
What's on this page
About Managing Project Attributes
On the Projects page in Studio, you can manage project attributes, including filtering and sorting project attributes, setting report defaults for project attributes, and viewing project attribute dependencies. The Attributes table on the Projects page displays a list of attributes available in the selected content provider’s project.
Accessing Project Attributes
For information on accessing project attributes, see Accessing Project Attributes and Project Category Models.
Projects Page Overview
For an overview of the Projects page, see Projects Page Overview.
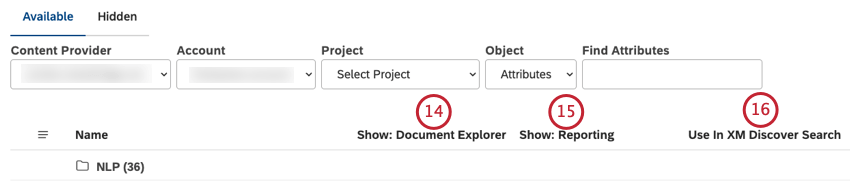
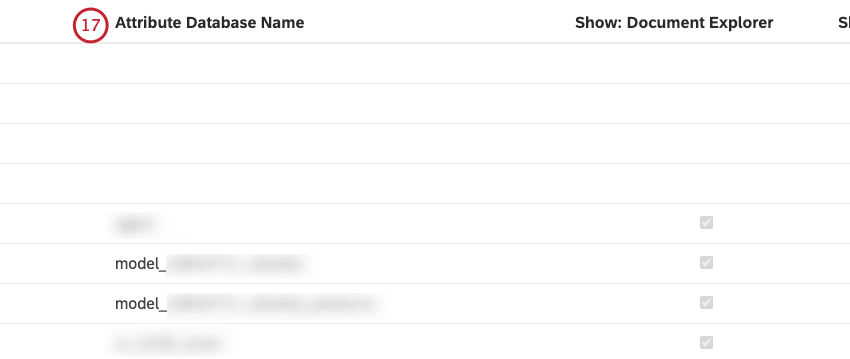
Attributes Table Overview
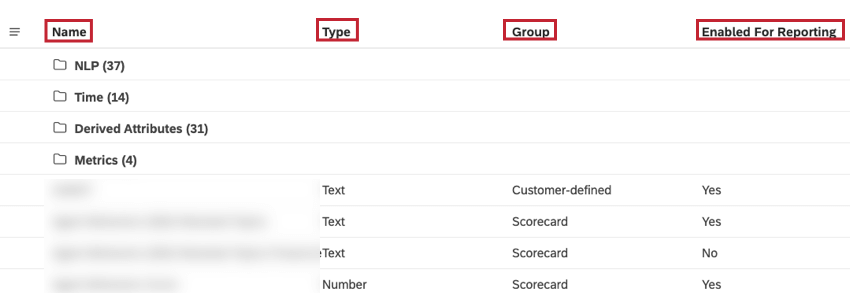
The Attributes table on the Projects page displays the following:

- NLP: Includes Words, Enrichment, and Language attributes
- Time: Includes all date attributes
- Derived Attributes: Includes Derived from Category, Range, and Dimensional attributes
- Metrics: Includes CB Document Word Count, CB Sentence Quartile, and CB Sentence Word Count Qtip: The XM icon denotes all system objects across Studio pages.
 Qtip: Standard attributes are grouped into folders that mimic the widget creation experience. The folders have counts for the number of attributes in each folder.
- Category derived. For attributes derived from models or categories.
- System. For out-of-the-box attributes.
- Customer-defined. For all custom attributes available from the data source of your choice (including dimensional lookups, range roll-ups, and satisfaction scores).
- Scorecard. For attributes used in intelligent scoring. Qtip: This column is hidden by default.

Qtip: This column is hidden by default.
Qtip: This column is hidden by default.
Qtip: This column is hidden by default.
Qtip: This column is hidden by default.
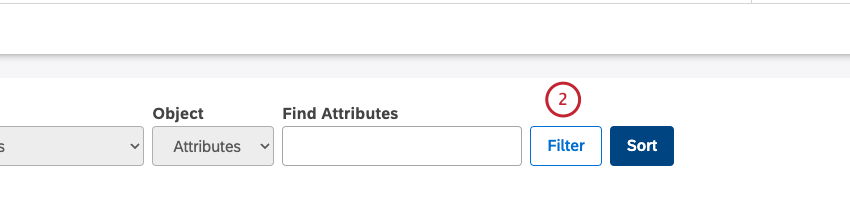
Filtering Project Attributes
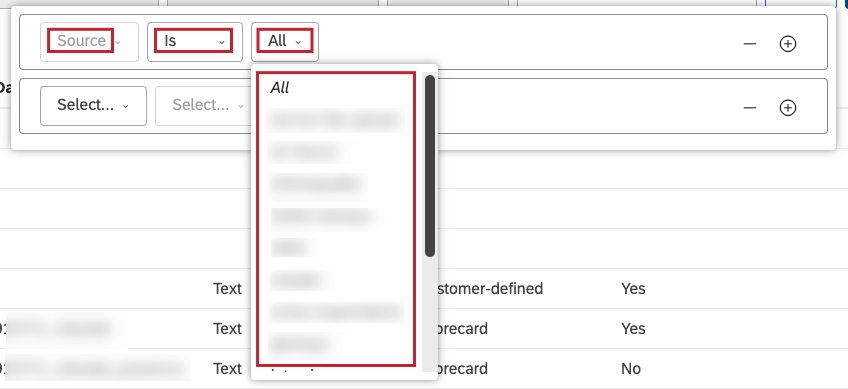
You can filter project attributes by source, name, type, or group to narrow down the attributes list and recalculate their stats.
Qtip: Filters also apply to project attributes’ export. Filtering selections are applied as long as you stay on the Attributes page. They get reset when you go to another page, sign out of Studio, or when your user session expires.
Select 1 of the following conditions from Select… menu:
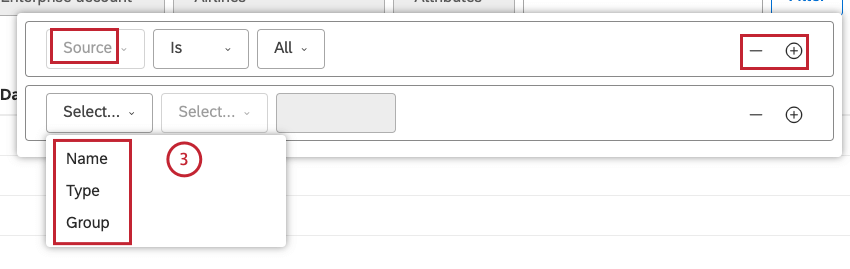
- Name: Filter by name. Qtip: This works the same as the Find Attributes
- Type: Filter attributes by type.
- Group: Filter attributes by a group that represents their origin and intended use. Qtip: Click the plus ( + ) button next to a condition to add another condition. Click the minus ( – ) button next to a condition to remove it.
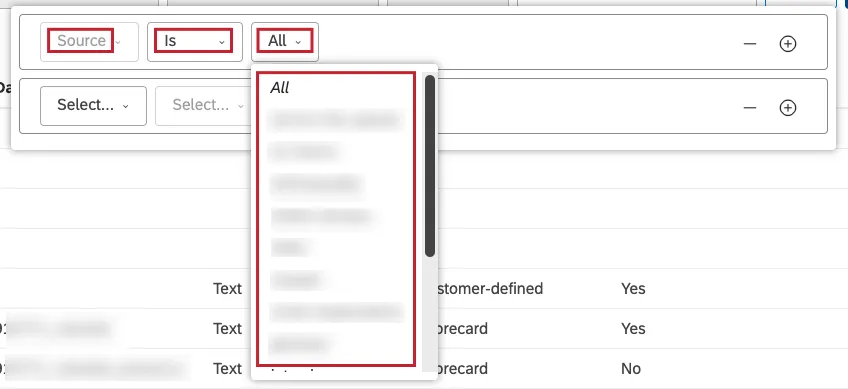
- Source: Select Is to include data that matches the selected value or Is Not to exclude data that matches the selected value, and then select 1 or more values from the menu.
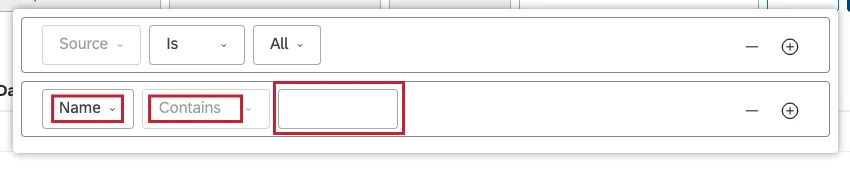
- Name: The operator is automatically set to Contains to include data containing a search query. Enter an attribute name or part of it to filter by in the box.
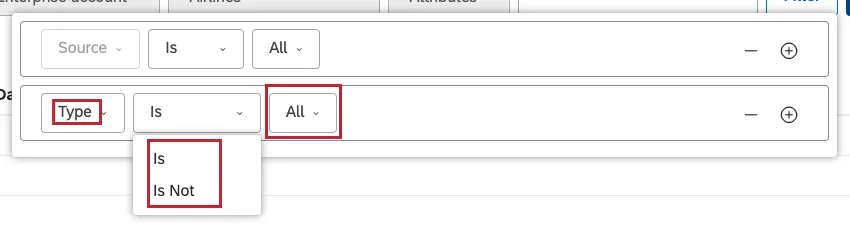
- Type: Select Is to include data that matches the selected value or Is Not to exclude data that matches the selected value, and then select 1 or more of these values: All, Text, Number, Date.
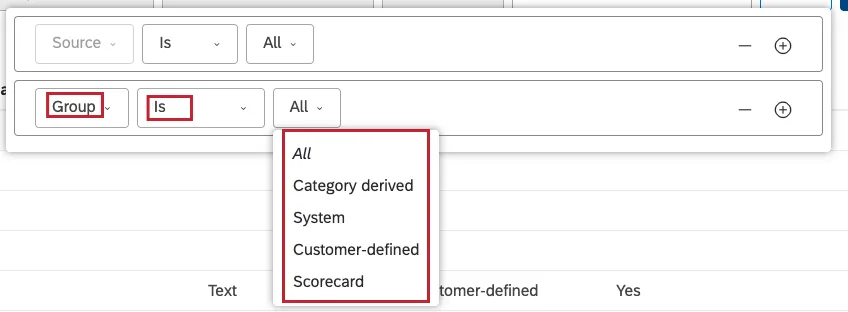
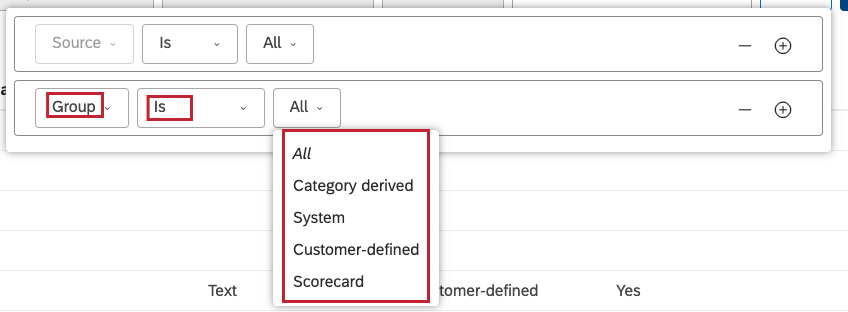
- Group: Select Is to include data that matches the selected value or Is Not to exclude data that matches the selected value, and then select 1 or more of these values: All, Category derived (for attributes derived from models or categories), System (for out-of-the-box attributes), Customer-defined (for all custom attributes available from the data source of your choice, including dimensional lookups, range roll-ups, and satisfaction scores), Scorecard (for attributes used in intelligent scoring).


Sorting Project Attributes
You can sort project attributes by up to 3 columns in ascending or descending order.
Attention: Sorting also applies to project attributes’ export. Sorting options are applied as long as you stay on the Attributes page. They get reset when you go to another page, sign out of Studio, or when your user session expires.

Qtip: The first condition is set to Name by default.
- Name: Sort attributes by name.
- Type: Sort attributes by type (Text, Number, or Date).
- Group: Sort attributes by one of the following groups that represent their origin and intended use:
- Category derived: For attributes derived from models or categories.
- Clarabridge system: For out-of-the-box attributes.
- Customer-defined: For all custom attributes available from the data source of your choice (including dimensional lookups, range roll-ups, and satisfaction scores).
- Scorecard: For attributes used in intelligent scoring.
- Enabled for Reporting: Sort attributes by whether they can be reported on in Studio (Yes) or not (No).
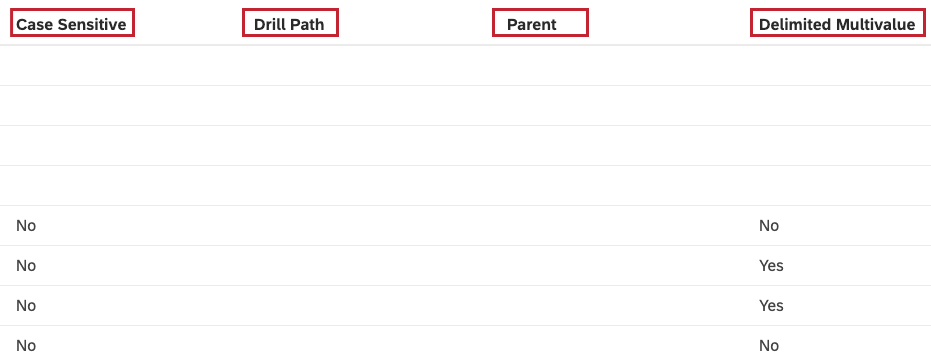
- Case Sensitive: Sort attributes by whether they are marked as case-sensitive when displaying values in document explorer and other previews.
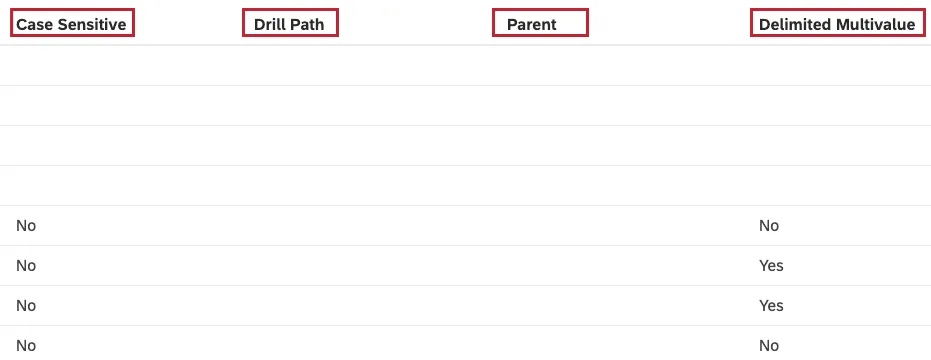
- Drill Path: Sort attribute by their custom drill path. If a drill path is not defined in Designer, this field is blank.
- Parent: Sort derived attributes by their parent. For custom and standard attributes this field is blank.
- Delimited Multivalue: Sort attributes by whether they can have multiple values, such as multiple tags or answers to multiple-choice questions.
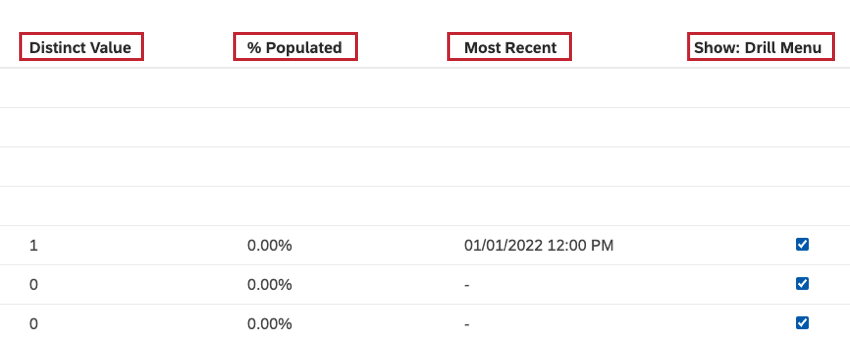
- Distinct Value: Sort attributes by the total number of their unique values.

- % Populated: Sort attributes by the percentage of records where their value is not empty.
- Most Recent: Sort attributes by the date of the most recent record where their value is not empty.
- Show: Drill Menu: Sort attributes by whether they appear in the drill menu when drilling in View mode.
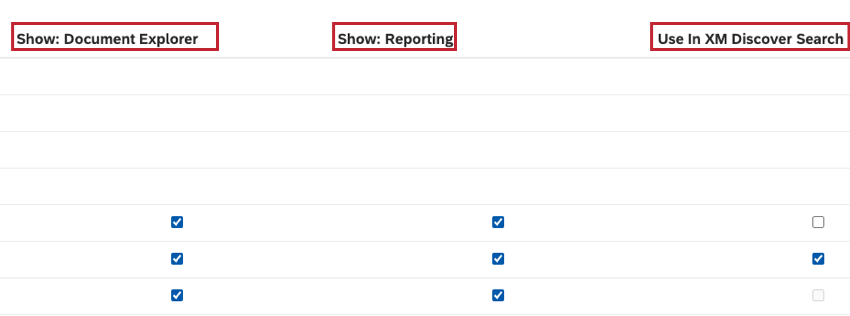
- Show: Document Explorer: Sort attributes by whether they appear in document explorer.

- Show: Reporting: Sort attributes by whether they appear in reporting across widgets, filters, and metrics definitions.
- Use in XM Discover Search: Sorts attributes by whether they are included in XM Discover search.
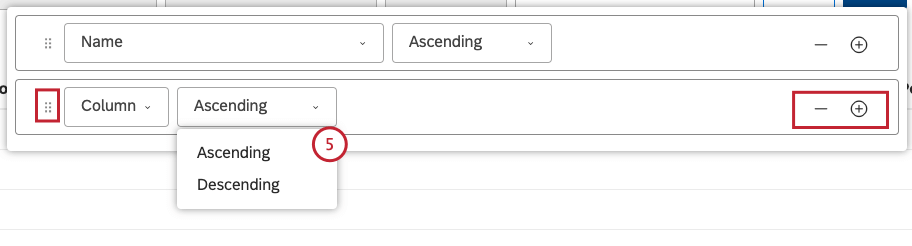
- Ascending: Text: A to Z, numbers: 0 to 9, dates: oldest to newest, check boxes: cleared first.
- Descending: Text: Z to A, numbers: 9 to 0, dates: newest to oldest, check boxes: selected first. Qtip: To add another condition, use the plus ( + ) button on the right (optional). To remove a condition, use the minus ( – ) button on the right.Qtip: If you specify several conditions, you can drag them up or down using the move icon on the left. Sorting is applied in a top-to-bottom order.
Setting Reporting Defaults for Attributes
For information on setting reporting defaults for attributes, see Setting Reporting Defaults for Attributes or Category Models.
Viewing Attribute Dependencies
For information on viewing attribute dependencies, see Viewing Attribute’s or Category Model’s Dependencies.
Hiding Attributes You Don’t Want to See
For information on hiding attributes, see Hiding Attributes or Category Models.
Excluding Attributes From Content
For information on excluding attributes from content, see Excluding Attributes and Category Models From Content.
Including Attribute Values in XM Discover Search
Attention: This action requires the Manage Projects permission and Administrator data access to the corresponding project.
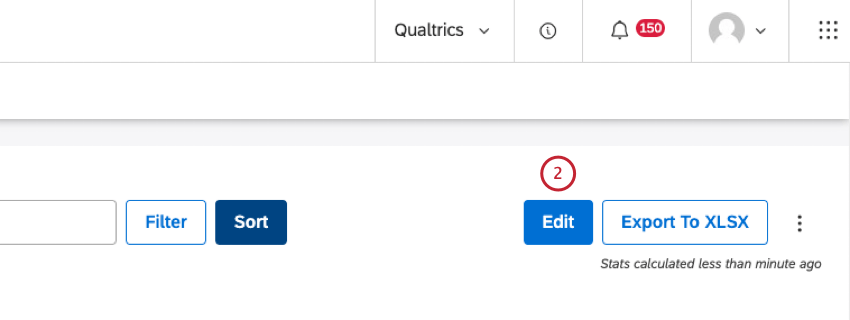
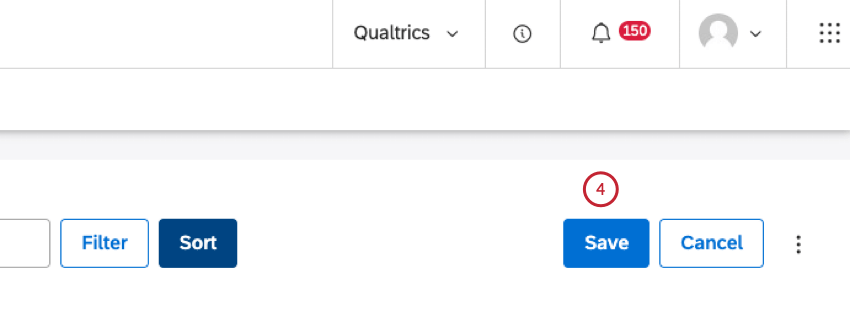
You can select up to 10 attributes to include in XM Discover search for a more targeted search experience. These attributes must be enabled for reporting to be added to search. This is available for text and numeric attributes.
Attention: Including an attribute in XM Discover search affects its visibility for all users of homepages that use XM Discover search.
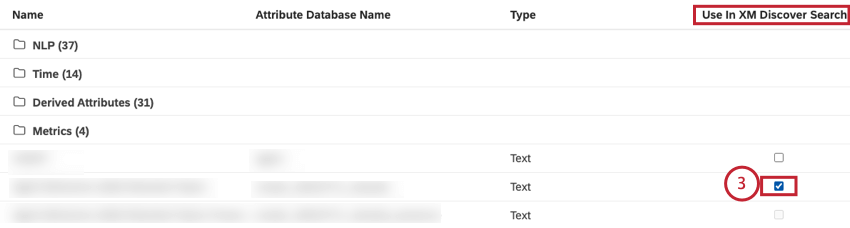
Qtip: If a checkbox is disabled, it means that an attribute is not a text one, an attribute is not enabled for reporting, or 10 attributes have already been selected for this project.
Viewing Attributes Hidden via Group Access
For information on viewing attributes hidden via group access, see Viewing Attributes or Category Models Hidden via Group Access.
That's great! Thank you for your feedback!
Thank you for your feedback!