
Adobe Analytics Migration Guide
What's on this page
About the Adobe Analytics Migration
Qualtrics Website Feedback currently supports a 2-way extension with Adobe Analytics, which allows for both the targeting of intercepts based on Adobe Analytics variables, as well as the exchange of Qualtrics data back to Adobe.
The extension for sending Qualtrics data back to Adobe is currently based on Adobe data connector technology. Adobe has announced an end-of-life of the data connector technology for extensions, effective August 1st, 2021. While new data connectors cannot be created after August 1st, existing data connectors will continue to function through at least December 31st. This will only affect surveys that are currently sending Qualtrics data to Adobe. This will not affect any integrations capturing Adobe data from websites into Qualtrics.
Qualtrics has developed a new Adobe Analytics extension using workflows, which contains two new tasks that will send Qualtrics data back to Adobe:
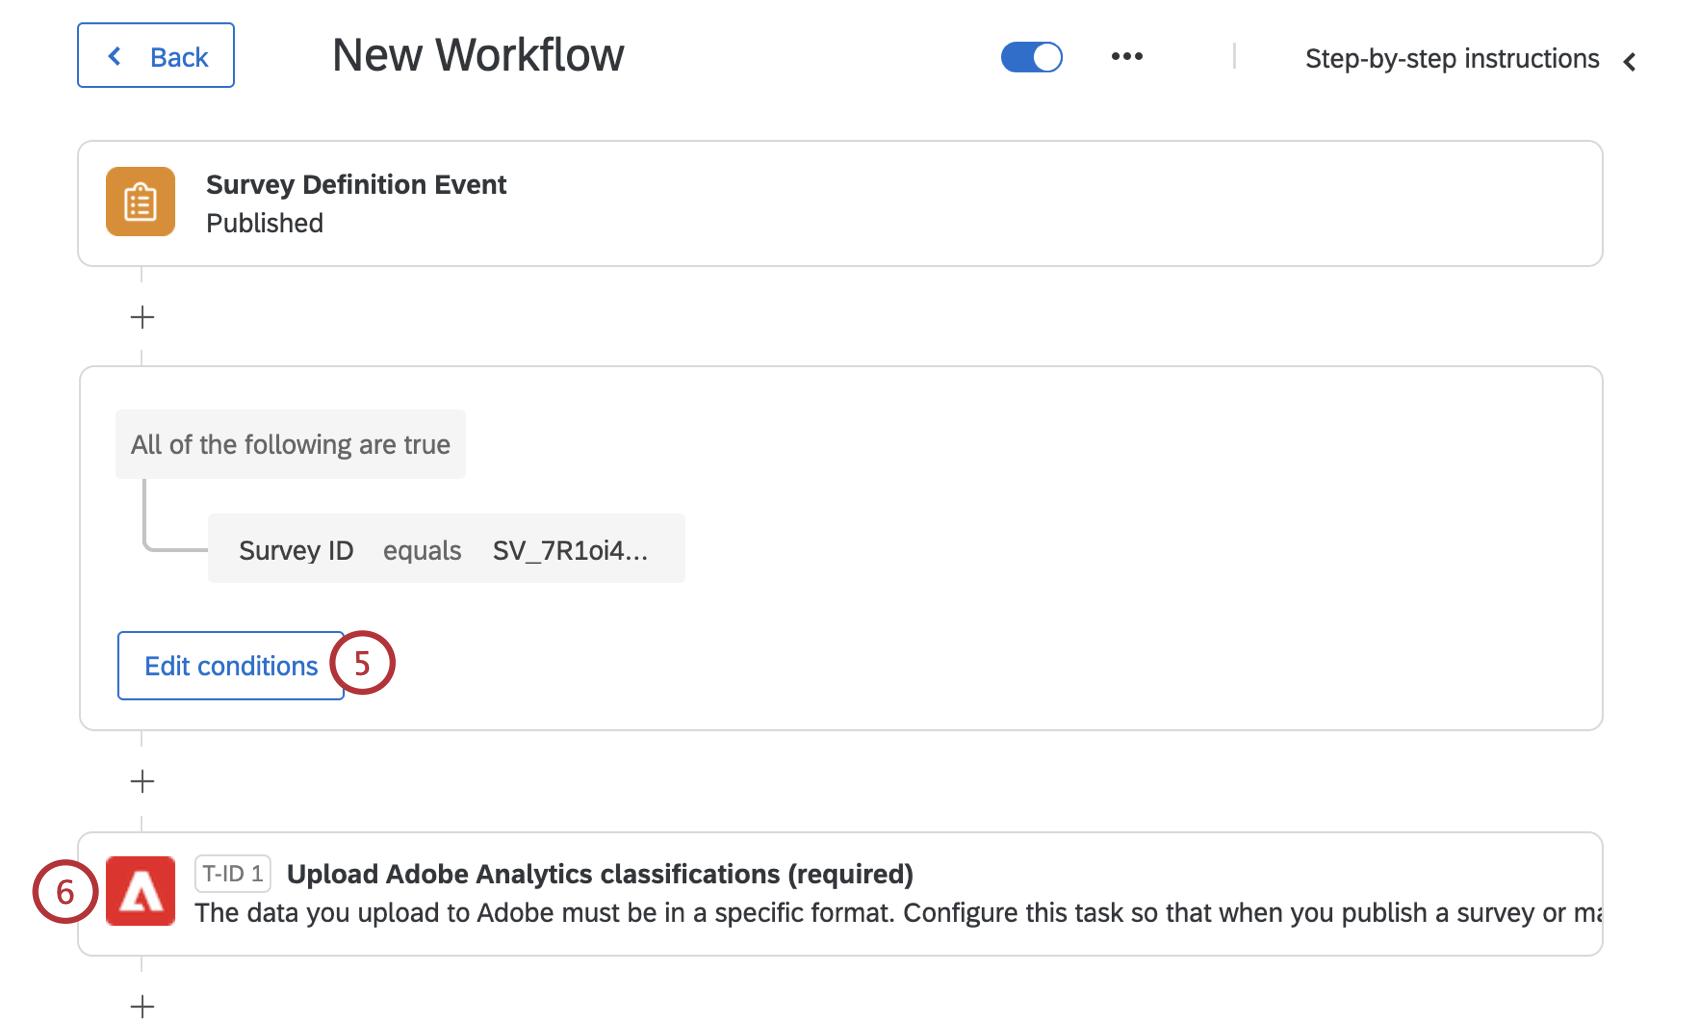
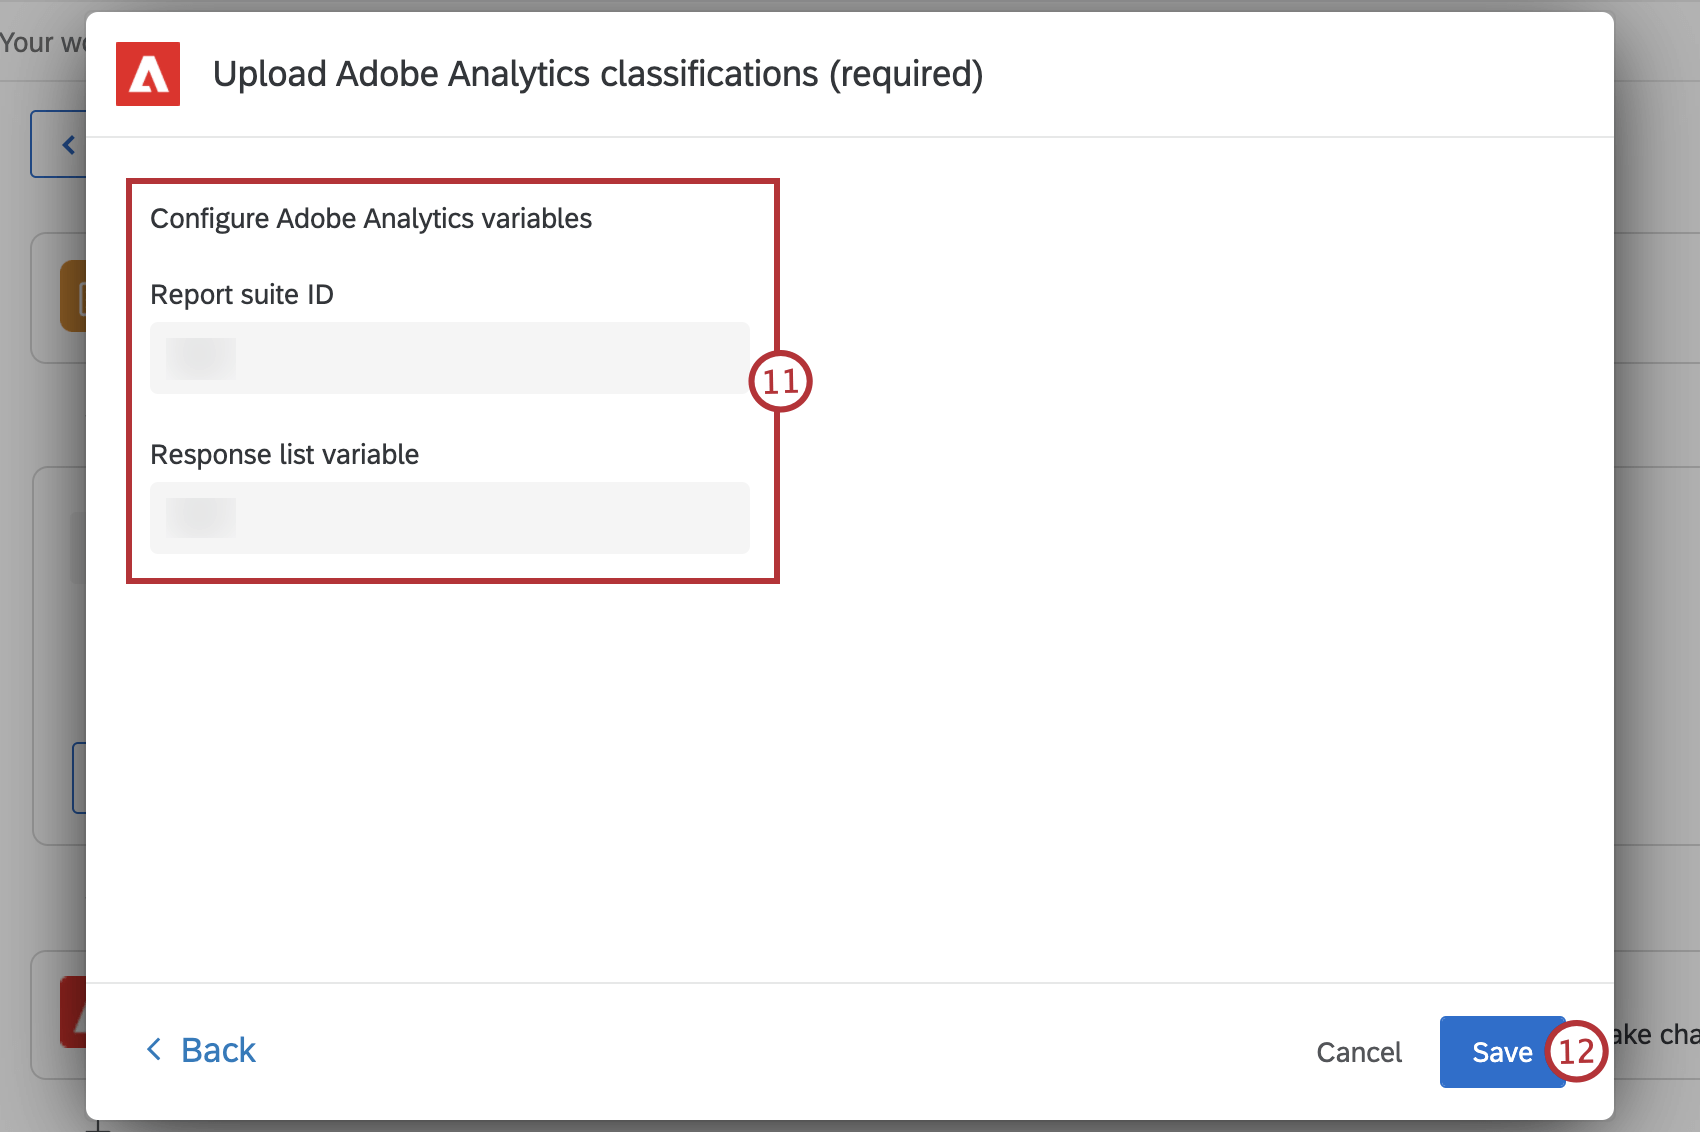
- Classification task: This task allows users to upload survey fields to the Adobe report suite for mapping purposes. This task will run each time a survey is published.
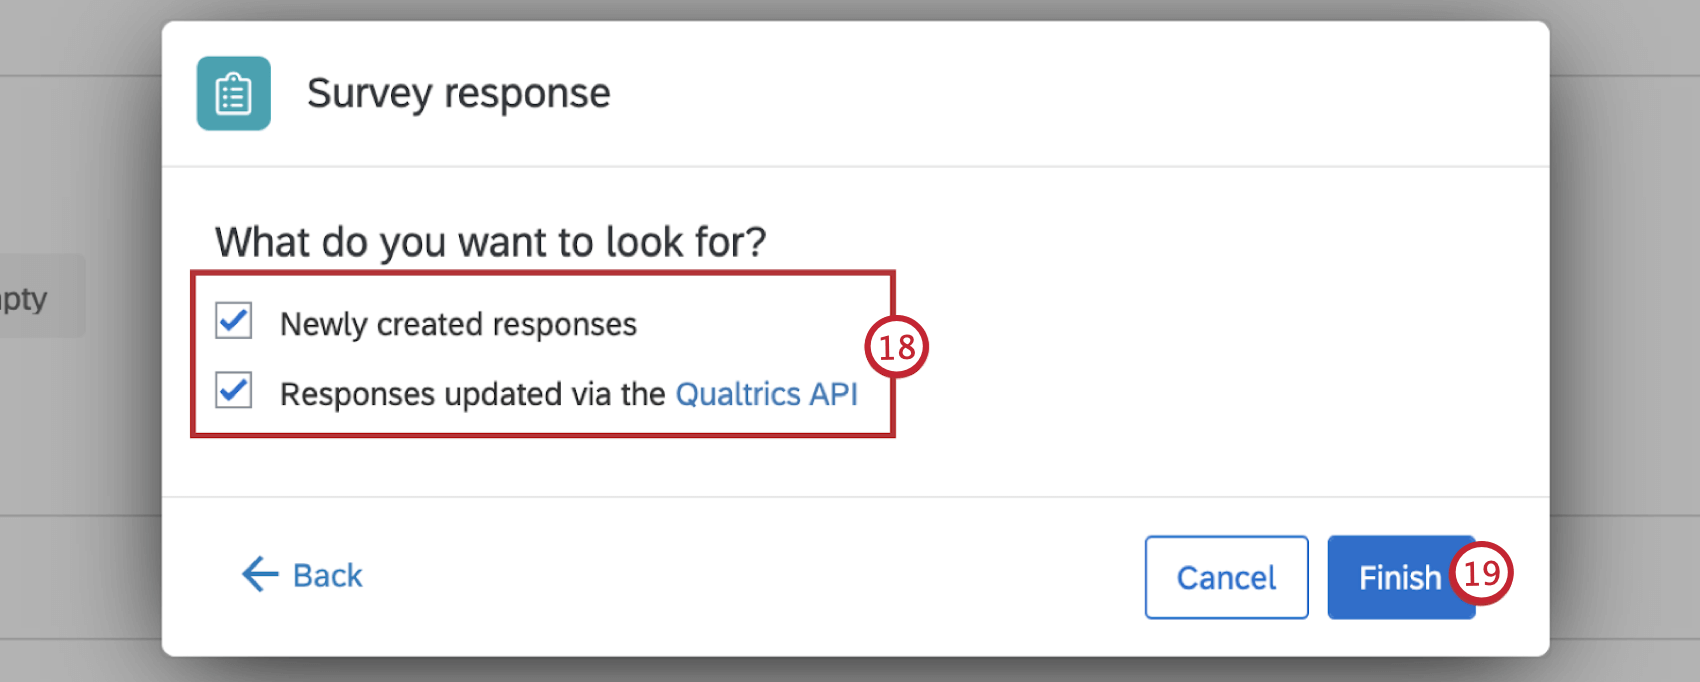
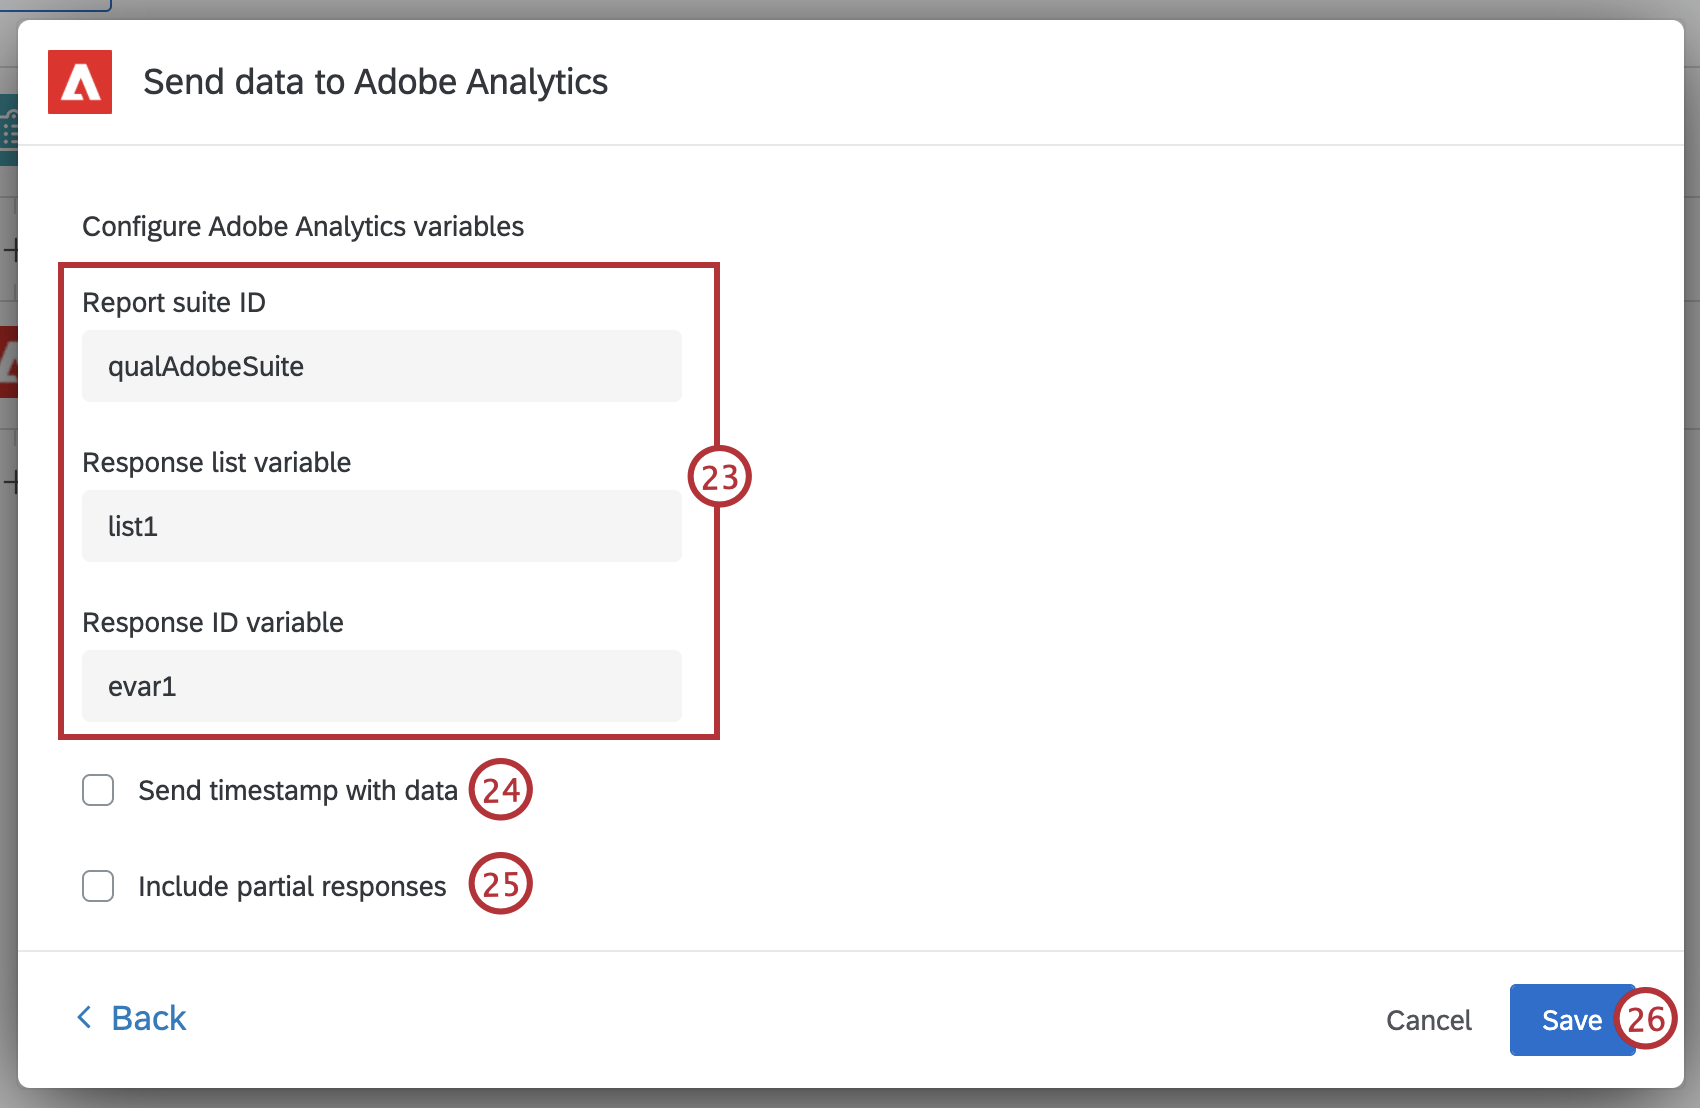
- Data upload task: This task sends response data to the Adobe report suite. This task will run each time a survey response is submitted.
As part of the migration, Qualtrics will auto-create the above workflows for each survey that is currently enabled for Adobe Analytics data sync and has Adobe responses. Users will only have to configure a small set of fields, such as Adobe authentication information and IDs.
Attention: This migration is only necessary for customers currently sending Qualtrics data to Adobe via the Adobe Integration in the survey editor and should not be used for customers building a new Adobe Integration.
Attention: This migration requires access to Adobe Analytics, as there are steps in this guide that involve configuring Adobe Report Suites and Adobe access keys.
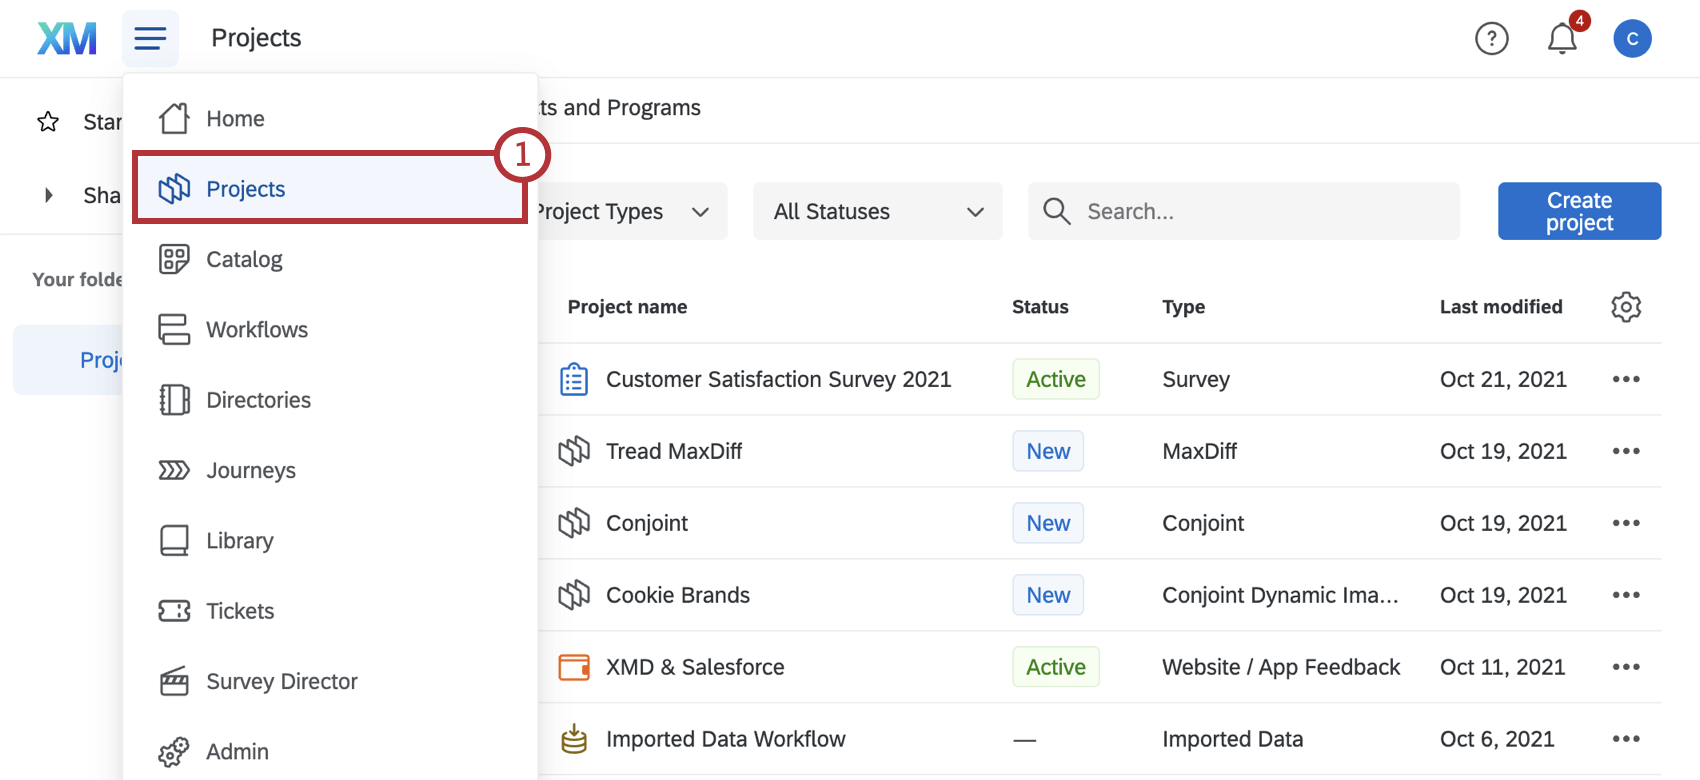
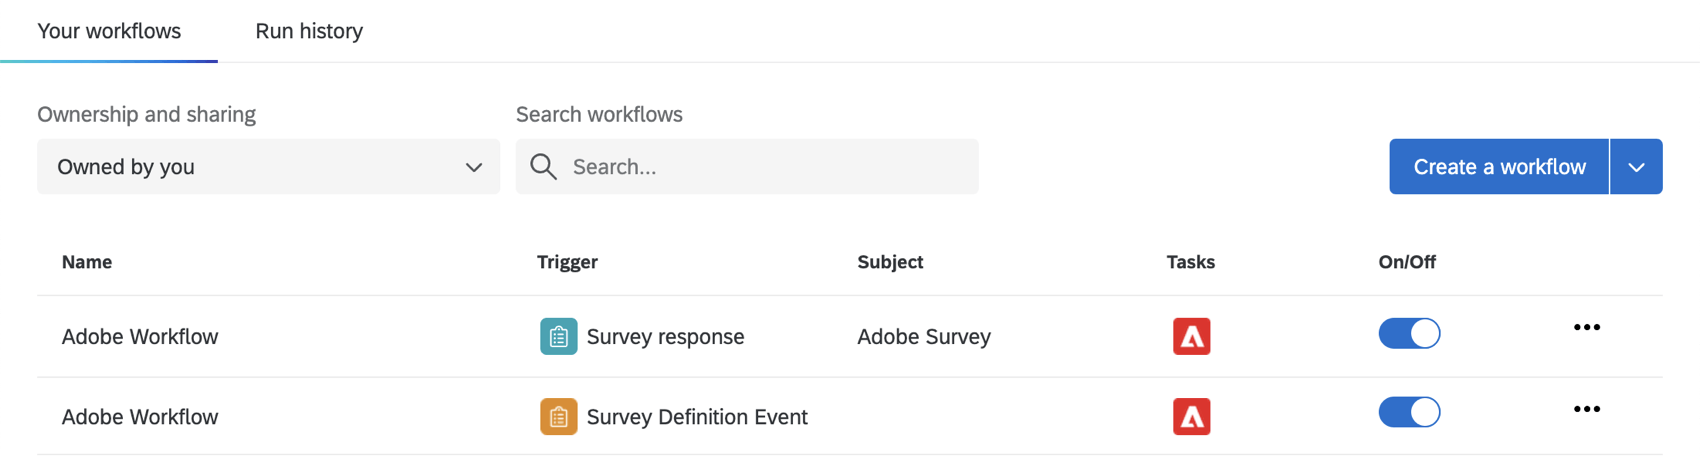
Automatically Created Workflows

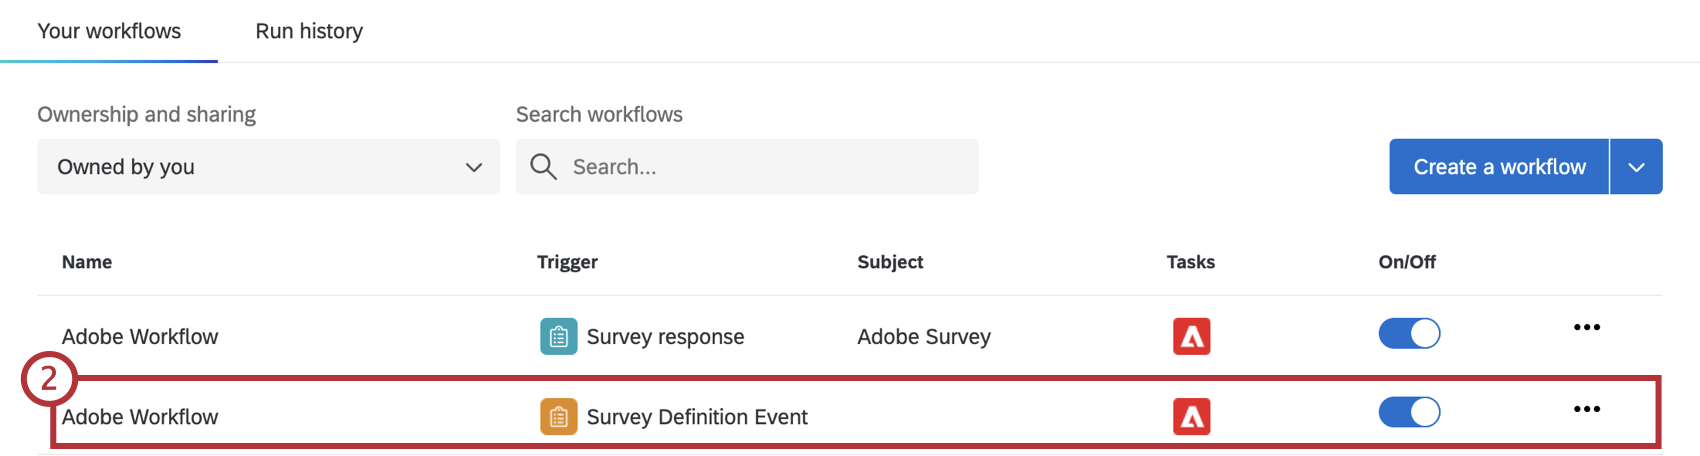
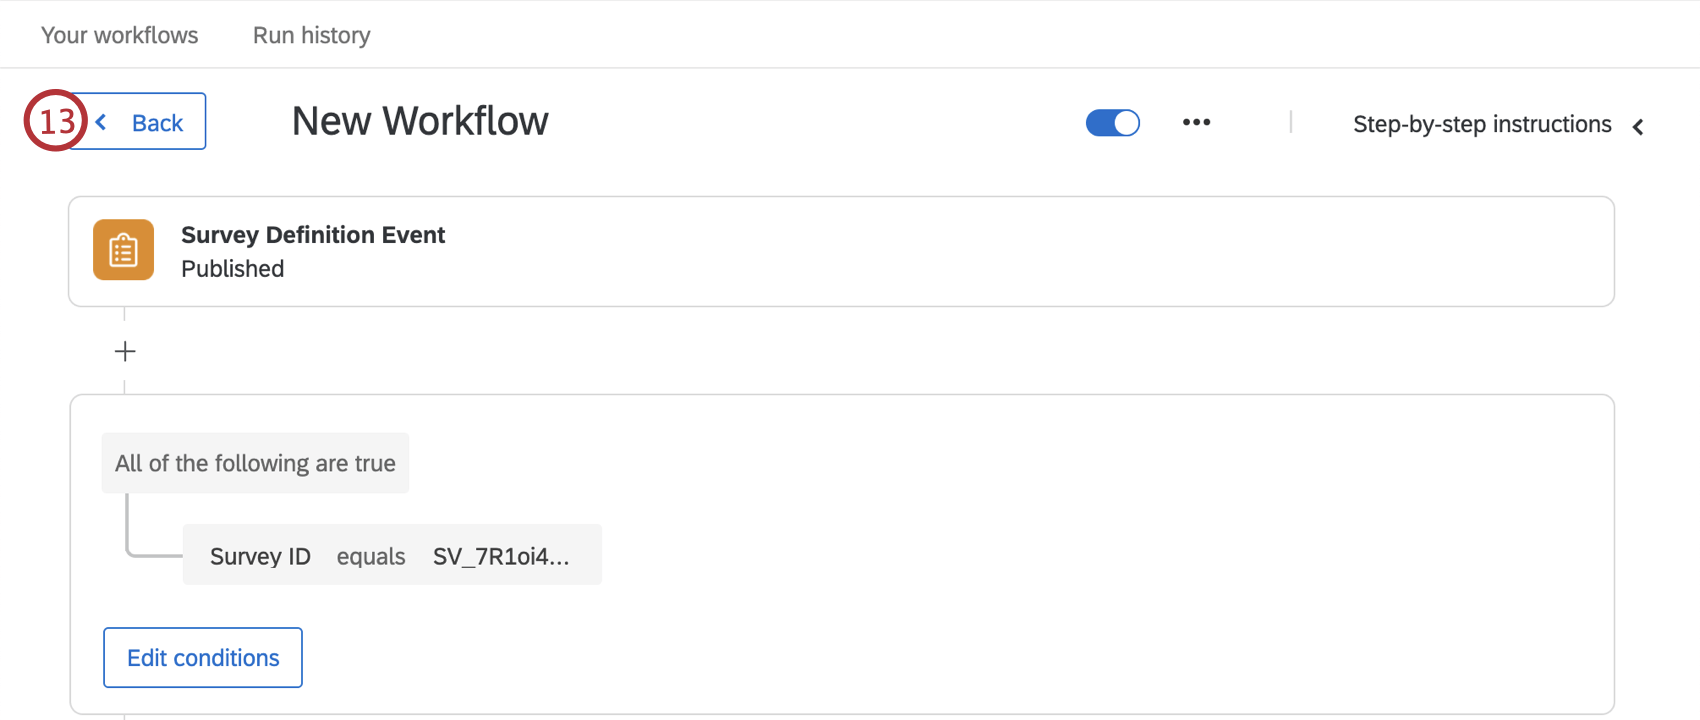
As part of the migration, Qualtrics has automatically created two new Adobe workflows for all existing surveys that are currently using a data connector to send response data to Adobe. Users will need to enter their Adobe authentication information for these workflows to be enabled. Until this authentication information is entered, the Workflows page will display incomplete workflows.
Activating New Adobe Analytics Integration
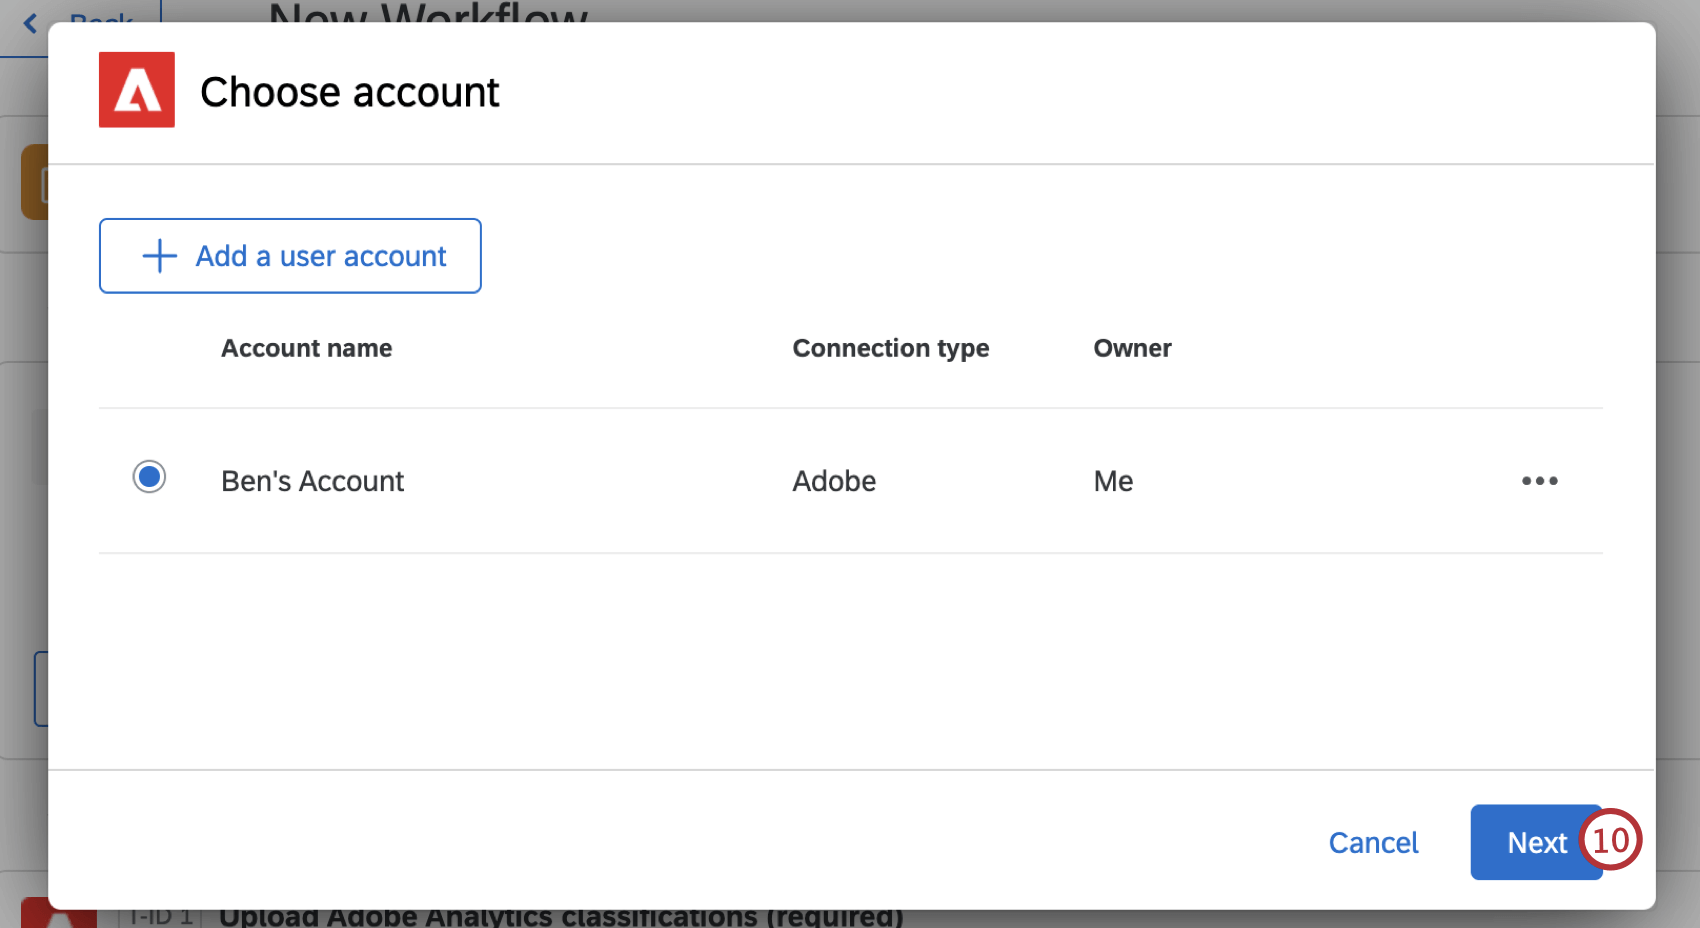
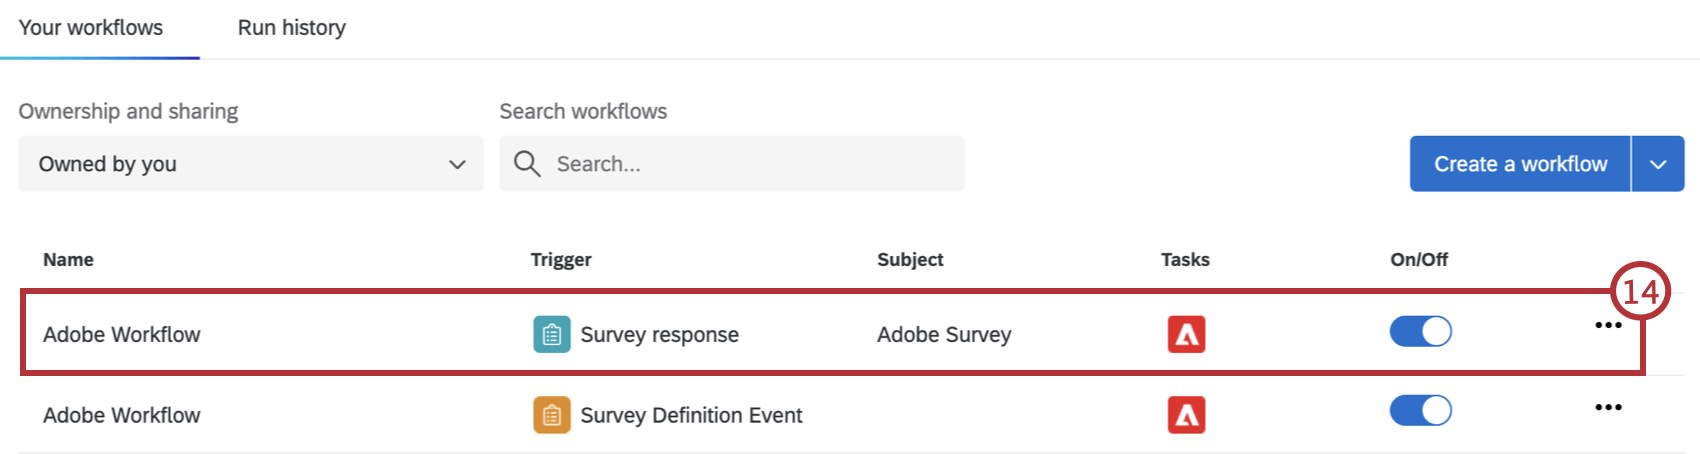
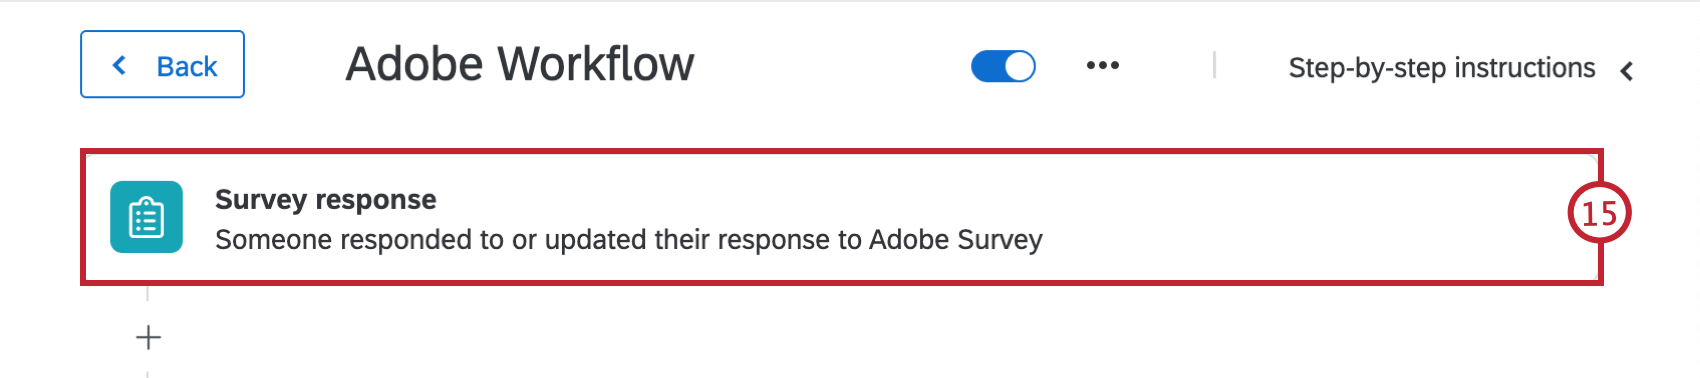
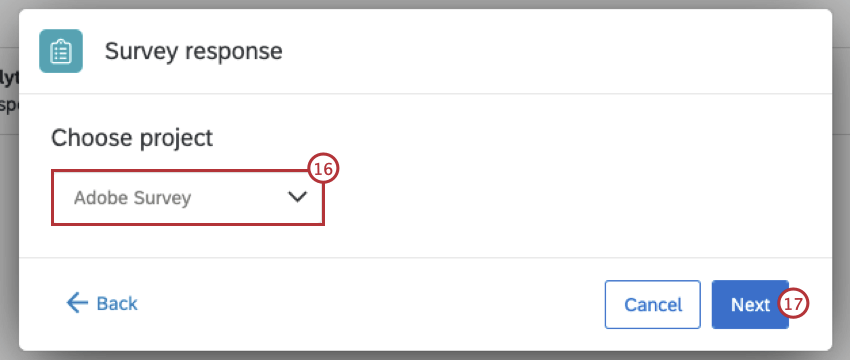
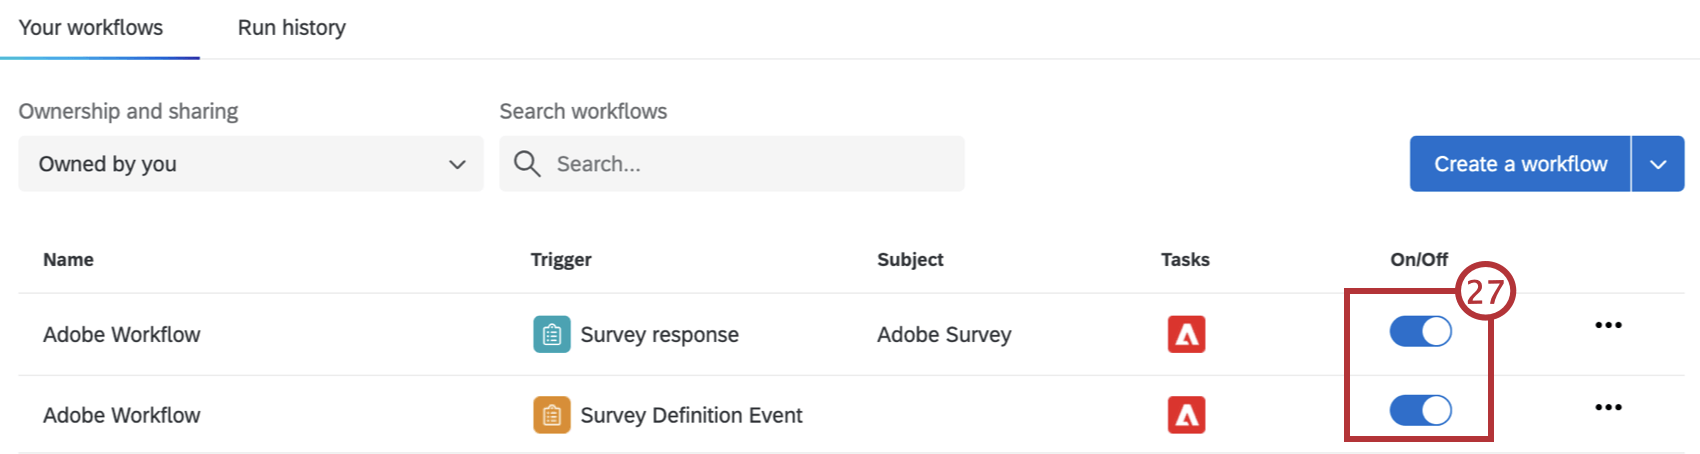
To activate the new Adobe analytics integration, you will need to activate both of the new workflows generated by Qualtrics.
Attention: These new workflows will need to be activated for every survey that you plan on using to send data to Adobe Analytics.
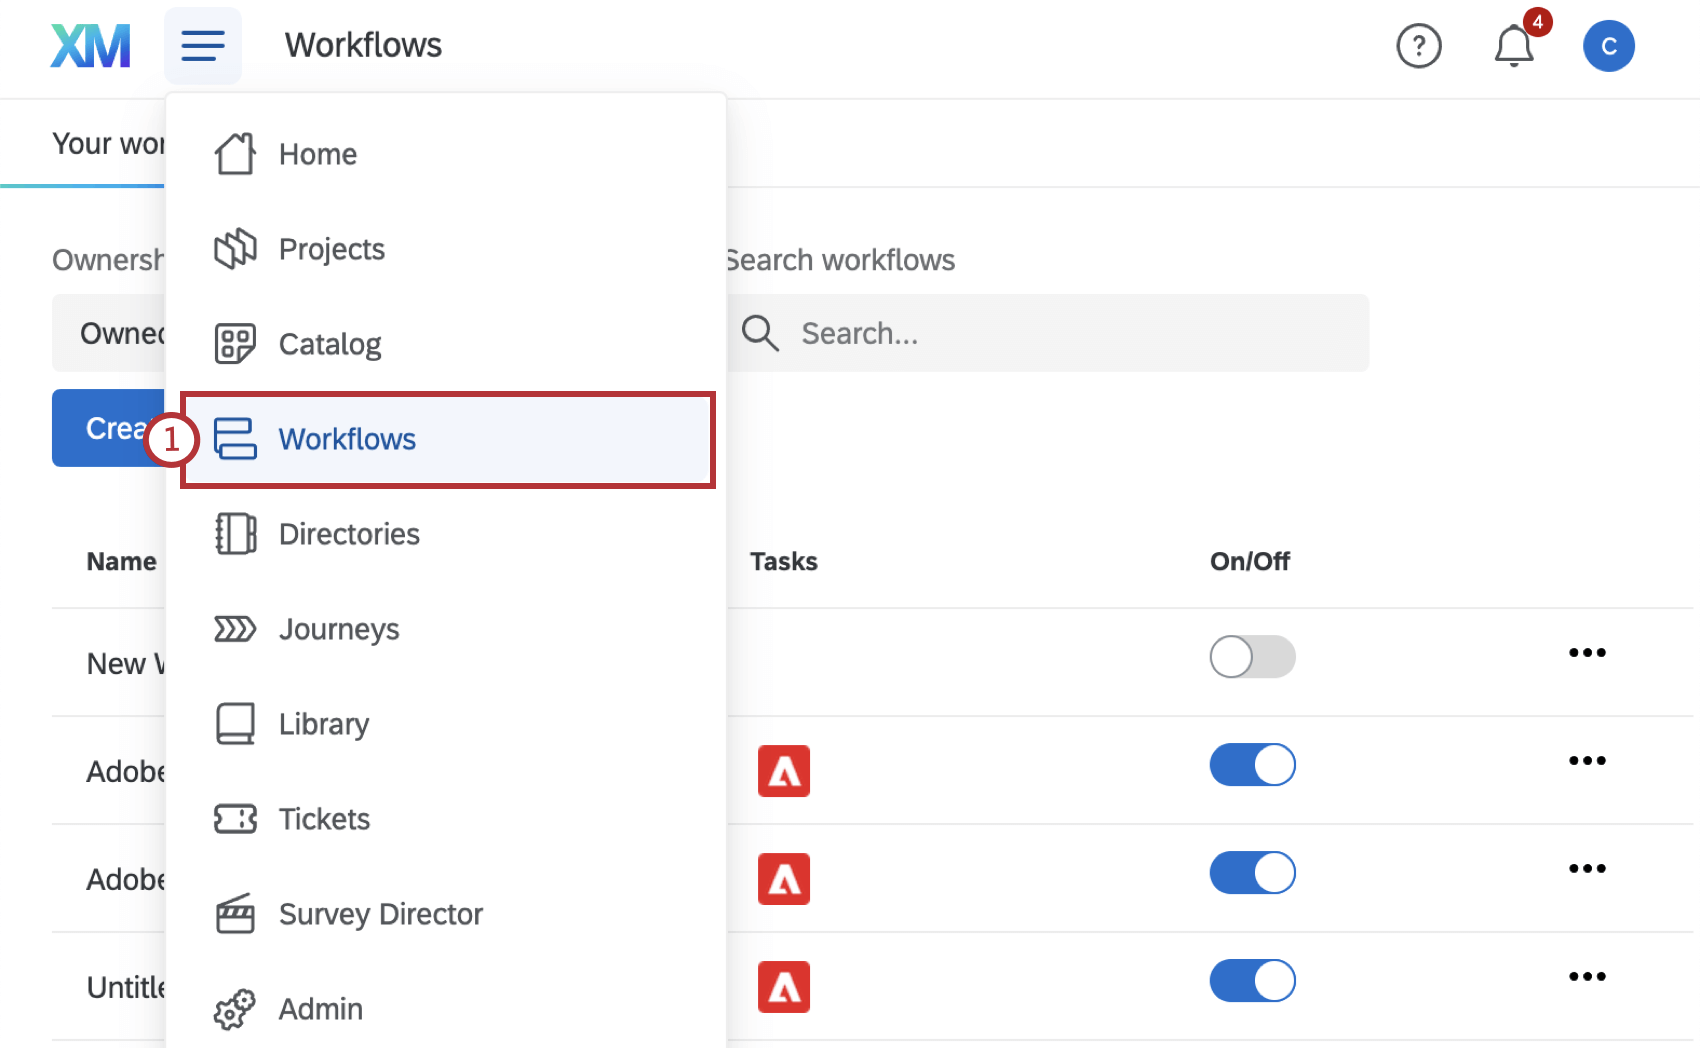
Qtip: Click Step-by-step instructions in the top-right corner to view these instructions while creating your workflow.
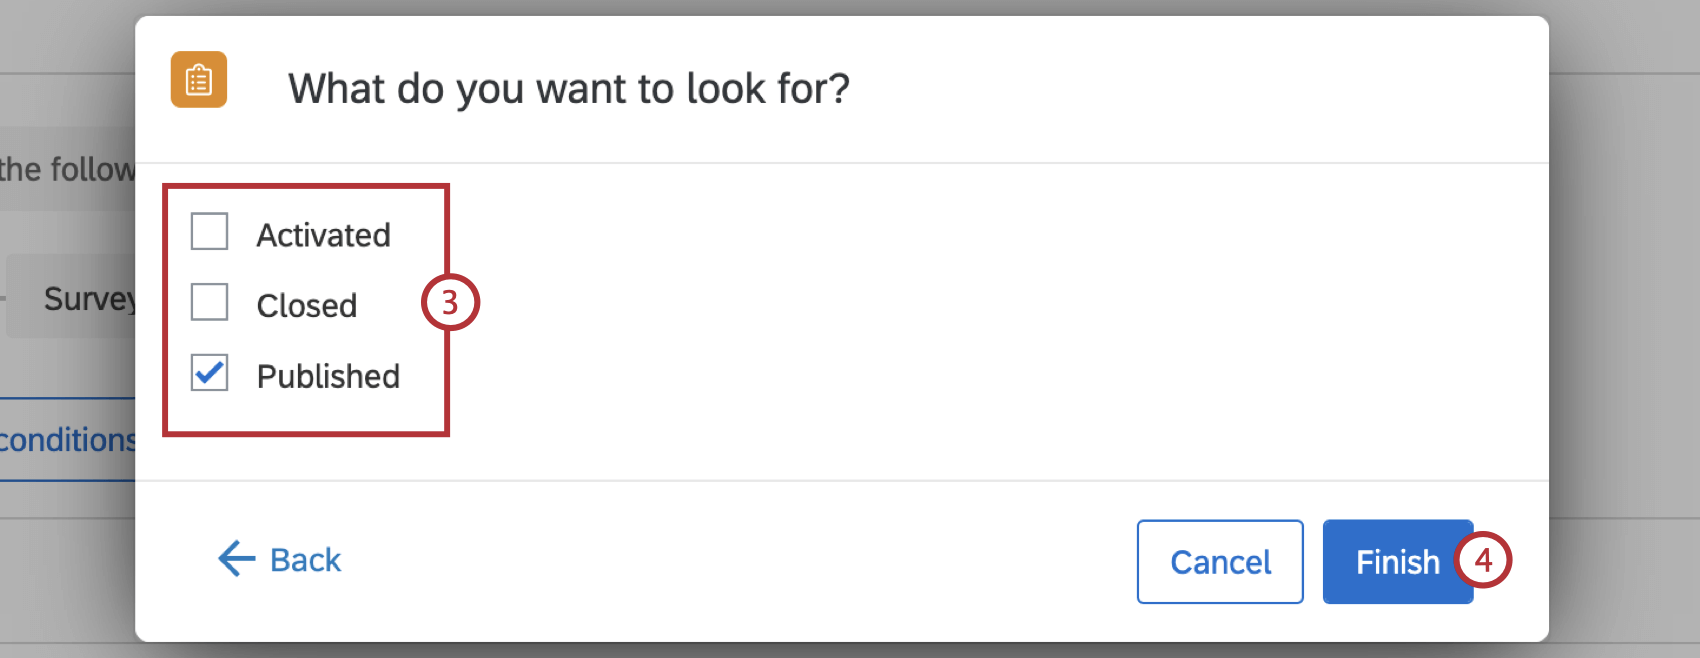
Qtip: Qualtrics recommends starting this workflow only when the survey is published.
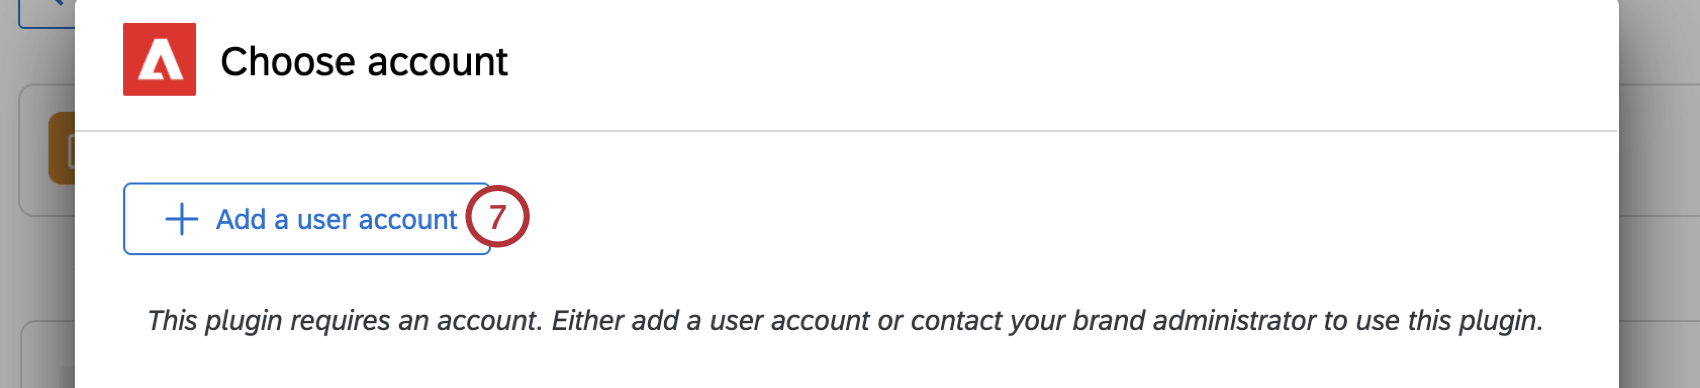
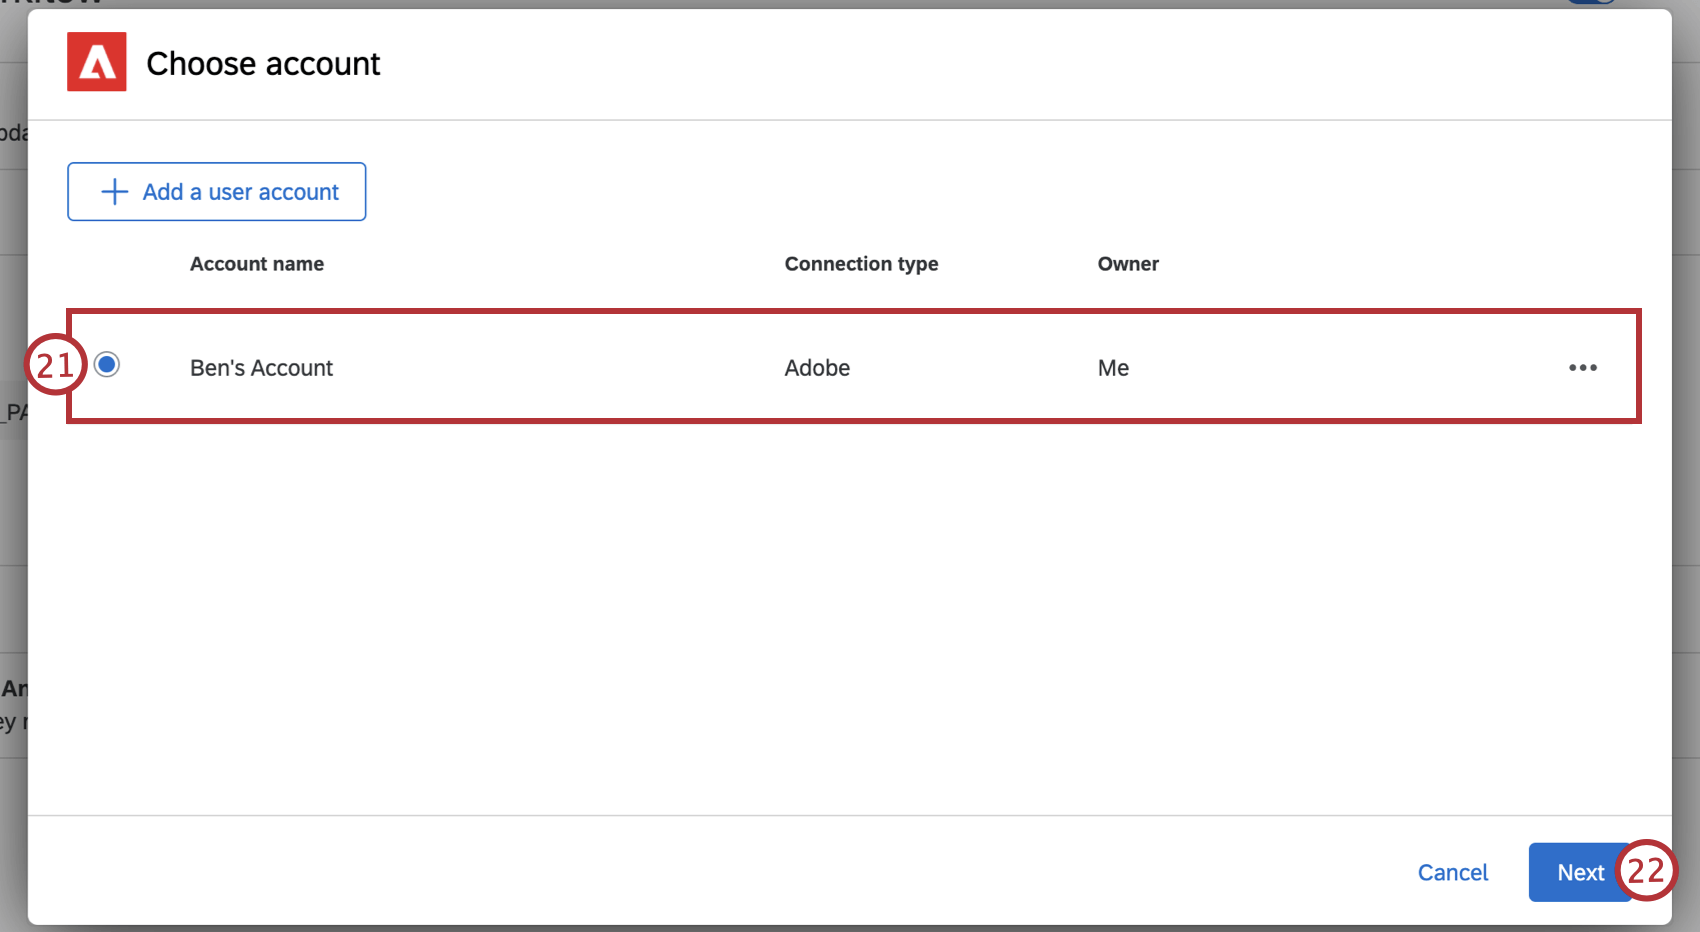
Attention: If you haven’t previously created an account to authenticate to Adobe, you will be asked to provide the Adobe credentials that you obtained in the Adobe Authentication Secrets section.
- Access your Website Feedback Intercept and complete a few test responses.
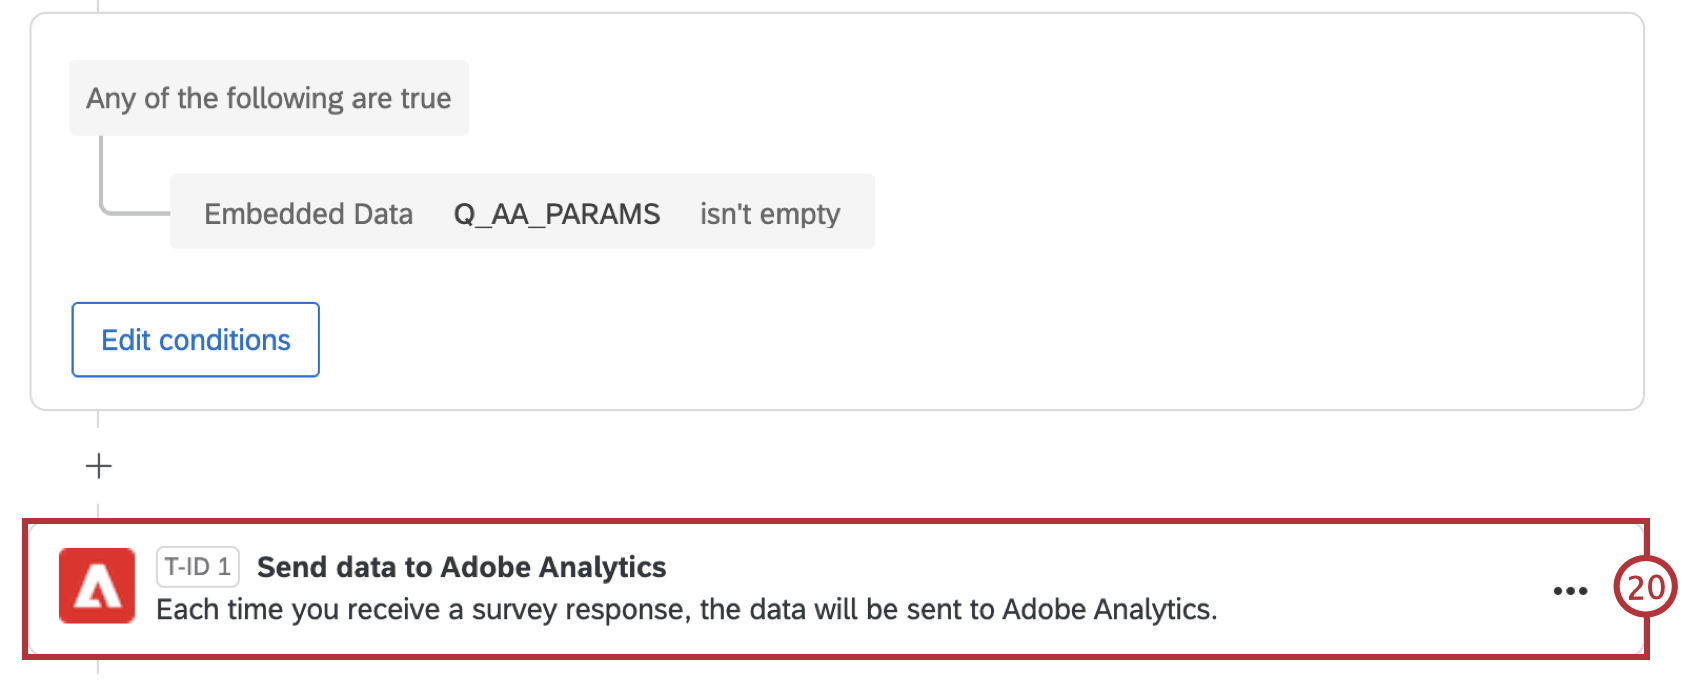
- Preview your survey and complete a few test responses. Qtip: If you preview your survey without accessing the intercept, you will need to hardcode a value for your Q_AA_PARMS embedded data field. For example: {“marketingCloudVisitorID”:”test123″}.

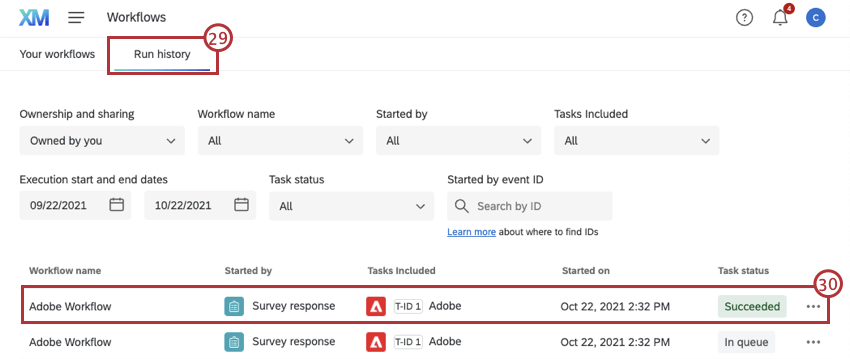
Qtip: It may take a few minutes for workflows to show up in the Run history.
Removing Old Adobe Data Connectors
Once you have activated the new workflows for sending Qualtrics data to Adobe, you will need to remove your old Adobe data connectors.
Warning: Only complete these steps when you have confirmed that the new workflows for your surveys are running correctly. It may take a few hours for survey data to show up in Adobe once the new workflows are activated.
Attention: If both the new workflows and the old Adobe data connectors are active, your data may be duplicated.
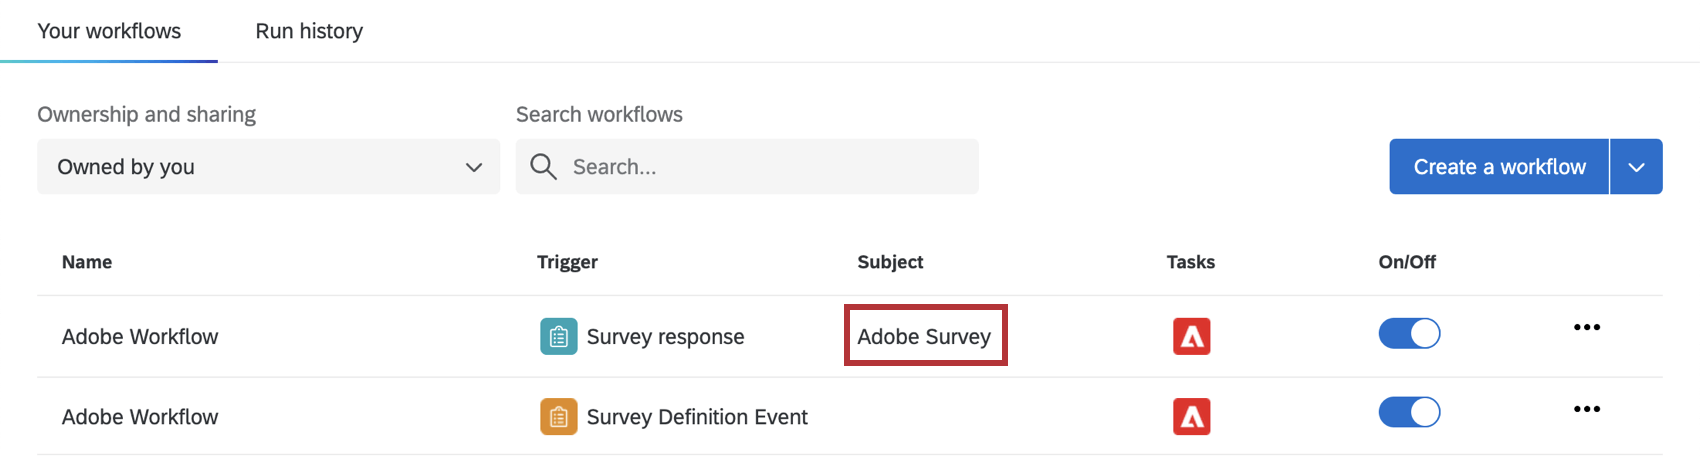
Qtip: If you are unsure of the survey name, this can be found by looking at either of your new Adobe workflows.


Attention: If an error message pops up, click OK. This may appear because Adobe has deprecated their data connector technology.
Adobe Authentication Secrets
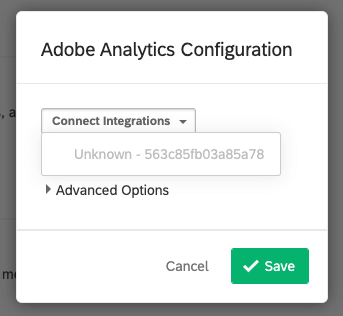
You will need to provide your Adobe credentials to allow Qualtrics to authenticate to Adobe Analytics report suite. This is necessary when activating your new Adobe Analytics workflows.
GETTING ADOBE AUTHENTICATION SECRETS
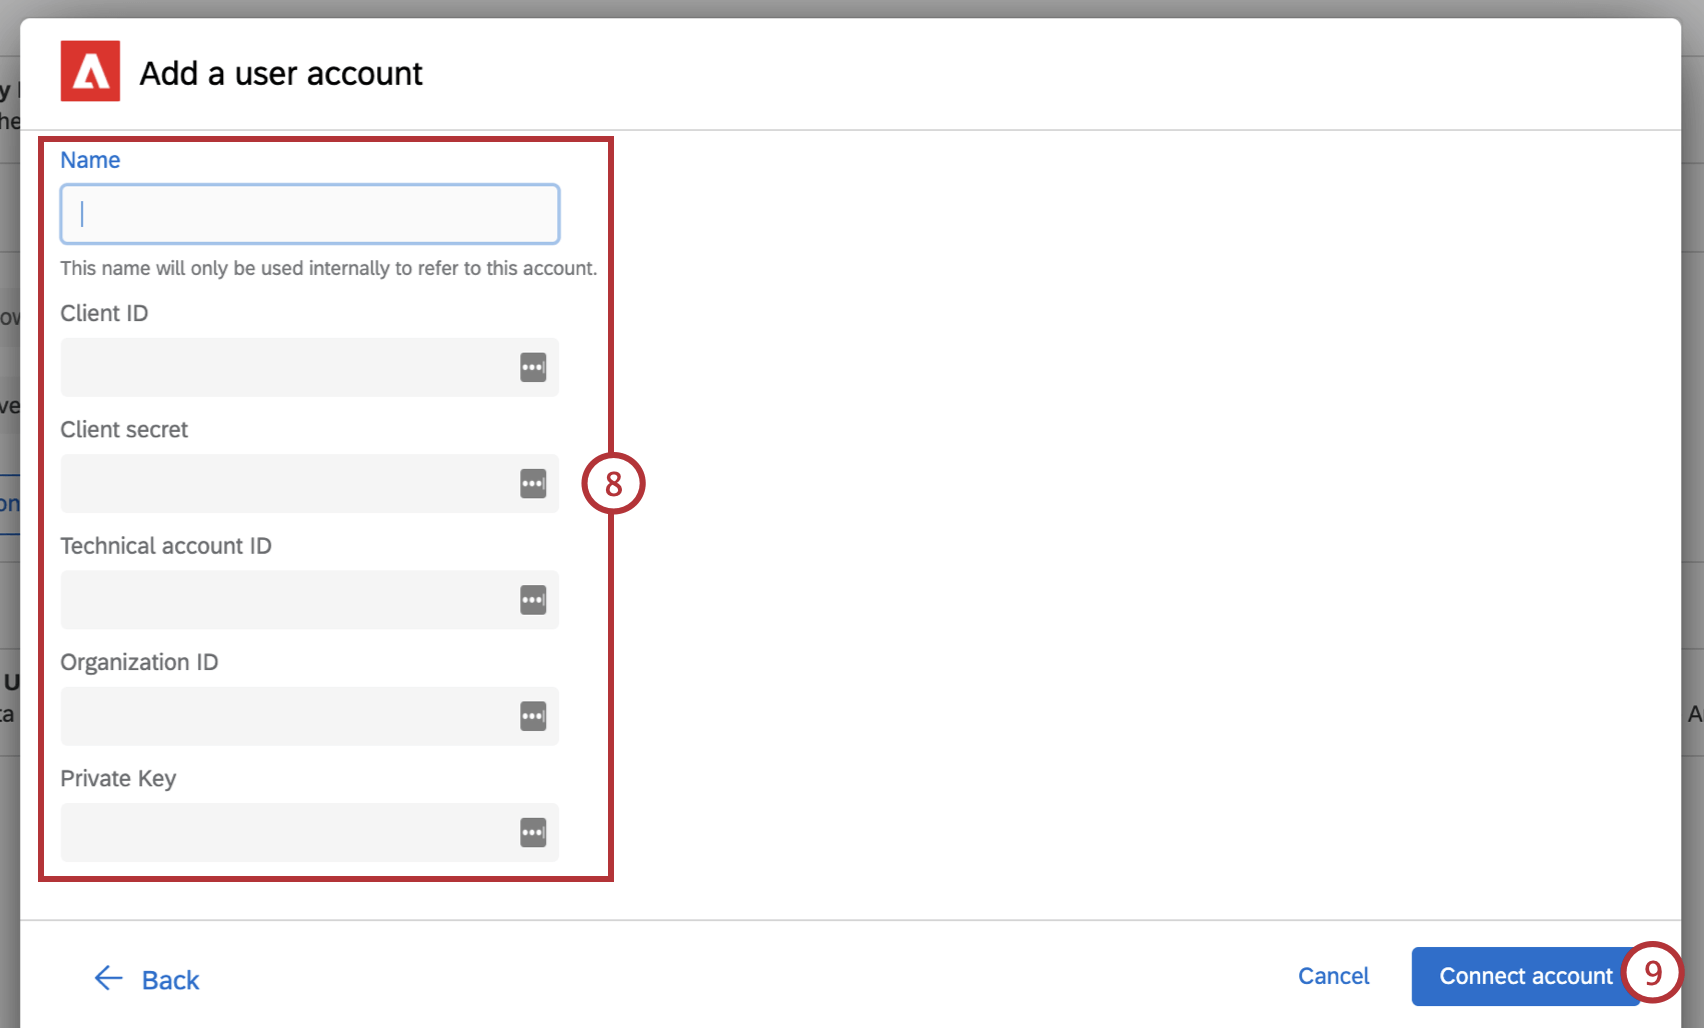
You will need to provide the following credentials within Qualtrics when you set up your Adobe workflows and create an account to interact with Adobe Analytics.
- Client ID: The Client ID provided in the Adobe console as part of the Credential details.
- Client Secret: The Client Secret provided in the Adobe console as part of the Credential details.
- Technical Account ID: The Technical Account ID provided in the Adobe console as part of the Credential details.
- Organization ID: The organization ID provided in the Adobe console as part of the Credential details. This ID is a 24-character alphanumeric string, followed by @AdobeOrg.
- Private Key: The key that corresponds to the public key attached to your service account connection. Attention: Be sure to copy the entire contents of the private key file from Adobe including the “—–BEGIN PRIVATE KEY—–” and “—–END PRIVATE KEY—–” sections.

Qtip: If you don’t already have Adobe authentication secrets, you will need to create them within your Adobe account.
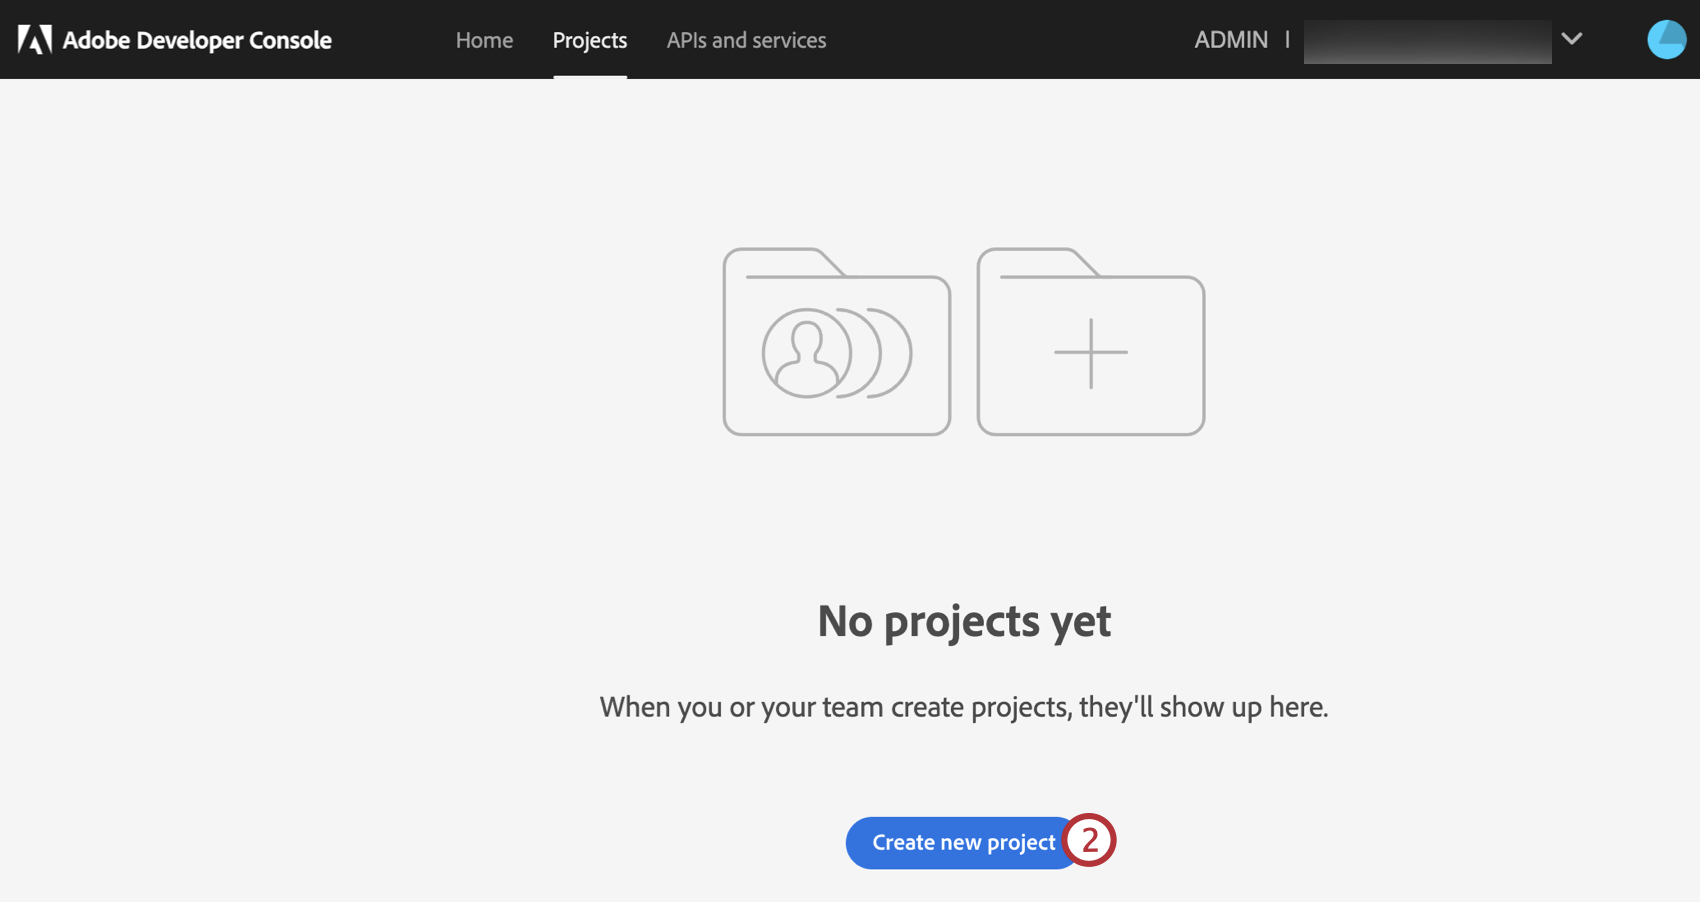
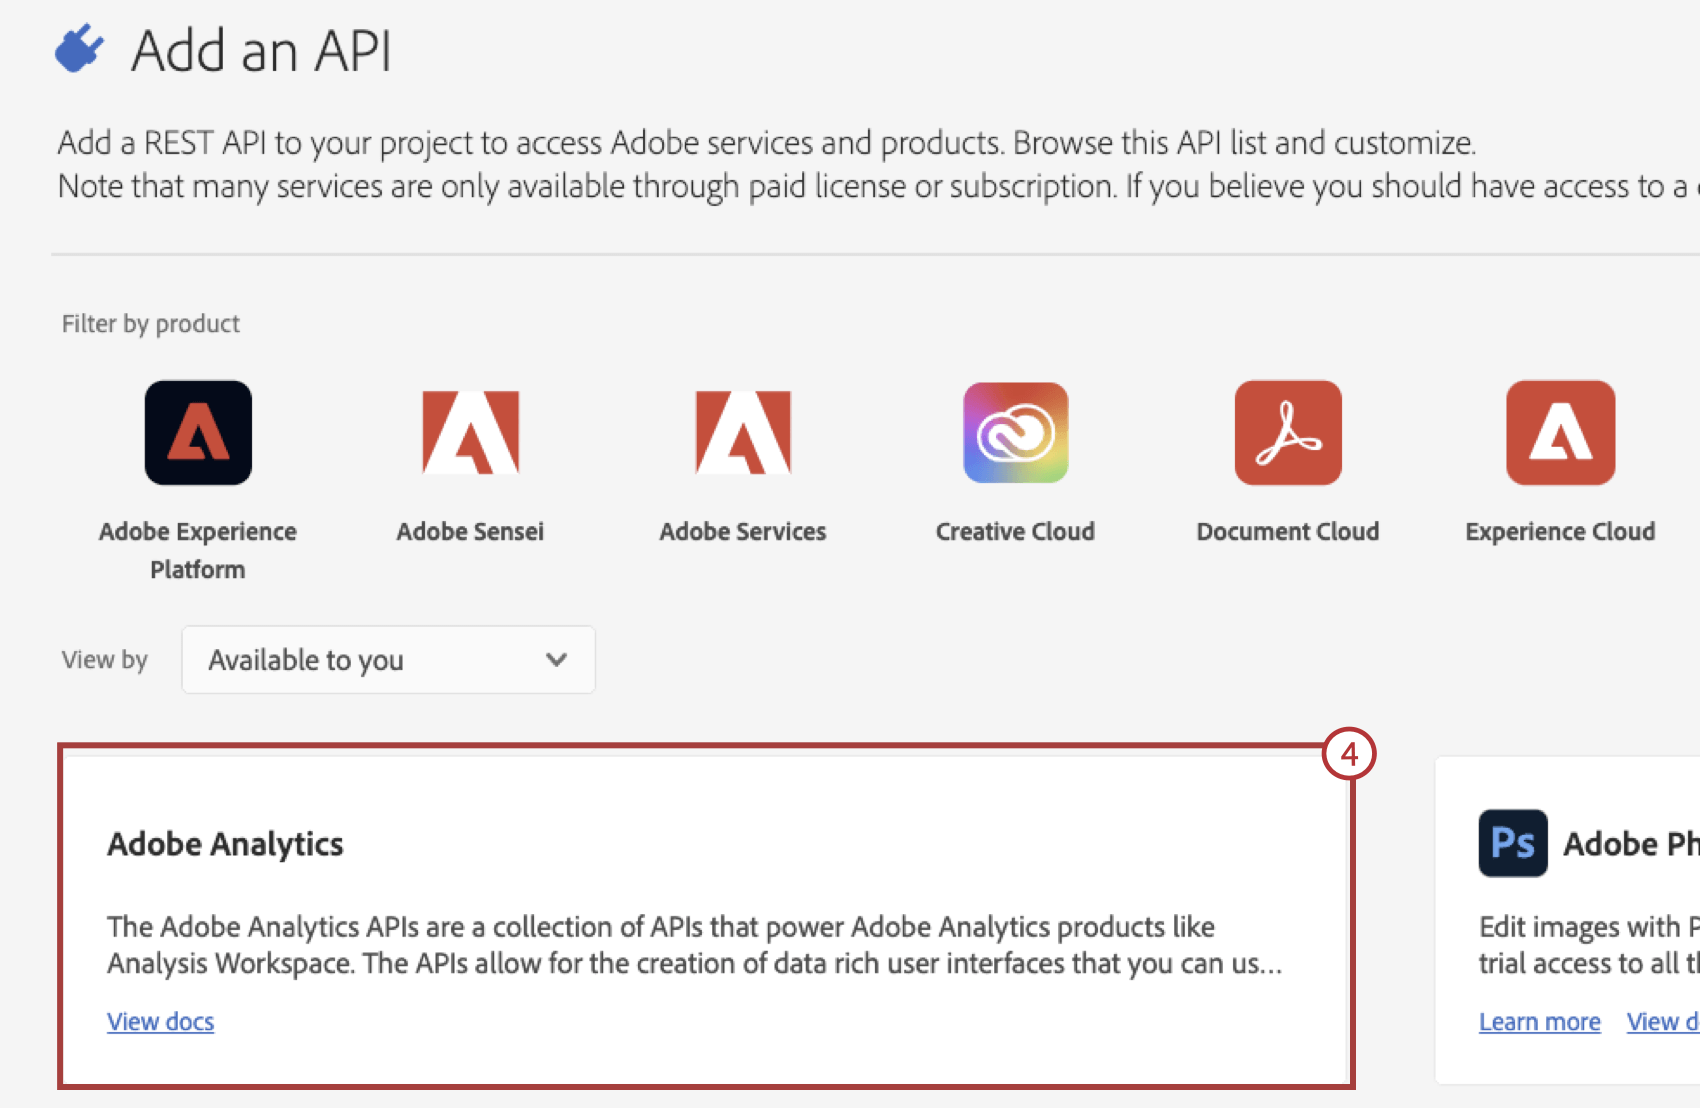
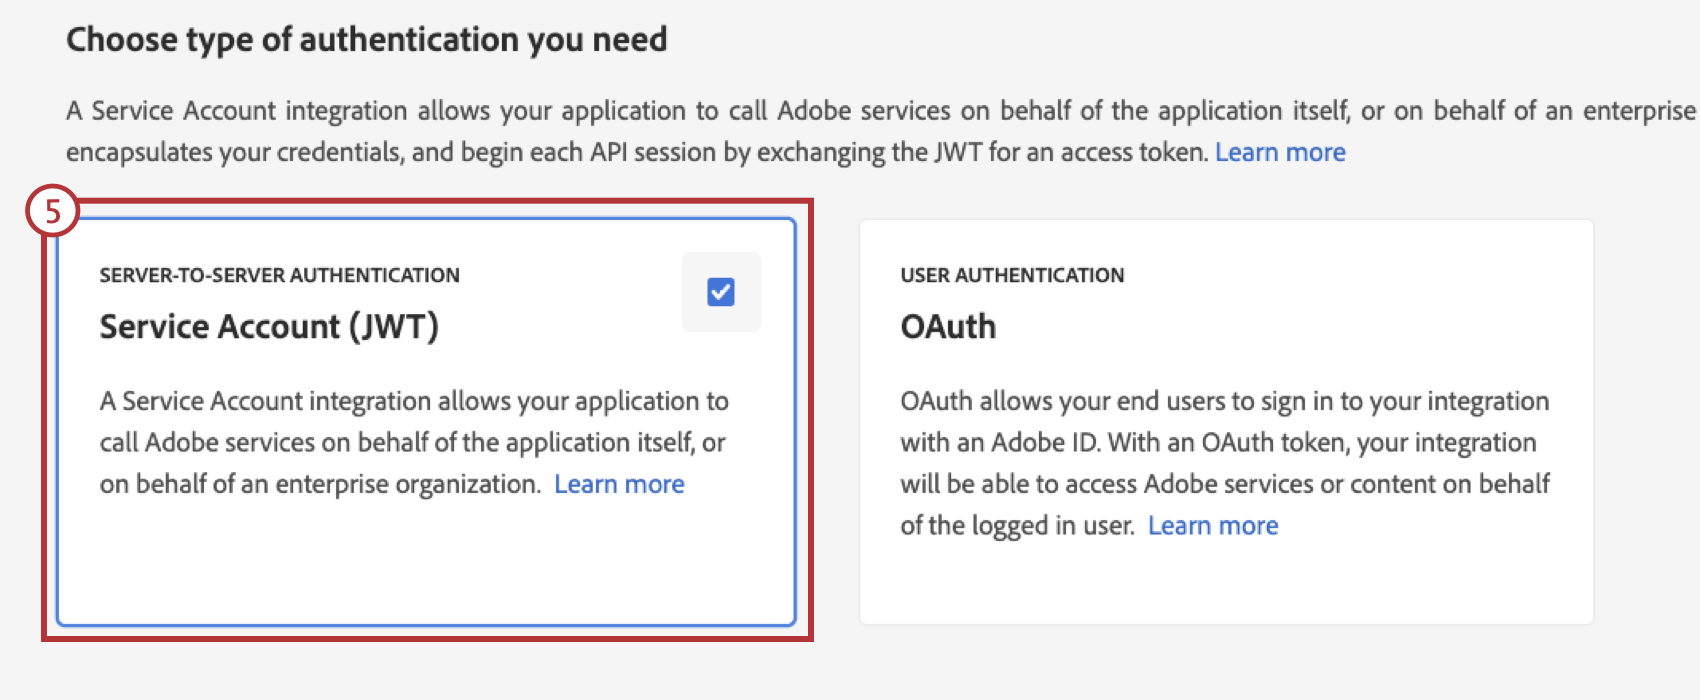
CREATING ADOBE AUTHENTICATION SECRETS
If you don’t already have authentication secrets, follow these steps to create them. Visit Adobe’s support documentation for more information.

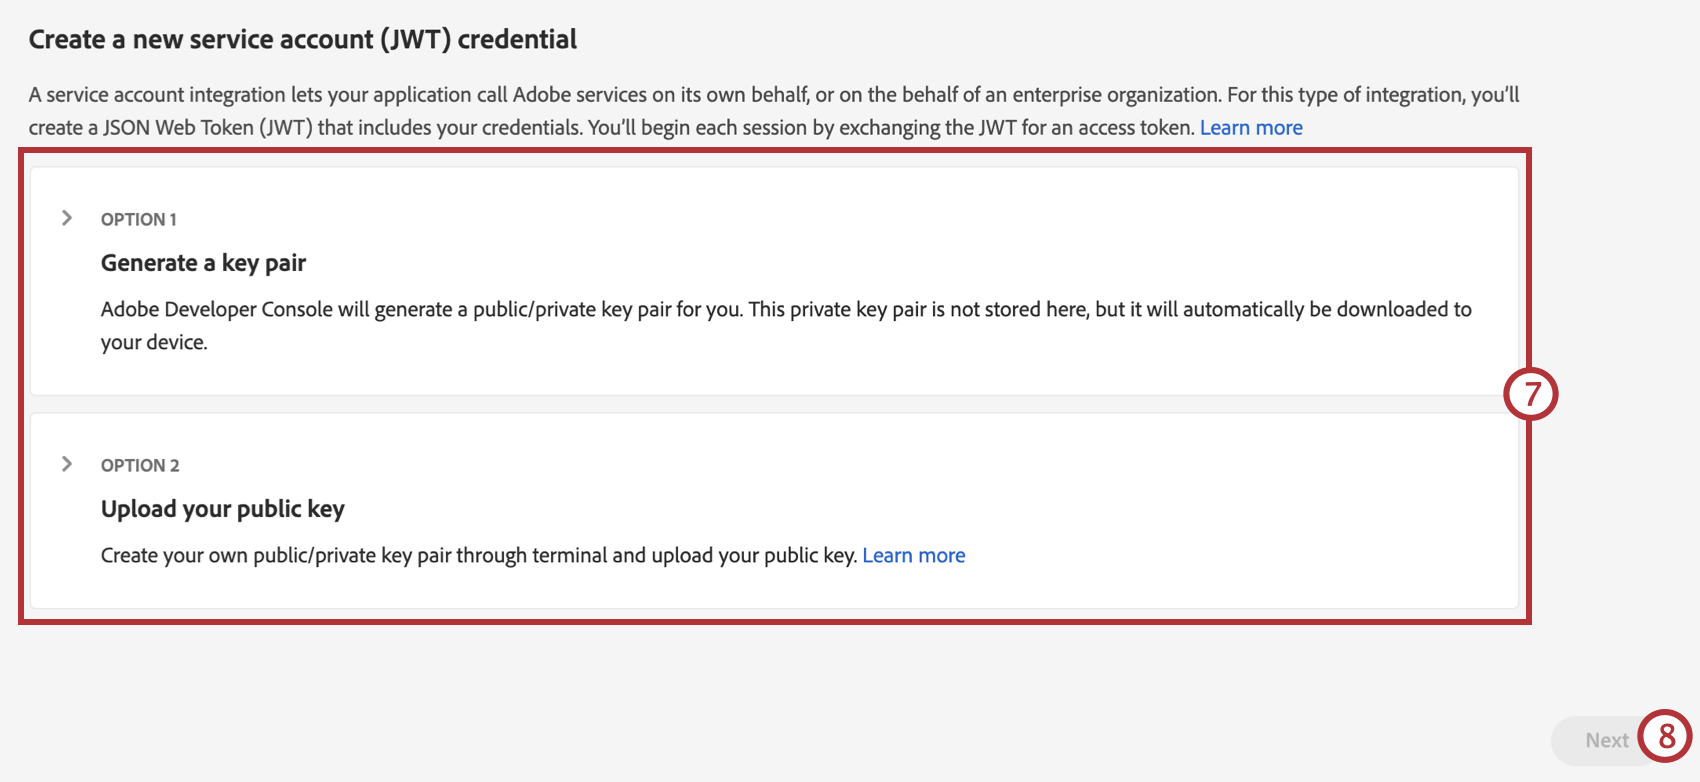
Qtip: If you have Adobe generate a key pair for you, keep that private key in a safe place to use when setting up the Adobe Analytics workflow in Qualtrics.
- Analytics Tools: Web Services and either Analysis Workspace Access or Reports & Analytics Access.
- Report Suite Tools: Classifications.
That's great! Thank you for your feedback!
Thank you for your feedback!