
Step 1: Preparing Your Targeted Survey
What's on this page
Attention: This page discusses Qualtrics surveys, which are separate projects that can be linked to a Website / App Insights project. Many of the links on this page are for support pages for the Survey Platform. Be careful to note the differences between Website / App Insights and the Survey Platform.
Surveys as Targets
The first step when thinking about implementing your intercept is to decide what you would like your target to be. If you want to add a survey as a target in your intercept, you’ll want to make sure you set it up to work perfectly with your purposes.
Qtip: This page discusses how to prepare a Qualtrics survey as the target. You do not need to add a survey as your target in your intercept. There is always the option to link to your own web page or have no target instead.
Developing Your Survey Content
When developing your survey content, keep in mind that it is a best practice to keep the survey as concise and simple as possible. Since creatives are often small in size, focus on creating a few questions and keeping them short and to the point.
The most common and recommended question types to use in your targeted survey are:
- Multiple Choice Questions: The most common question type found in any targeted survey. Focusing on a quick “yes” or “no” question may improve your overall response rate and will make for a good user experience.
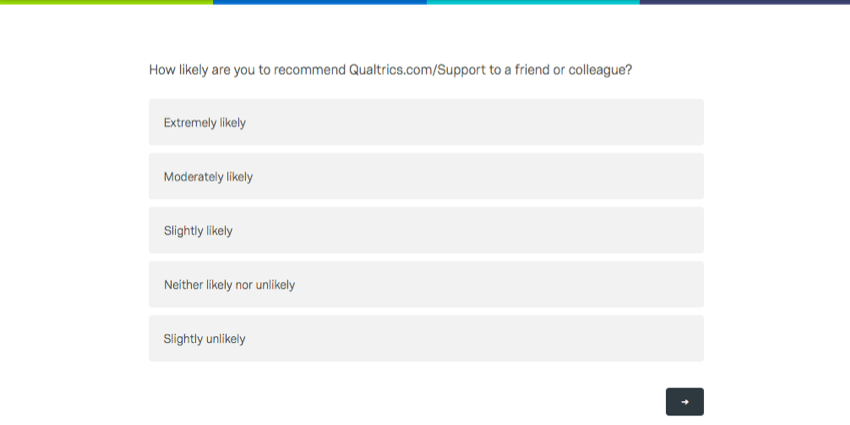
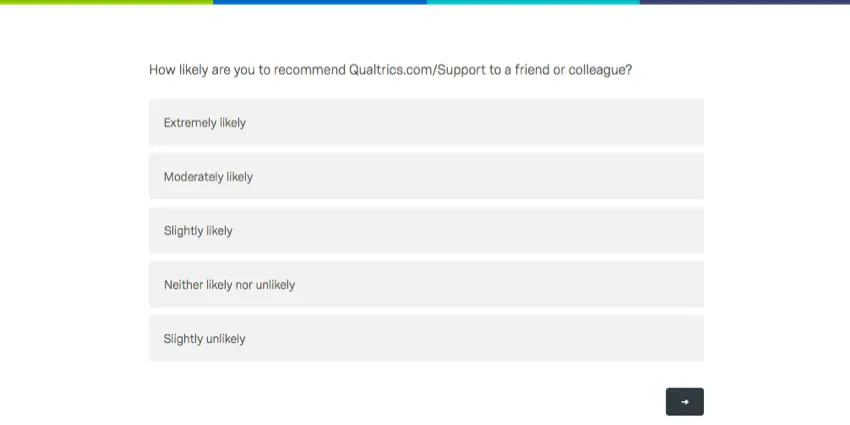
- Net Promoter Score Questions: Commonly referred to as NPS®, this question type has a built in customer loyalty metric that gauges how willing a customer is to recommend a product or service.
- Text Entry Questions: These questions allow you to collect open-ended comments from site goers. This question type allows users to add that extra bit of feedback you need to further improve your site, product, and more.
Survey Options
There are 2 settings in the survey options that you must edit. These options optimize your survey so that every time someone visits the site, the survey treats the website assessment as a whole new experience. For example, you don’t want someone to give negative feedback on your website once, and then never be able to let you know when their opinion improves.
- Incomplete survey responses: These settings are crucial to your survey setup. They determine how long after starting the survey someone has to come back and complete their survey response. Be sure to select the shortest option, 4 hours.
- Allow respondents to finish later: Disable Allow respondents to finish later. This ensures that on every visit visitors will start the survey anew. If someone visits your website again, you want it to count for a whole new experience, not show their answers from last time.
- Prevent multiple submissions: Keep this option deselected to allow respondents to fill out the feedback survey every time they see the intercept.
Checking Your Functionality
Your survey will function normally when linked to your intercept. Before you go through the final steps of Website / App Insights, you’ll want to make sure to test the survey.
- Preview survey: This feature is helpful for testing how your survey looks and how it works.
- Anonymous link: Use the anonymous link to add your survey as a target to your eventual intercept. When collecting data, this feature excludes all personal information except what you ask for in the survey. Otherwise, only IP Address and relating geographical data is recorded.
- Look and feel: Depending on the size of your creative, your survey will appear as it does in the mobile view. Be careful in your choice of font sizes and survey themes; these can expand the amount of space your survey takes up on the creative. Qtip: There are several dynamic themes available that will help you create an accessible survey.
 Qtip: If you would like to display your company’s logo within your creative, you will want to add the image to the Header within the General tab of the Look & Feel menu.
 - Eliminating scrollbars: If you plan for your survey to display directly on the intercept, you’ll want to format the survey so visitors don’t have to scroll to see all the options. See the linked page for more advice on customizing your survey to eliminate scrolling. Qtip: We recommend using the Classic layout in the Look & Feel editor, because it has been designed to reduce white space for an optimized experience with your embedded target.
- Embedded data: If you know you want to capture and pass information from your intercept into your Survey, you’ll want to add embedded data fields to your survey flow. You can name these field names whatever you would like, but they will have to match what you set within your intercept embedded data. Qtip: The title link explains how to set up embedded data in the survey. If you are farther along and want to set it up in your intercept, check out the Embedded Data in Website / App Insights page.
FAQs
How can I stay up to date on new Qualtrics features?
How can I stay up to date on new Qualtrics features?
To access these release notes, you need an XM Community account. These accounts are free for any users with a Qualtrics account. This support page contains information for how to register an XM Community account.
Once you're logged into the XM Community, head over to the Weekly Product Updates Introduction Post. This post contains all the information you need to get started with subscribing to product updates!
That's great! Thank you for your feedback!
Thank you for your feedback!