-

Qualtrics Platform -

Customer Journey Optimizer -

XM Discover -

Qualtrics Social Connect
Managing Intercepts in the List
About the Intercepts List
You can view all of the intercepts you’ve made (and make more) by going to Intercepts, then Intercepts list, then staying in Intercepts.
On this page, you can create, delete, rename, and change the activation for your intercepts. You can save standalone intercepts to the library. You’ll also see guided setups on this page.
Qtip: If you don’t have access to any of the features described on this page, reach out to your Account Executive. For more information about the differences between Digital Feedback and CustomerXM for Digital, see Digital Feedback vs. CustomerXM for Digital.
Creating a New Intercept
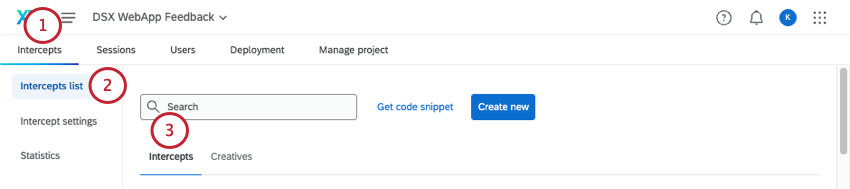
- Go to the Intercepts tab.

- Go to Intercepts list.
- Stay in Intercepts.
- Select Create new.
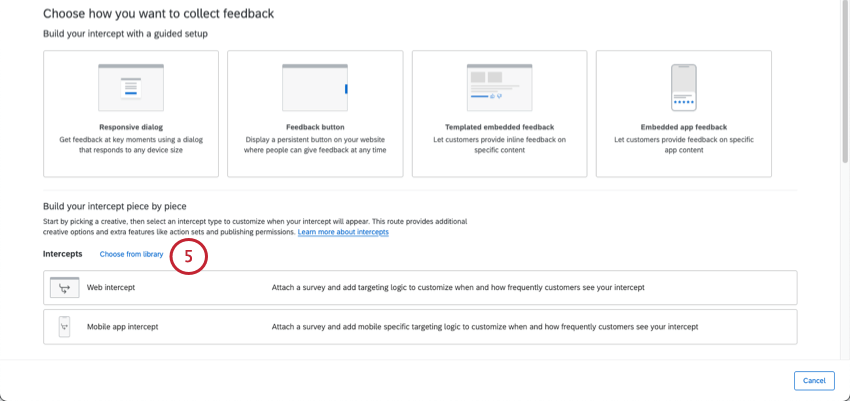
- Choose between a guided setup and a standalone intercept. Both options have site and mobile app options.
- Guided Setup: Easily set up a combined creative and intercept in this user-friendly flow.
- Standalone Intercepts: Create a standalone intercept you can combine with creatives of your choice. This option is better for more complex website display logic.
Creating an Intercept from the Library
Qtip: You can only save standalone intercepts to the library. Intercepts created from the library will be standalone, not guided.
- Go to the Intercepts tab.
- Go to Intercepts list.
- Stay in Intercepts.
- Select Create new.
- Next to the Intercepts heading, select Choose from library.
- Name the intercept.
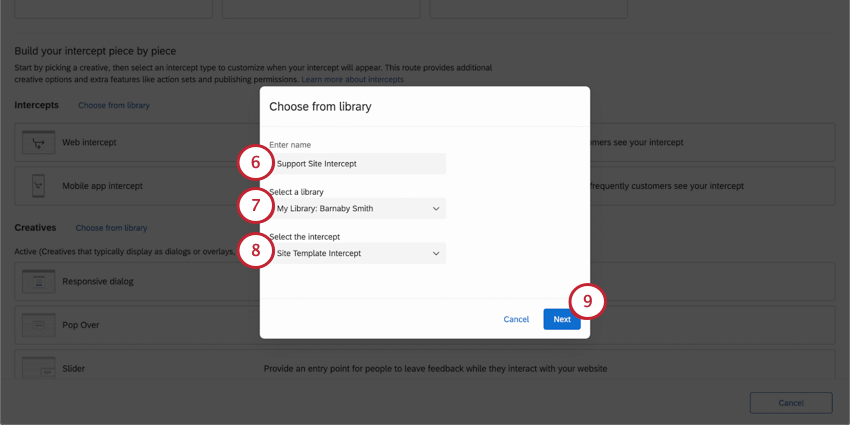
- Select a library where you previously saved an intercept.
- Select the intercept you want to use.
- Click Next to start editing your intercept.
Columns of Information
For each intercept, you can see:
- Name (alphabetical)
- Last Modified
- Status (Active or Inactive)
- Metrics for the past 30 days (Clicks and impressions)
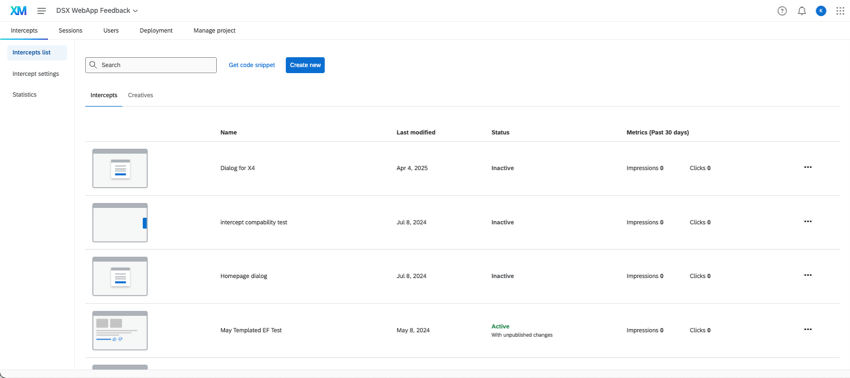
Qtip: By using the search bar, you can find intercepts by name. There is also page navigation at the bottom of the intercepts list.
Managing Intercepts in the List
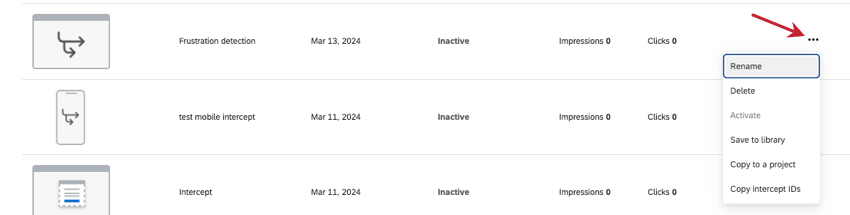
Click the 3 dots to the right of the intercept for the following actions:
- Rename: Rename the intercept.
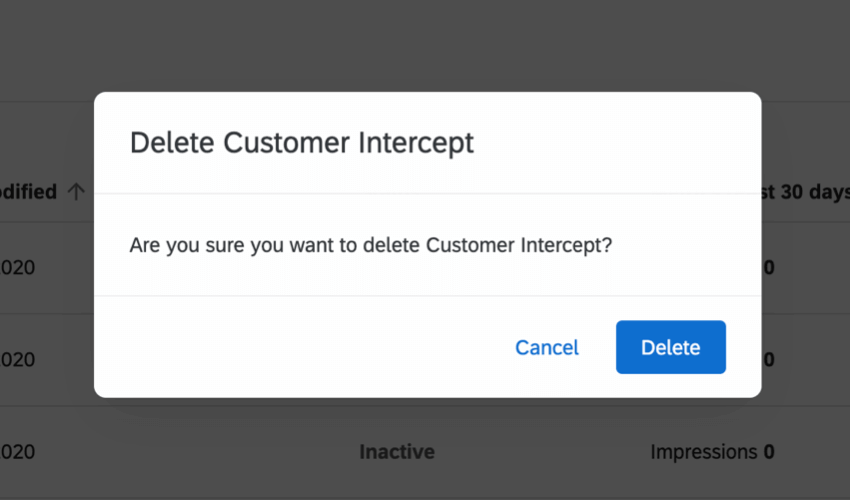
- Delete: Permanently delete the intercept. Heed the warning before you click Delete.
- Activate / Deactivate: Activate or deactivate the intercept. If your intercept is currently inactive, you will see the option to Activate, whereas if your intercept is active, you’ll see the option to Deactivate
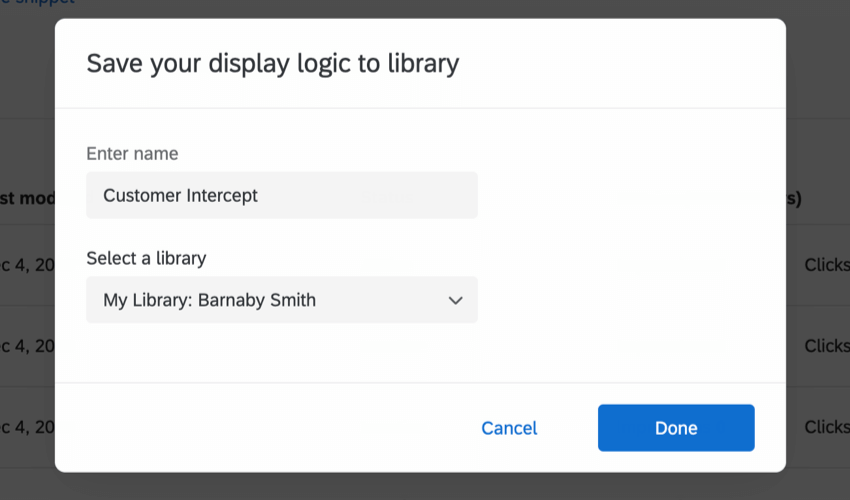
- Save to Library: Save the intercept to a library of your choice, so it can be copied into different projects later. This option is incompatible with guided intercepts.
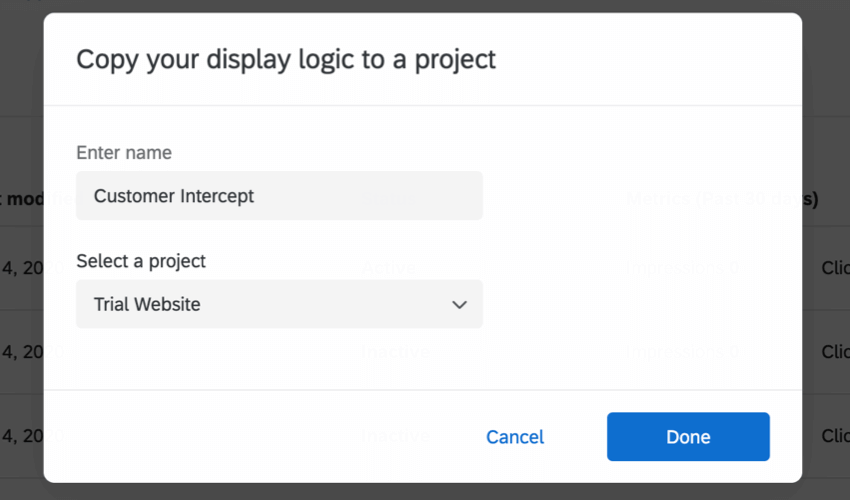
- Copy to a project: Create a copy of the intercept in a project of your choice.
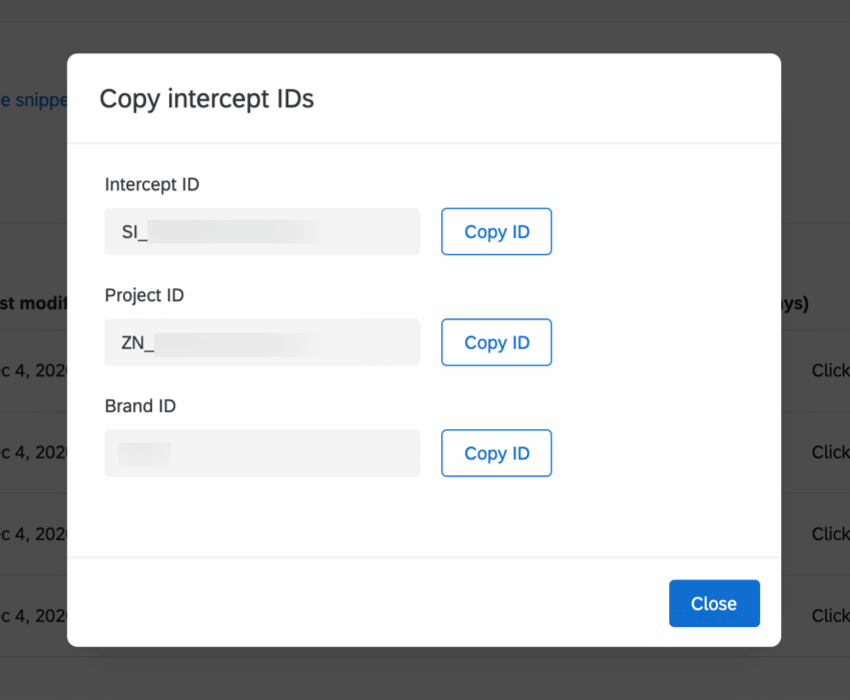
- Copy intercept IDs: Copy the intercept ID, project ID, and brand ID for the intercept.
Attention: Intercepts created using the guided workflow cannot be copied or saved to the library.