-

Qualtrics Platform -

Customer Journey Optimizer -

XM Discover -

Qualtrics Social Connect
Configuring Research Hub
About Configuring Research Hub
Once Research Hub is enabled for your organization, you can configure various aspects of the app. This includes restricting who has access to view specific search results and documents within Research Hub. This can be useful if certain search results or documents should only be viewed by specific users or groups.
Managing Search Result Limitations
Brand Administrators can restrict who has access to search results within Research Hub. If you are an administrator, follow these steps to set up search limitations:
- Navigate to the Home tab within Research Hub.
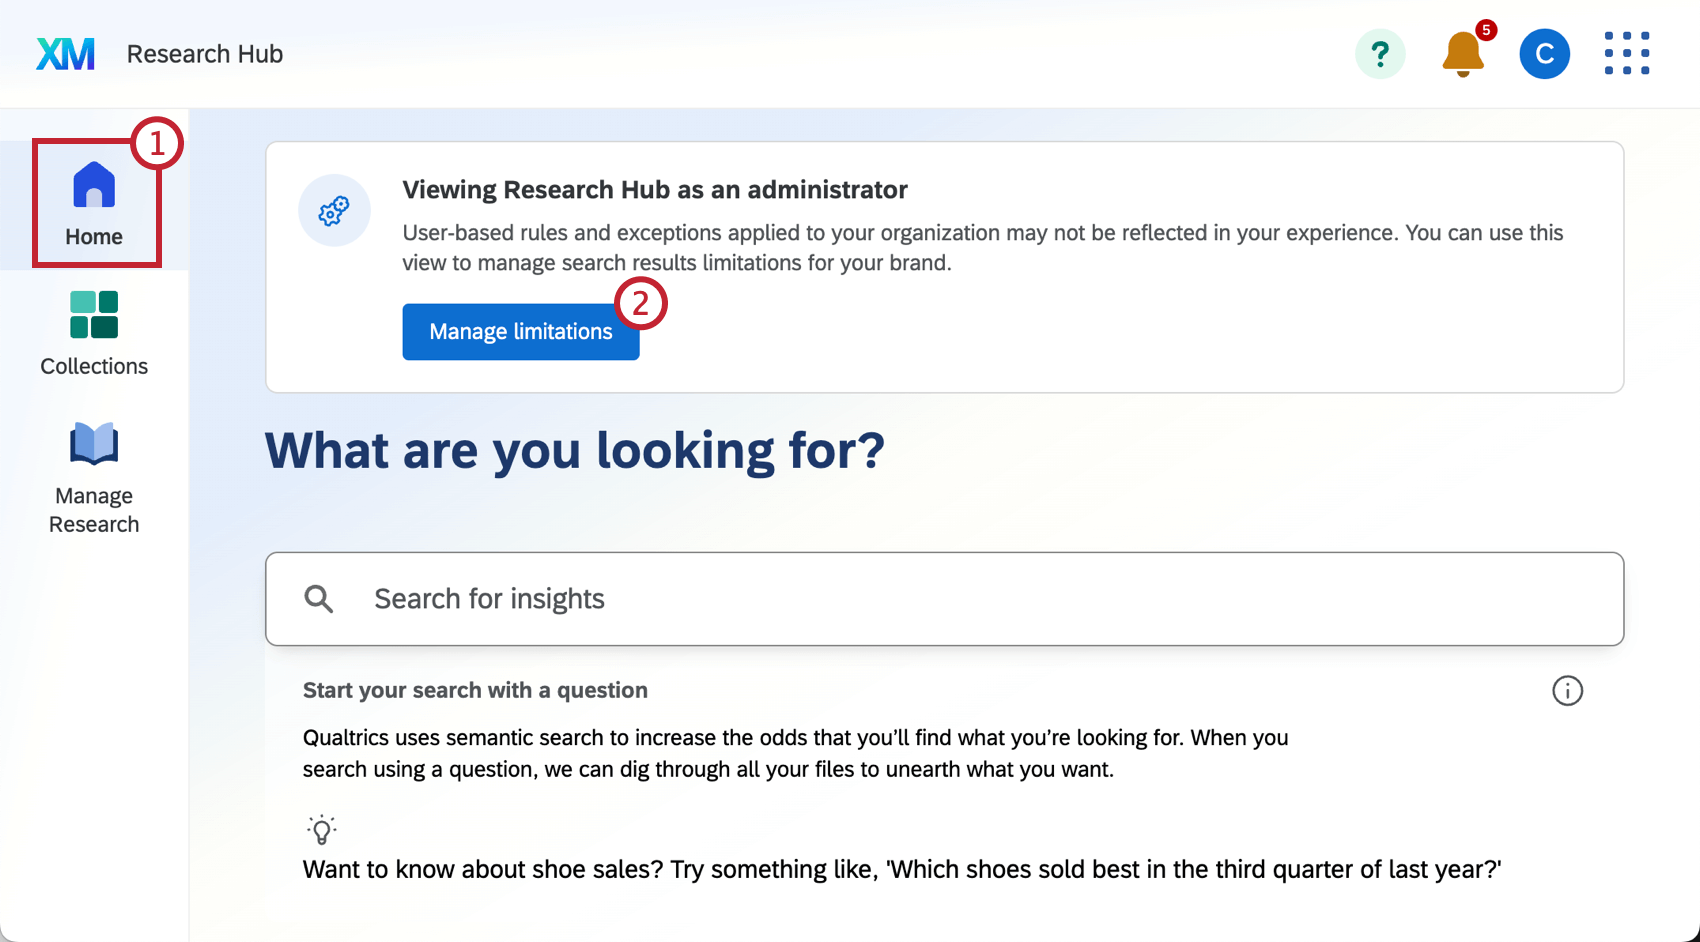
- Select Manage limitations.
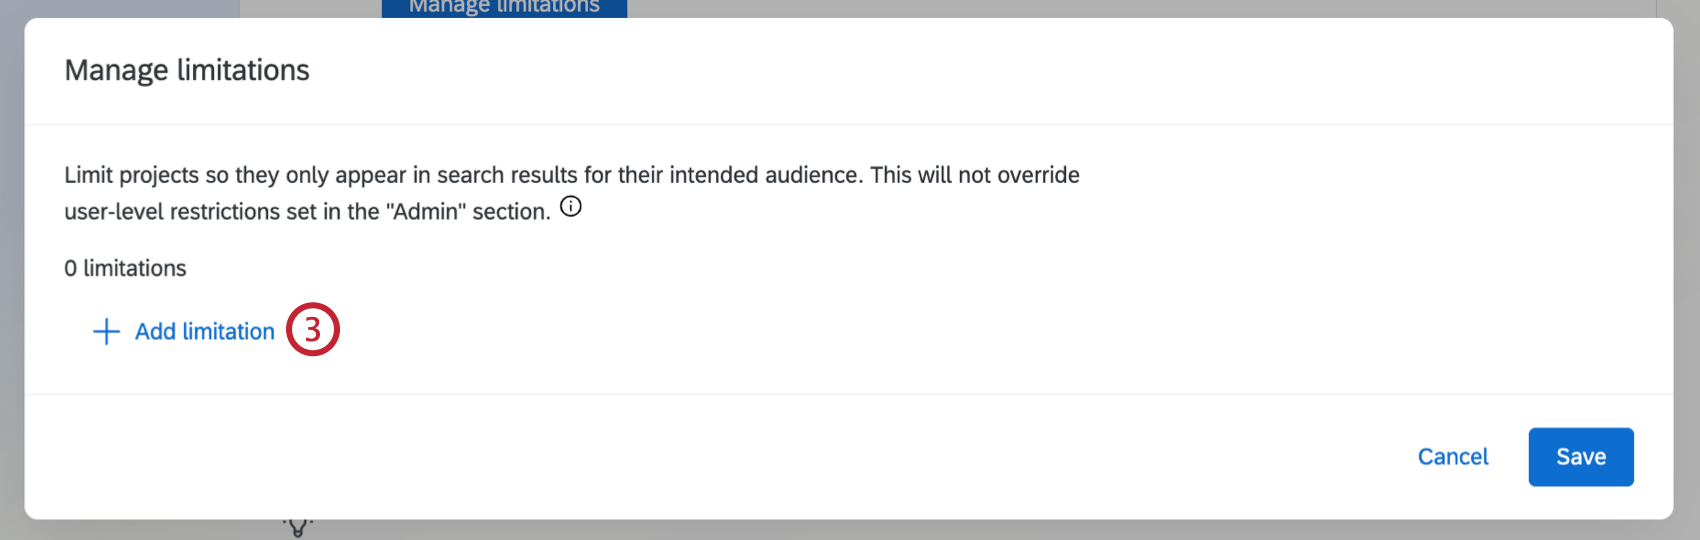
- Click Add limitation.
- Use the dropdown to select how you want to limit search results:
- Division: Projects owned by users in this division will only appear in search results for users within the same division.
- User group: Projects owned by users in this user group will only appear in search results for users within the same user group.
- Specific project(s): Selected projects will not appear in search results for any users.
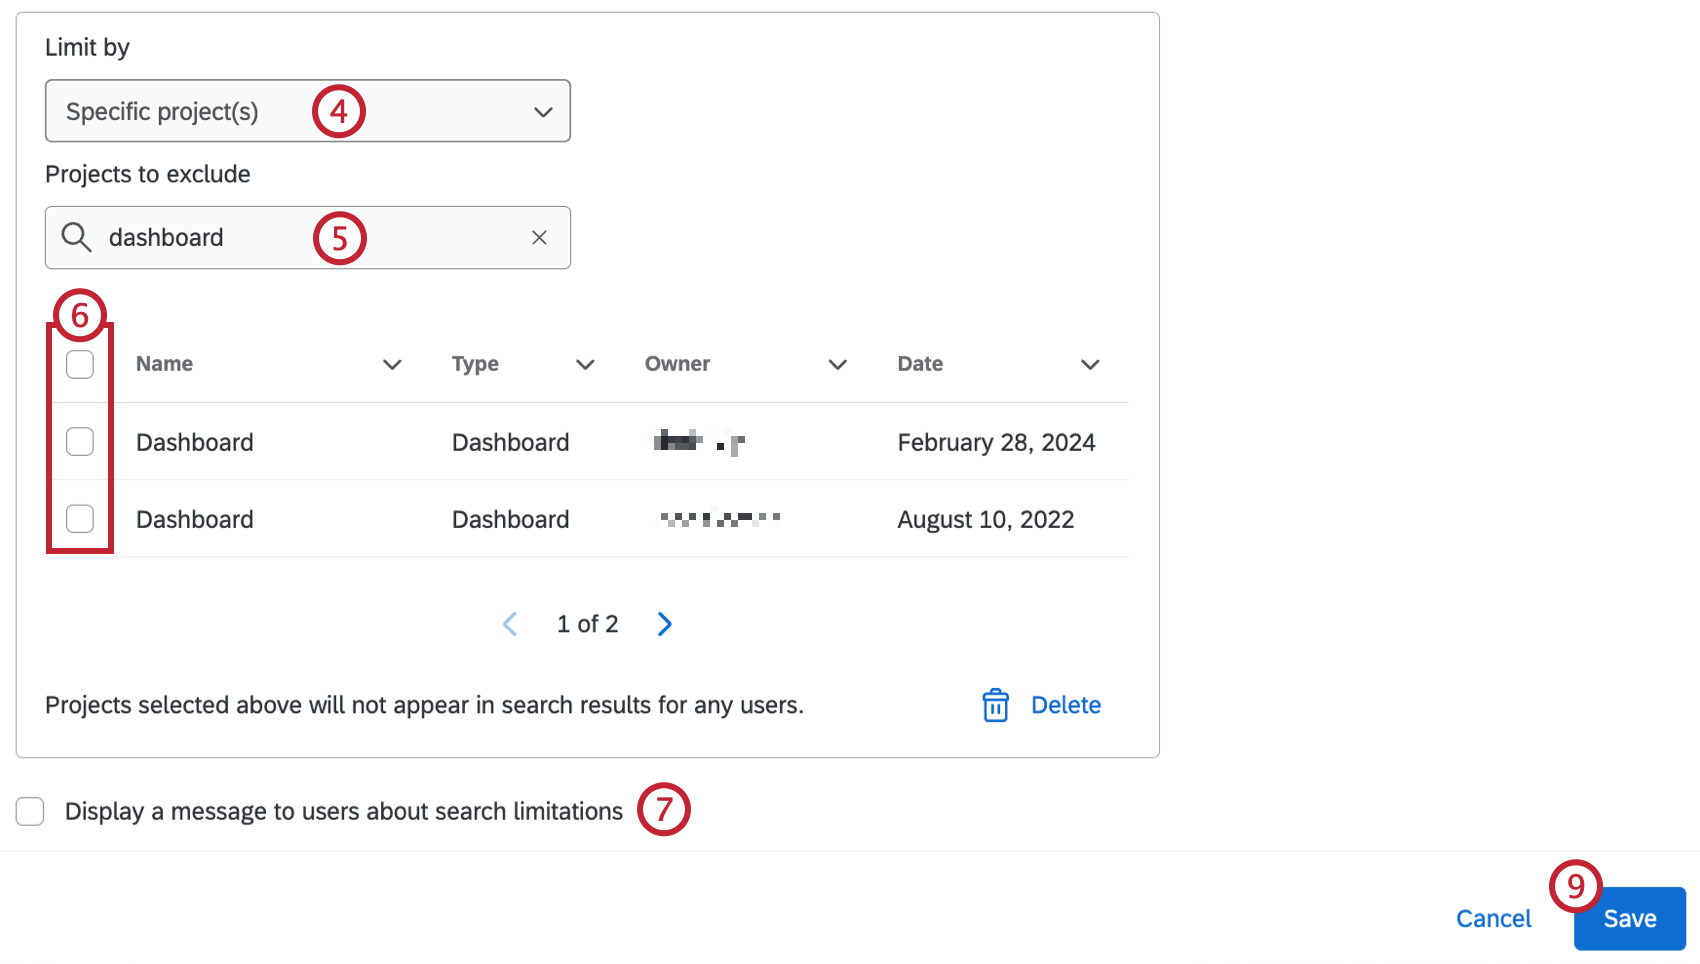
- If you selected Specific project(s), use the search box to search for your project(s) by name.
- Use the checkboxes to select projects to exclude from search results.
- If desired, select Display a message to users about search limitations. Users with limited access will see a banner when viewing search results or the Manage Research tab.
- You can add additional limitations by repeating steps 3-5.
Qtip: Click the trash icon next to a limitation to remove it.
- Click Save.
Managing Document Access
After uploading a document to Research Hub, you can control who has access to view it. You can either make documents available for all users in your brand, or you can restrict access to specific user groups. Brand Admins can also manage access for any documents, regardless of who uploaded them.
For more information on uploading and viewing documents, see Manage Research in Research Hub.
Follow these steps to manage document access:
- Navigate to the Manage Research tab within Research Hub.
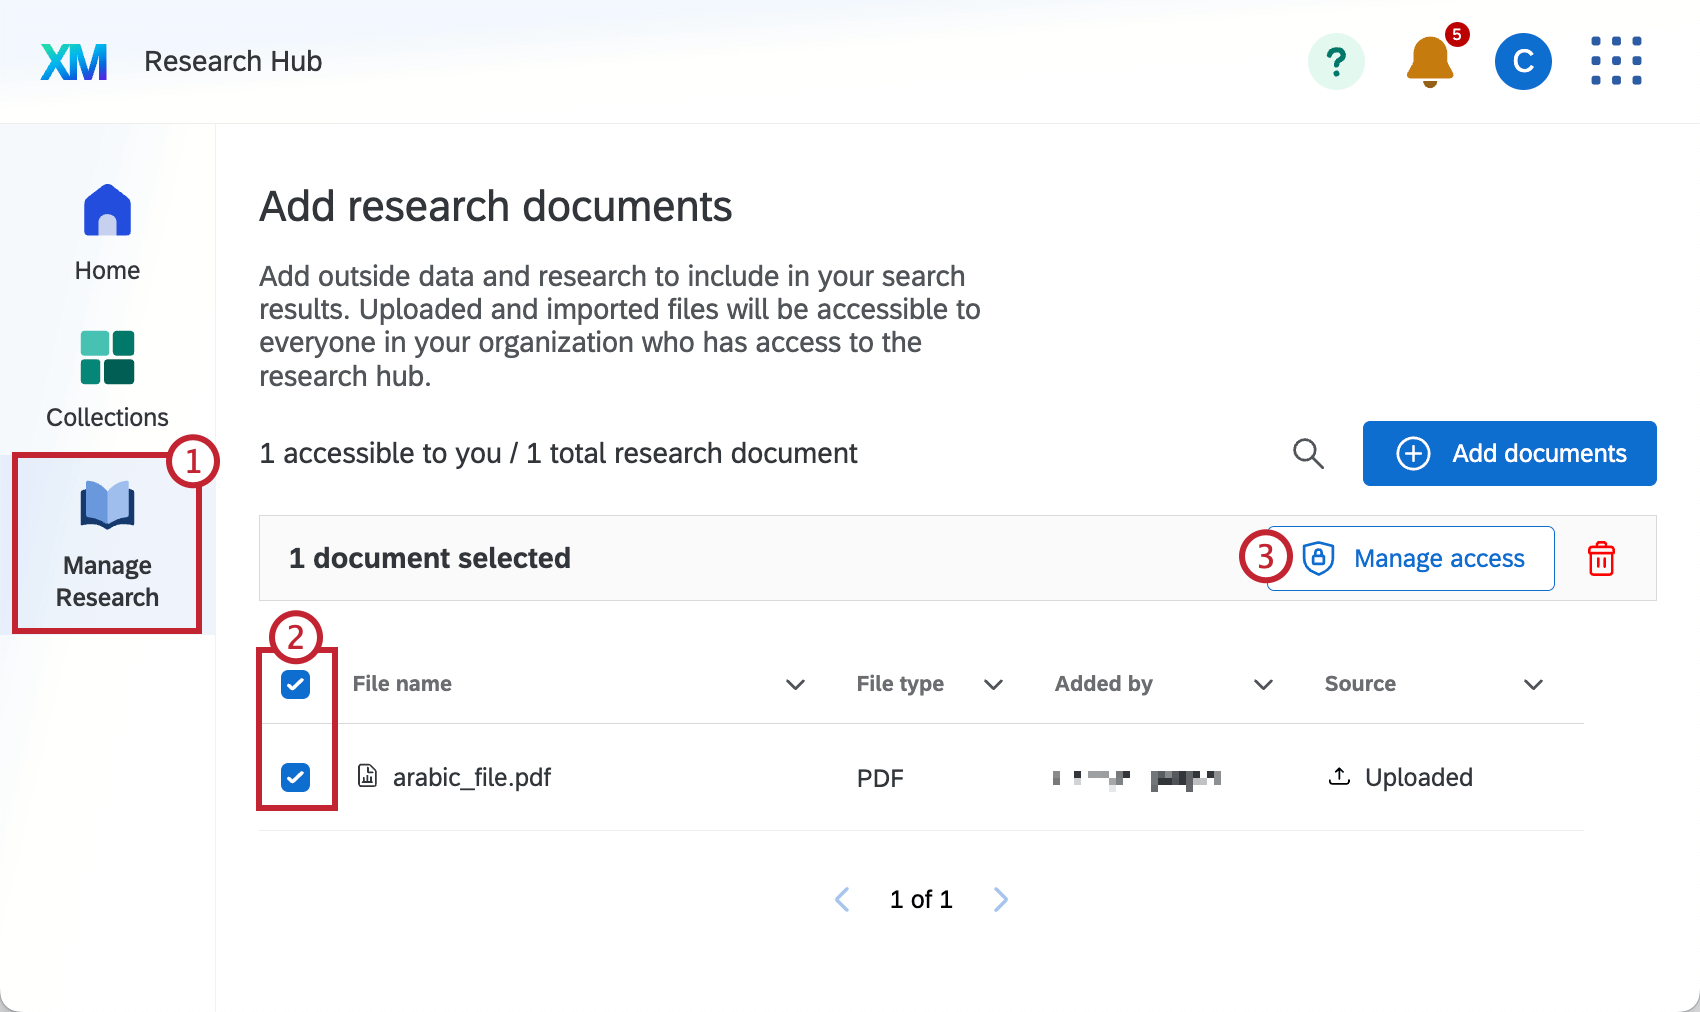
- Use the checkboxes to select the document you want to manage access for, or click the 3 horizontal dots next to a document.
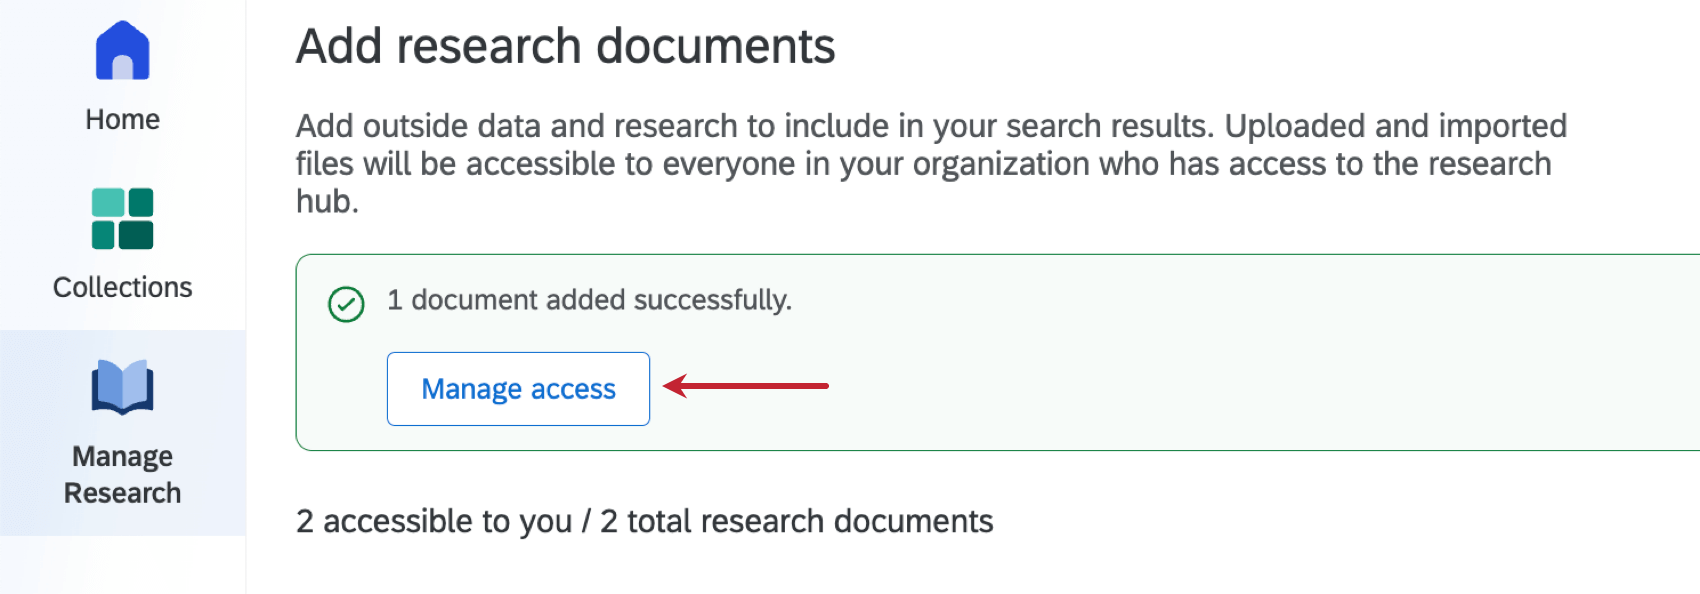
- Click Manage access.
Qtip: If you’ve just uploaded a document, you can select Manage access from the banner that appears at the top of the screen.
- Select the audience for this document:
- Division: The document can only be viewed by users in the division you select.
- User groups: The document can only be viewed by users in the group(s) you select. Selecting multiple groups means a user must be a member of every selected group to see the document in search results.
- Share with the entire brand: The document can be viewed by everyone in the brand.
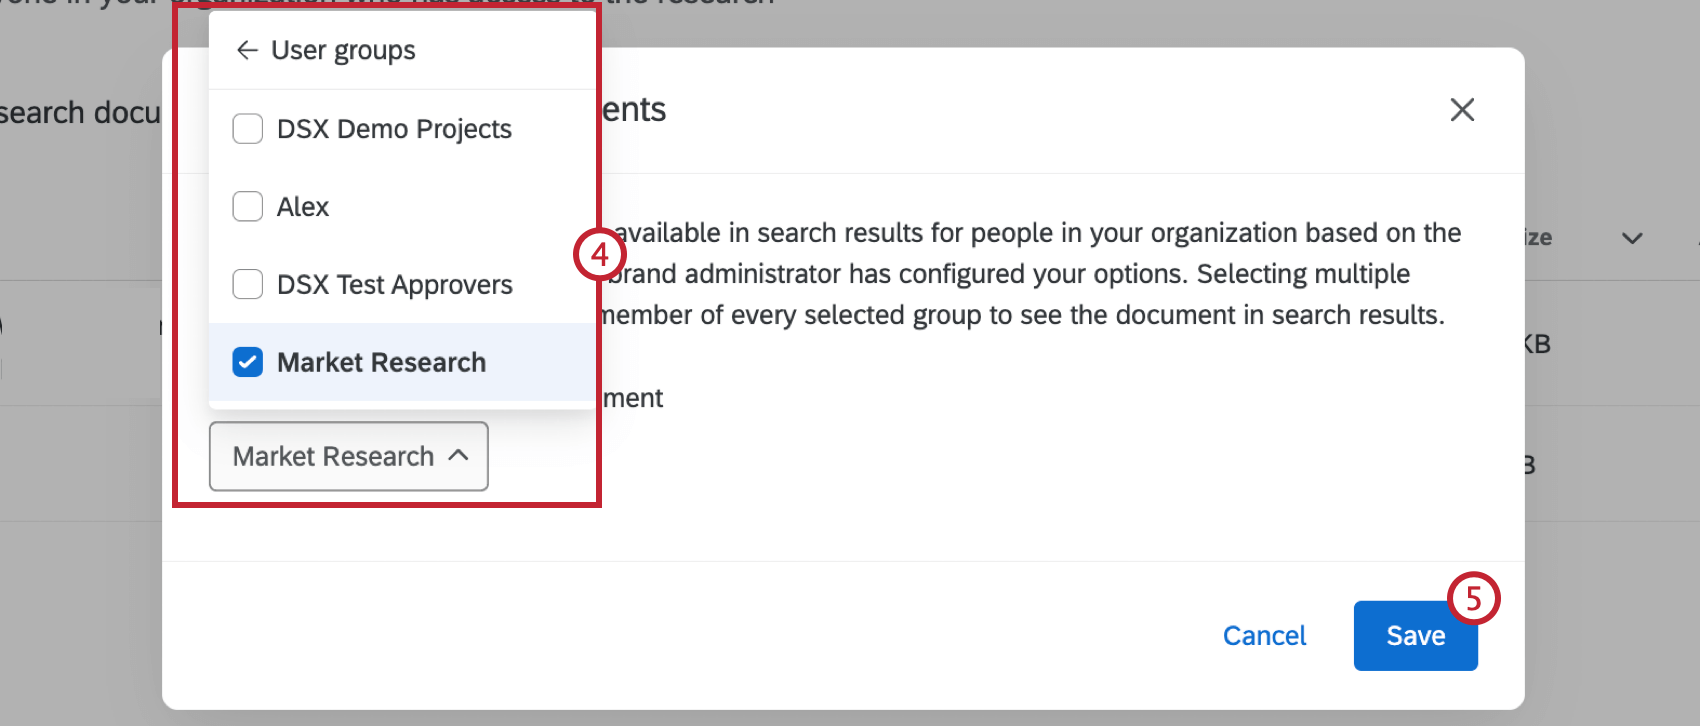
- Click Save.